Seed Shopping Smarts: Know The Lingo So You Can Get The Best Seeds
What’s your seed-shopping vocabulary like? Brush up on your seed lingo in this glossary of seed terminology so you can choose the best seeds for your needs.
By Steven Biggs
Best Seeds for Your Needs When You Know The Lingo
Get the best seeds for you needs when you know seed terminology.
When I worked at a marketing and communications company, there was a linguistic divide in our office.
The in-house application developers had a vocabulary that was incomprehensible to those of us working the phones.
As an outsider who wasn’t too tech savvy, it took me a while to absorb the new vocabulary.
Specialized Seed Vocabulary
It’s easy to feel like an outsider when you encounter specialized lingo. And it’s not just in the tech sector. (My father-in-law doesn’t realize I miss most of what he’s telling me when he shows me under the hood of his car…and now I have a son who has a whole vocabulary around mountain biking!)
Gardening has specialized vocabulary too. And I’ll be glad if you find this this glossary of seed terminology helpful in choosing the best seeds for your garden.
Glossary of Seed Terminology
Here are common terms that you’ll find when you seed shop. Knowing what they mean will help you get the best seeds for your situation.
This glossary of seed terminology will explain important seed vocabulary.
Annual
An annual plant has a one-year life cycle. It flowers, makes seed, and dies in one year. Common annuals include veggies such as beans, lettuce, and spinach.
(To confuse things, some of the so-called annuals that we grow in northern gardens live more than one year in warmer climates—but die in our cold winters, so we treat them as annuals. But actually, they’re not. A good example is fuchsia.)
Biennial
A biennial has a two-year life cycle. The first year, it makes leaves; and in the second year, flowers and forms seeds. In the veggie garden, a number of common crops are biennials, but we usually harvest from them during the first year and then remove them. Unless we’re saving seeds. Parsley, Swiss chard, and carrots are biennials.
Botanical Name (Scientific Name, Latin Name)
This is the official two-part name, often italicized. Useful when we want to make sure there’s no confusion around what plant we’re dealing with.
Common Name
This is the everyday, plain English name. The only problem is that sometimes the same name gets used on more than one plant. Bluebell is a good example. That’s why, when in doubt, you can check the Botanical Name to make sure you’re ordering what you want.
Cotyledon
This is the name of the first leaves that emerge when a seed germinates. You might see this word when seed shopping because transplanting guides often talk about “seed leaves” or “cotyledon leaves” when explaining when to transplant your seedlings. They look different from the “true” leaves that come afterwards.
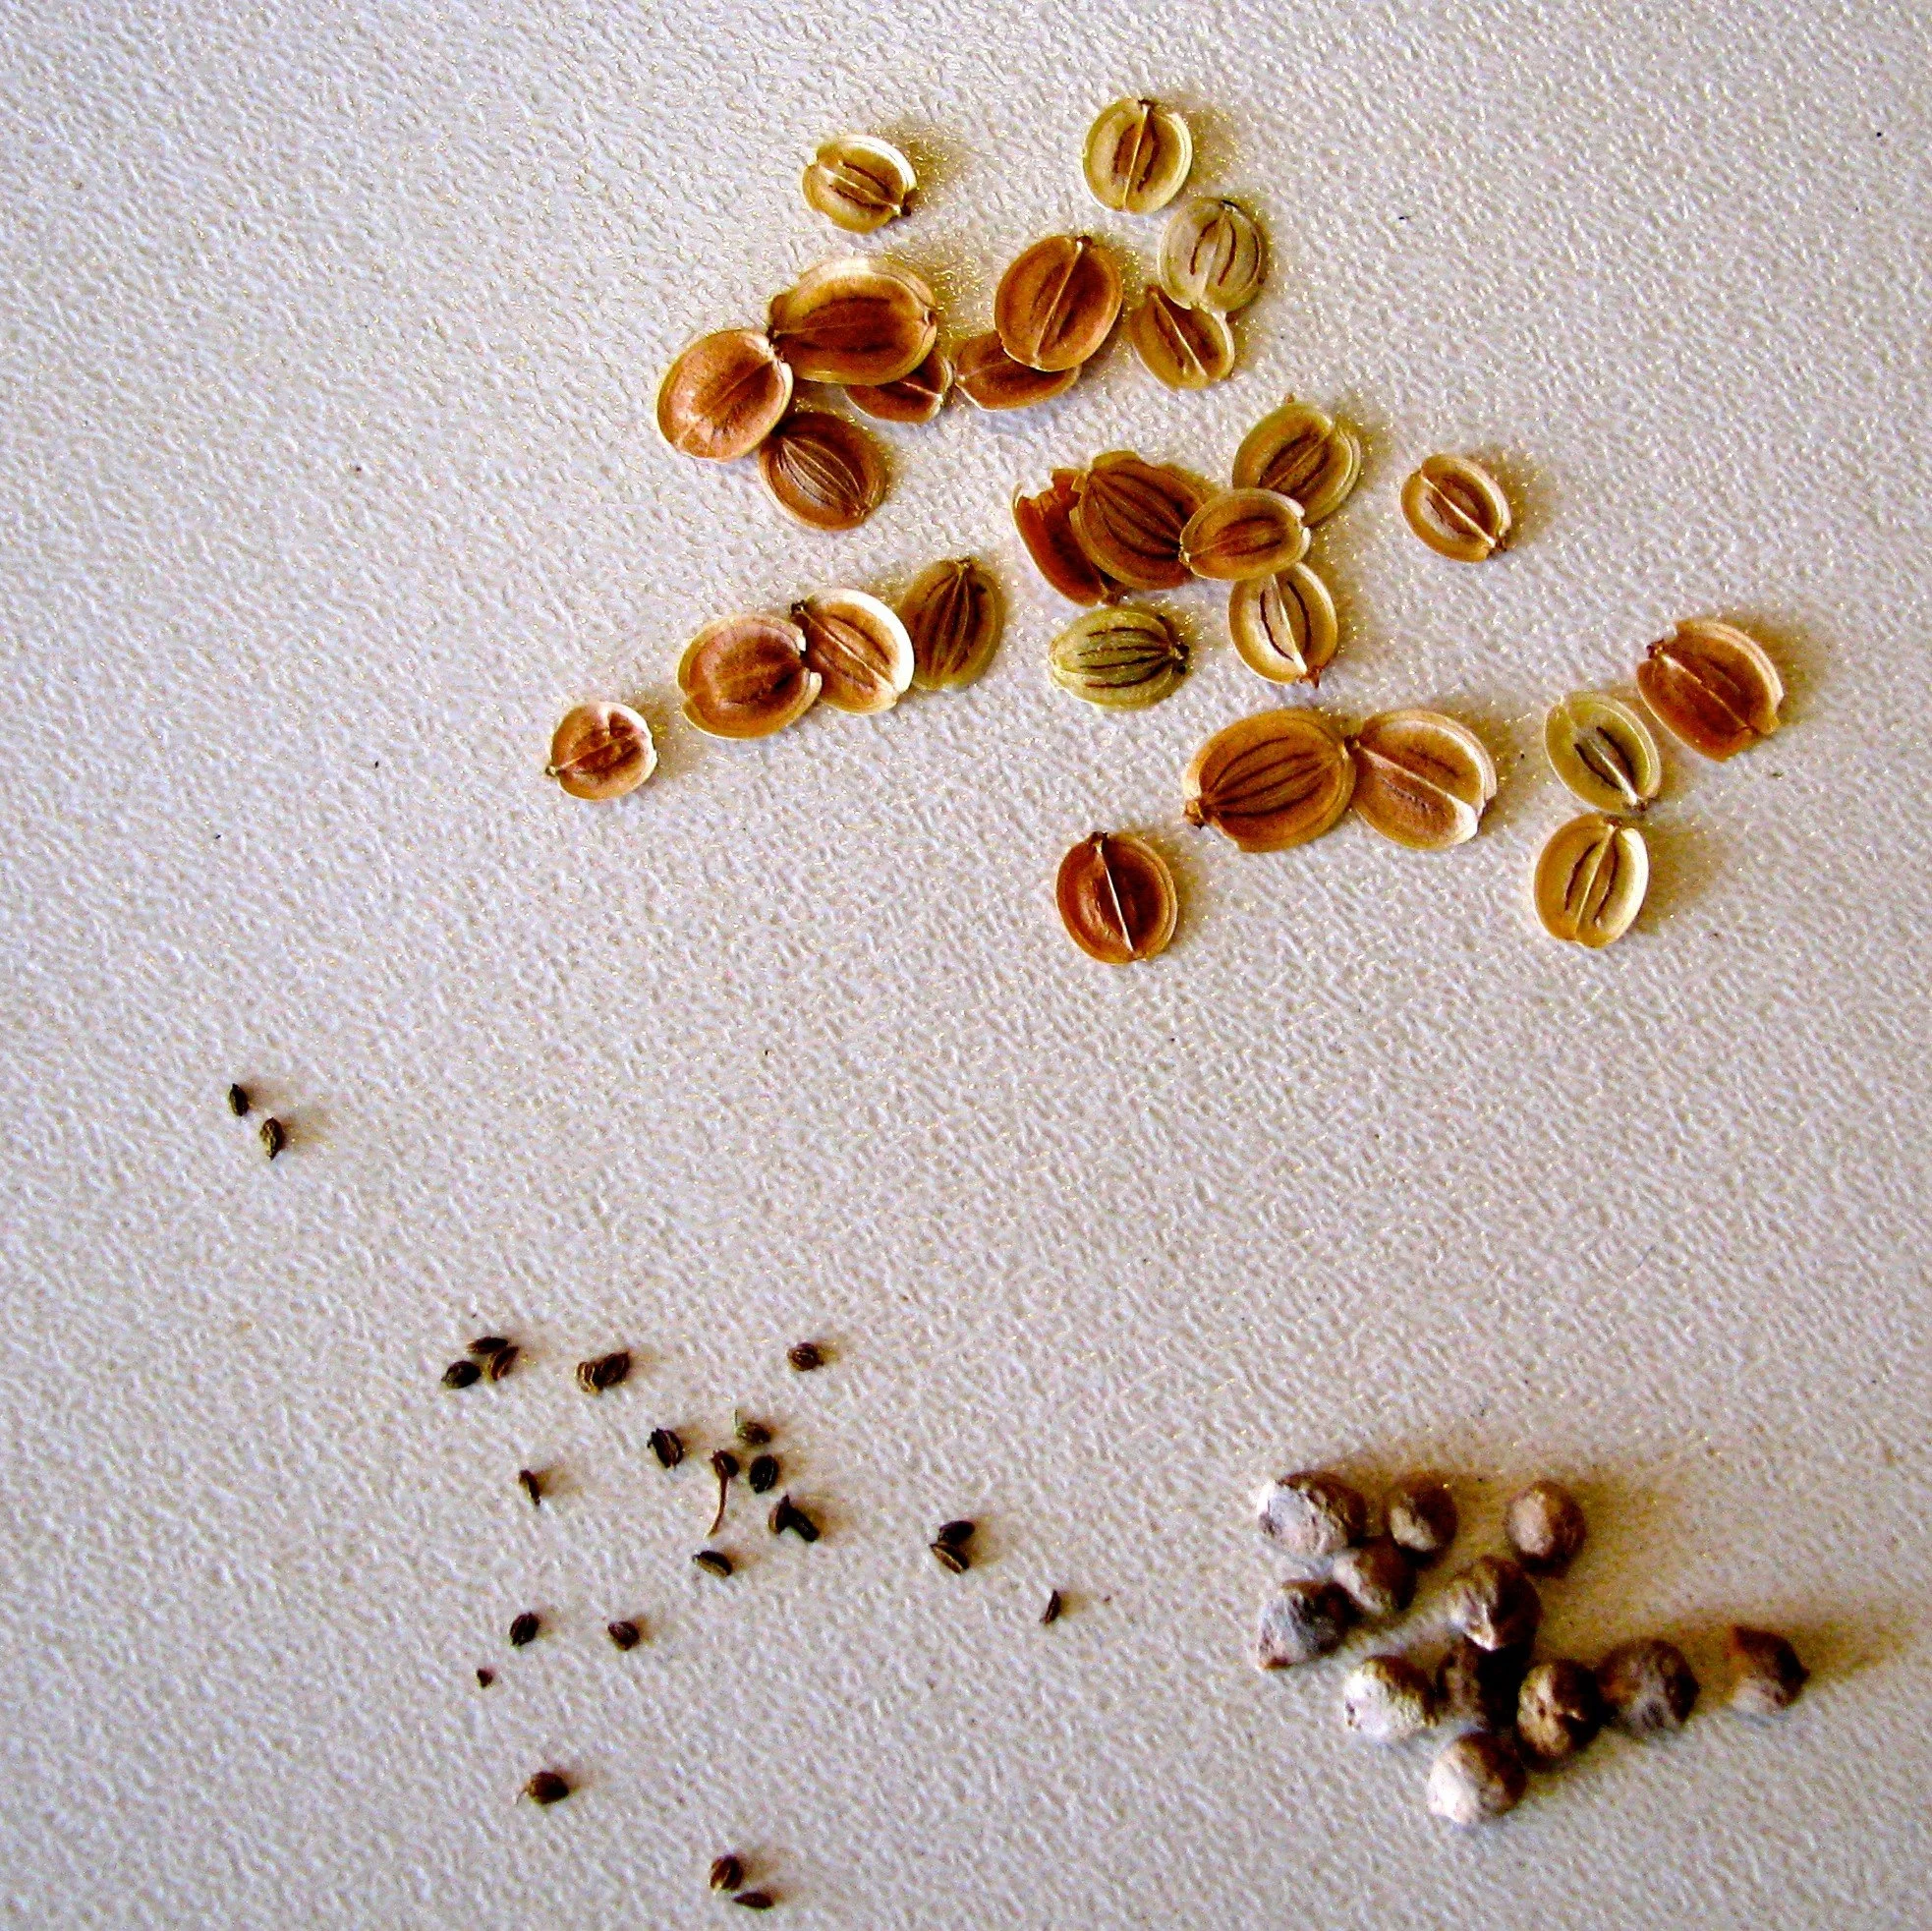
Many common garden crops are biennials. Parsnip (seeds at the top) is a good example of a biennial in the vegetable garden.
Cultivar
This word comes from “cultivated variety.” It just means a variety intentionally grown by humans. People often use this term interchangeably with “variety” although there are also naturally occurring plant varieties—which is why the distinction. If you see a name between single quotes (‘ ‘) it’s likely a cultivar name. A cultivar can be an open-pollinated or a hybrid (see below).
Days to Maturity (Days to Harvest)
An approximate number of days until harvest. This number is always approximate because many things (weather, growing conditions, the stage of harvest) have an effect on it.
For crops we plant directly in the garden, it’s the number of days from seeding until harvest; while for crops we start indoors as transplants (e.g. tomatoes) it the number of days from transplanting in the garden until harvest.
Dioecious
Dioecious plants have male and female flowers on separate plants. In the veggie garden, asparagus is an example of a dioecious plant.
Direct Sow (Direct Seed)
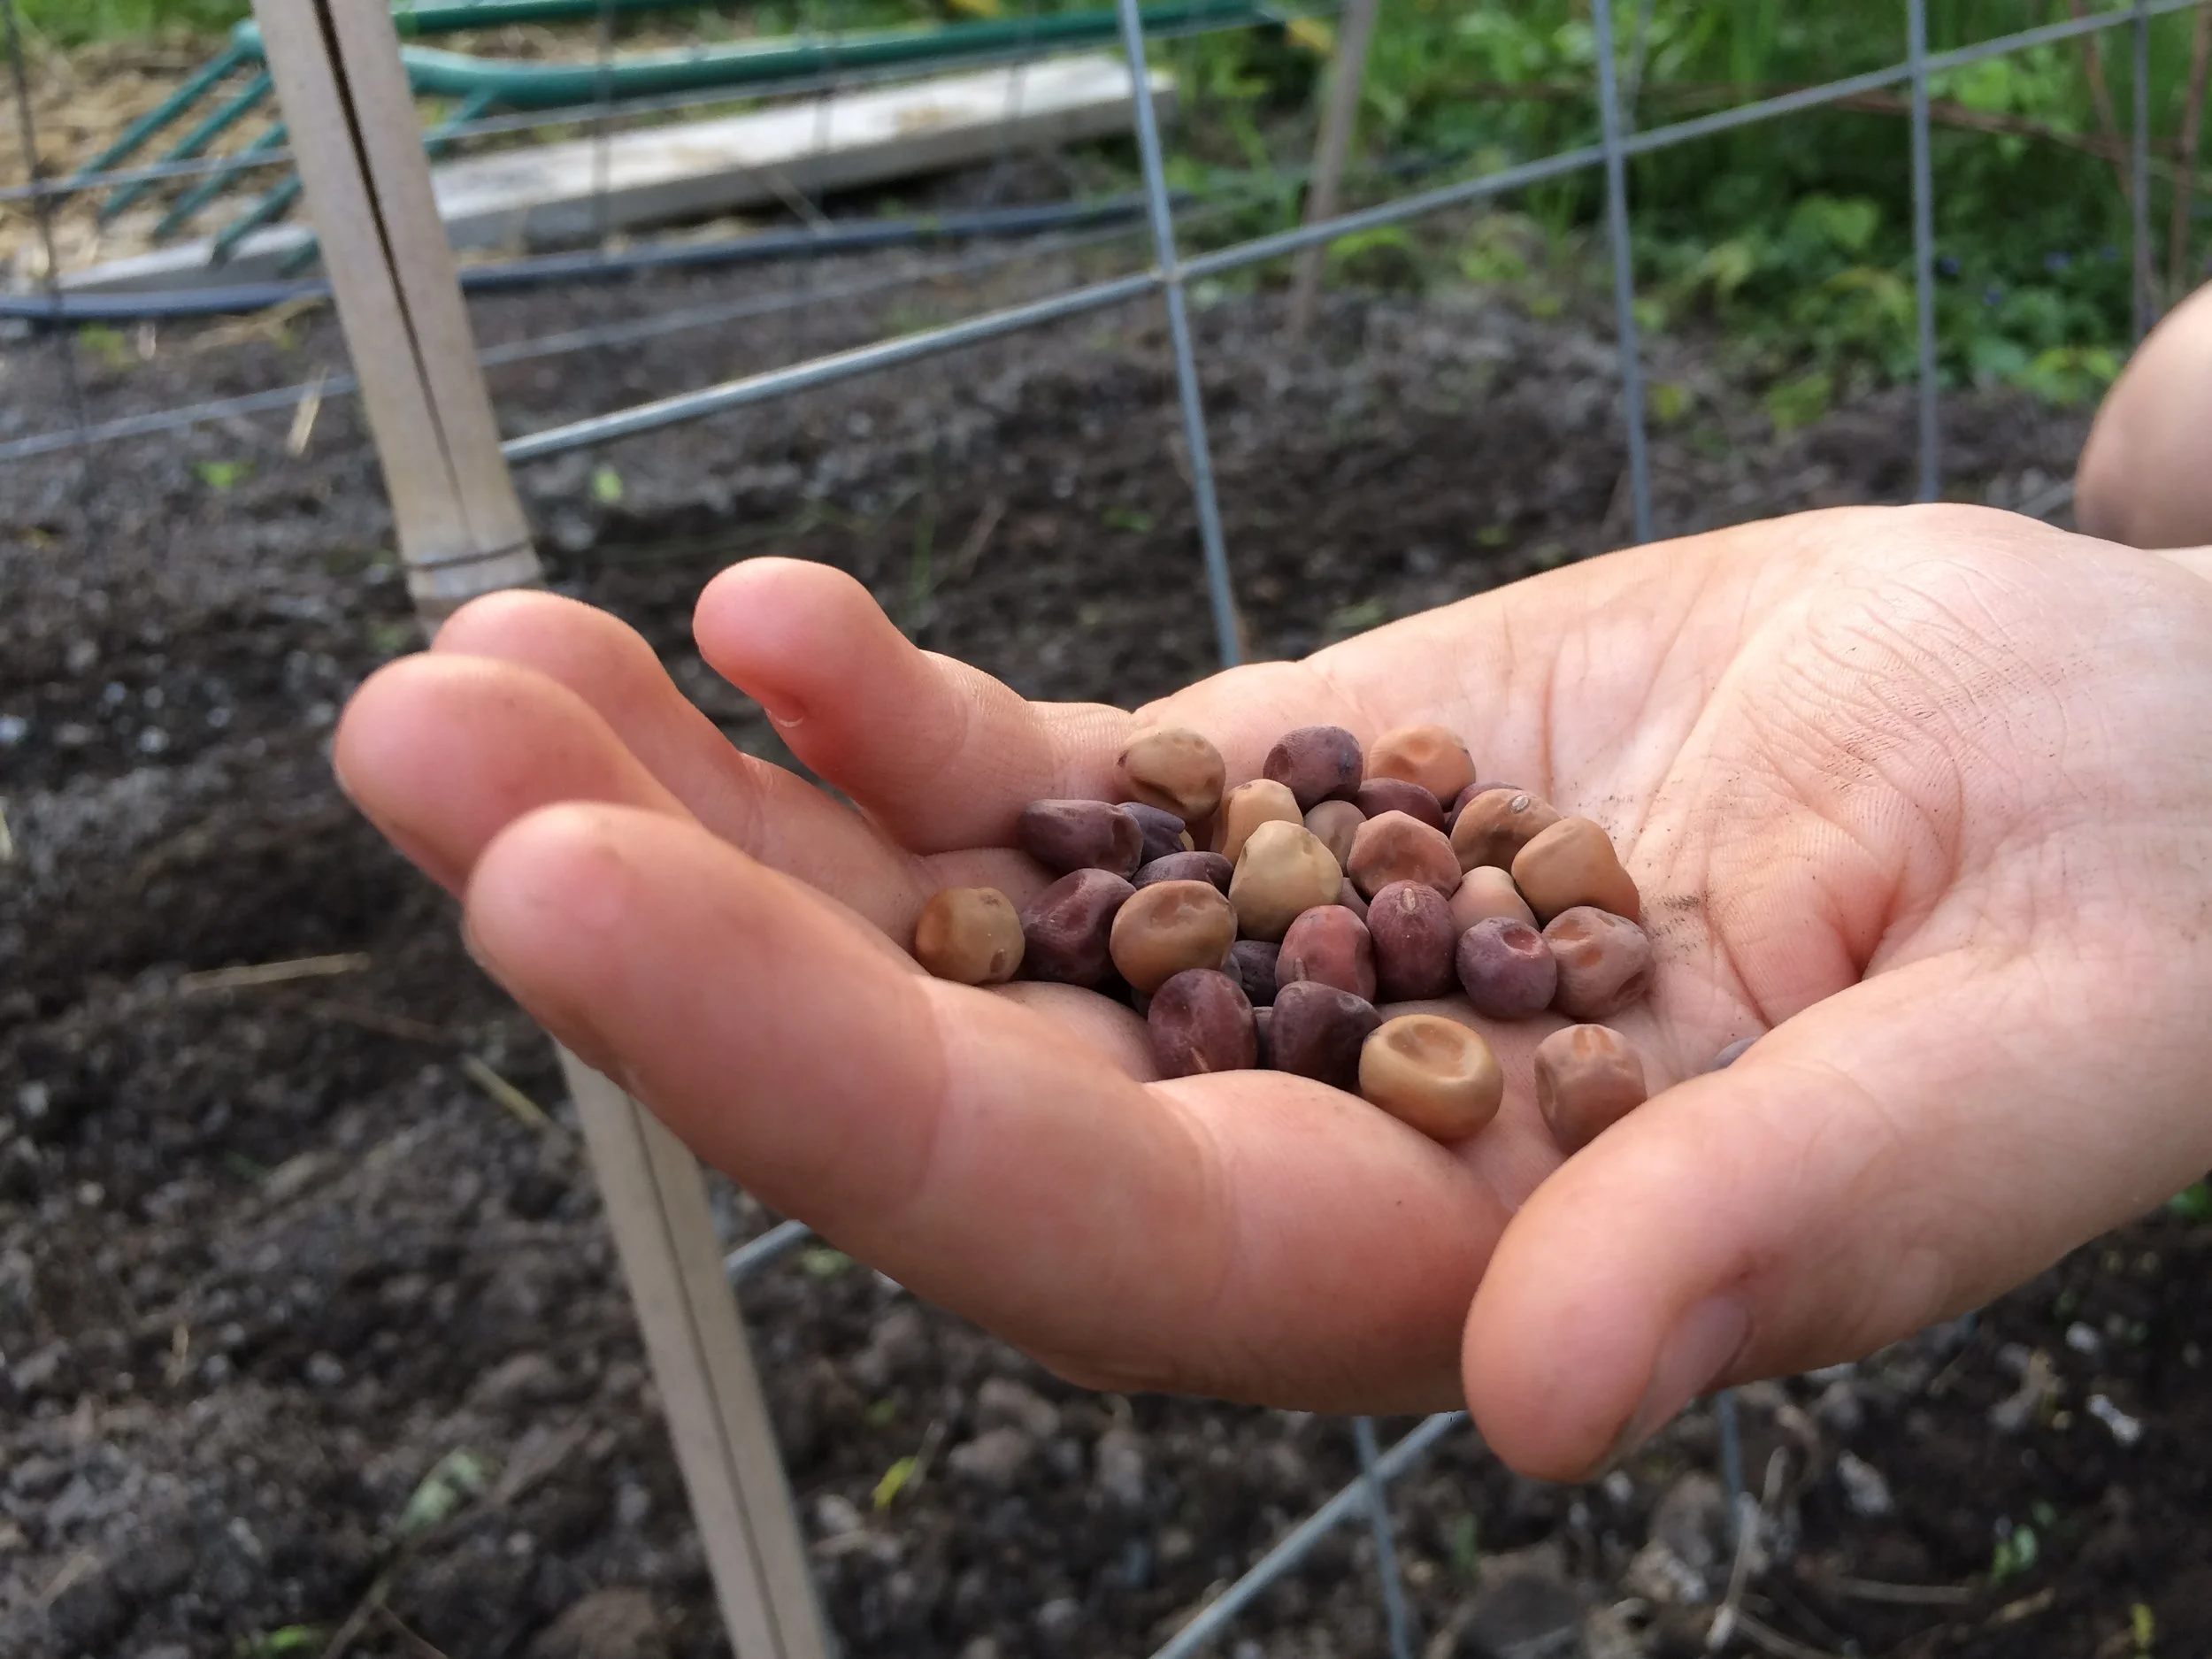
Pea seeds, an example of a crop that we usually direct sow.
This is when we plant seeds in their final, outdoor destination. Crops that are commonly direct seeded include carrots, beets, beans, and peas.
Germination Rate
Seed companies test germination. (At least I hope they do!) If you see a percentage on a seed packet, it indicates the germination rate from a germination test—and this should give you an idea of what sort of germination you can expect at home under good conditions.
GMO (Genetically Modified Organism)
Many people understand this to mean a plant into which genetic material from another plant or life form is inserted. What’s confusing is that the way this term is often understood and the official definitions differ.
The exact definition depends on who you ask and where you are. Here’s the official definition used by the Government of Canada.
“A genetically modified (GM) food is a food that comes from an organism (plant, animal or microorganism) that has had 1 or more of its characteristics changed on purpose. Organisms can be modified by different processes, including: conventional breeding techniques, like cross-breeding or mutagenesis (a change in the genetic make-up of an organism caused by chemicals or radiation); modern biotechnology techniques, such as genetic engineering; gene editing.”
Here’s what can be confusing: The wordy definition above includes traditional breeding…the sort of breeding that might have given us some of our heirloom varieties. What many people want to avoid is “genetically engineered” seeds. Genetically engineered seeds are mostly found in commodity crops (think canola and corn) – and are not sold to home gardeners.
Harden Off
When seedlings are moved from protected conditions such as indoor grow lights or a greenhouse, they are “hardened off,” which means they are gradually acclimated to the brighter light, different temperatures, and wind outdoors.
Hardy Annual
An annual that tolerates some frost and cool conditions. For example, a common hardy annual vegetable is arugula—which, if you let it make seed, you’re likely to find growing up on its own in your garden while there are still cool conditions.
Heirloom
Like the word “natural” in the health food sector, “heirloom” is one of those fuzzy, poorly defined words that marketers adore. There’s no precise meaning. But, in general, it means an older open-pollinated variety.
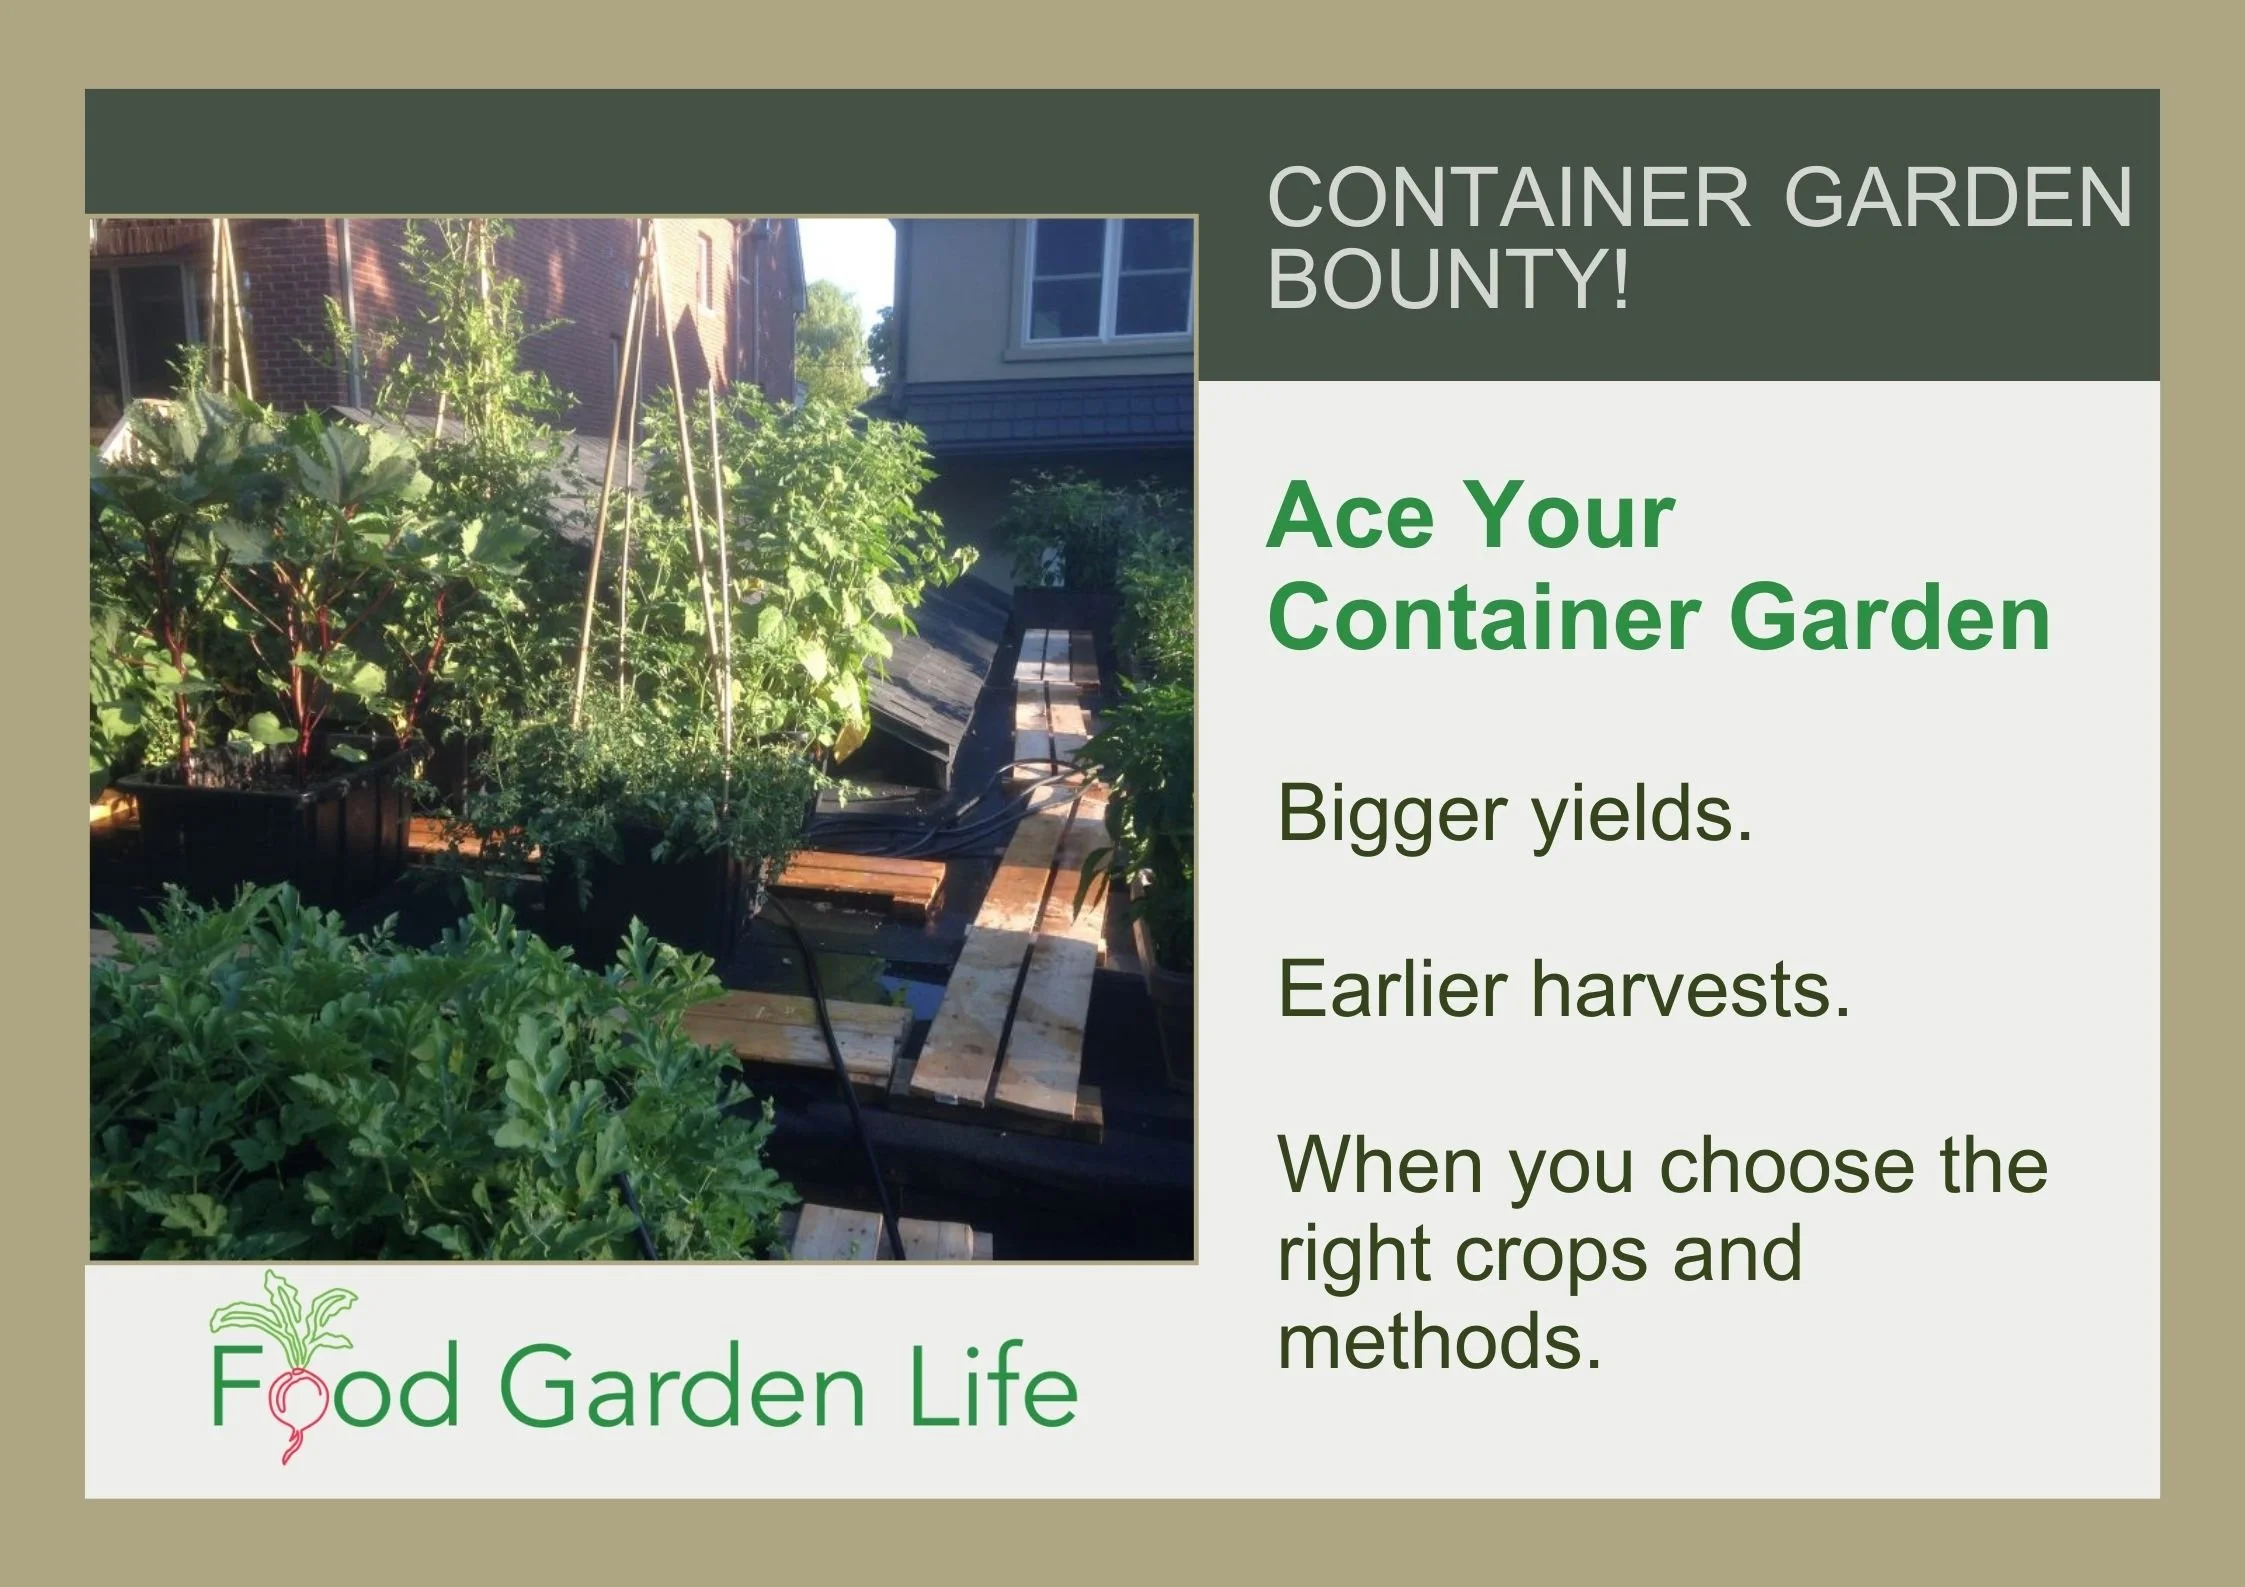
Grow a Container Vegetable Garden
And get an early harvest of crops that usually take too long!
Hybrid Seeds
Hybrid seeds result from cross-pollinating two varieties with desirable traits. In the seed industry, it’s done in controlled conditions, so there’s no chance of an errant pollen grain giving something different.
Hybrid seeds tend to be more expensive because of the labour needed to make the cross. Hybrids are often made to have desirable traits such as disease resistance and vigour…and they’re also made because it’s an industry.
If you see the term “F1,” that refers to the first generation of seed after the cross. That’s usually what’s for sale at seed vendors. When you save seeds from a hybrid plant, it will probably be different from the parent plant.
Hybrids occur in nature too, but the hybrid seeds you find at vendors will have been deliberate. When people are new to seed shopping they sometimes wonder if hybrid has something to do with genetic engineering—and it doesn’t. It’s entirely different.
Last Frost Date (Average Last Frost Date)
The date in the spring when—on average—there isn’t any more frost in your area. It’s figured out using historical weather data.
This date is like a marker post for seed sowing. When a seed catalogue recommends starting tomato seeds 8 weeks before your average last frost date, this is what it’s referring to.
This date is also used when deciding when to move seedlings into the garden. (But remember…an average last frost date means that some years there is frost after that date.)
Monoecious
Monoecious plants have both male and female flowers on the same plant. Melons are monoecious; and if you look closely, you’ll see some of the flowers have little melons-in-waiting next to the female flowers, while the male flowers have none.
Open Pollinated (OP)
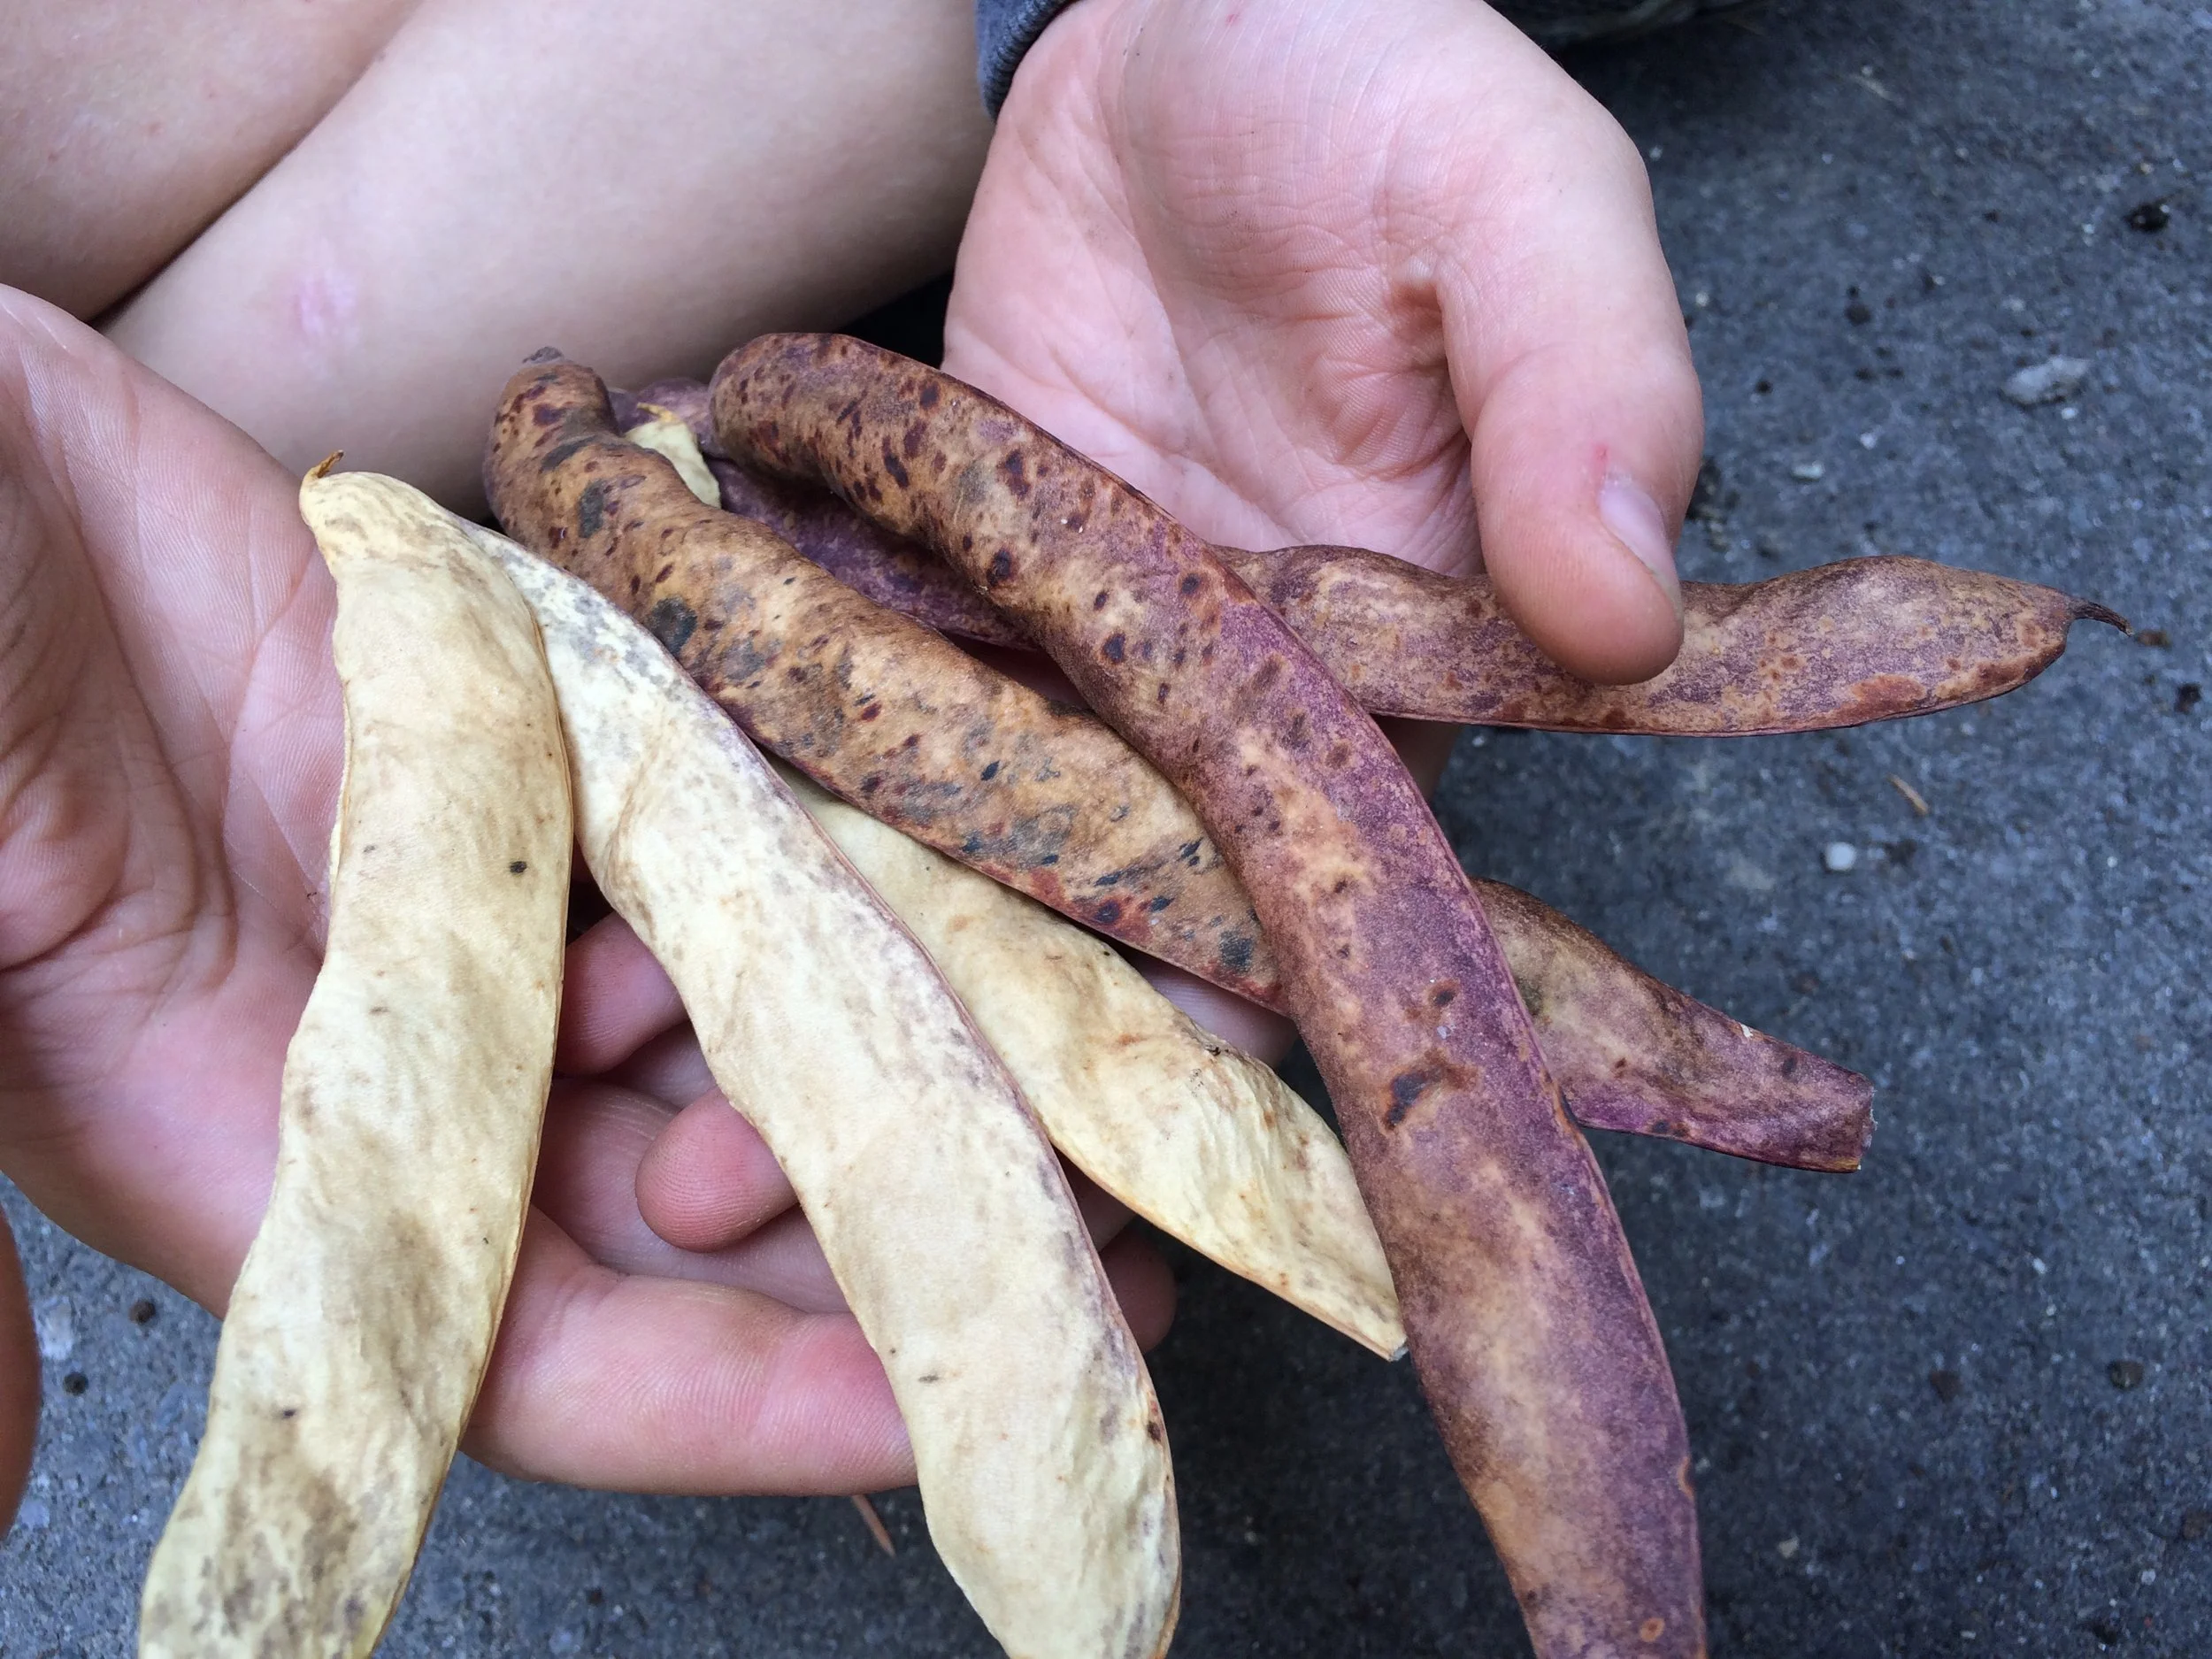
Open-pollinated bean varieties are easy to save seeds from because there is not usually much cross-pollination with other varieties.
Open-pollinated varieties are stable varieties that you can save seed from and get plants that are like the parent plants. Some open-pollinated varieties are heirlooms; some are recent.
Note: To get seeds like the parent plant, there can’t be “cross-pollination” with other varieties. Some types of plants mostly self-pollinate (they have perfect flowers, see below), so you’re likely to get seeds like the parent plant without doing anything special. But some plants have separate male and female flowers—meaning insects might pollinate them with pollen from another variety. Squash is a good example. In that case, open-pollinated varieties are grown in isolation when saving seed.
Organic
Generally understood to mean that the plants the seeds come from are not treated with synthetic fertilizers and pesticides. The thing to keep in mind when seed shopping (food shopping, too, actually) is that there are organic certification bodies—agencies that make sure a producer adheres to a set of standards. So you might come across seed that a seller says is organic—but is not “certified” organic.
Parthenocarpic
This refers to varieties that can make fruit without pollination. The resulting fruit has no seeds. You’re most likely to see this term as you browse cucumber varieties.
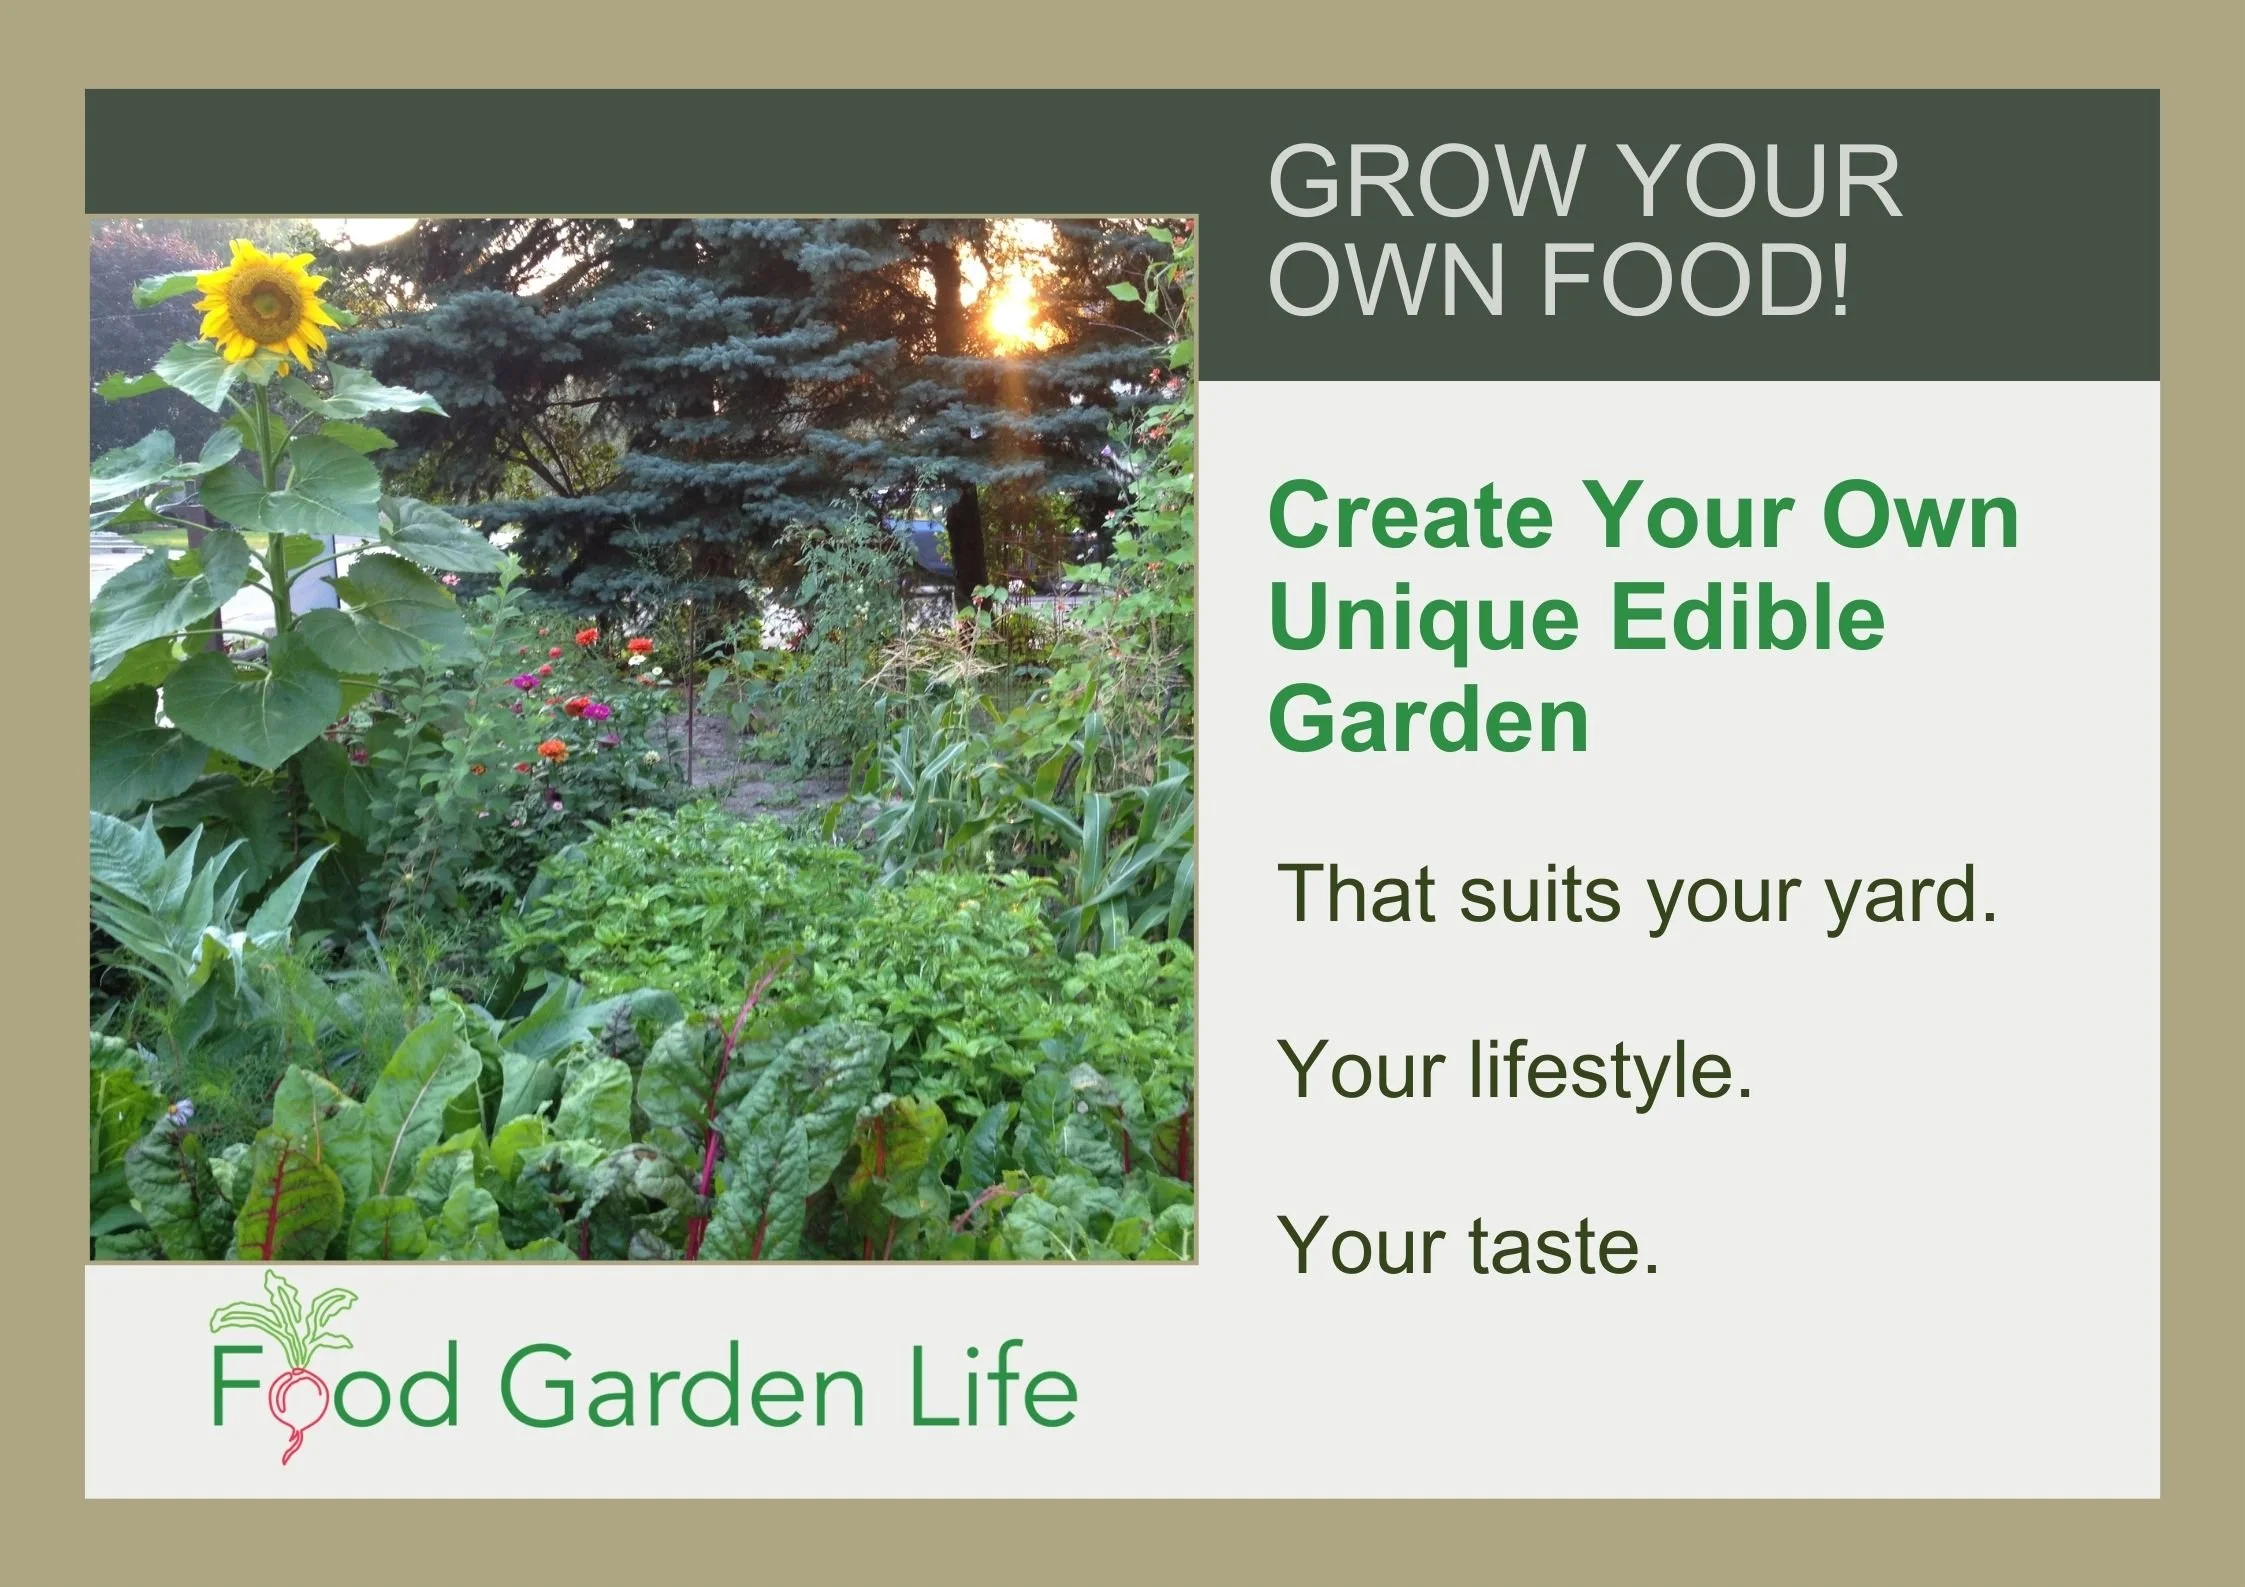
Create Your Own Unique Edible Landscape
That fits for your yard, and your style!
Pelleted
Sometimes small or irregularly shaped seeds are coated with clay to make them easier to handle or dispense with seeding equipment. These “pelleted” seeds are usually more expensive.
Perennial
A plant with a life cycle spanning a number of years.
Perfect Flower
A flower that has both male and female parts.
Set
Onion “sets” are small, pre-grown onion bulbs that you can plant directly in the garden instead of growing onion seedlings. It’s a great option if you don’t have a lot of indoor space for growing onion transplants.
Tender Annual
An annual plant that does not tolerate frost. We usually start tender annuals indoors, in warm conditions, and then transplant them outdoors when there is no further risk of frost. A good example of a tender annual is basil…which quickly wilts in protest in cool weather.
Transplant
Tomato seedlings, or “transplants.” We use the word transplant as both a noun and a verb.
The word we sometimes use to refer to the little seedlings that we start indoors. Of course, it’s also the act of replanting—transplanting—the little seedings. So both a noun and a verb!
Treated Seed
If you’ve ever seen a pink pea or bean seed, it’s been treated with a fungicide. That treatment is done to prevent rot in cold, wet soil. If you don’t want seed that’s treated, look for “untreated” seed.
Untreated Seed
Seed that has not been treated.
Crop-Specific Lingo
Beans

Pin this post!
Bush bean plants are shorter, and tend to have an earlier and briefer period of harvest. Depending on the variety, they might or might not need support.
Pole and runner beans get quite tall, and will need support. The harvest is later, and the harvest period is longer.
Peas
Vining pea varieties, like runner and pole beans, get quite tall and have a longer harvest window.
Squash
Bush squash are compact (at least for a squash plant!).
Vining (running) squash have long stems that spread far and wide.
Tomato
Determinate (bush, patio) tomato plants get to a certain size and then stop growing. They are relatively compact, and flower and fruit in a shorter time. Even thought they are compact, they are not self supporting—so if you like your tomato plants off the ground, use a stake or a cage.
Indeterminate (vining) tomato plants keep growing and making fruit as long as conditions permit. They get very tall if the growing season permits. (This is the sort of tomato used in greenhouse tomato production here in Ontario: Plants are grown up twine, and as they get taller and taller, the twine is lowered and the base of the stem is coiled on the ground.)
There are also semi-determinate tomato varieties.
Dwarf tomatoes are very compact, making them a good choice for growing in planters. They often grow 60 - 120 cm tall (2-4’)
Micro-dwarf tomato plants are tiny, only 15-30 cm (6-12”) tall. Perfect for a window box. Just adjust your yield expectations accordingly with such a small plant.
Find Out about Seed Shopping in this Podcast
Find This Helpful?
Enjoy not being bombarded by annoying ads?
Appreciate the absence of junky affiliate links for products you don’t need?
It’s because we’re reader supported.
If we’ve helped in your food-gardening journey, we’re glad of support. You can high-five us below. Any amount welcome!
More on Vegetable Seeds
More on Growing Vegetables
Vegetable Gardening Articles
Vegetable Gardening Courses
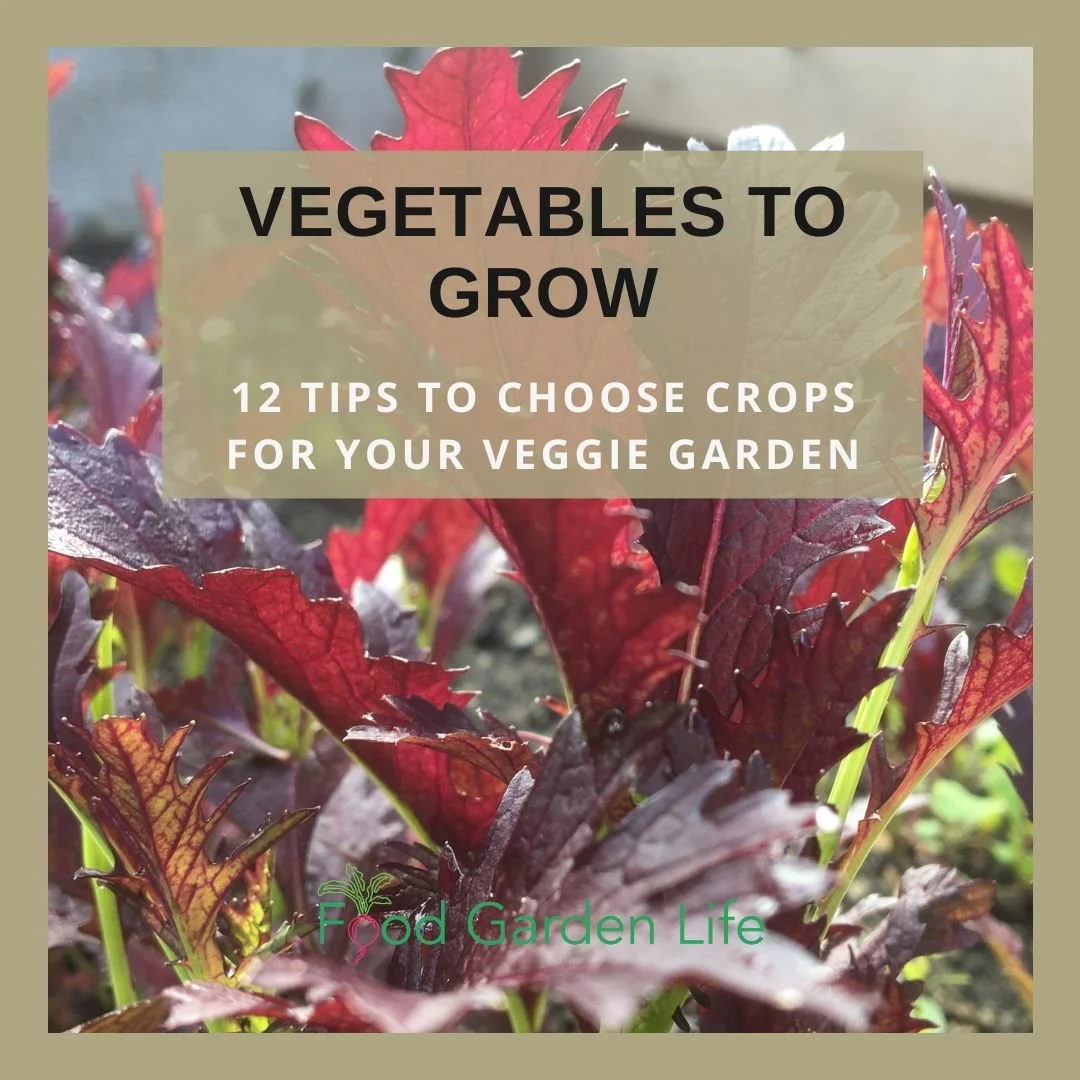
Vegetables to Grow: 12 Tips to Choose What’s Best for Your Vegetable Garden
Choose the best vegetables to grow in your garden with these 12 crop-choosing tips.
by Steven Biggs
Choose Which Veggies to Grow in a Garden
12 tips to help you choose vegetables to grow.
“Grow radishes!”
It’s a recommendation I often hear given to new gardeners. That’s because radishes are easy to grow. And they grow quickly.
True.
But in my house, it’s the radishes that are still on the veggie platter when everything else has been devoured.
So while the easy-to-grow crops are part of a good vegetable garden plan, there are other things to think about too.
Keep reading to find out how to pick vegetable crops and varieties for your needs and situation. Instead of being prescriptive and telling you what you should grow, this post gives you 12 tips to help you choose which vegetables to grow.
1. Grow What You Love
So back to the radishes, there’s no point growing what you won’t eat—even if it’s easy to grow
Even if it’s nutritious.
Grow things you’ll enjoy eating.
2. Grow for How You Cook
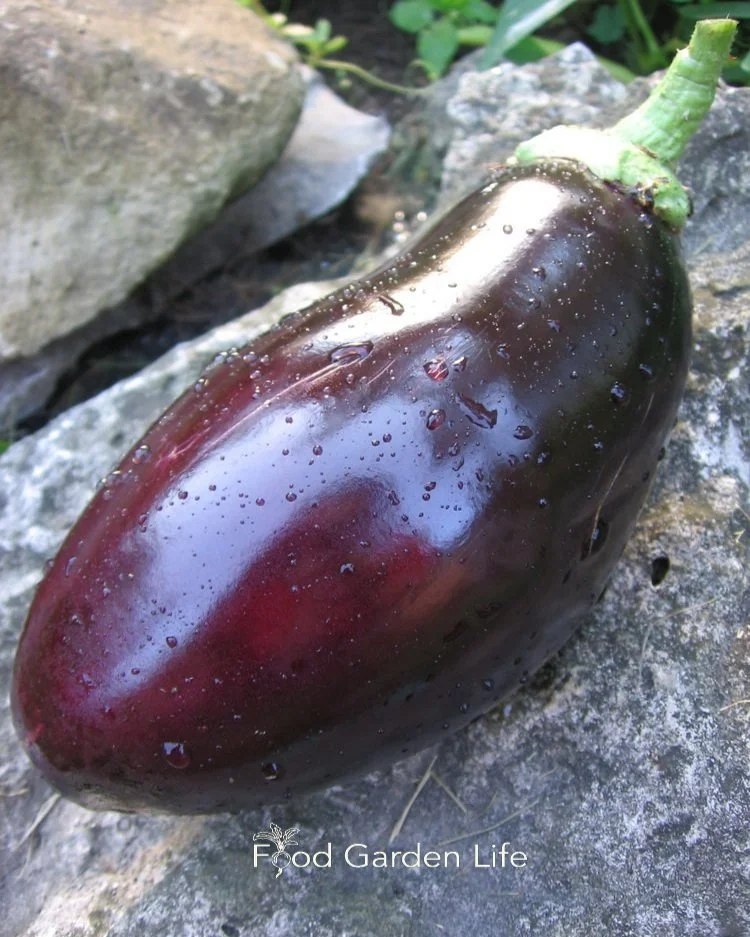
I love big slabs of eggplant that I can marinate and grill, so I grow large-fruited eggplant varieties
As you choose crops and varieties, think about how you’ll use your harvest.
Here’s an example:
I love big slabs of eggplant that I can marinate and grill—or use to make eggplant parmesan. So I always go for large-fruited eggplant varieties
For tomatoes, I like to make sauce all winter, so I grow good sauce-making varieties
3. Rule Out Some Crops
There might be crops that aren’t a fit for your garden. I’m talking about space hogs—and crops that will probably be a frustration.
Space Hogs
Some crops use up a lot of space—more than makes sense in a small garden.
For example:
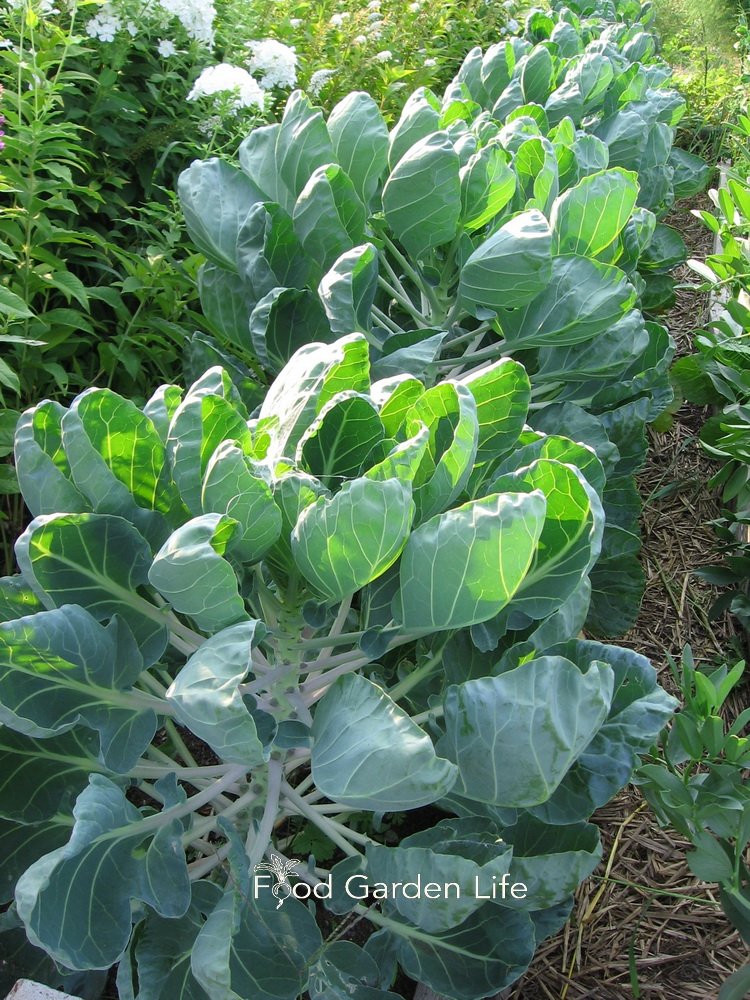
I love Brussels sprouts. But they’re big plants that tie up the same patch of garden for an entire season. So I leave them to the market gardeners.
I love edamame too. But for the amount I get considering the amount of space they take in the garden, they’re not my top choice.
Unnecessary Frustrations
Depending on what your situation, there might be crops that disappoint—or frustrate—you.
Here’s are examples:
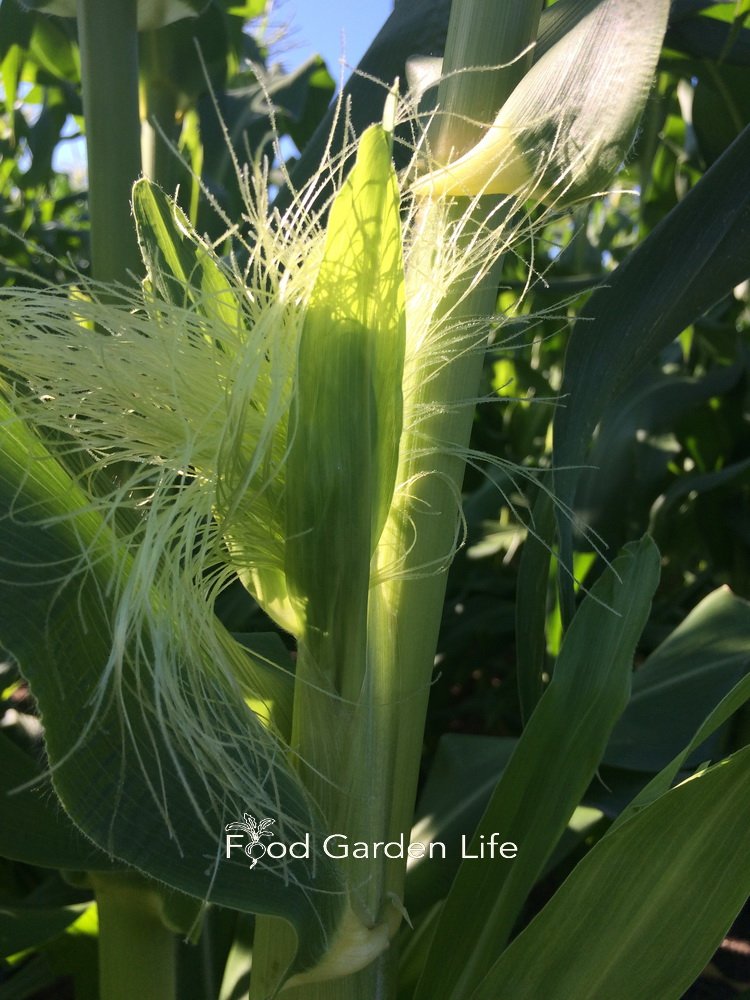
Corn. I love corn. So do all the raccoons around here. So I don’t grow it. I don’t need the chest pains!
Tomatoes. Some people prefer cherry tomatoes to big beefsteak tomatoes because that way there’s lots more tomatoes to harvest. That way, the gardener gets lots even if wildlife steals some.
4. Try Something New
Have you added something new to your garden? I like to grow something new every year.
Recently it was celtuce, a.k.a. stem lettuce. It’s easy to grow and fun to cook with. Not a new crop at all…just new to me.
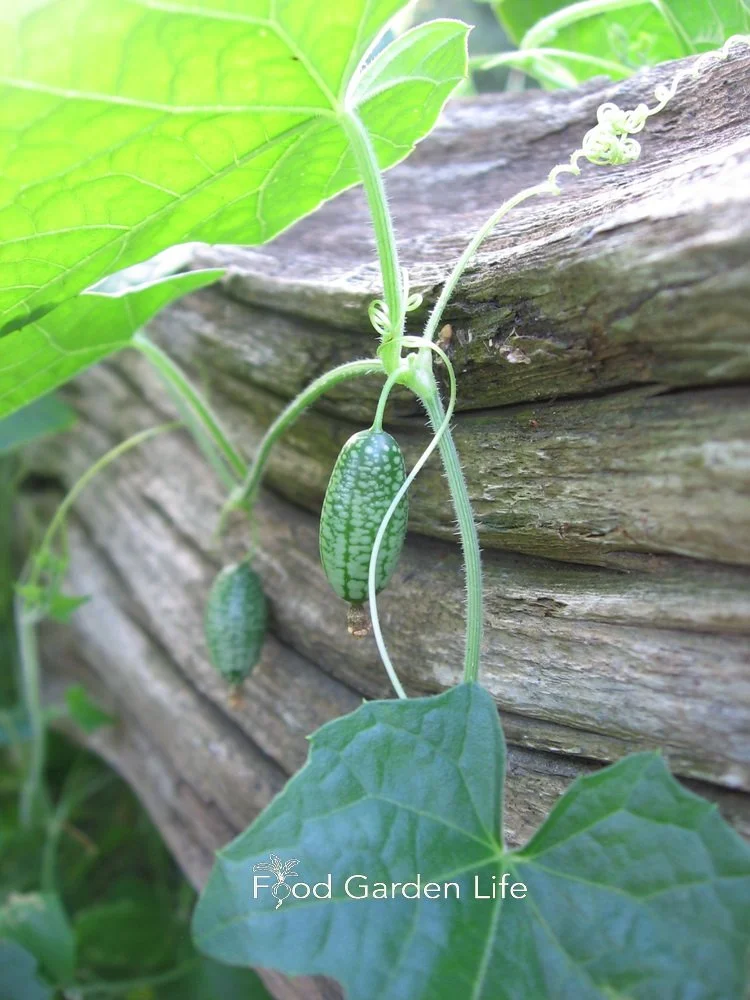
20 years ago I grew cucamelons for the first time and have grown them ever since.
20 years ago I tried cucamelons and have loved them and grown them every year since.
Look for neat varieties (e.g. a pepper variety I love is the corkscrew-shaped ‘Corbacci’
Or branch out into a crop from a cuisine you’re not familiar with (okra was new to me…but after I learnt a Cajun fiddle tune I wanted to learn how to make Cajun-style gumbo soup…and now I aways grow okra for making gumbo soup!)
5. Consider Diseases
Variety choice sometimes helps with disease problems. For example:
Downy mildew ravaged my basil for a couple of years. So now when I’m getting basil seeds, I look for mildew-resistant basil varieties
There’s no totally blight-proof tomatoes, but there are blight-resistant varieties, worth adding to the mix in a garden so that in years when blight decimates the tomato patch, there are still a few plants producing late in the season
6. Pick Crops for Small Spaces
If space is a challenge, crop choice can often help you harvest much, much more.
Crops for Vertical Gardening
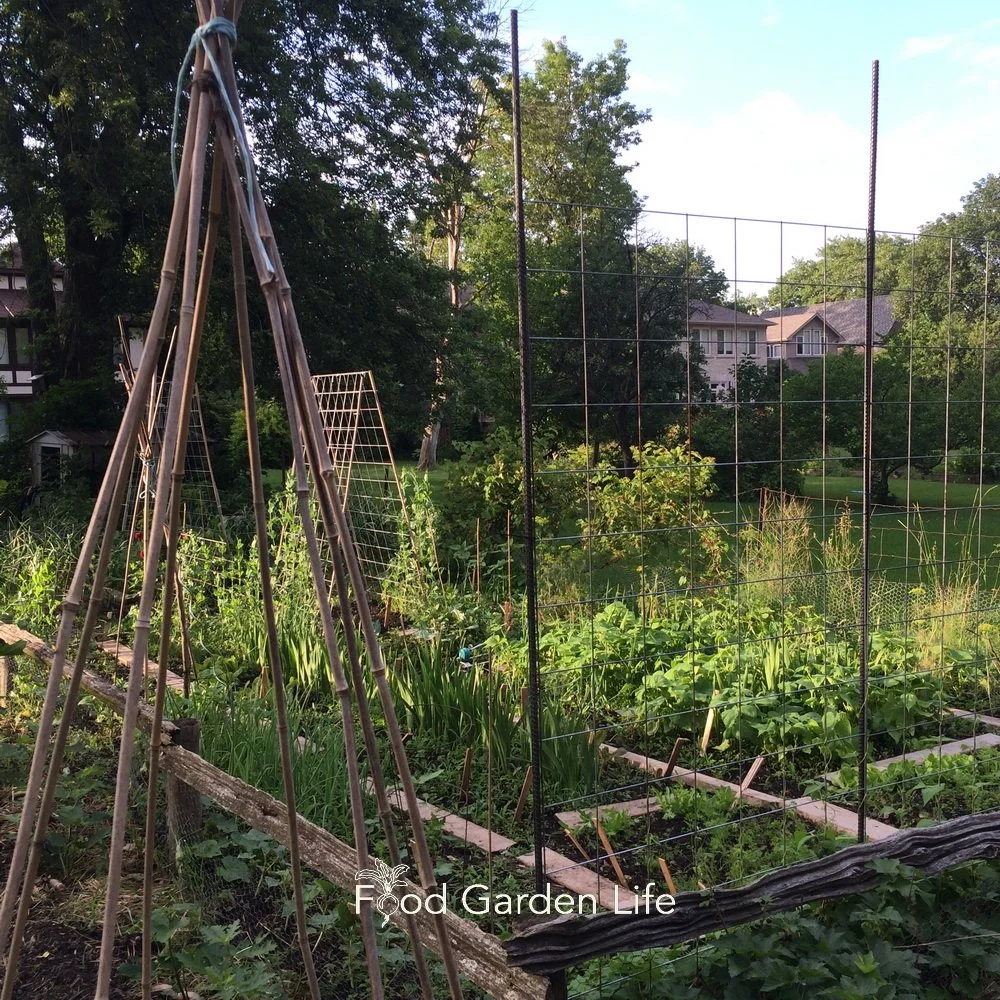
If you’re gardening in a small space, choose vegetable crops that you can grow upwards on trellises, tee-pees, or fences.
If you’re gardening in a small space, choose veg that you can grow vertically. When you grow upwards, that frees up space on the ground—so you can fit more into a small space.
Here are a couple of my favourites:
Runner beans. I love runner runner beans! The flowers are edible, great for bouquets, attract hummingbirds. Oh, did I mention there’s beans too! (If you’re in a maritime climate, you might find runner beans produce more than pole beans.)
Zucchini: Many zucchini varieties have a bush-like growth habit, and the plant can take up a fair bit of space. But if you grow a climbing zucchini variety, it won’t take up as much space…so there’s room to plant more in your garden.
Grow a Container Vegetable Garden
And get an early harvest of crops that usually take too long!
Plants with Multiple Edible Parts
You might also think about plants with more than one edible part, so in a limited space you’re getting multiple harvests from one crop
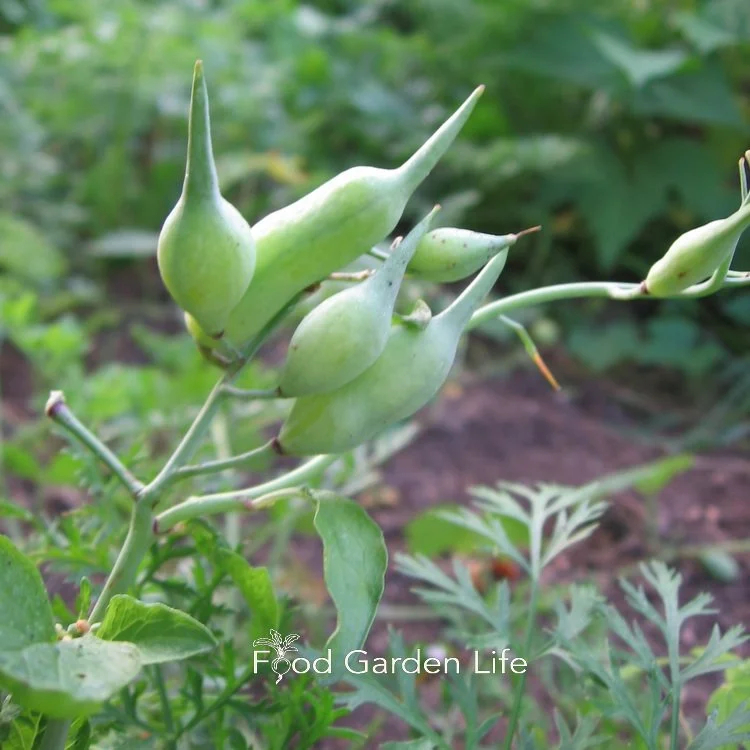
Radishes have edible seed pods.
Snap peas (you can eat the peas and the pod…and don’t forget young tendrils)
Squash (eat the flowers, the squash…and shoot tips!)
Beets (both leaves and roots are edible)
Radish (along with the roots, the seed pods are edible)
Find out more crops with more than one edible part.
Hear a chef talk about using squash shoot tips and other uncommon ingredients.
7. Choose for an Early Harvest
Look for crops and varieties that can move up your first harvest.
For example:
I like broad beans, which can be planted far ahead of all the other types of beans
Look for fast-maturing varieties (I grow fast-maturing arugula and spinach varieties in my cold frames in late winter because I want that first harvest as soon as possible)
Do the same with your beets, carrots, tomatoes and other crops
To choose faster-maturing varieties, compare the days-to-maturity information with other varieties (often called “DTM”)
8. Remember Fall Harvesting
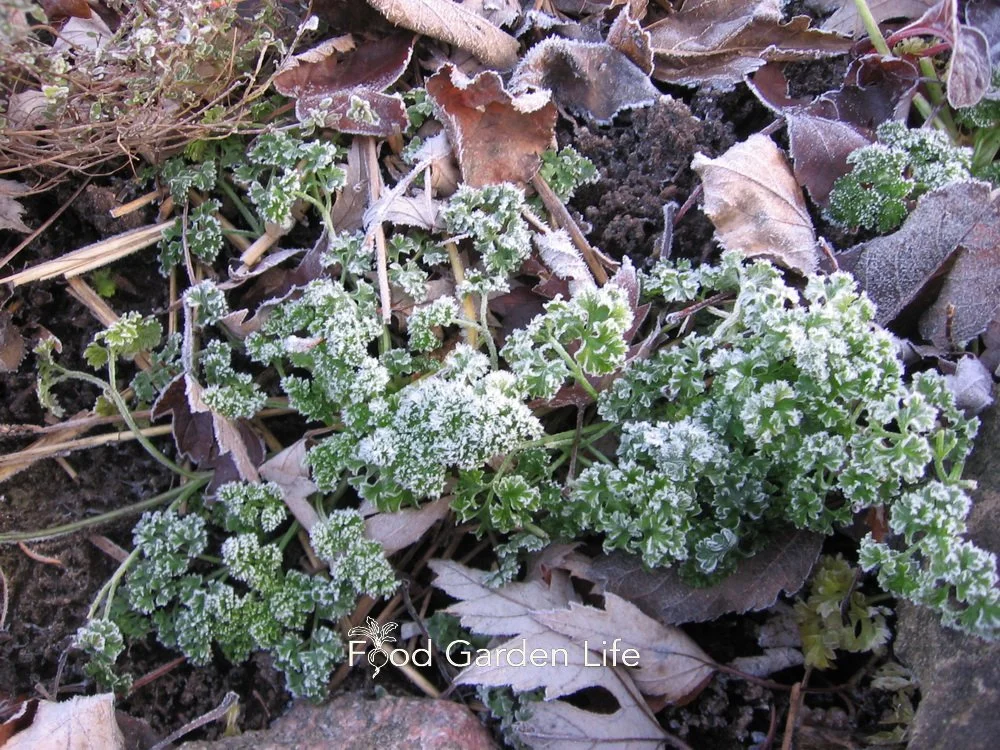
Parsley holds up well when fall frosts arrive.
Remember to add in cool-season crops that keep producing as fall frosts arrive.
Cabbage family
Kale
Celery
Parsley
9. Choose for a Short Growing Season
If you’re dealing with a short growing season, there might be some crops you don’t want to bother with. I have friends who won’t grow eggplant and pepper.
More ideas:
Bush beans give a quicker, more concentrated harvest than pole and runner beans
Look for varieties that mature more quickly (e.g. we love Cream of Saskatchewan watermelon, which ripens melons much more quickly than watermelon varieties grown in warmer zones.)
10. Grow for Year-Round Enjoyment
Many gardeners like to enjoy the harvest year-round. If that’s you, here are some ideas:
Grow dry beans that you can easily store for later use
Look for root crops that store well (these tend to be varieties that grow larger roots)
Thought of kohlrabi…there’s a storage variety too
You can harvest leeks right through the winter when there’s a thaw
Get more crop ideas for year-round enjoyment.
11. Plan an Edible Landscape
Looking for attractive veg to add an ornamental touch to a landscape?
Here are ideas:
Asparagus looks great at the back of a perennial border, with its tall, ferny foliage
Runner beans have beautiful flowers
Lovage is a perennial with a celery-like taste, great for the perennial border
Eggplant has beautiful flowers
Kale is a great way to add colour and texture into a garden
Here are more perennial edibles.
Sometimes shade is a challenge in an edible landscape. Here are fruits and vegetables that you can grow in the shade.
If you’re serious about edible landscaping and want to create an awesome out-of-the box edible landscape, check out this course.
12. Crop Substitution for Less Work
Pin this post!
Keep your workload to a minimum through crop choice!
Here are examples of the type of thinking you can use to make less work for yourself.
Leaf celery instead of stalk celery. Stalk celery takes lots of water and feeding to get tender, crispy stalks. Leaf celery doesn’t make big stalks—you just get lots of leaves on short stems, and it’s far less bother if you don’t mind consuming celery this way. (I chop it into soups, stews, and salads for that same celery taste.)
Ground cherry instead of cape gooseberry. I actually prefer the taste of cape gooseberries…but they need a longer growing season, meaning I have to start the seeds earlier, and then give them prime, hot, garden real estate to get a decent harvest. Ground cherries are far easier to grow. (Find out more about these two different husk cherries.)
Broccoli instead of cauliflower. Not only is cauliflower more finicky, to get snow-white heads it must be blanched, which is often done by tying leaves over the head with an elastic. It’s a lot of bother compared to broccoli, which requires no blanching.
Squash instead of potato and sweet potato. Squash is far less work. Instead of transplanting sweet potato plants, you just poke squash seeds into the soil. And instead of digging out sweet potato roots, you just snip squash from the vine. You still get the sweet, orange ingredient for baking.
Find This Helpful?
Enjoy not being bombarded by annoying ads?
Appreciate the absence of junky affiliate links for products you don’t need?
It’s because we’re reader supported.
If we’ve helped in your food-gardening journey, we’re glad of support. You can high-five us below. Any amount welcome!
More on Vegetable Garden Planning
More on Growing Vegetables
Vegetable Gardening Articles and Interviews
For more posts about how to grow vegetables and kitchen garden design, head over to the vegetable gardening home page.
Vegetable Gardening Courses
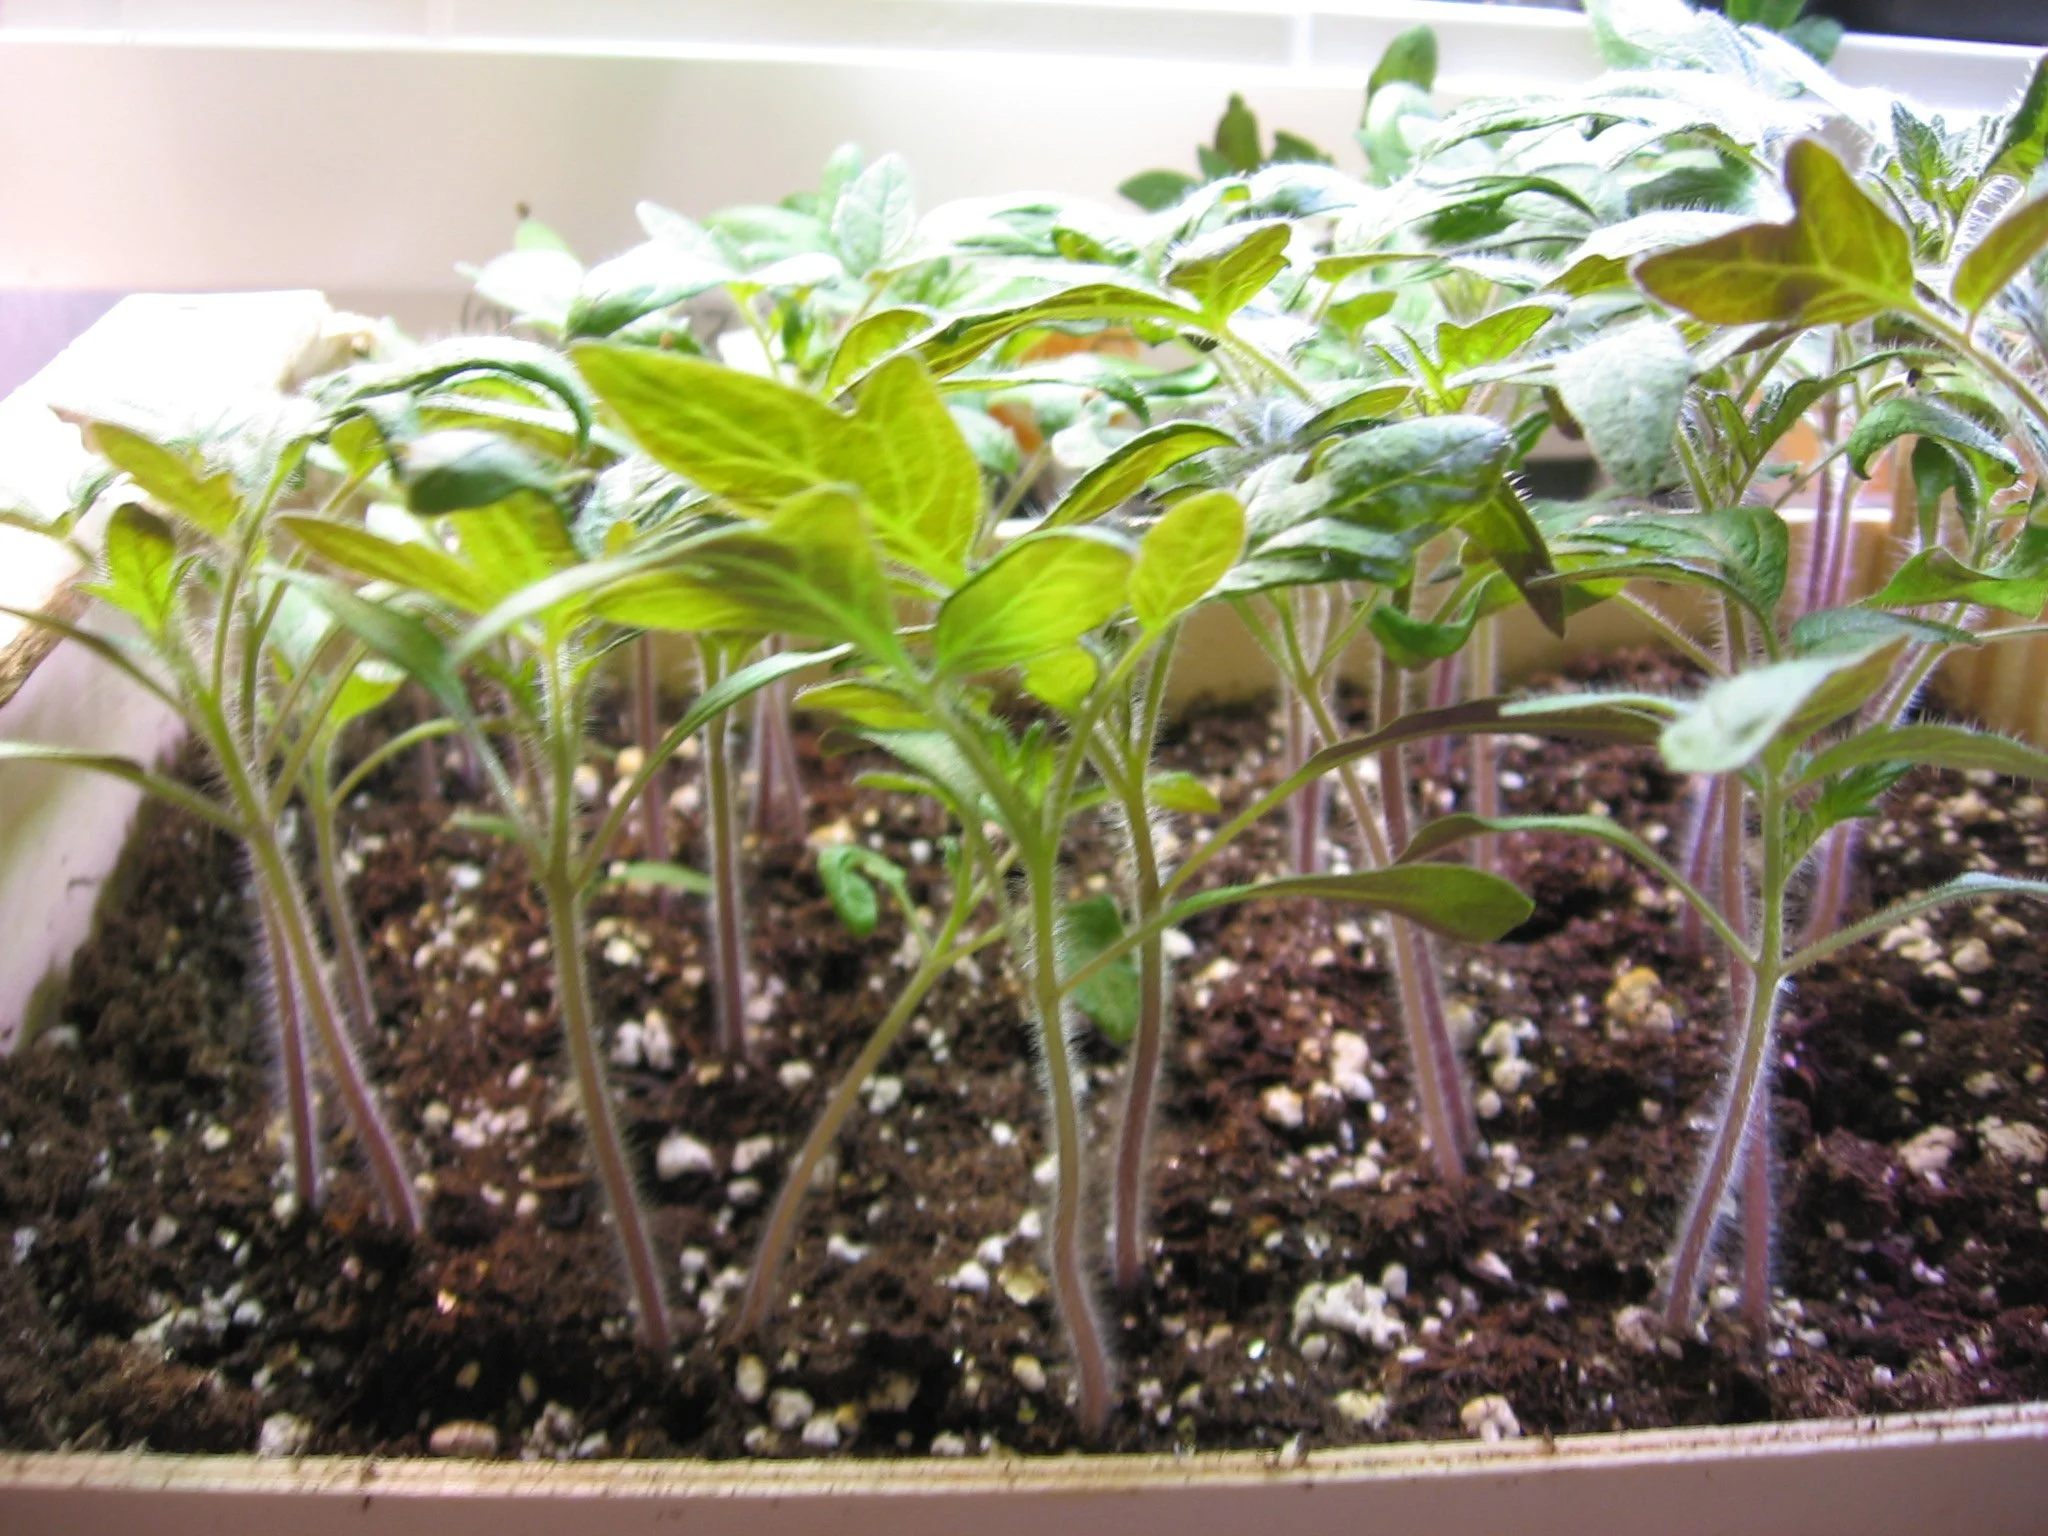
Prevent Leggy Seedlings and Grow Vegetable Transplants Like an Expert
The best way to solve the problem of spindly seedlings is to prevent them from getting that way in the first place. Find out how.
By Steven Biggs
Your Seedlings are Leggy? Keep Reading!
If your seedlings are doing the downward dog, this post is for you.
When young seedlings are so fragile that they fold into two, they don’t stand a good chance of success once you transplant them into the garden.
Yet leggy seedlings is a common problem for home gardeners starting seeds indoors. That’s because in a home setting, conditions are often less than ideal.
But there’s good news.
Even if you don’t have perfect conditions—even if you don’t have a greenhouse—you can grow healthy seedlings that will thrive. It’s just a matter of setting up your seed-starting area so you can give small seedlings:
An appropriate temperature
Enough light
A suitable potting soil
Combine these with a suitable container, and you’re away to the races. You can grow strong and healthy plants.
This article tells you how much light you need, what you need to know about temperature, what to look for (and avoid!) in a potting soil, and how to choose a suitable container. Get these four things right, and you’ll prevent leggy seedlings.
Heat to Sow Seeds Indoors
Warmer than room temperature to germinate, cooler than room temperature after germination.
If you see different seed-starting temperature recommendations for different crops, don’t sweat it. You’re probably starting all of your different crops in the same indoor space anyway.
Here’s the big picture, a simple way to think about temperature:
When you start seeds indoors, a temperature a bit above room temperature is helpful for faster, uniform germination
Once your seeds germinate, a temperature slightly cooler than room temperature helps to keep your seedlings more compact
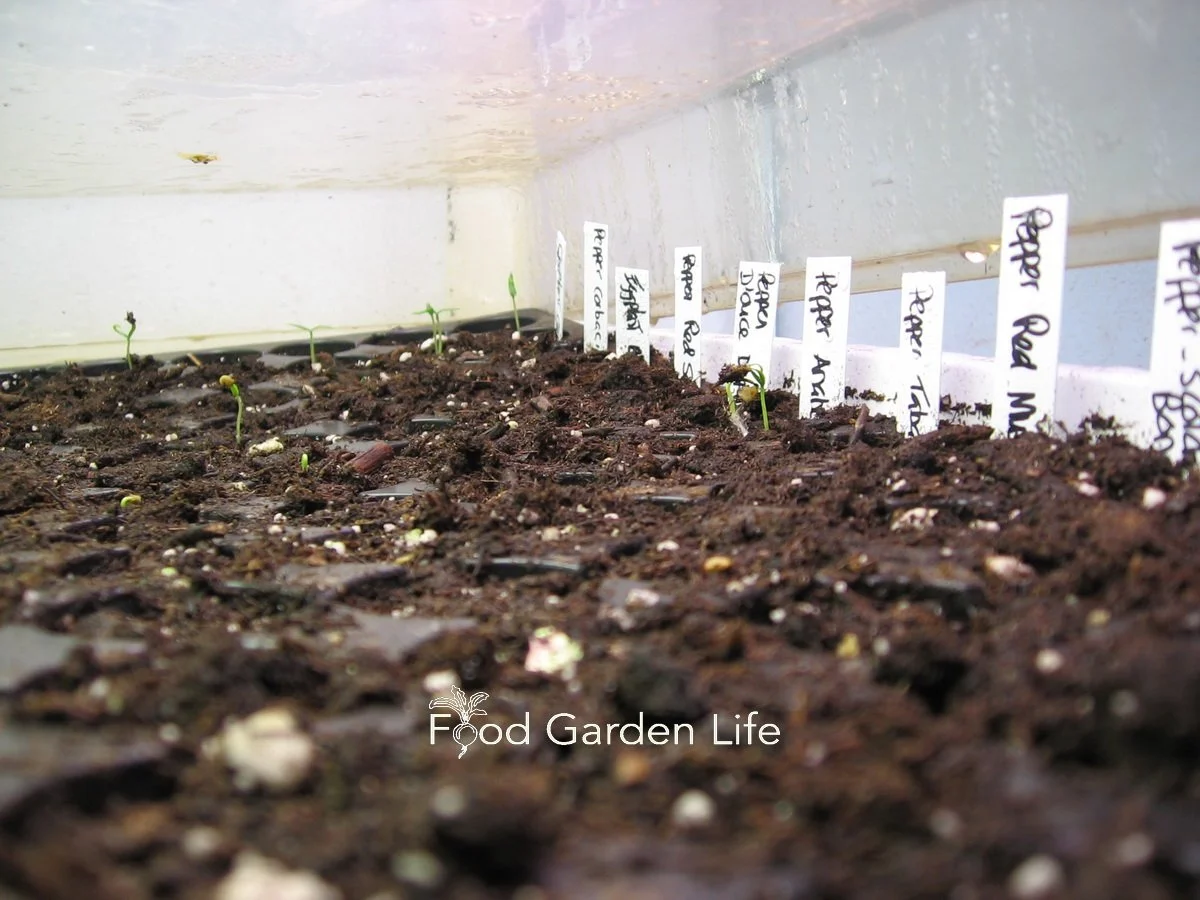
Higher Temperature for Germination
Speed up germination with more heat. Seed tray beside a heat duct to speed up germination.
You can raise the soil temperature without turning your house into a tropical conservatory. Just use what’s called “bottom heat.”
Bottom heat refers to heating the soil from below. There are purpose-made heat mats, like heating pads for plants, that go underneath pots and trays. With a heat mat, you’re only heating a small area.
Here are other ways you might be able to give your seeds bottom heat:
Heated floor
Hot-water radiator
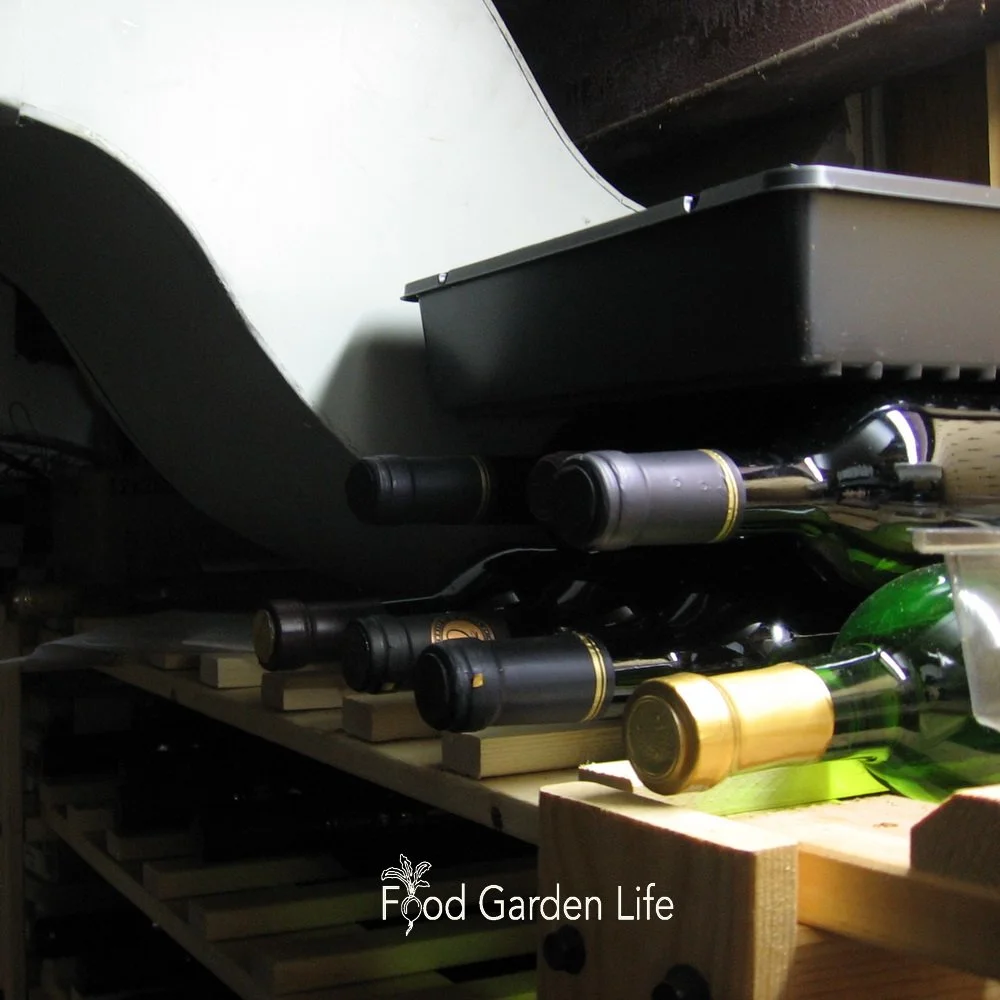
An appliance that gives off heat (my former beer fridge was always warm on top)
In a previous house, I put seed trays beside basement heat ducts (over top of my wine rack!) to get seeds to germinate quickly. They sprouted seedlings faster than the trays in a cooler location.
Hold in Heat
Along with heat from the bottom, hold in heat and keep the humidity higher during the germination period. There are commercially available humidity domes for trays, or you can use clear plastic bags or cling wrap.
Cooler Temperature for Growing
Once seeds have germinated, a cooler temperature helps to develop sturdy stems. So remove the heat mat if you’re using one, and if you’re using a cover, set it ajar to let out some heat and humidity.
I grow seeds in a basement room with the heat ducts closed. It’s slightly cooler than the rest of the house and the temperature works well for raising seedlings.
Sufficient Light
Insufficient light is one of the things that will cause lanky seedlings.
There's a wide variety of grow lights available for home gardeners. But if you’re growing vegetable transplants indoors, you don’t need fancy grow lights. That’s because you’re not trying to grow the crop indoors for its entire life cycle.
All you’re trying to do is to get a healthy seedling to transplant into the garden. And once it’s in the garden, it gets full sunlight.
Grow Lights
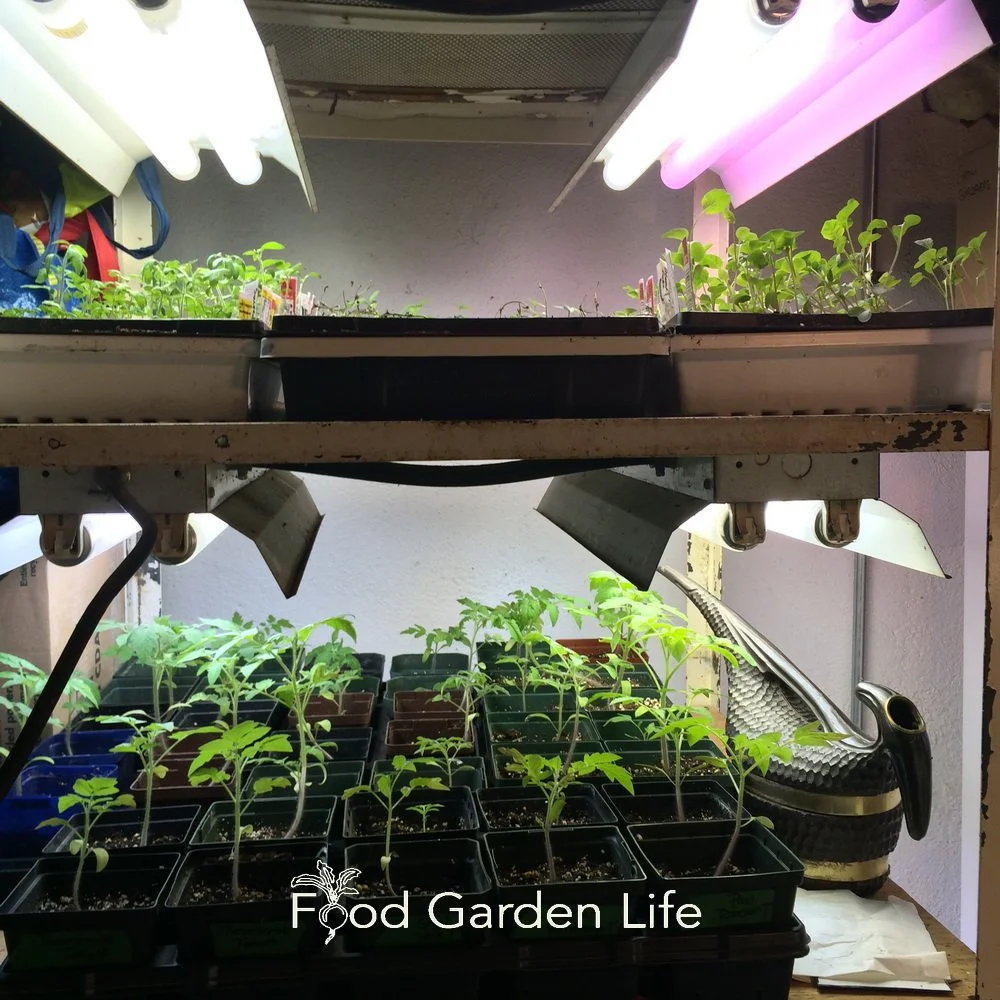
Adequate light is important; but there’s no need for perfect light because seedlings get full sunlight when moved to the garden.
I still use fluorescent lights because that's what I have and I'm on a limited budget. You can buy fancy schmancy lights; there’s no need.
If you’re using artificial light, consider the distance of the seedling from the grow light. Some grow lights have adjustable lights that can be moved close to seedlings, and then moved up as seedlings get taller.
If, like me, you don't have that option, place something under the seedlings to raise them up, closer to the light source. (Mandarin orange crates work well in my setup!) As the plants get bigger, lower them so they’re not touching the lights.
Natural Light
If you’re using natural light, the brightest windows are usually south-facing. One challenge is that south-facing windows can be hot. Warmer temperatures can cause leggy seedlings. A simple solution to this is to place a fan in the area to disperse the heat.
Soil
Even with good light and a suitable temperature, if you have poor-quality soil, your seedlings might flop!
When it comes to soil, the top two things to think about are:
Use a light soil with lots of air space to allow excess water to drain and small roots to grow
Choose soil that’s free from pests and diseases
Create Your Own Unique Edible Landscape
That fits for your yard, and your style!
Disease in Potting Soil
Little seedlings are delicate and they're vulnerable to attack by disease. In a seed-starting environment, the most common disease is what’s called “damping off” disease. This fungal disease can come with the soil—so one of the easiest ways to prevent the disease is to use soil free from damping off.
Here’s how to lessen the chance of damping off:
Don’t reuse potting soil for starting seeds (unless you’re planning to heat sterilize it)
Don’t use garden compost for seed starting; it has more microbial activity—which is great in the garden—just not ideal for indoor seed-starting
Potting Soil Shopping Tips
Big bales. It’s buyer beware with potting soil. Some potting soils are great…some suck. The large compressed bags (a.k.a. bales) that are sold to commercial growers tend to have consistently better quality because commercial growers are more discerning. Big bales are also much better value. They’re compressed, and often quite dry—so also less likely to have eggs of pesky fungus gnats.
Finely-ground potting soils. There are seed-starting potting soils that are more finely ground, the idea being that big particles can get in the way of small seeds. This makes sense in a commercial setting where uniform, perfect germination is a must. It’s absolutely unnecessary in a home-garden setting. Don’t waste your money.
Skip the meal deal. Seeds germinate and start to grow using energy stored in the seed. Don’t buys soil with added fertilizer; it can actually burn tender seedling roots.
And…If you see soil on special at a big box store for a couple of bucks, remember that a bargain isn’t always a bargain.
Grow a Container Vegetable Garden
And get an early harvest of crops that usually take too long!
Containers
When I worked in the horticultural supply industry we sold various seedling trays, pots, the “cell packs” used in commercial seedling production.
Many of these are available to home gardeners, though not necessary.
The key things to think about with containers:
Drainage holes to allow excess water to drain
Not contaminated with damping off disease (see Reusing Pots and Trays, below)
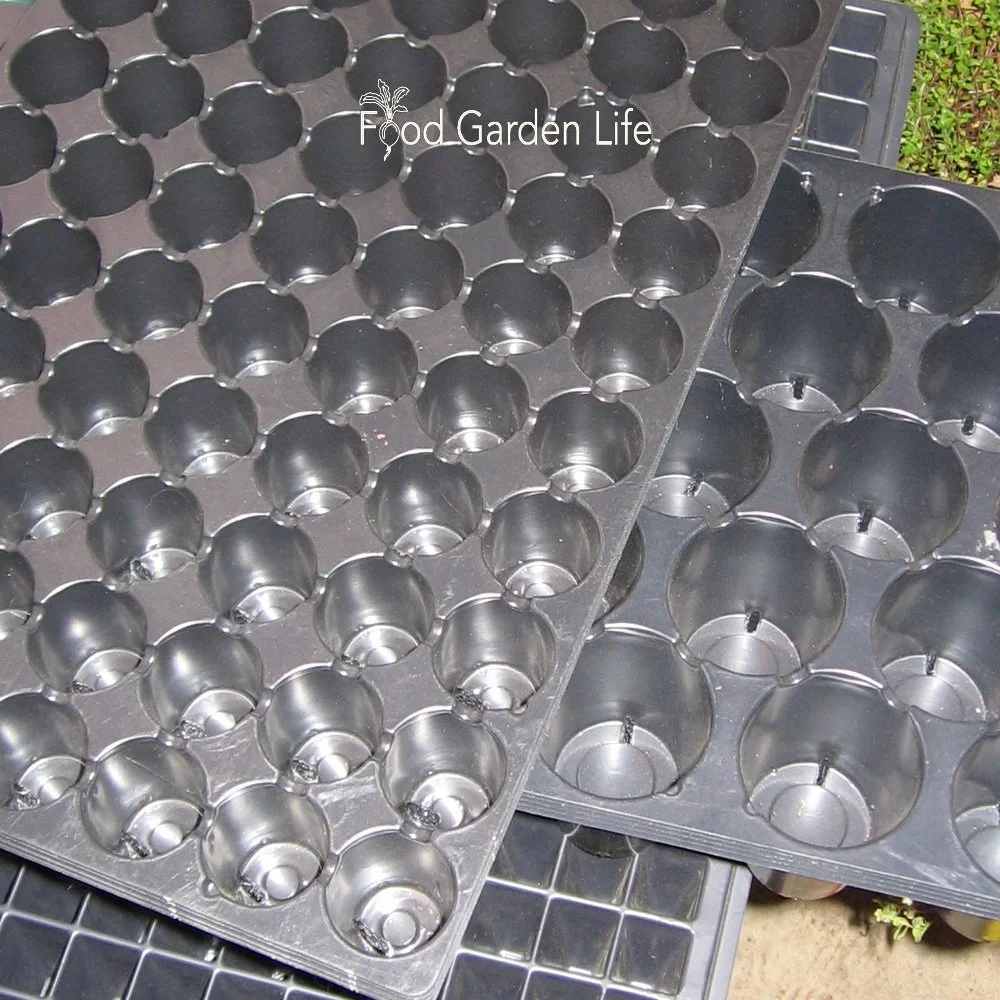
Plug trays for starting seeds indoors. Not necessary, but useful when you grow lots of the same thing.
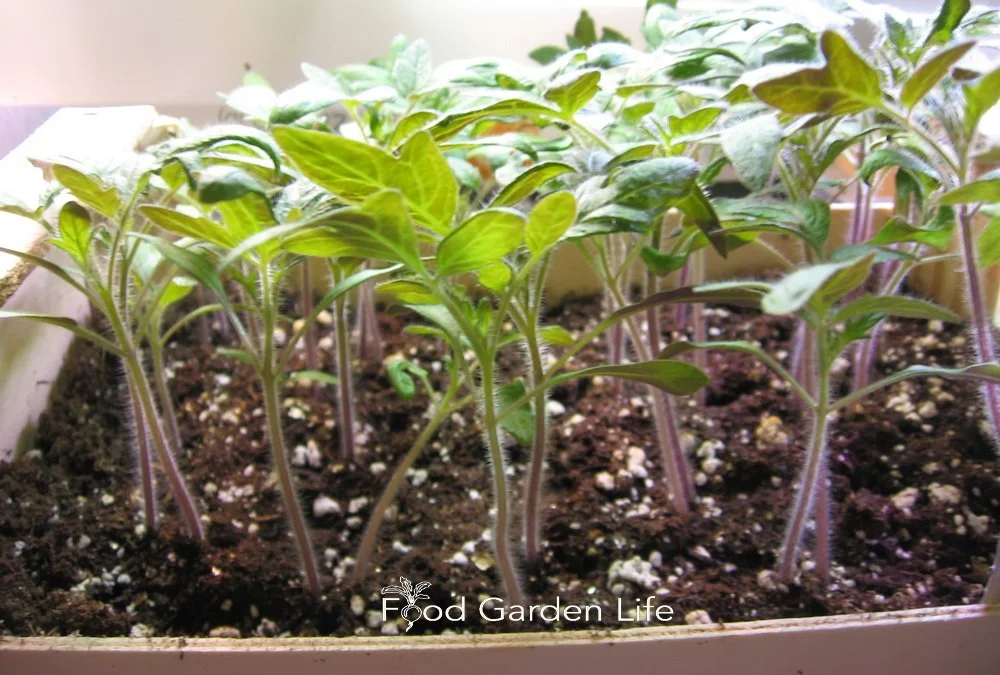
Container Type and Size
If you’re growing a lot of one type of seed, you might like to have containers that are the same size because it simplifies watering. When my daughter raised hundreds of tomato seedlings, I got her what’s called “plug trays” so she could grow lots of small plants in our small space. They all had the same amount of soil, and dried out at the same speed.
I don’t use the expanding peat pellets. I think they’re gimmicky.
Use What’s in Your Recycling Bin
I am a big fan of scouring the recycling bin for seedling pots. For example:
Yogurt containers
Mandarin orange crates (my favourite for lettuce seedlings)
Tubs for mushrooms
Using a mandarin orange crate to grow tomato seedlings.
Tips when using recycled containers:
The volume of soil in different containers will vary—so water accordingly
Put holes in the container for drainage
Reusing Pots and Trays
If you're reusing pots and trays, it’s a good idea to first sterilize them to prevent damping off disease. That’s because any soil crusted on the container from the previous year can harbour the disease. If you haven’t had damping off disease in the past you might be OK…but personally, I don’t risk it. So I sterilize them.
When damping off disease attacks seedlings, it can wipe out a whole tray in just a day or two. It can be quite devastating.
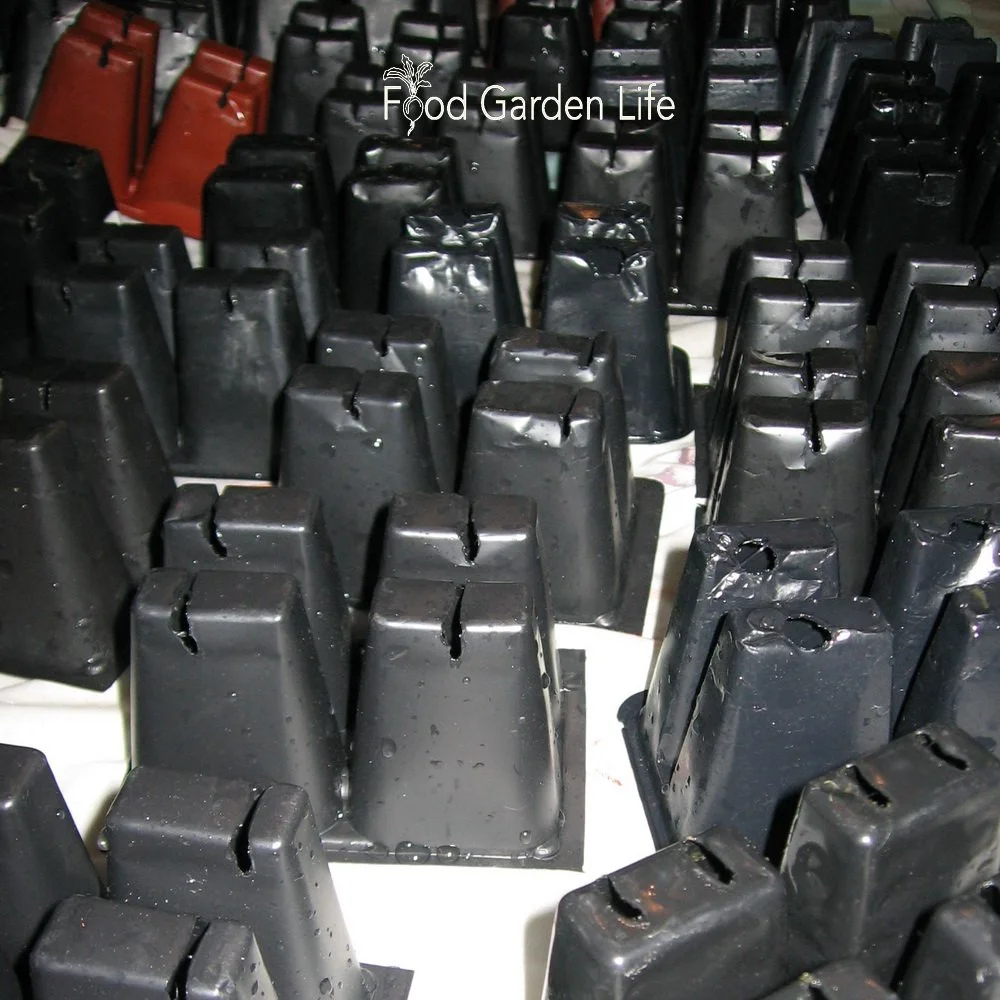
Cell packs drying after washing and sterilizing to prevent damping off disease on seedlings.
Here’s what I do to sterilize containers:
Soak containers in water
Scrub off any crusted soil
Place them in a solution of 10 parts water with one part bleach
Let them air dry
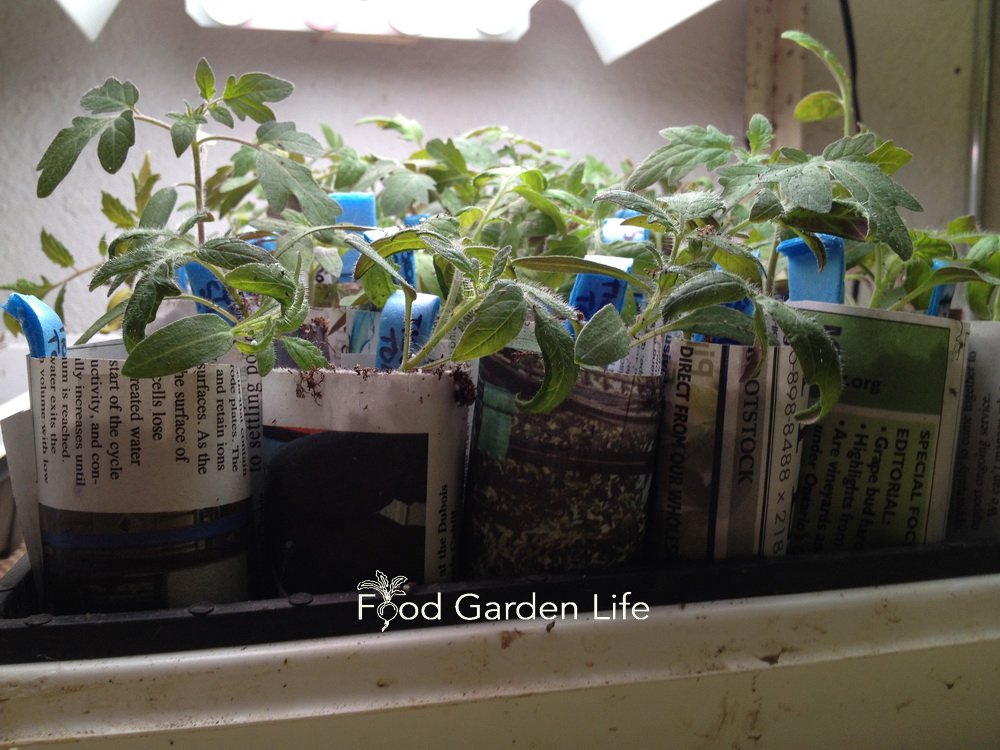
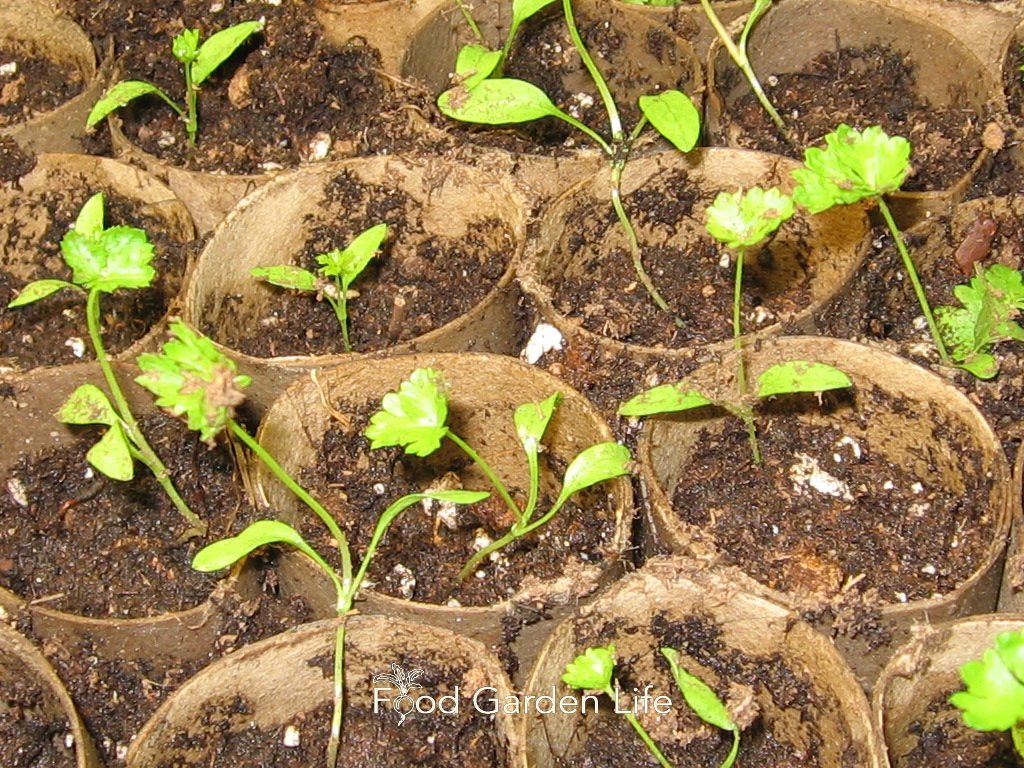
What About Fibre Pots?
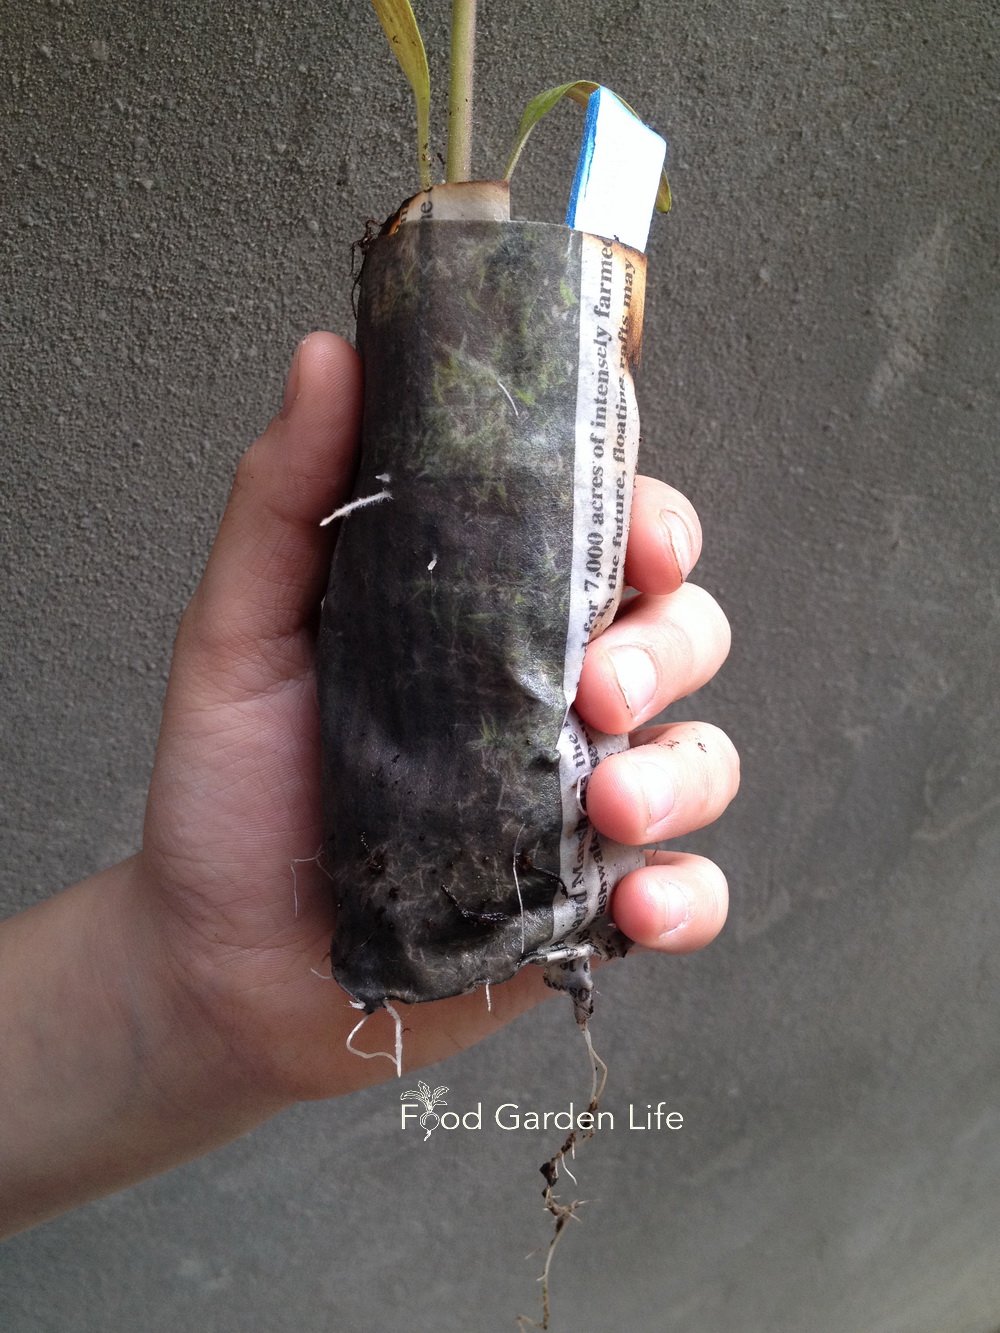
There are a few types of fibre-based biodegradable pots. Recently I saw some made from cow dung! Some people make newspaper pots, or reuse toilet paper rolls for seed starting. In principle, you can plant these pots straight into the ground, but there are a couple of caveats.
The pots wick out moisture, away from plant roots…and they can dry out quickly. So watch the soil moisture to make sure that it doesn't get too dry for your seedlings.
Later, when you transplant seedlings in the garden, if the lip of the pot is above the soil level, it'll wick the water away from around the roots, so the soil around the roots can be drier than the garden soil. So tear off the top of the pot—or bury it. That solves the wicking problem.
FAQ – Leggy Seedlings

Pin this post!
Can you fix leggy seedlings? Can leggy seedlings recover? Can you fix stretched seedlings?
You can’t correct leggy seedlings...but if the seedlings aren’t too far gone, you can change the growing conditions so that the seedlings grow thicker stems.
Why are my seedlings flopping over? Why is my plant growing tall and skinny?
It can be too little light, too much heat, excess moisture—or a combination of these.
Can I bury leggy seedlings deeper? Can I fix leggy tomato seedlings?
In many cases, no. First of all, very thin stems can easily be crushed. And most seedlings don’t do well when planted deeper than the level they’re been growing at. Leggy tomato seedlings can be an exception—they do well when planted deeper—but it will depend how long, skinny, and delicate the spindly seedling is. Better to avoid the leggy seedlings in the first place!
Find Out About About Seed Starting in this Podcast
Find This Helpful?
Enjoy not being bombarded by annoying ads?
Appreciate the absence of junky affiliate links for products you don’t need?
It’s because we’re reader supported.
If we’ve helped in your food-gardening journey, we’re glad of support. You can high-five us below. Any amount welcome!
More on Vegetable Seeds
More on Growing Vegetables
Vegetable Gardening Articles and Interviews
For more posts about how to grow vegetables and kitchen garden design, head over to the vegetable gardening home page.
Vegetable Gardening Courses
Want more ideas to make a great kitchen garden? We have great online classes that you can work through at your own pace.
Vegetable Seed Guide: When to Start Seeds Indoors
Find out when to start vegetable seeds indoors.
By Steven Biggs
When to Plant Vegetables
Not sure when to start planting seeds indoors?
If you time planting well, your seedlings will be big enough to survive transplanting into the garden.
But don’t start seeds indoors too early: Earlier planting and bigger seedlings is not always better.
That’s because a seedling that’s stuck in a pot for too long, waiting to go into the garden, gets stressed. And sometimes stressed transplants don’t bounce back, even once you plant them into the garden.
(Late in the planting season big box stores often have discounted transplants: wilted, root-bound cauliflower, cucumber, and chard that have simply run out of steam…don’t be tempted!)
If you’re wondering when to start seedlings indoors, keep reading. This guide tells you when to sow seeds—and how to know when to sow seeds.
Why Start Seedlings Indoors
Start seedlings indoors to get a jump start on the season and to protect them from weather and pests.
There are two main reasons to start seeds indoors.
In cold climates, season length limits harvests—and starting seeds indoors give a longer window of growth for the crop.
Indoors, we can control conditions and prevent pest damage, giving small seedlings a chance to get started at a suitable temperature, without getting mown down by bugs.
When to Start Seeds Indoors
Luckily, vegetable seeds don’t all have to be planted at the same time. You can spread out seed sowing from mid winter through spring—when you start sowing some seeds directly in the garden.
The guidepost for choosing when to start planting seeds indoors is something called the average last frost date—or simply “last frost date.” This is the average date of the last spring frost in your area. (It’s an average, so some years there is a frost following this date.)
If you don’t know your average last frost date, a good place to start is by asking local gardeners, or checking with local seed vendors.
Work Backwards from the Average Last Frost Date
Pin this post!
Once you have your last frost date, you just work backwards to get the sowing date for all of your different vegetable seeds.
It’s your guidepost.
Workback: When to Plant Vegetables
Below is how many weeks before the last frost date I sow my vegetable seeds.
Keep in mind that none of this is cast in stone. You have a window of time for seed sowing. It doesn’t have to happen in one specific week.
That means that if you miss the mark with your celery seeds, and forget to sow them at 10 weeks, don’t sweat it. Sow them at 9 weeks, and your celery transplants might just be a bit smaller when you put them into the garden.
This list is a work in progress. If you have a favourite vegetable crop that’s not on here, e-mail me.
10 Weeks Before Last Spring Frost
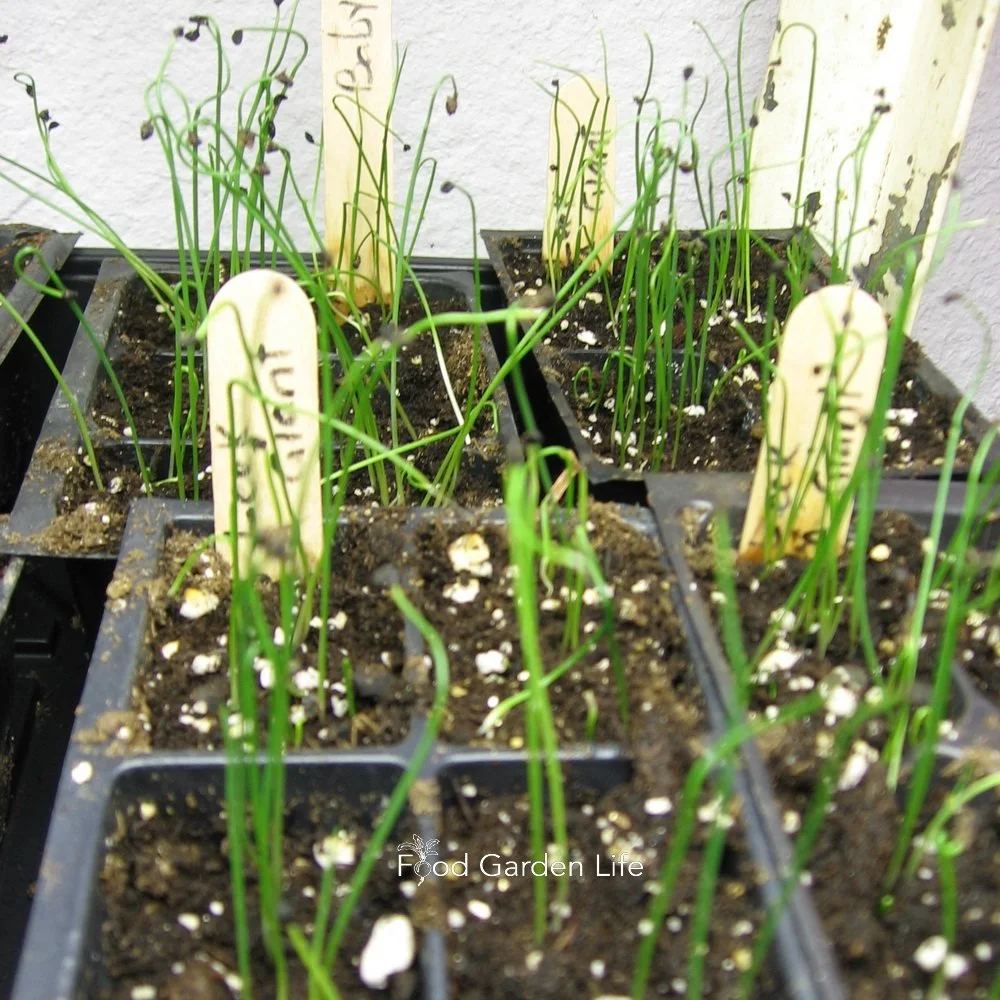
Leek seed are some of the first seeds that I plant indoors, 10 weeks before the last frost date in the spring.
Indoors
These are the first vegetable seeds that I start indoors, under lights.
celery, eggplant, leek, onion, pepper, parsley
8 Weeks Before Last Spring Frost
Indoors
tomato
Find out how to grow tomato plants from seed.
7 Weeks Before Last Spring Frost
Indoors
more tomatoes (we like our tomatoes here in the Biggs household!)
6 Weeks Before Last Spring Frost
Indoors
lettuce, cabbage family (broccoli, cauliflower, Brussels sprouts, kohlrabi, kale)
Direct-Seed in the Garden
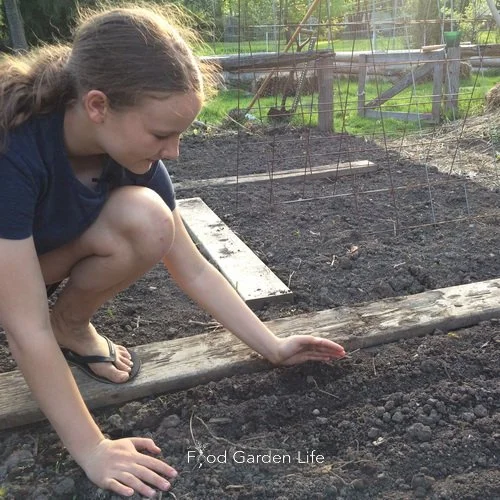
Direct-seeding carrot seeds in the garden 6 weeks before the last frost date.
This is also when I start to direct-seed some cold-tolerant vegetable crops in the garden. These include:
broad bean, carrot, pea, spinach, lettuce, turnip, dill, parsley
Plant or Transplant in the Garden
plant onion sets (small, pre-grown onion bulbs), and transplant onion seedlings
4 Weeks Before Last Spring Frost
Indoors
melon, basil, cucumber, squash, pumpkin
Direct-Seed in the Garden
radish, beet, chard, more lettuce
Plant or Transplant in the Garden
cabbage family seedlings
seed potatoes
2 Weeks Before Last Spring Frost
Direct-Seed in the Garden
corn, cheater beans*
*With beans, we usually wait until the soil is warm and there’s no further risk of frost. That’s because bean seeds can rot in cold, wet soil—and if young bean plants get hit by frost, they’ll die. But some years are warmer than others, and if it seems warm, I like to cheat and get in an early row of “cheater beans.” If they do well, I get beans sooner. (If they get nipped by frost, no big loss; I’ll just replant.)
Plant or Transplant in the Garden
lettuce
gladiolus bulbs (I know…they’re not a veggie, but I like to grow this cut flower in my veggie garden, reminds me of Grandma Q)
The Week of the Last Spring Frost
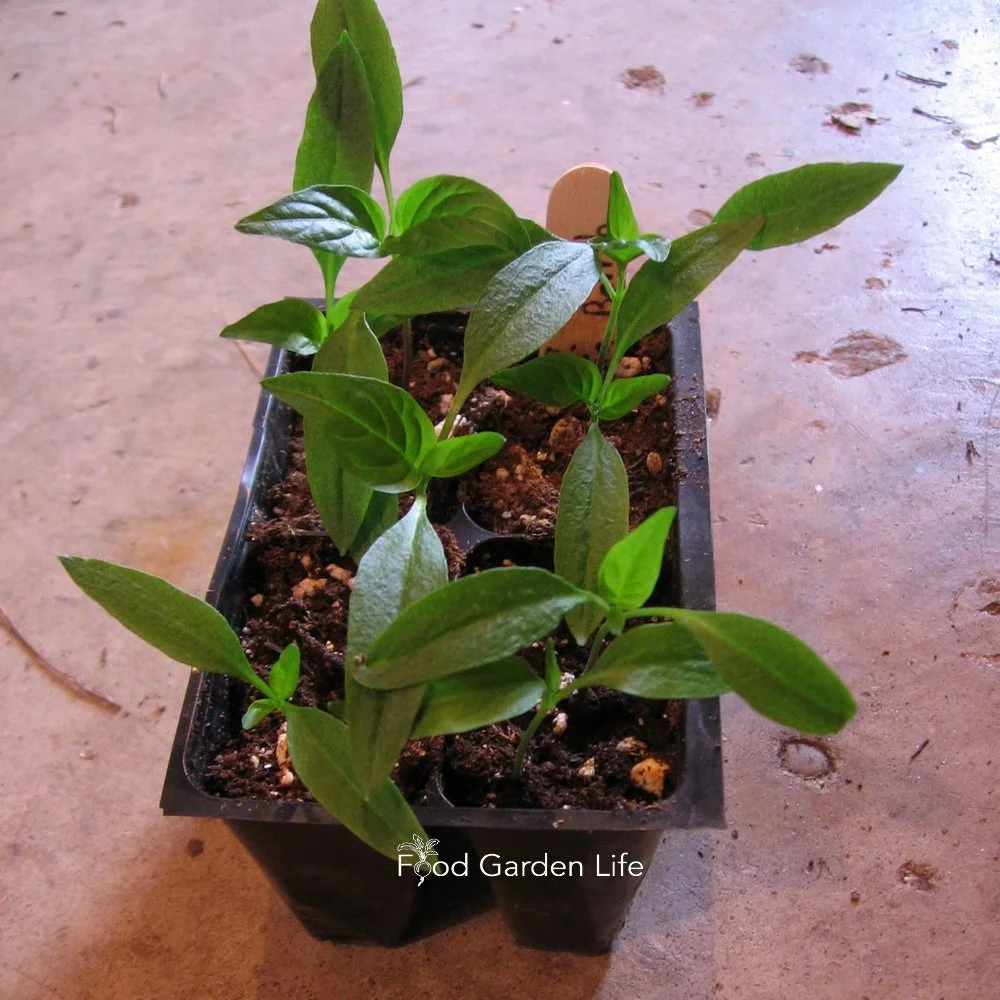
Wait until 1-2 weeks after the last frost date before transplanting pepper seedlings into the garden. They HATE the cold!
Direct-Seed in the Garden
beans, cauliflower, cucumber, squash
Transplant in the Garden
tomato (some people plant tomatoes a week or two after the last frost date…I’m impatient, so I plant them, but protect them as needed)
1-2 Weeks Following the Last Spring Frost
Direct-Seed in the Garden
Now it’s time to direct seed the cold-hating crops!
lima bean, edamame, melon, basil
Plant or Transplant in the Garden
Make sure the temperature will be over 10°C at night
celery, melon, pepper, eggplant
sweet potato slips
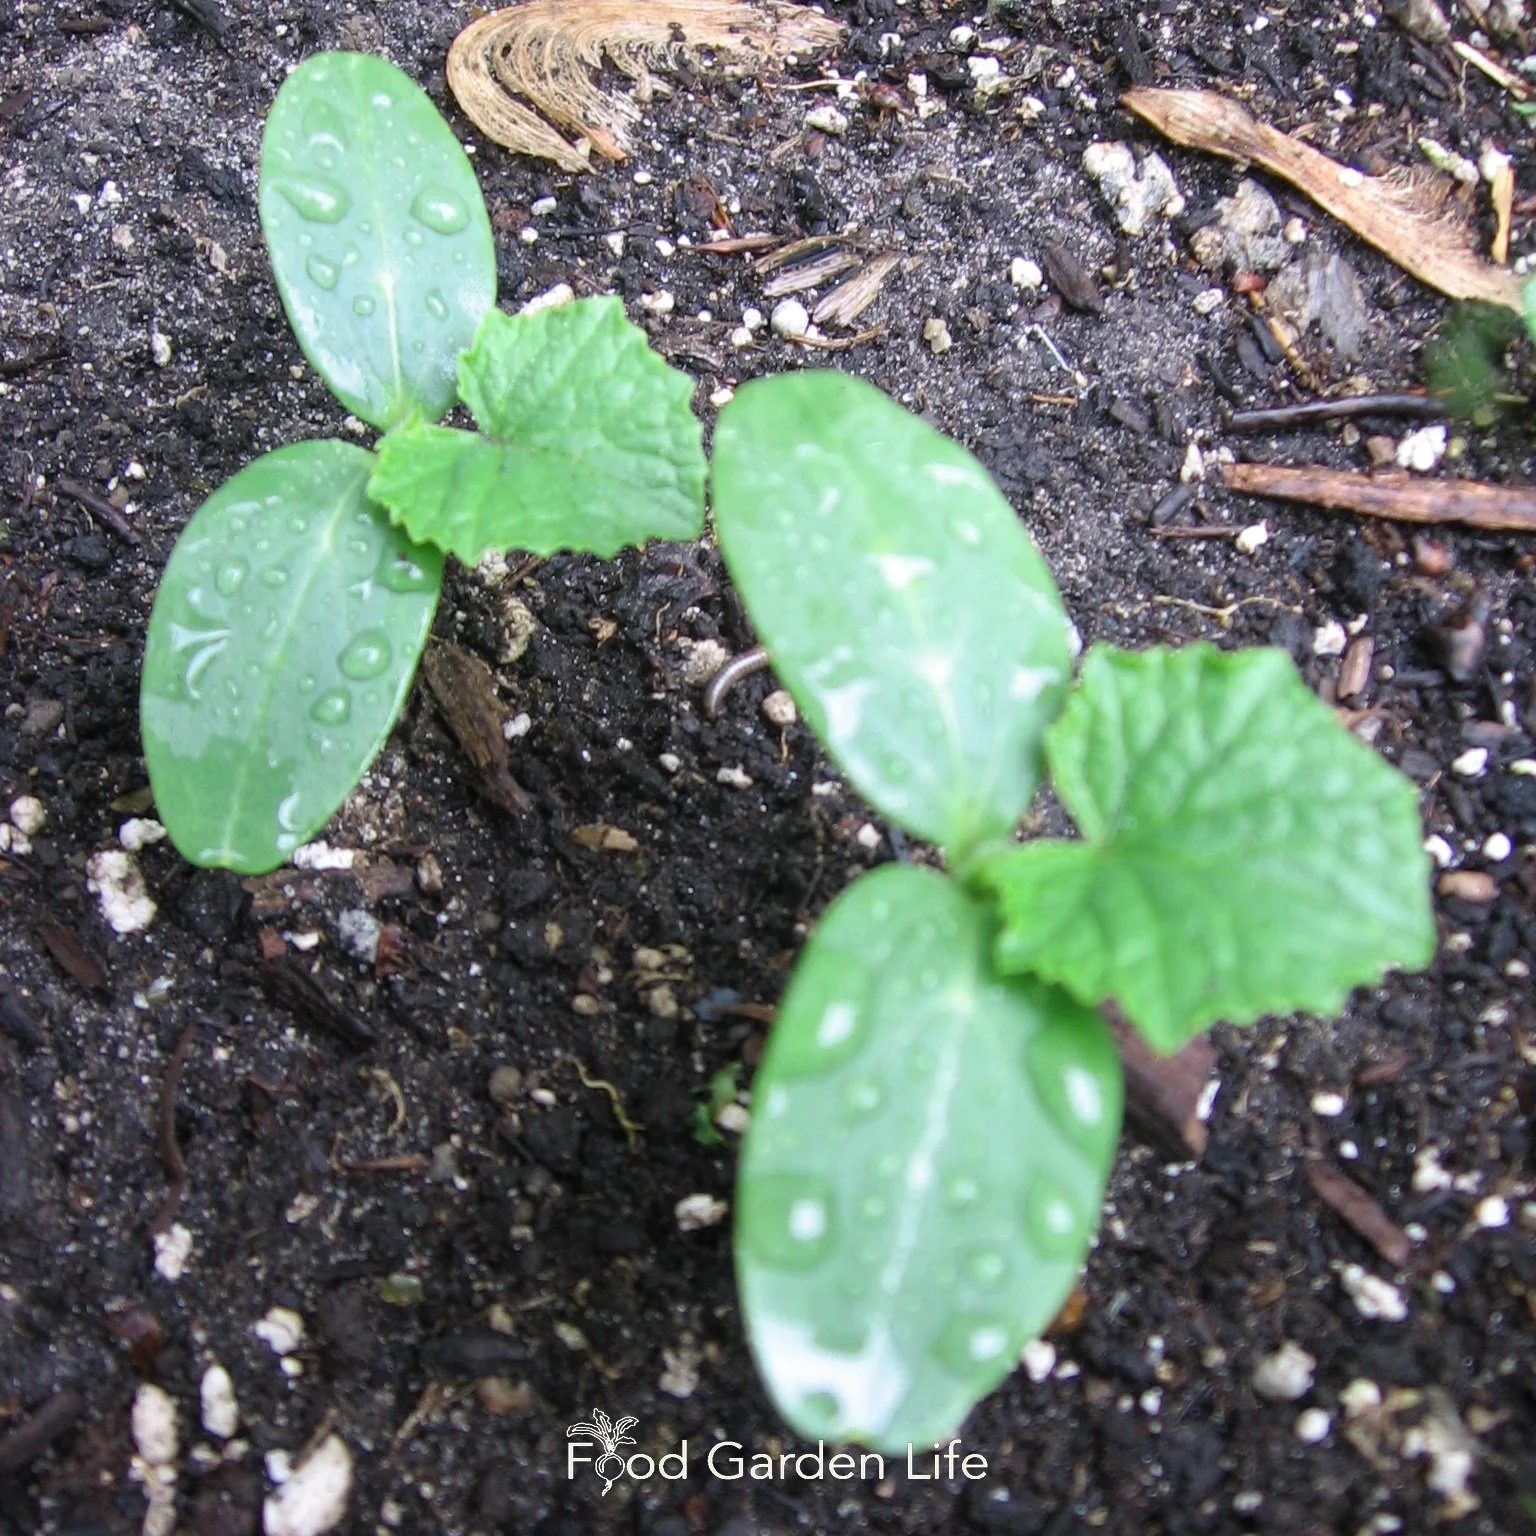
There are some crops that I start indoors, and also sow directly in the garden later. These cucumbers are sown directly in the garden.
You might notice that some crops, such as melon and basil, are in my list above twice: seeded indoors, and then directly sown outdoors. That’s because you can do it both ways, and having the same crop in two stages of development can give you a longer harvest window.
Make Successive Plantings
Don’t forget that after the initial planting of many of these crops, you can make successive plantings so that you have an ongoing harvest. That means after your first sowing of beet seeds, make more, at two-week intervals. Same with carrots, and leafy greens.
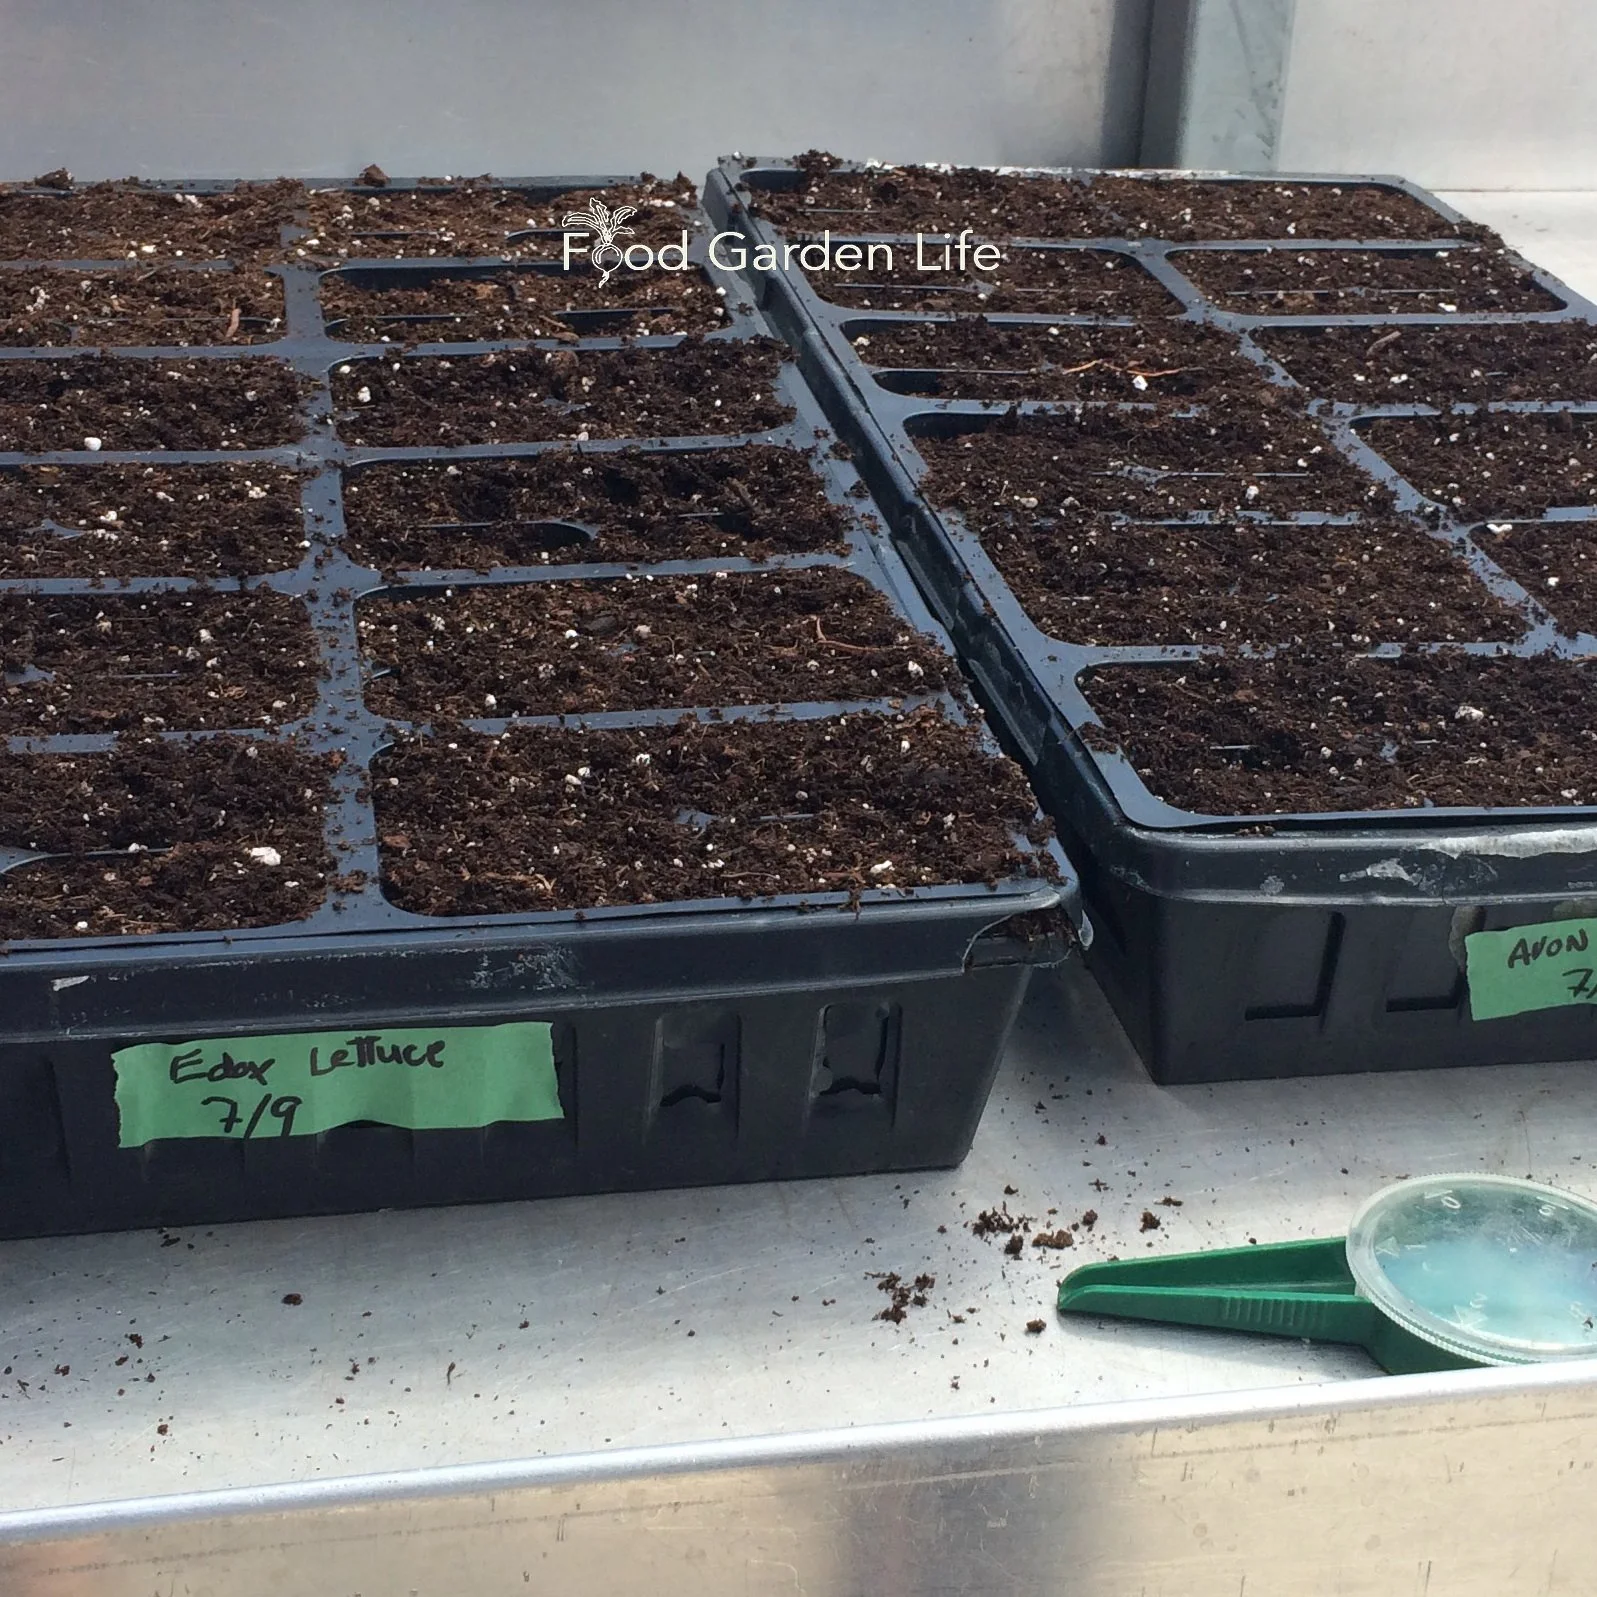
How to Stay Organized
If you’ve looked at my planting dates above, you might be wondering if there’s a simple way to stay organized.
There is!
I sort my seed packets by starting date. I’m a visual person—so no spreadsheets for me!
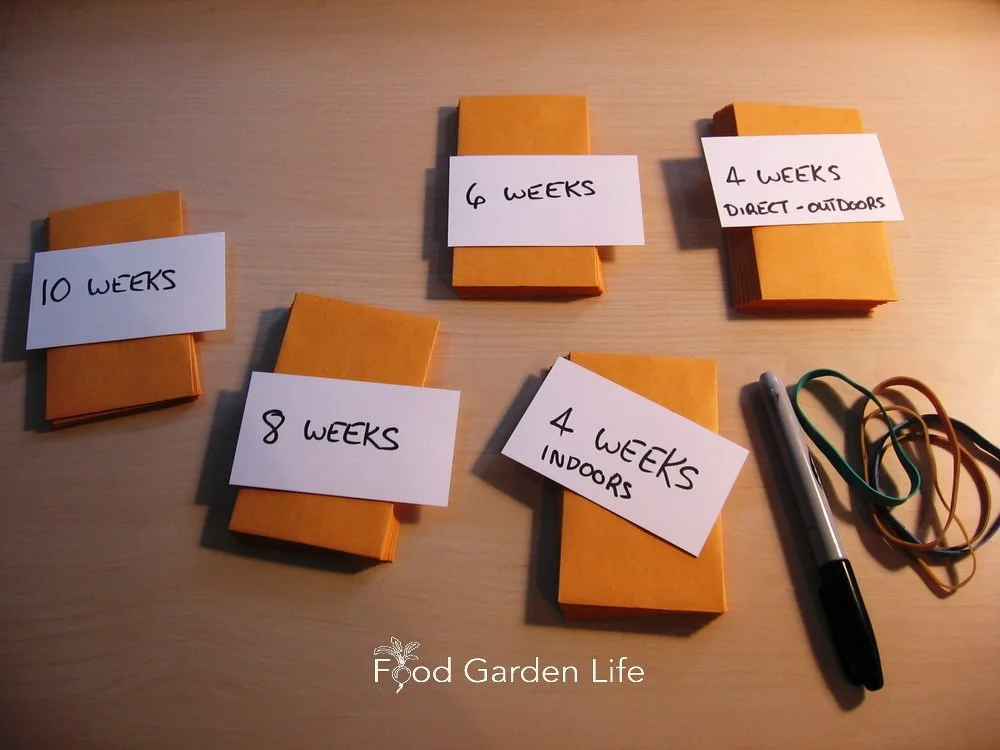
Seed packets organized by planting date, so that I don’t forget to plant anything!
I simply make stacks of seed packets, organized by when they should be planted. Then, I mark my calendar for the various seed-starting dates—flagging 10 weeks, 8 weeks, 6 weeks, etc.
When the given week rolls around, I grab the seed packets for that week.
More on Vegetable Seeds
Find This Helpful?
Enjoy not being bombarded by annoying ads?
Appreciate the absence of junky affiliate links for products you don’t need?
It’s because we’re reader supported.
If we’ve helped in your food-gardening journey, we’re glad of support. You can high-five us below. Any amount welcome!
More on Growing Vegetables
Vegetable Gardening Articles
Vegetable Gardening Courses
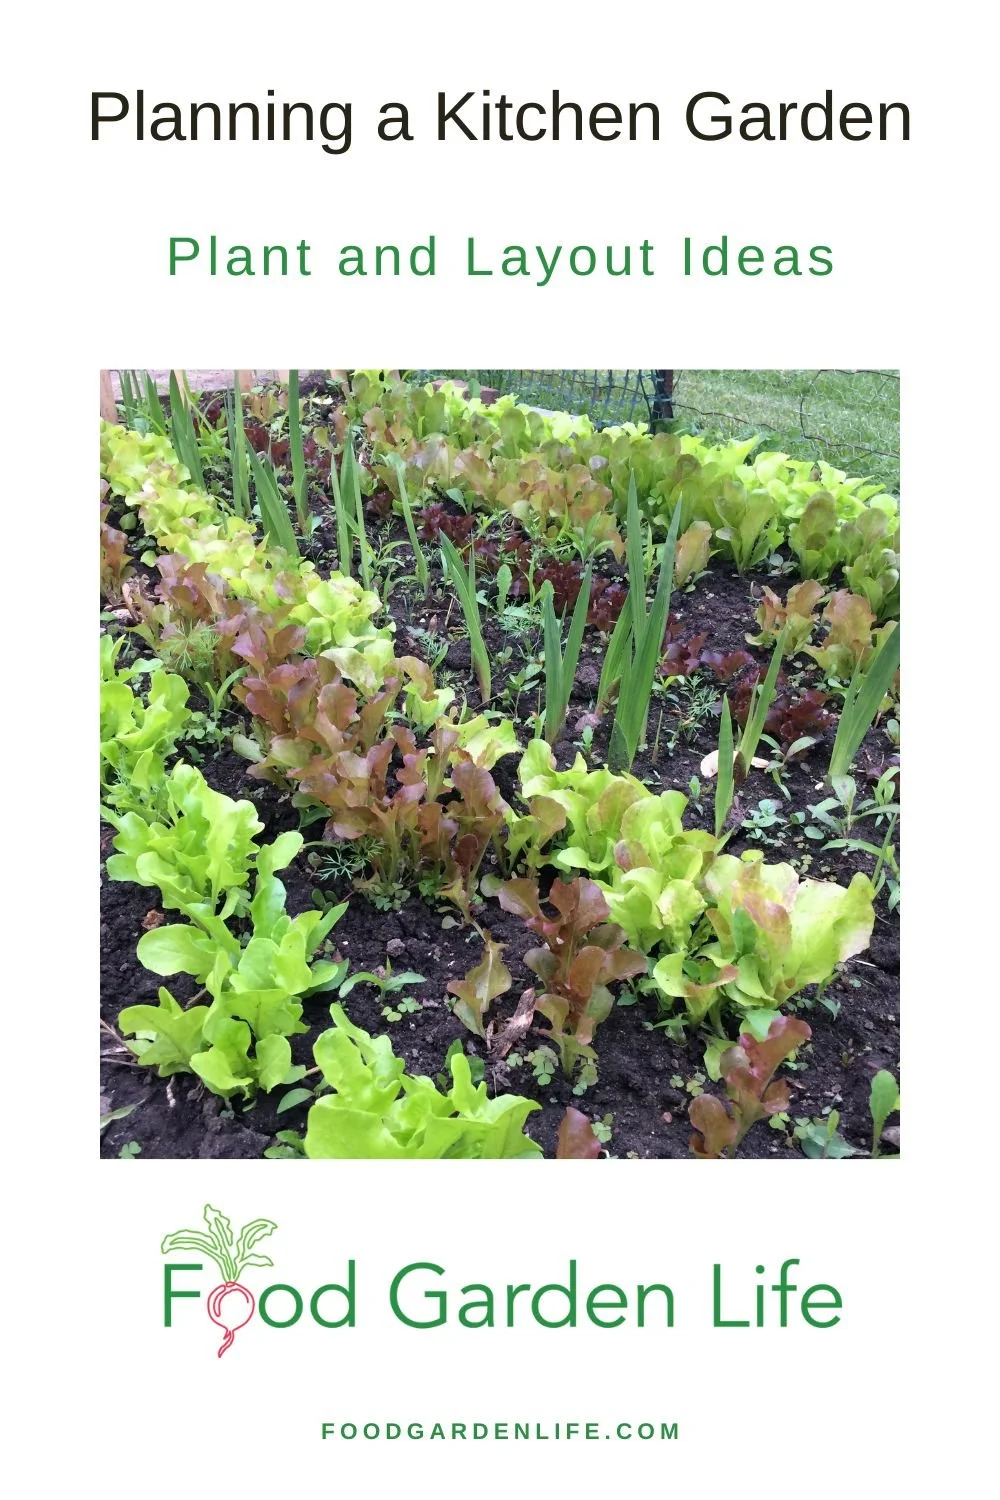
Planning a Kitchen Garden that Awes (in Purple!)
Make a kitchen garden with a mix of your favourite crops.
By Steven Biggs
Grazing the Kitchen Garden
How to make a kitchen garden you love.
My family doesn’t think it’s unusual to hear the back door open and close as I cook supper.
They see me come in with a fistful of herbs. Or a colander with vegetables, fresh fruit, and edible flowers.
I think of it as grazing: Picking what’s ready from my kitchen garden: Small portions of a wide variety of ingredients for our meal.
What’s ready in the garden inspires what I make for supper.
Along with a varied, continuous harvest, there’s something else I think about when planning a kitchen garden: Creativity. A great kitchen garden touches the senses. Taste is obvious, smell too. But there’s also touch, sound, and sight.
If you’re looking for great kitchen gardening ideas, keep reading. I have ideas for you about how to make a kitchen garden you love.
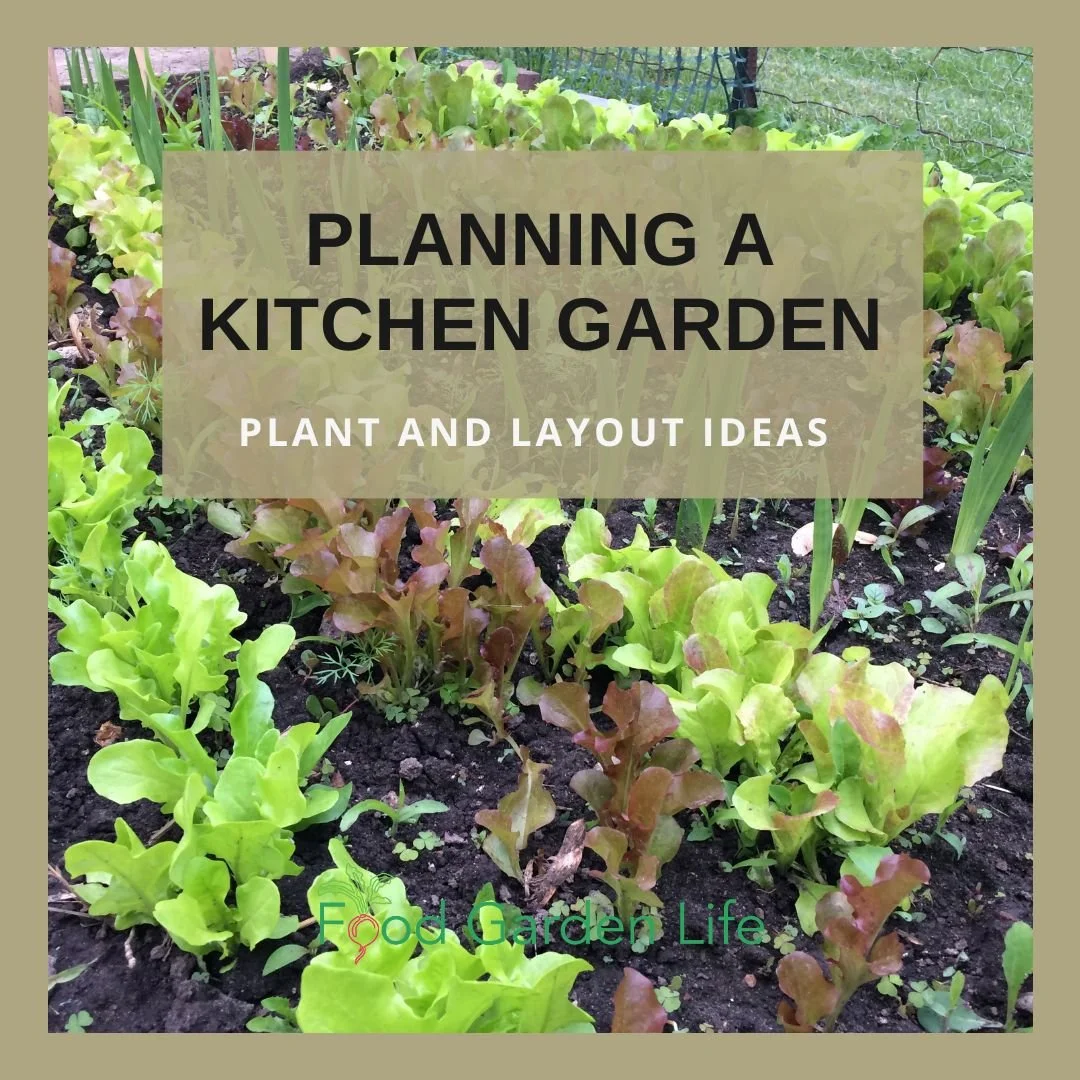
Planning a Kitchen Garden – and Having Fun Doing it
The planning stage of gardening can be intimidating. There’s crop spacing, crop timing, succession crops, crop rotation, and more…
So before I throw out ideas for you, here’s my top advice: Have fun. The compost pile takes care of things that don’t go as planned.
Next suggestion: Be playful with style and design because it’s a personal thing. A kitchen garden plan is a personal creation. (And the fun part is that every year you can create something new!)
What is a Kitchen Garden?
How is a kitchen garden different from a vegetable garden? It depends who you ask.
When I think of a kitchen garden I think of a mix of edible plants including herbs, vegetables, fruit, edible flowers, and flowers for cutting. That sets it apart from a traditional vegetable garden geared towards large harvests for canning, freezing, and storing.
Create Your Own Unique Edible Landscape
That fits for your yard, and your style!
Creative Kitchen Gardens
More than a Vegetable Garden

It was late fall and this kitchen garden was getting tired, but the playful design and colour theme still shone through.
However you define a kitchen garden, don’t just make it functional. Make it something that gives you a jolt of delight when you see it.
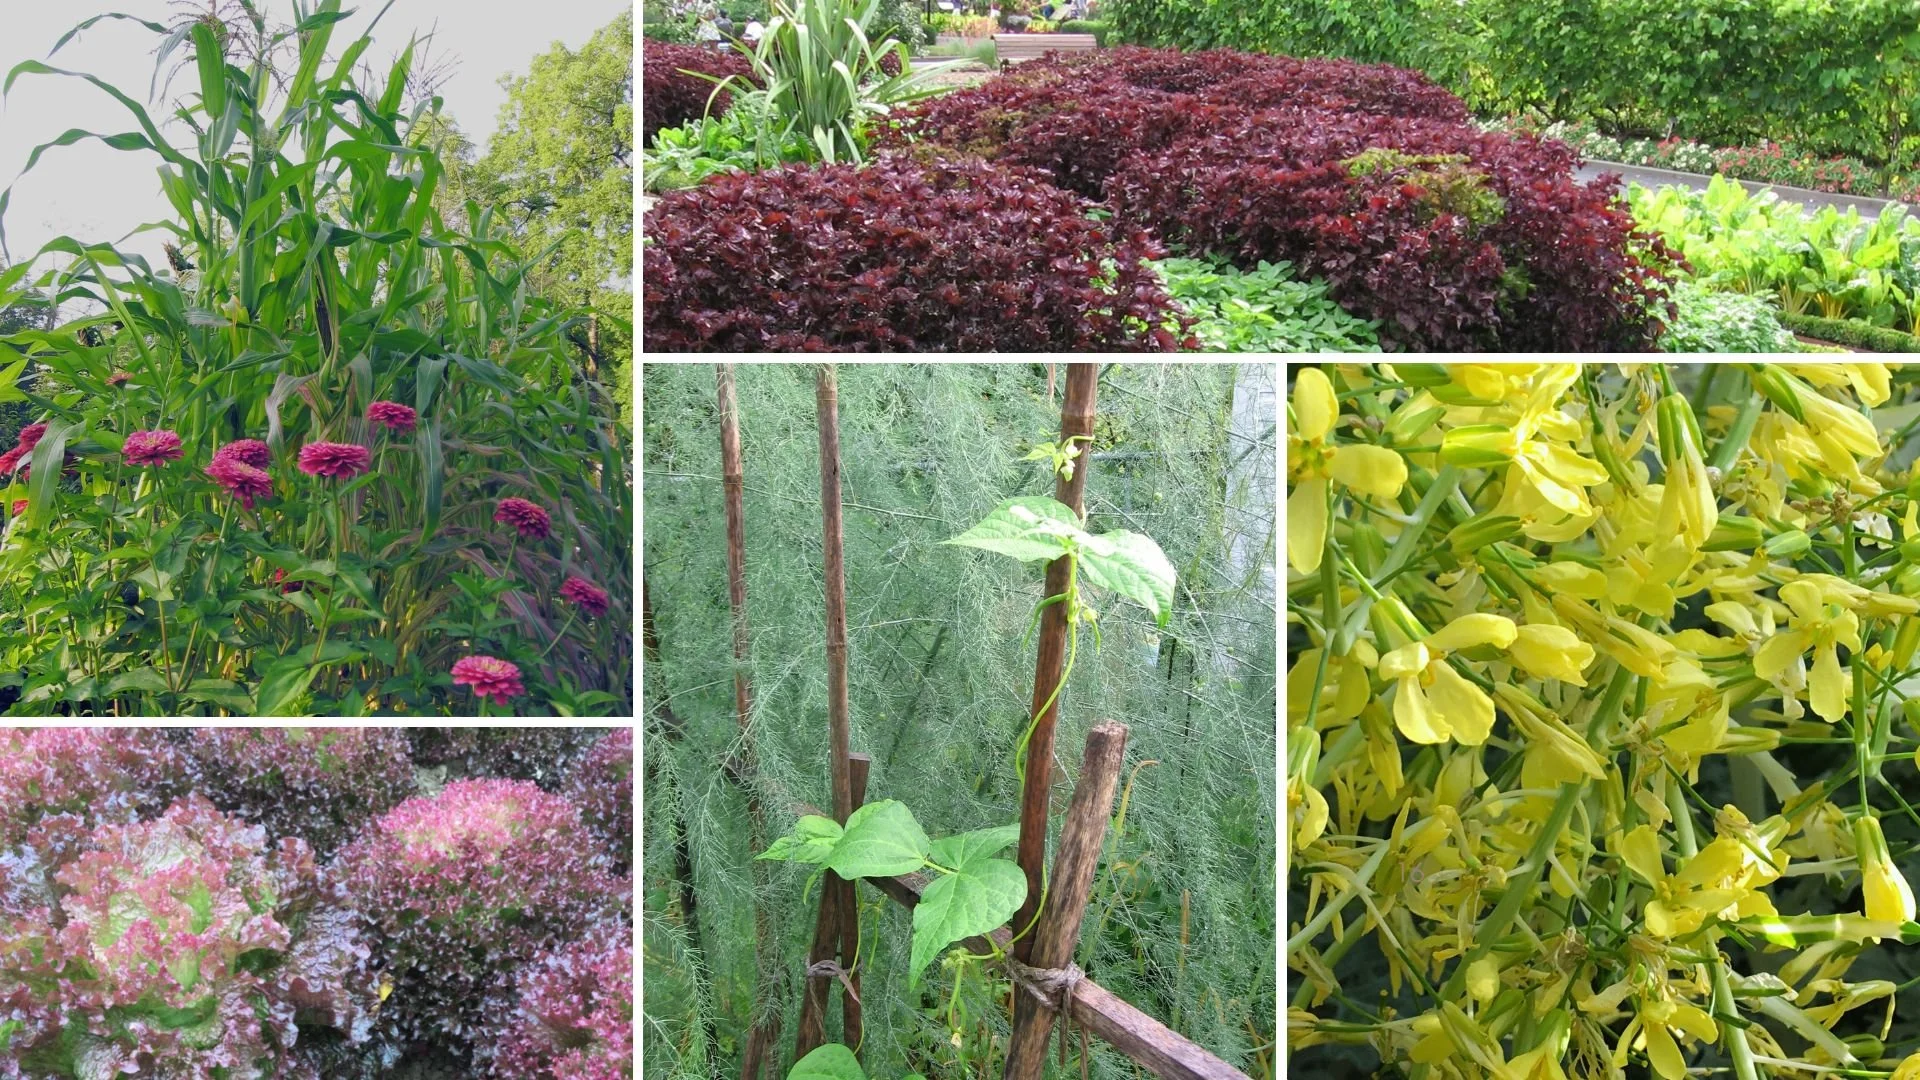
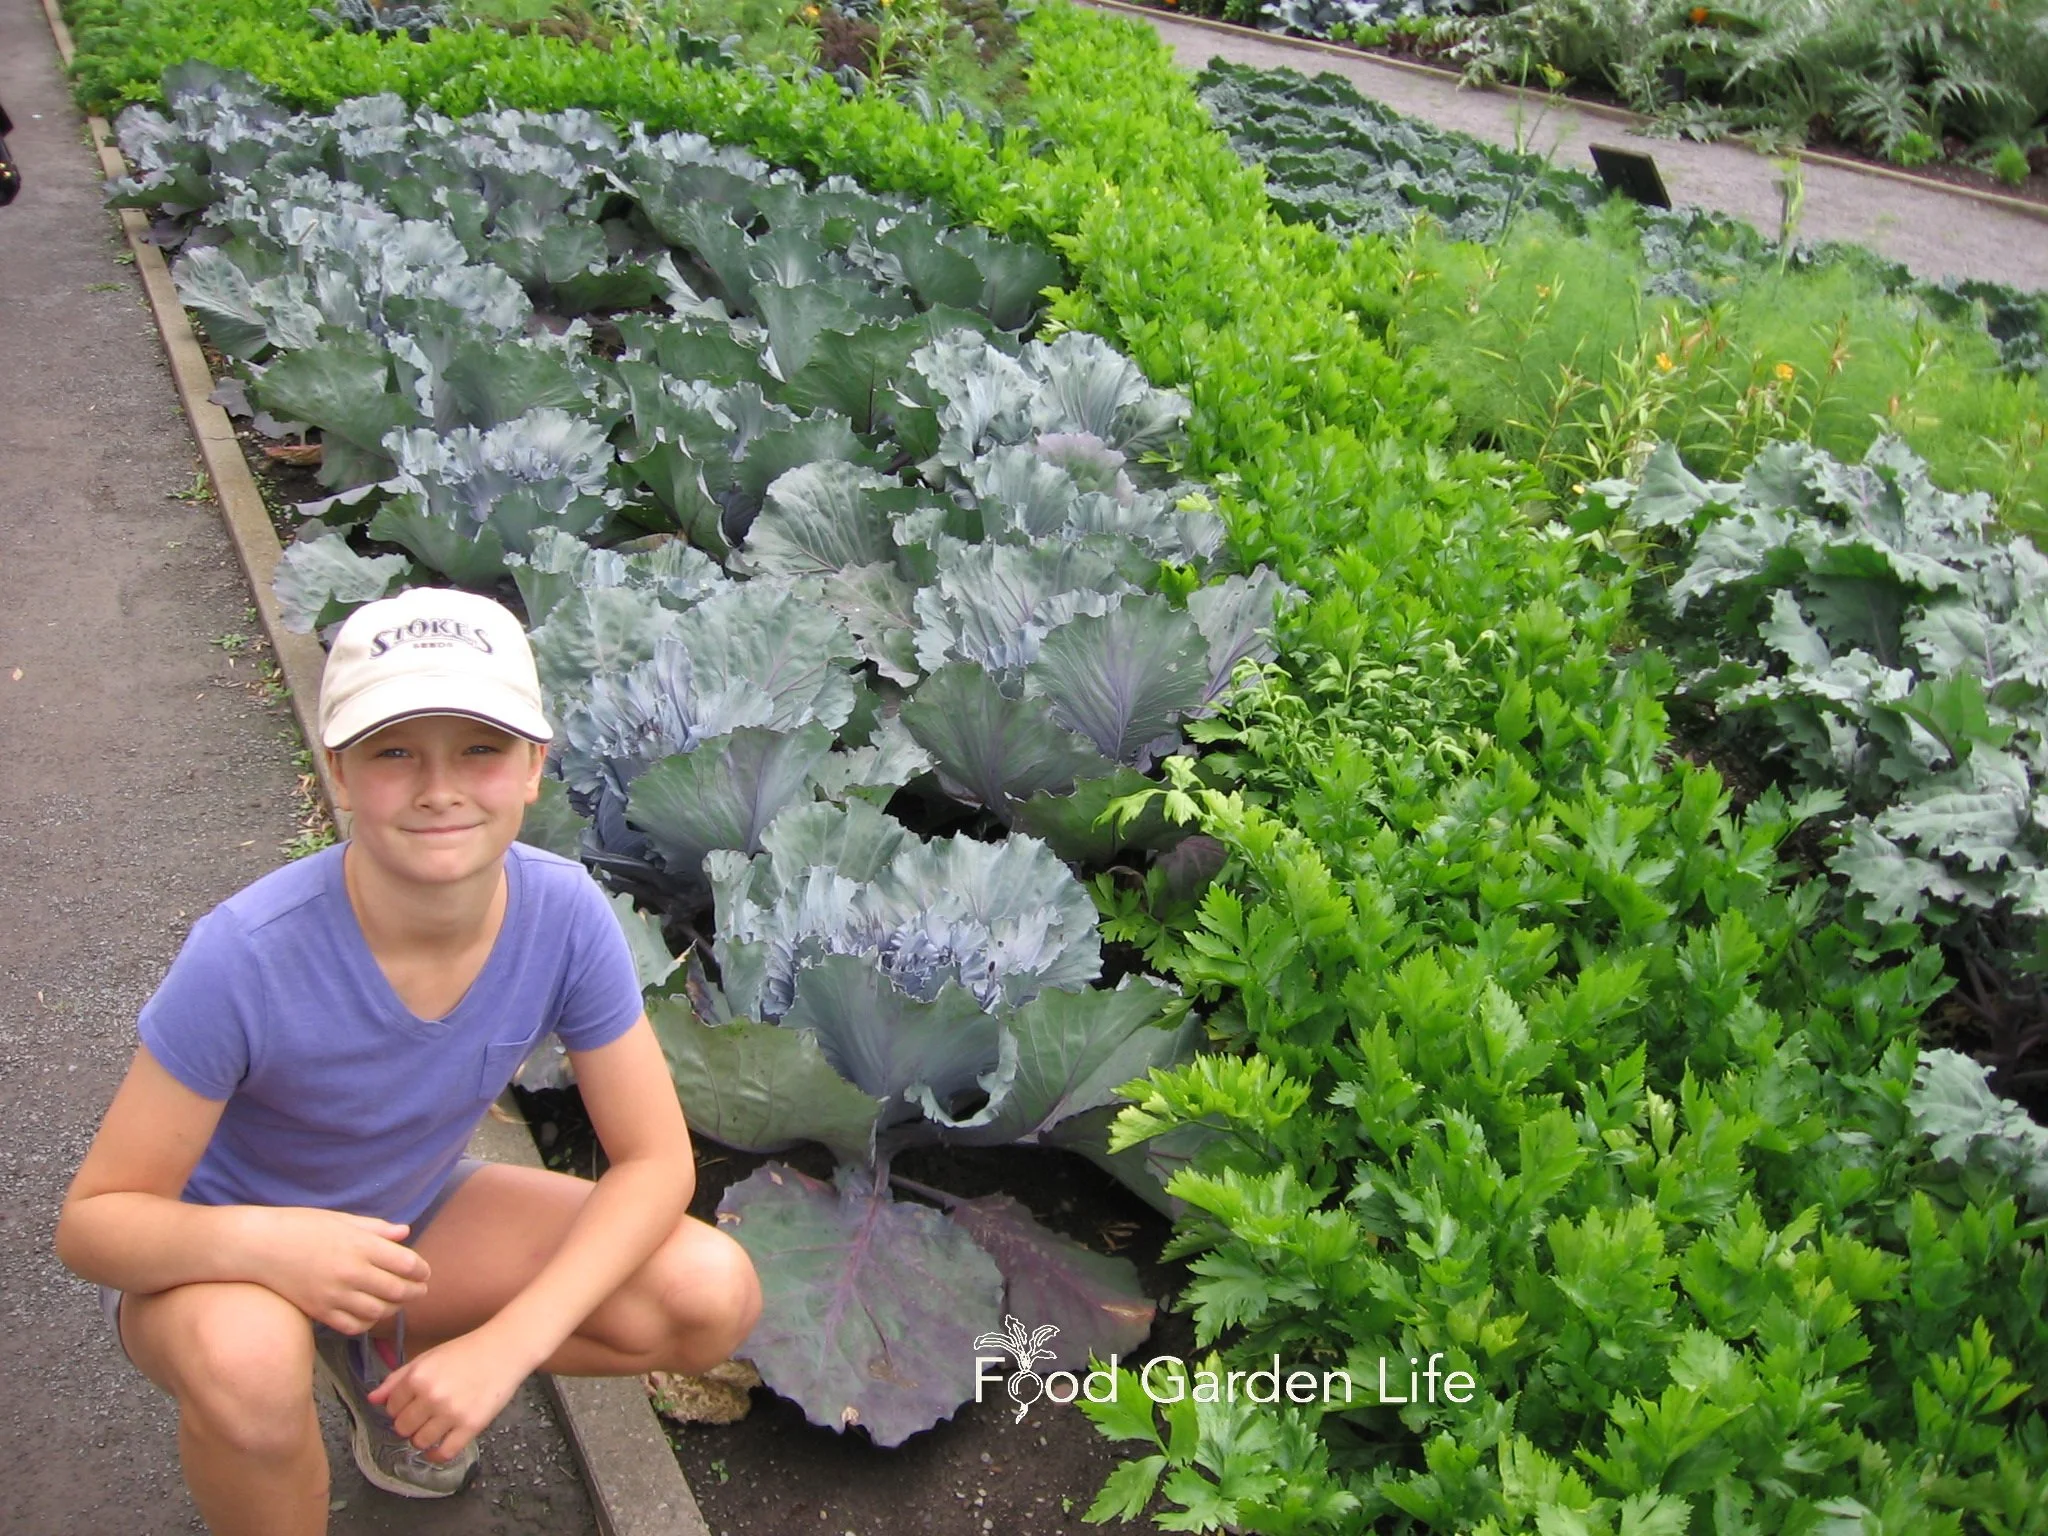
For example, this fall I took a trip to the William Dam Seeds trial garden. It was late in the season and things were past their prime. But I was still riveted by what remained of their playful purple-themed garden. It was a mix of flowers, veg, and herbs.
Purple kale, purple basil, purple cauliflower, purple beans…and more.
There were lots of edibles. There was also a hefty dose of flowers. And the garden gave a wallop of colour. It had height. It was fragrant. And it was a playful pinwheel design.
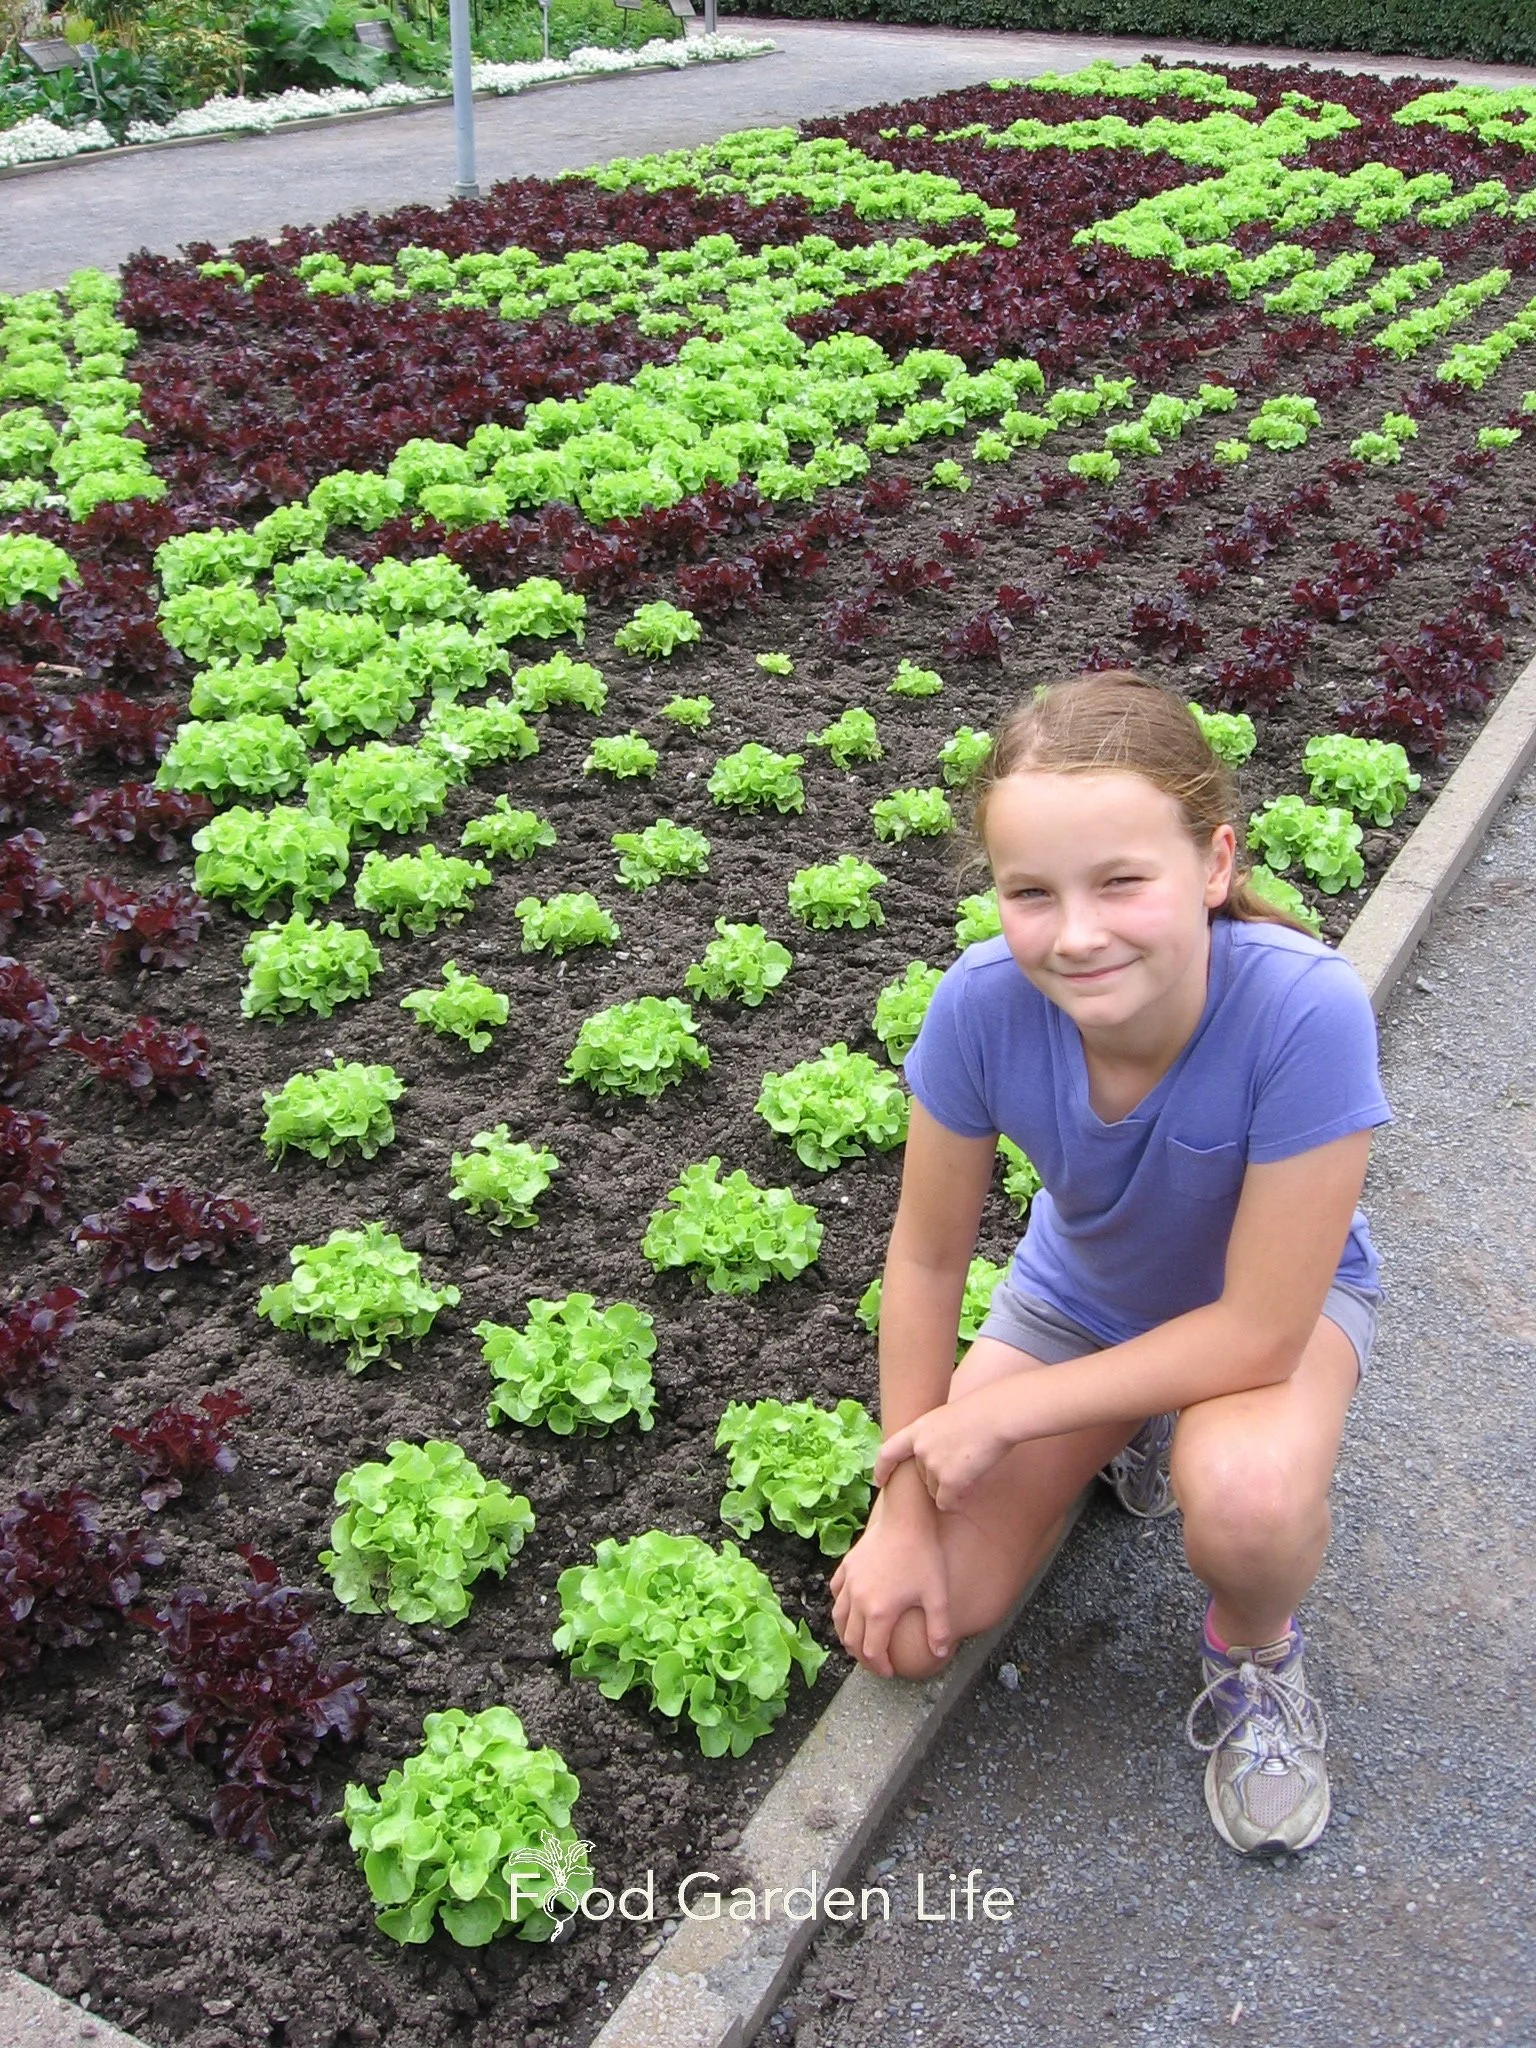
My daughter Emma and I were intrigued by the use of patterns and shapes in the Food Garden at the Montreal Botanical Gardens.
I’m not suggesting a purple-themed garden for everyone. I mention the purple-themed garden to help you think about making your kitchen garden special for you.
So think about:
Colourful crops
Texture
Shapes and patterns
Plant-themes (e.g. lots of lettuces!)
Here’s a fun idea…a dragon-themed garden for kids (seriously! See below.)
Creativity is what makes kitchen gardens shine.
Don’t be afraid to play with texture in the kitchen garden! Here’s an X of celery between cabbage plants at the Food Garden at the Montreal Botanical Gardens.
Purple-Themed Fun
The purple trial garden reminded me of the purple-themed kids garden my daughter Emma included in her book Gardening with Emma.
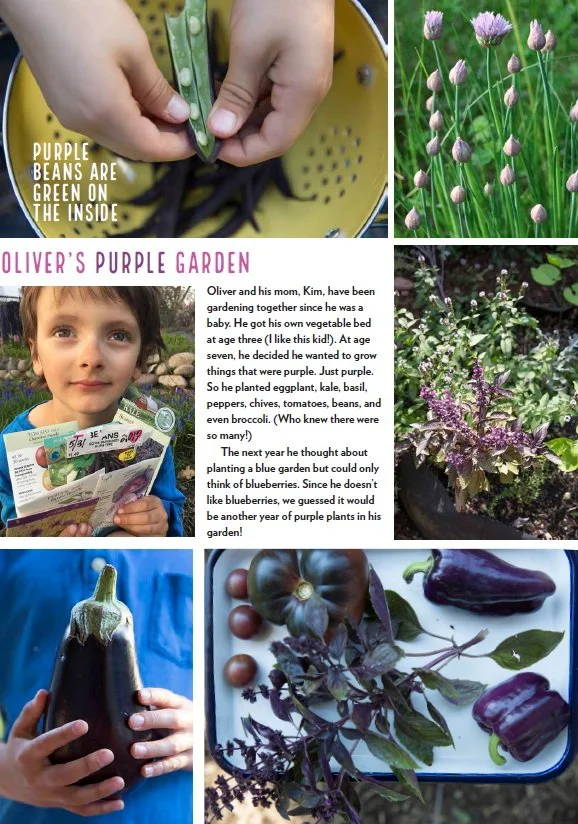
From the book Gardening with Emma.
The gardener, Oliver, was 7 years old. He told his parents he wanted a purple-themed garden.
When Emma got in touch with him for the book, Oliver was growing these purple crops:
Eggplant
Kale
Basil
Broccoli
Peppers
Chives
Tomatoes
Beans
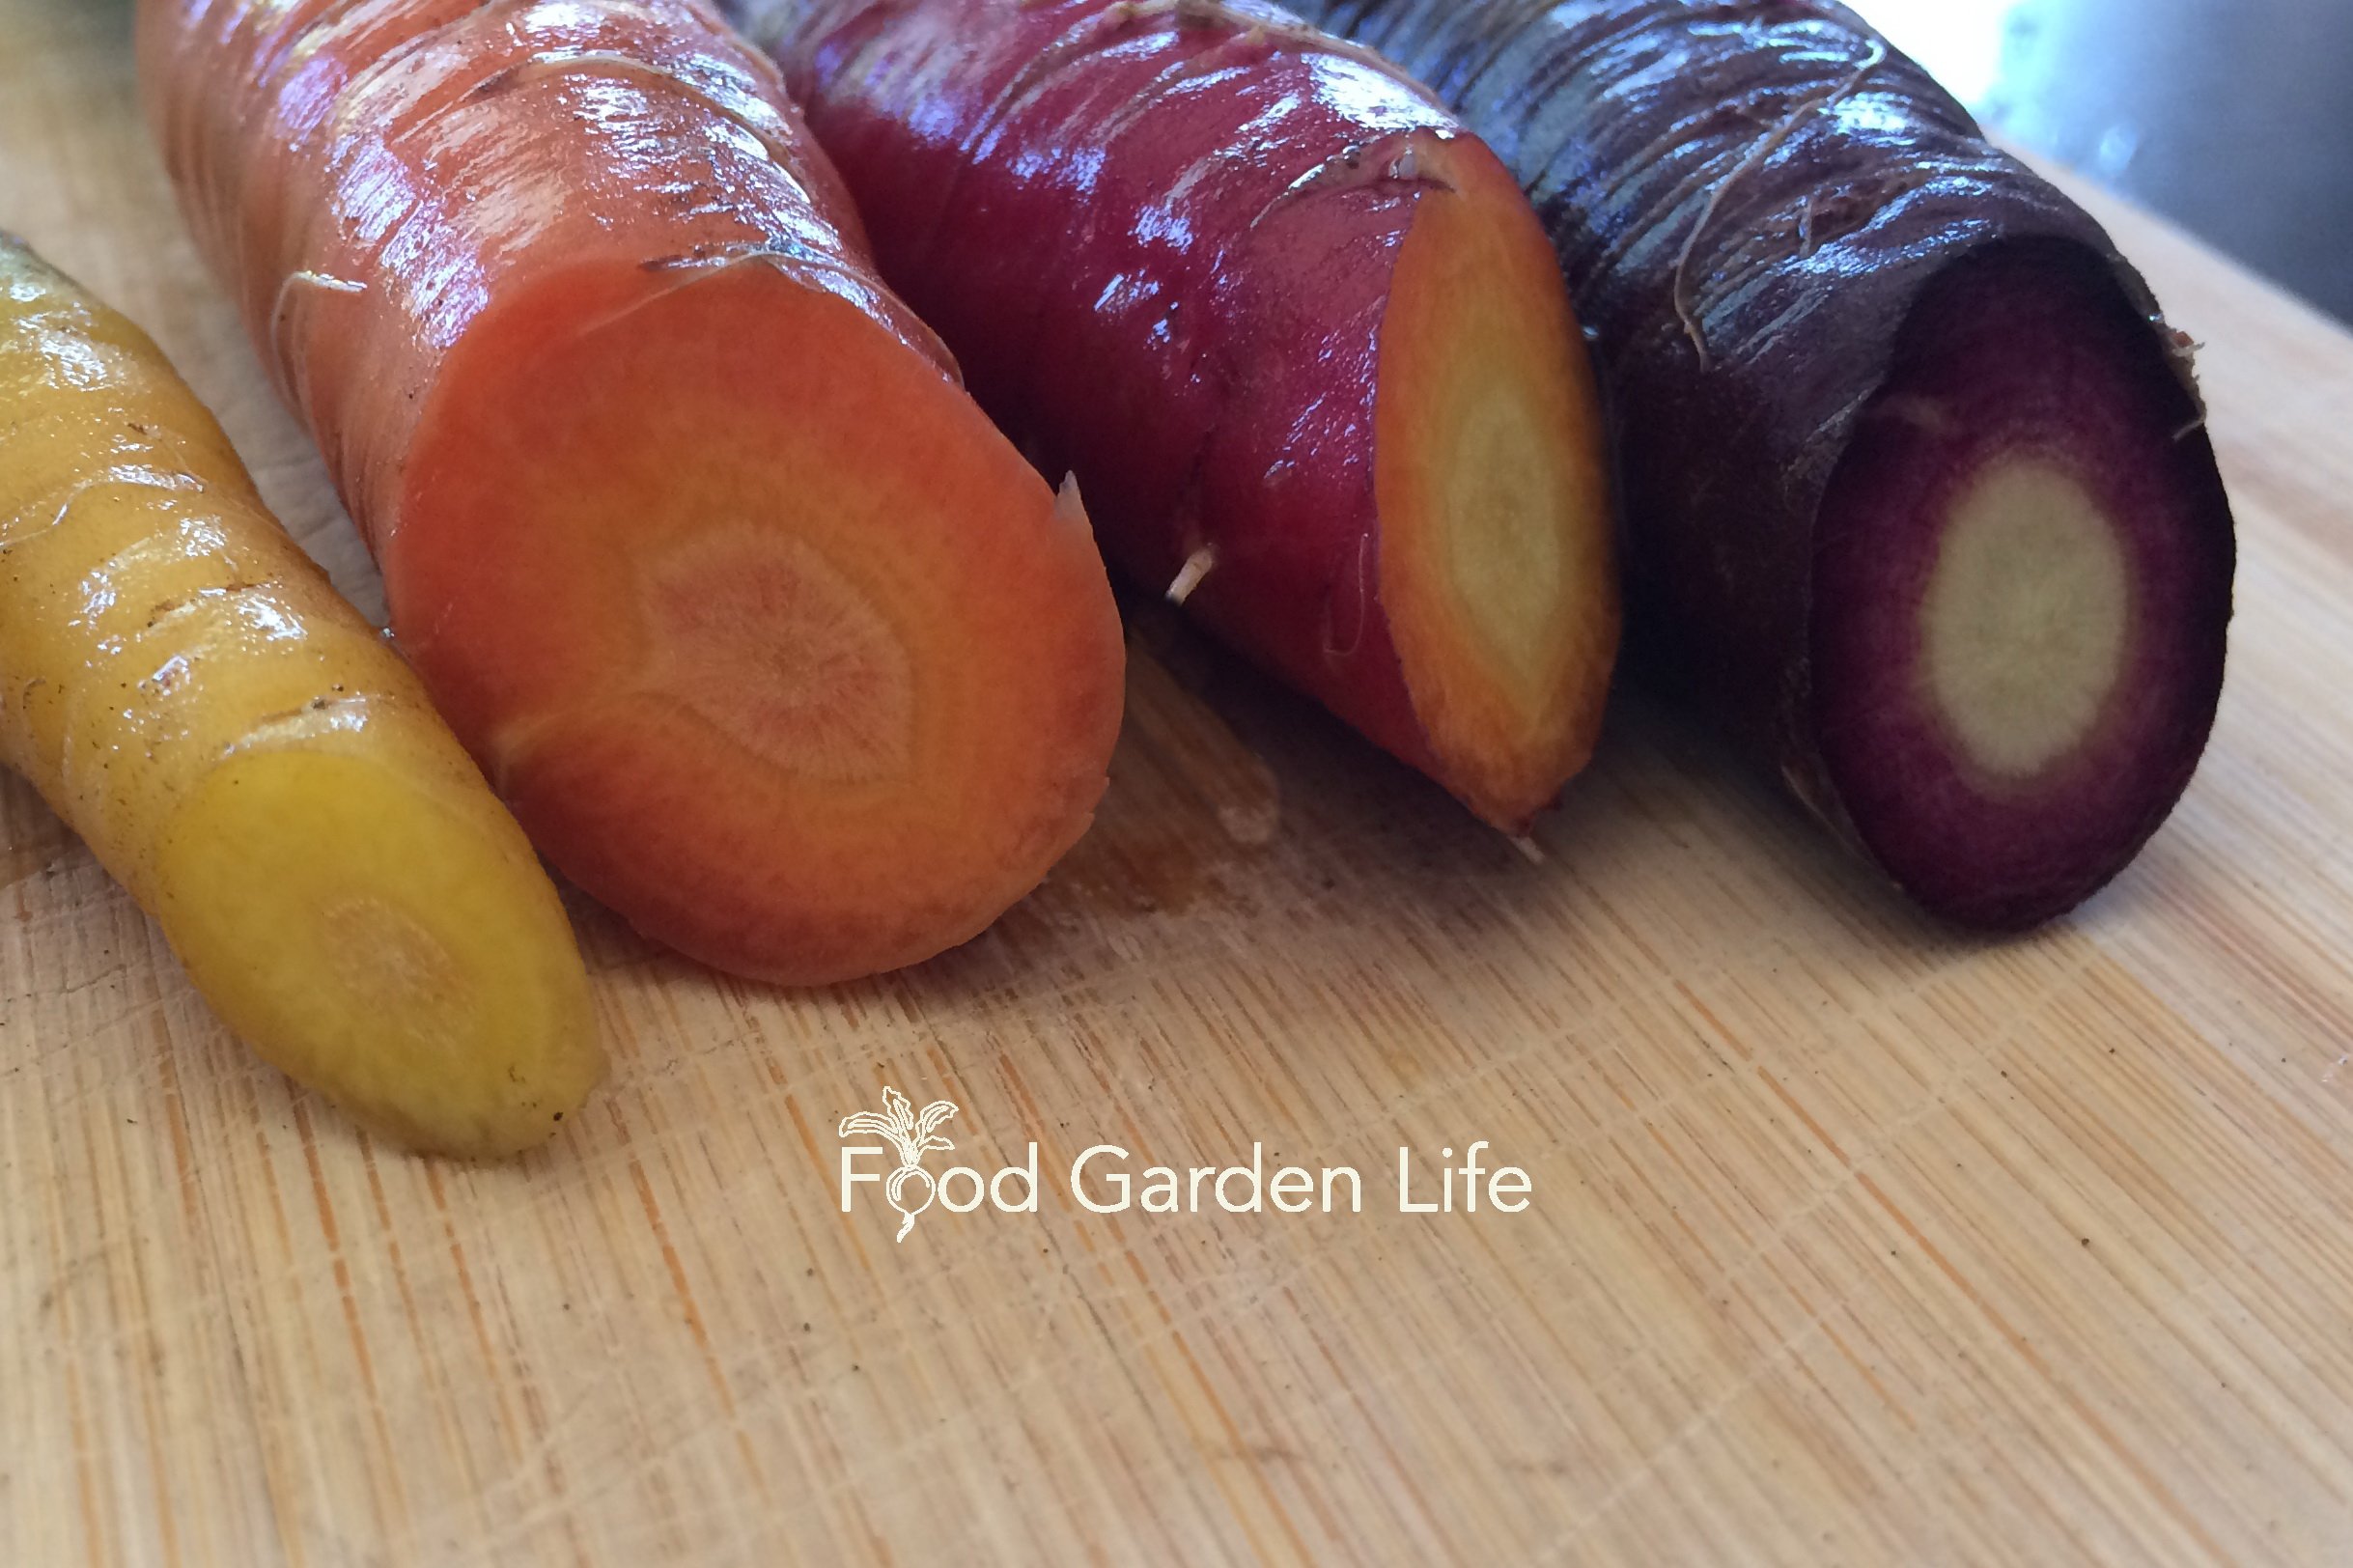
More Colourful Edibles
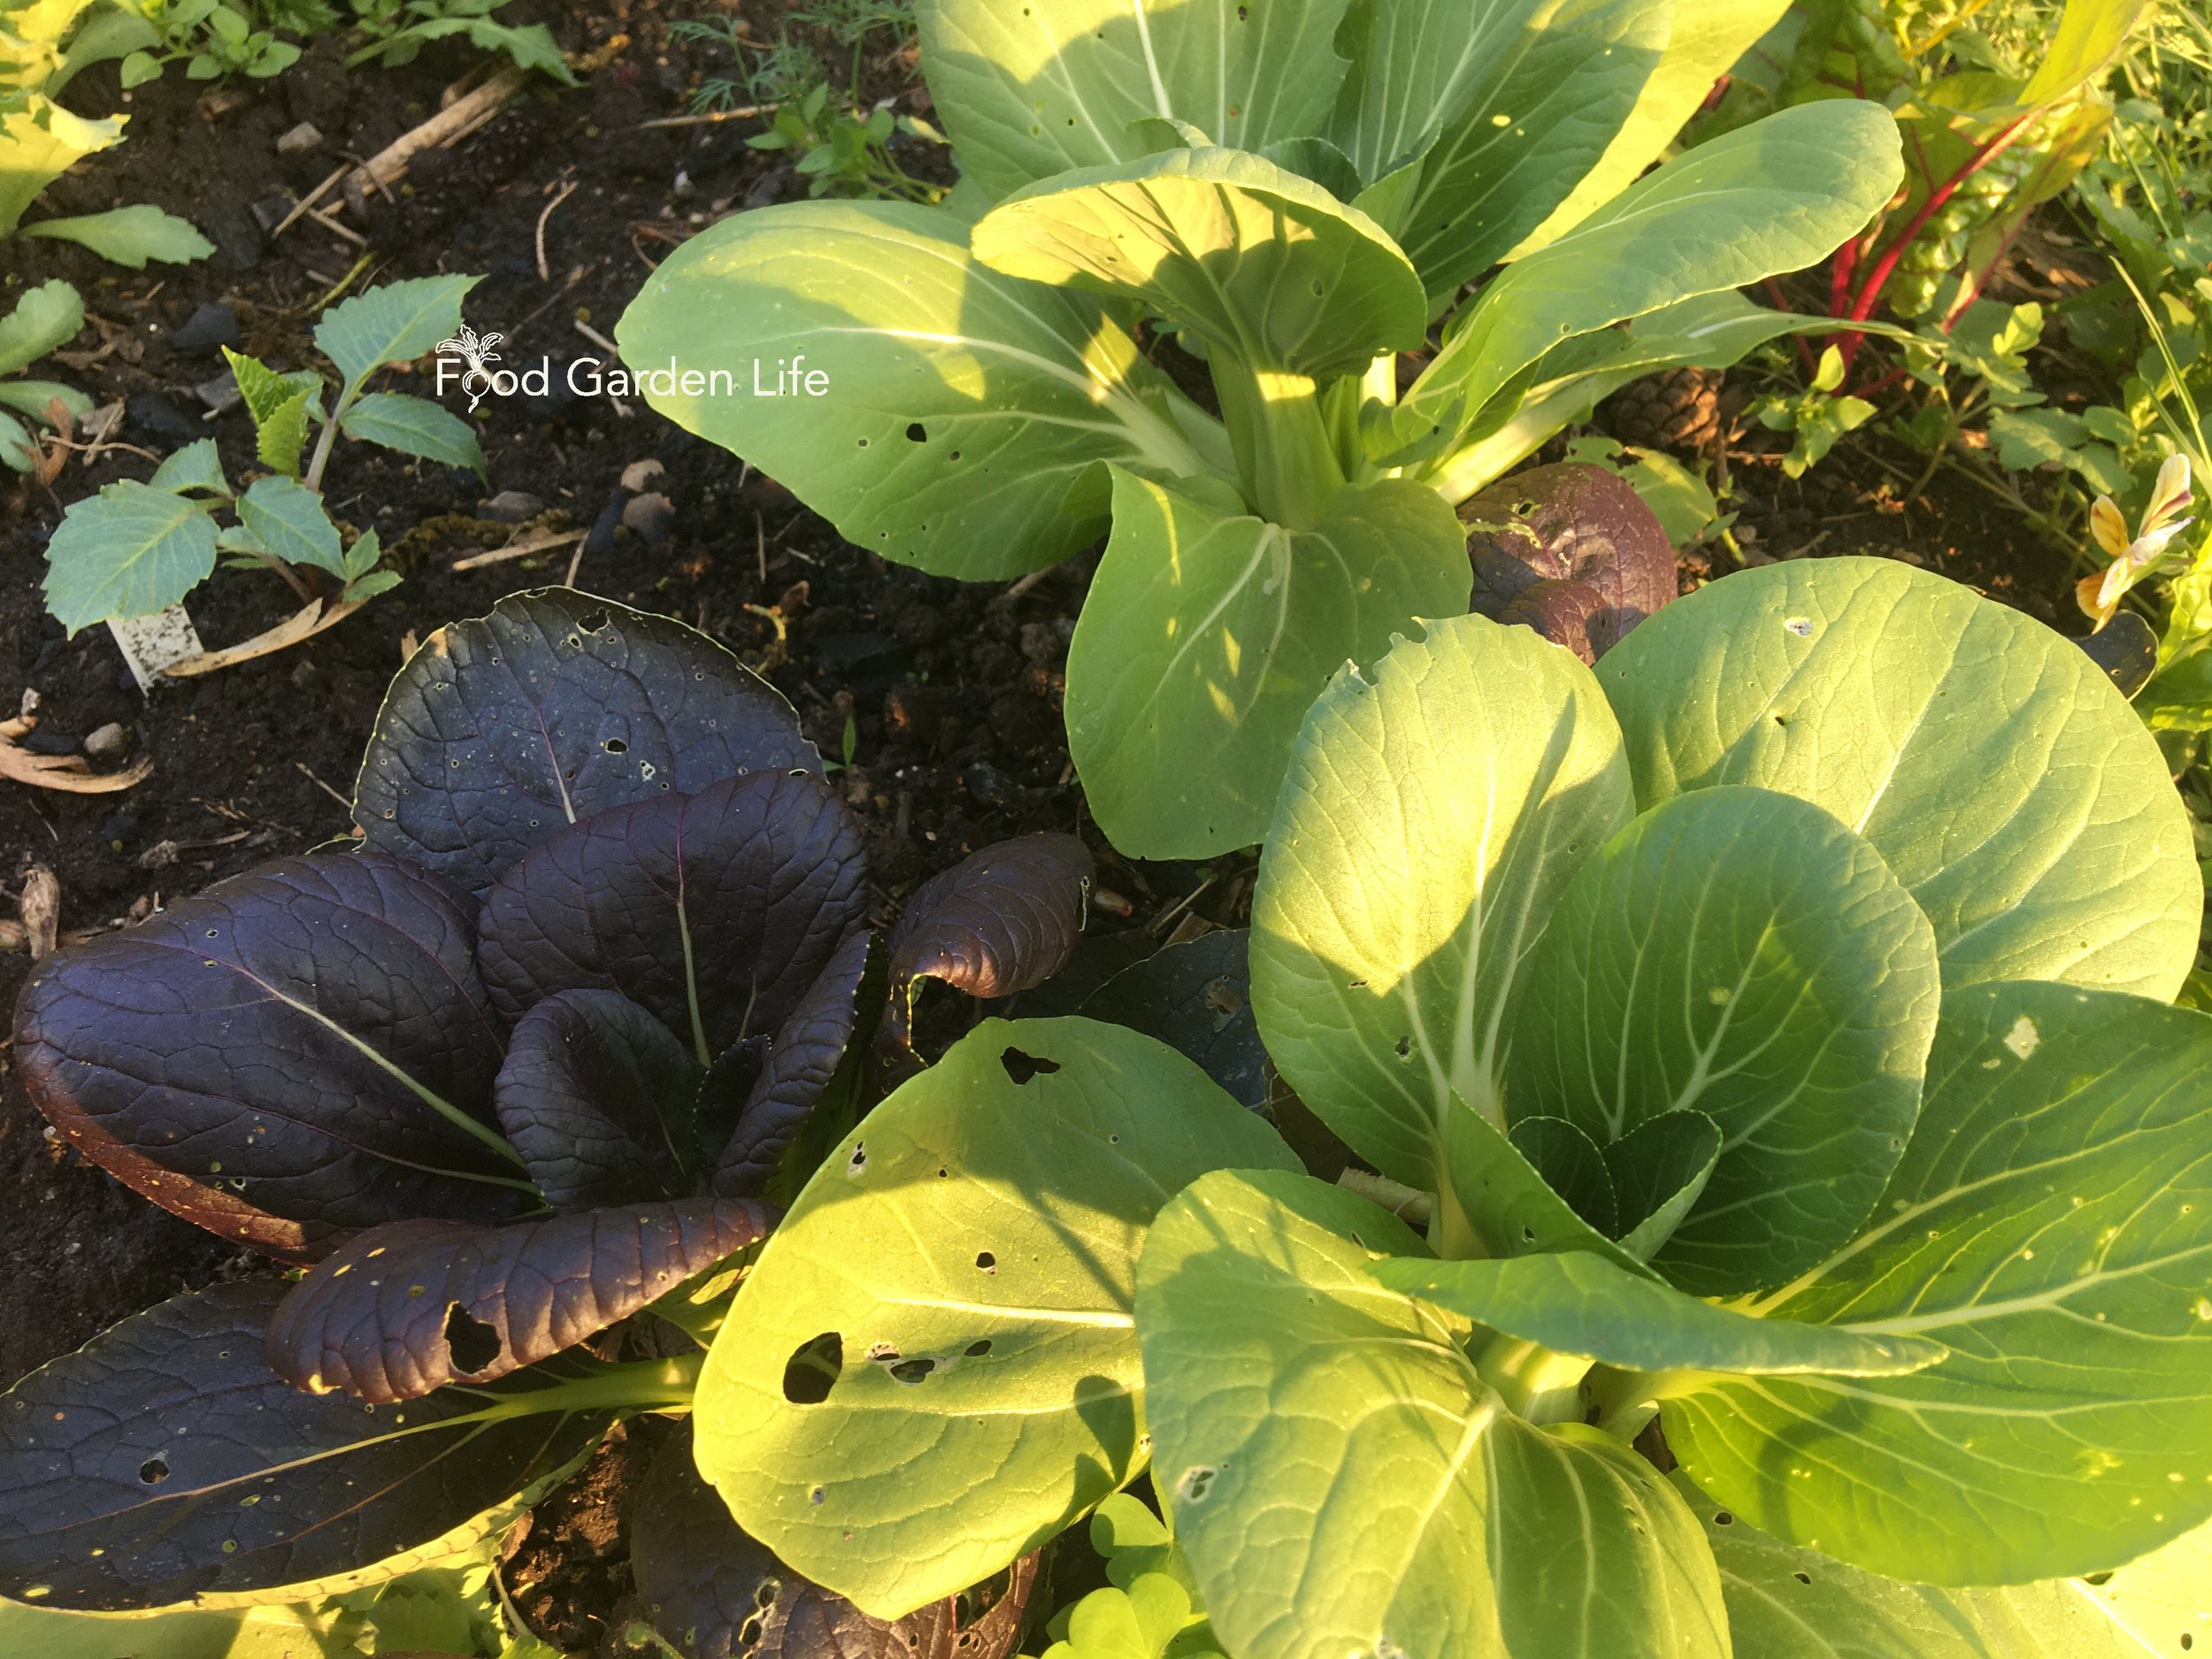
I was thinking about Oliver’s purple kitchen garden, and jotted down purple crops in my garden that we can add to his list of purple crops:
Lavender
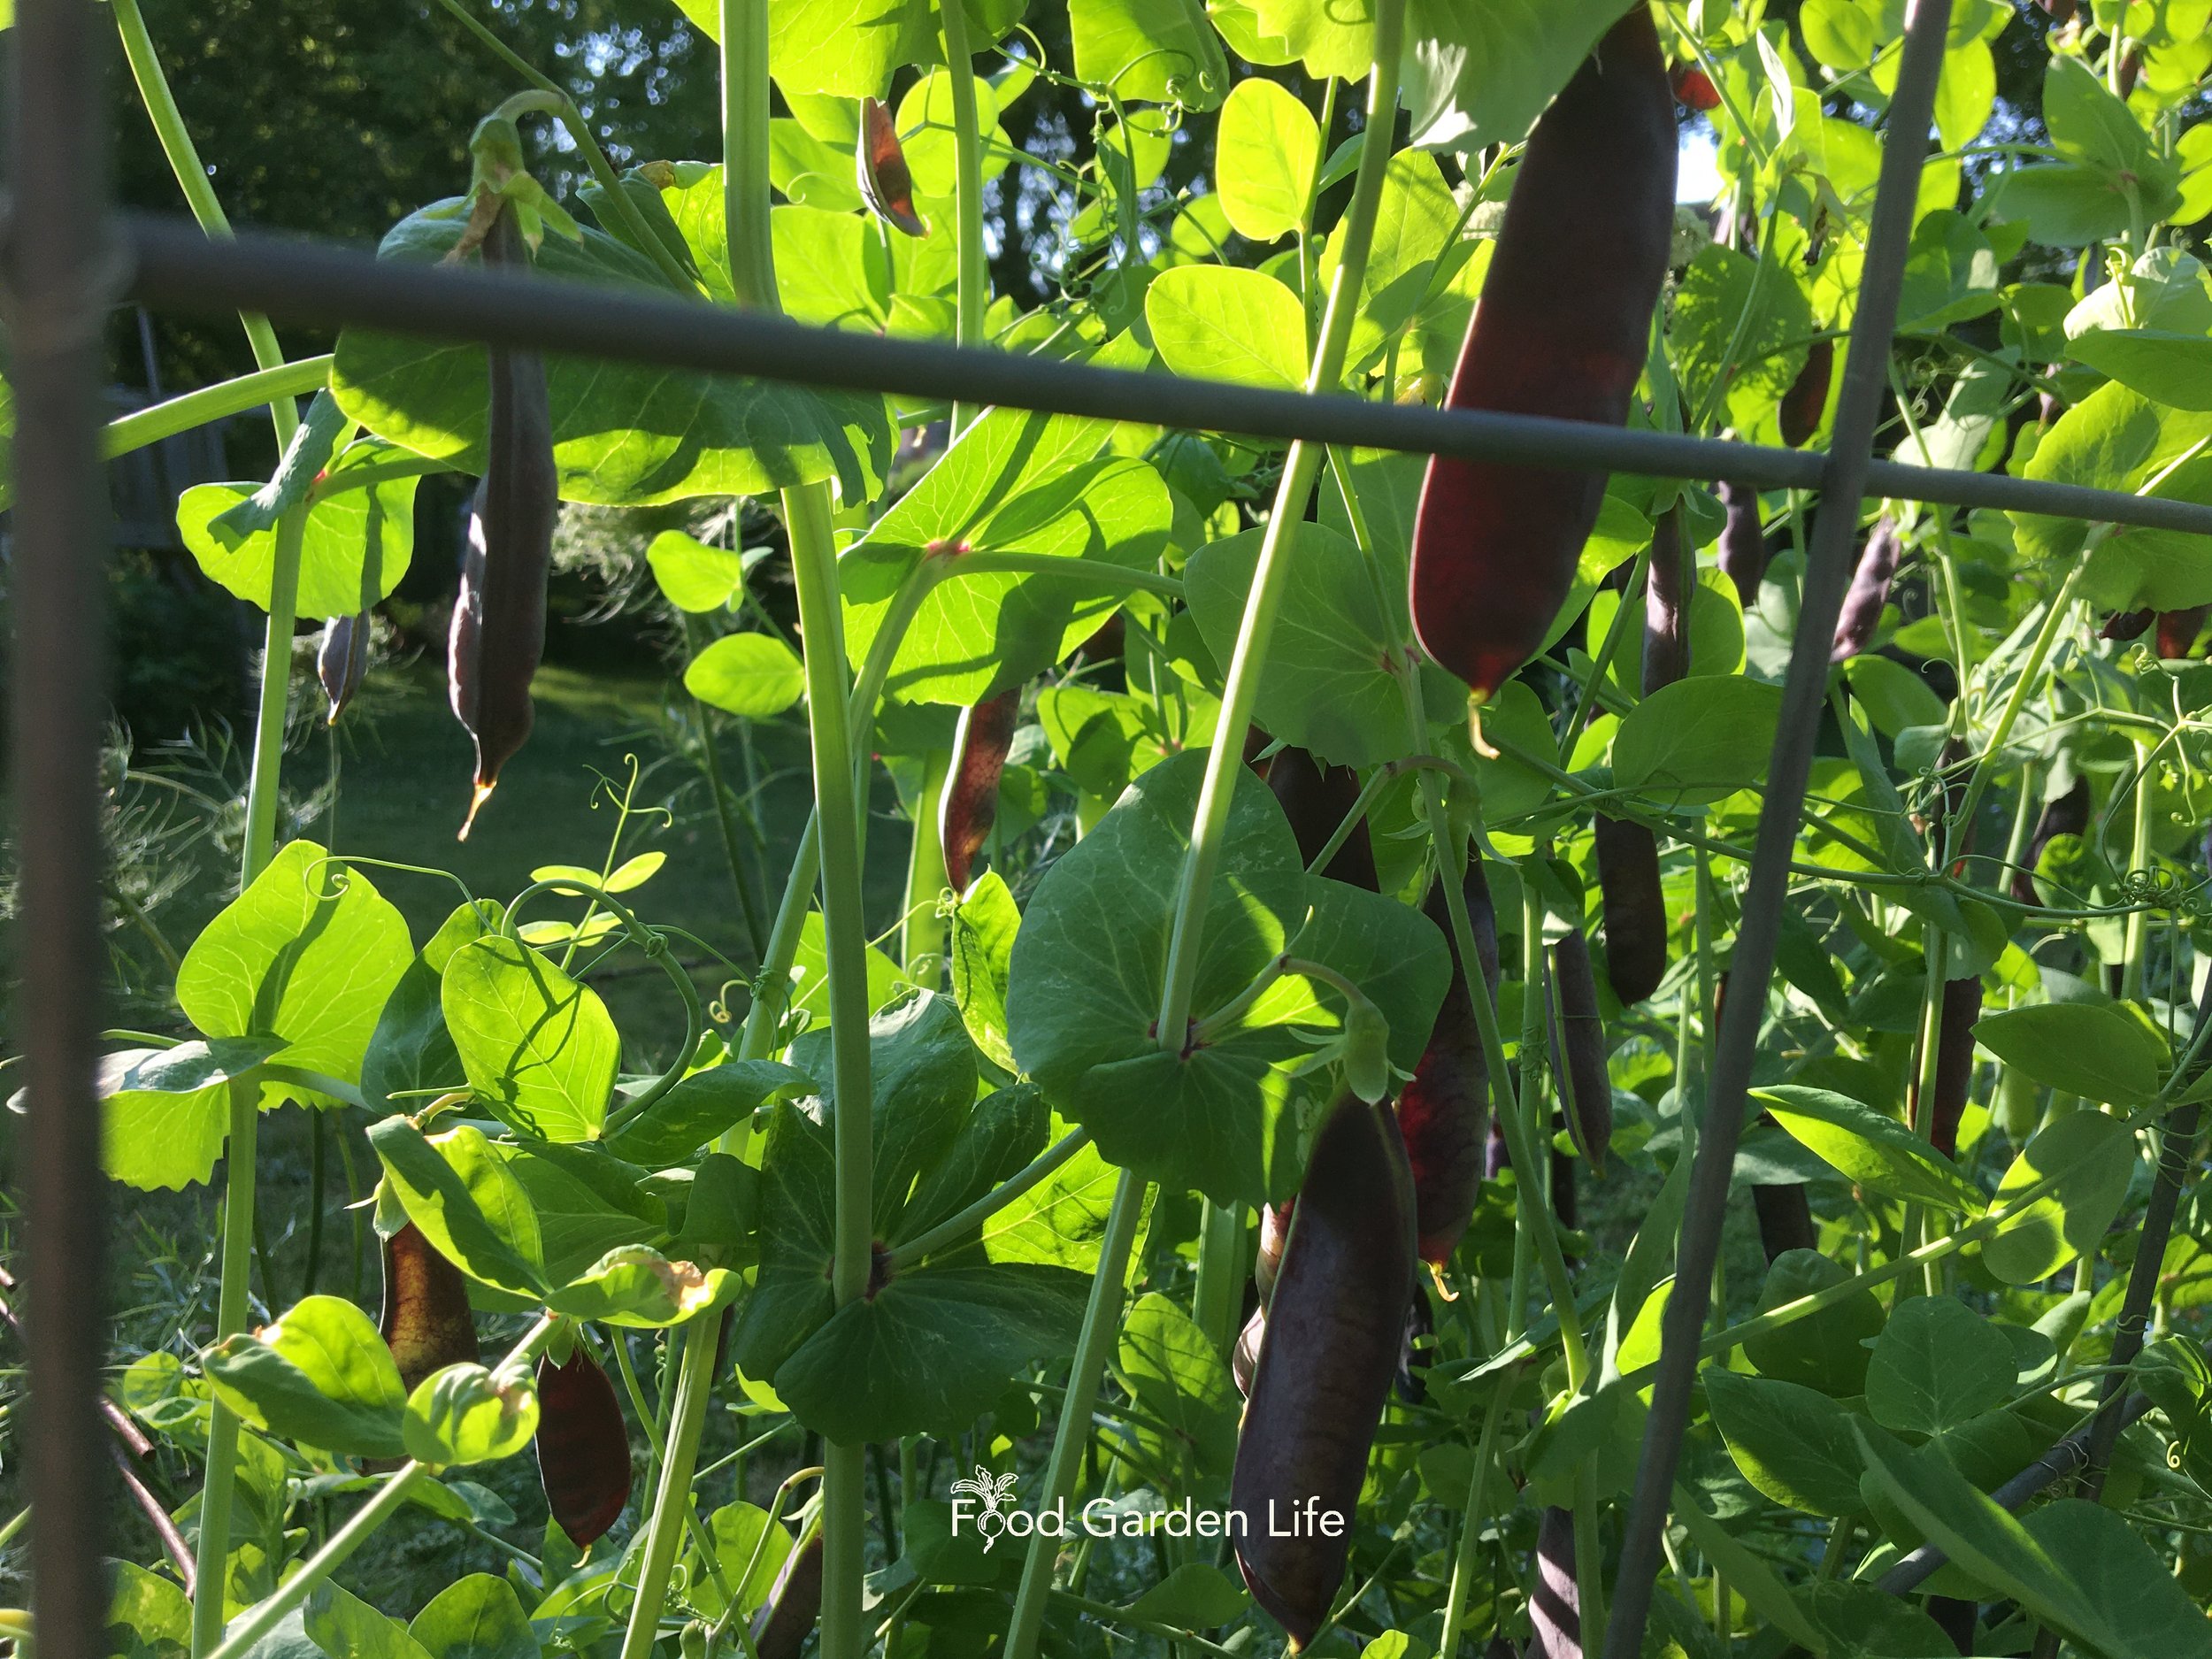
Purple peas
Purple mustard
Purple bok choy
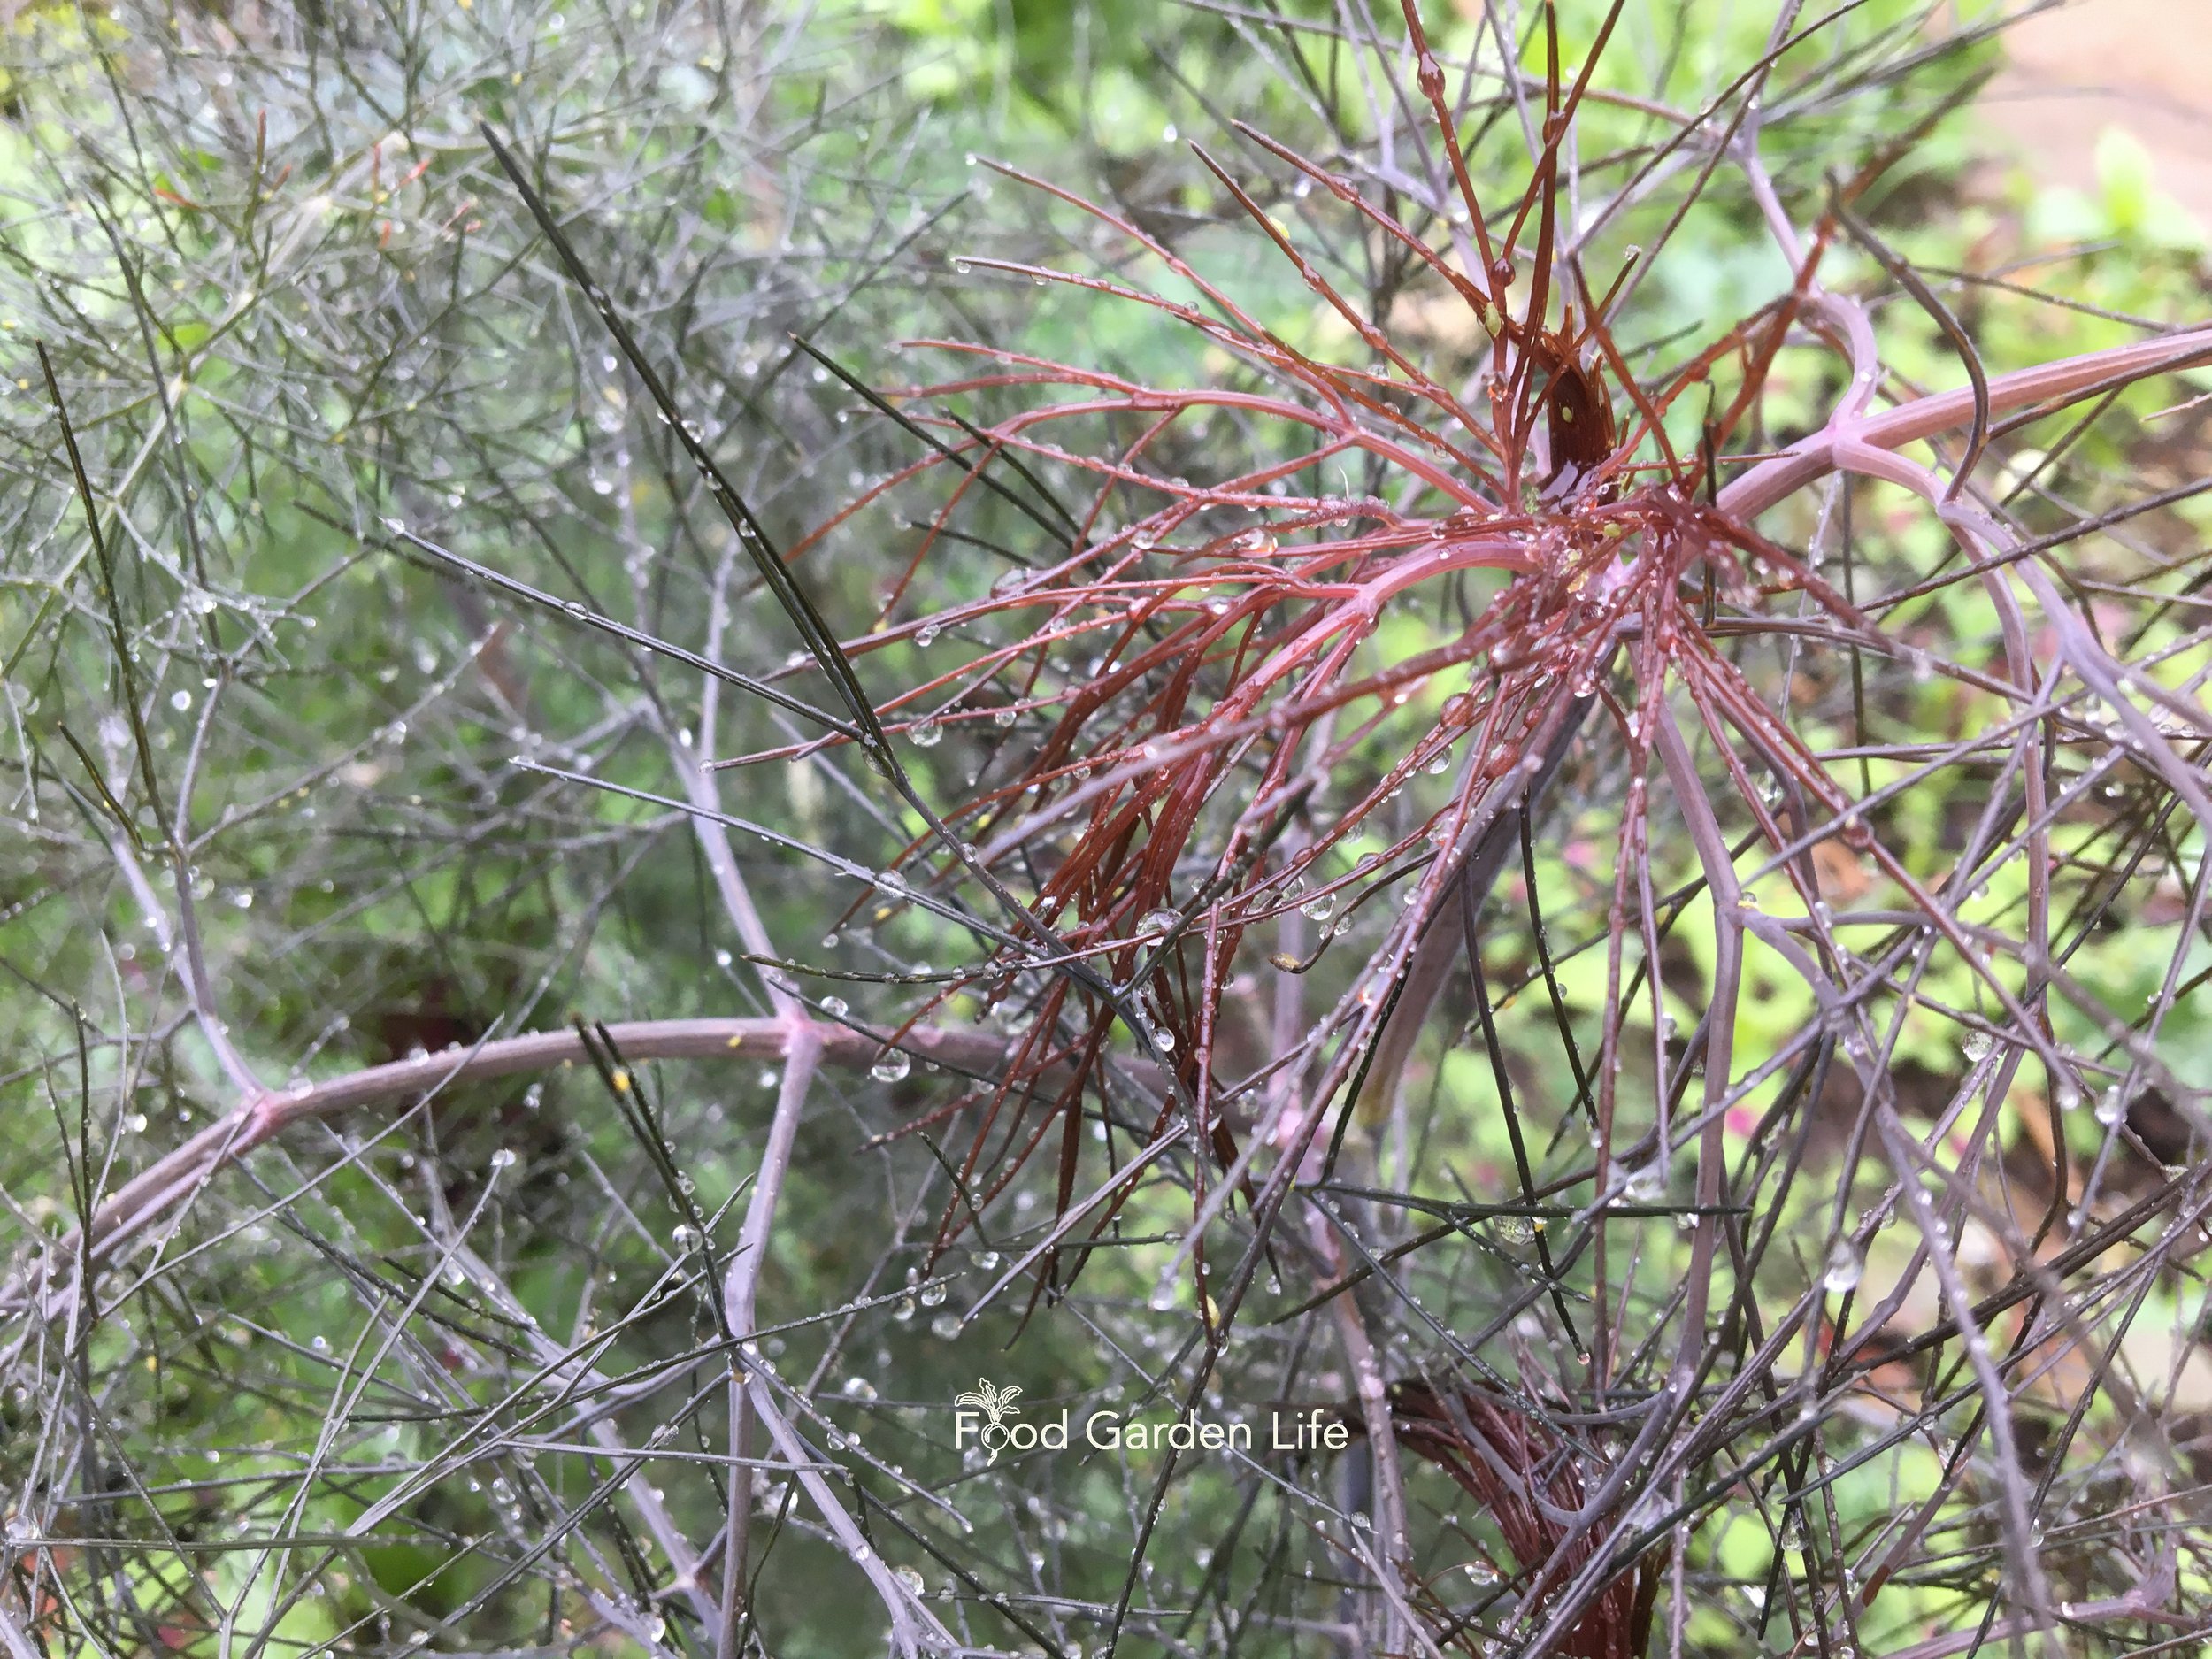
Bronze fennel (OK, looks purple to me!)
Purple-leafed elderberry
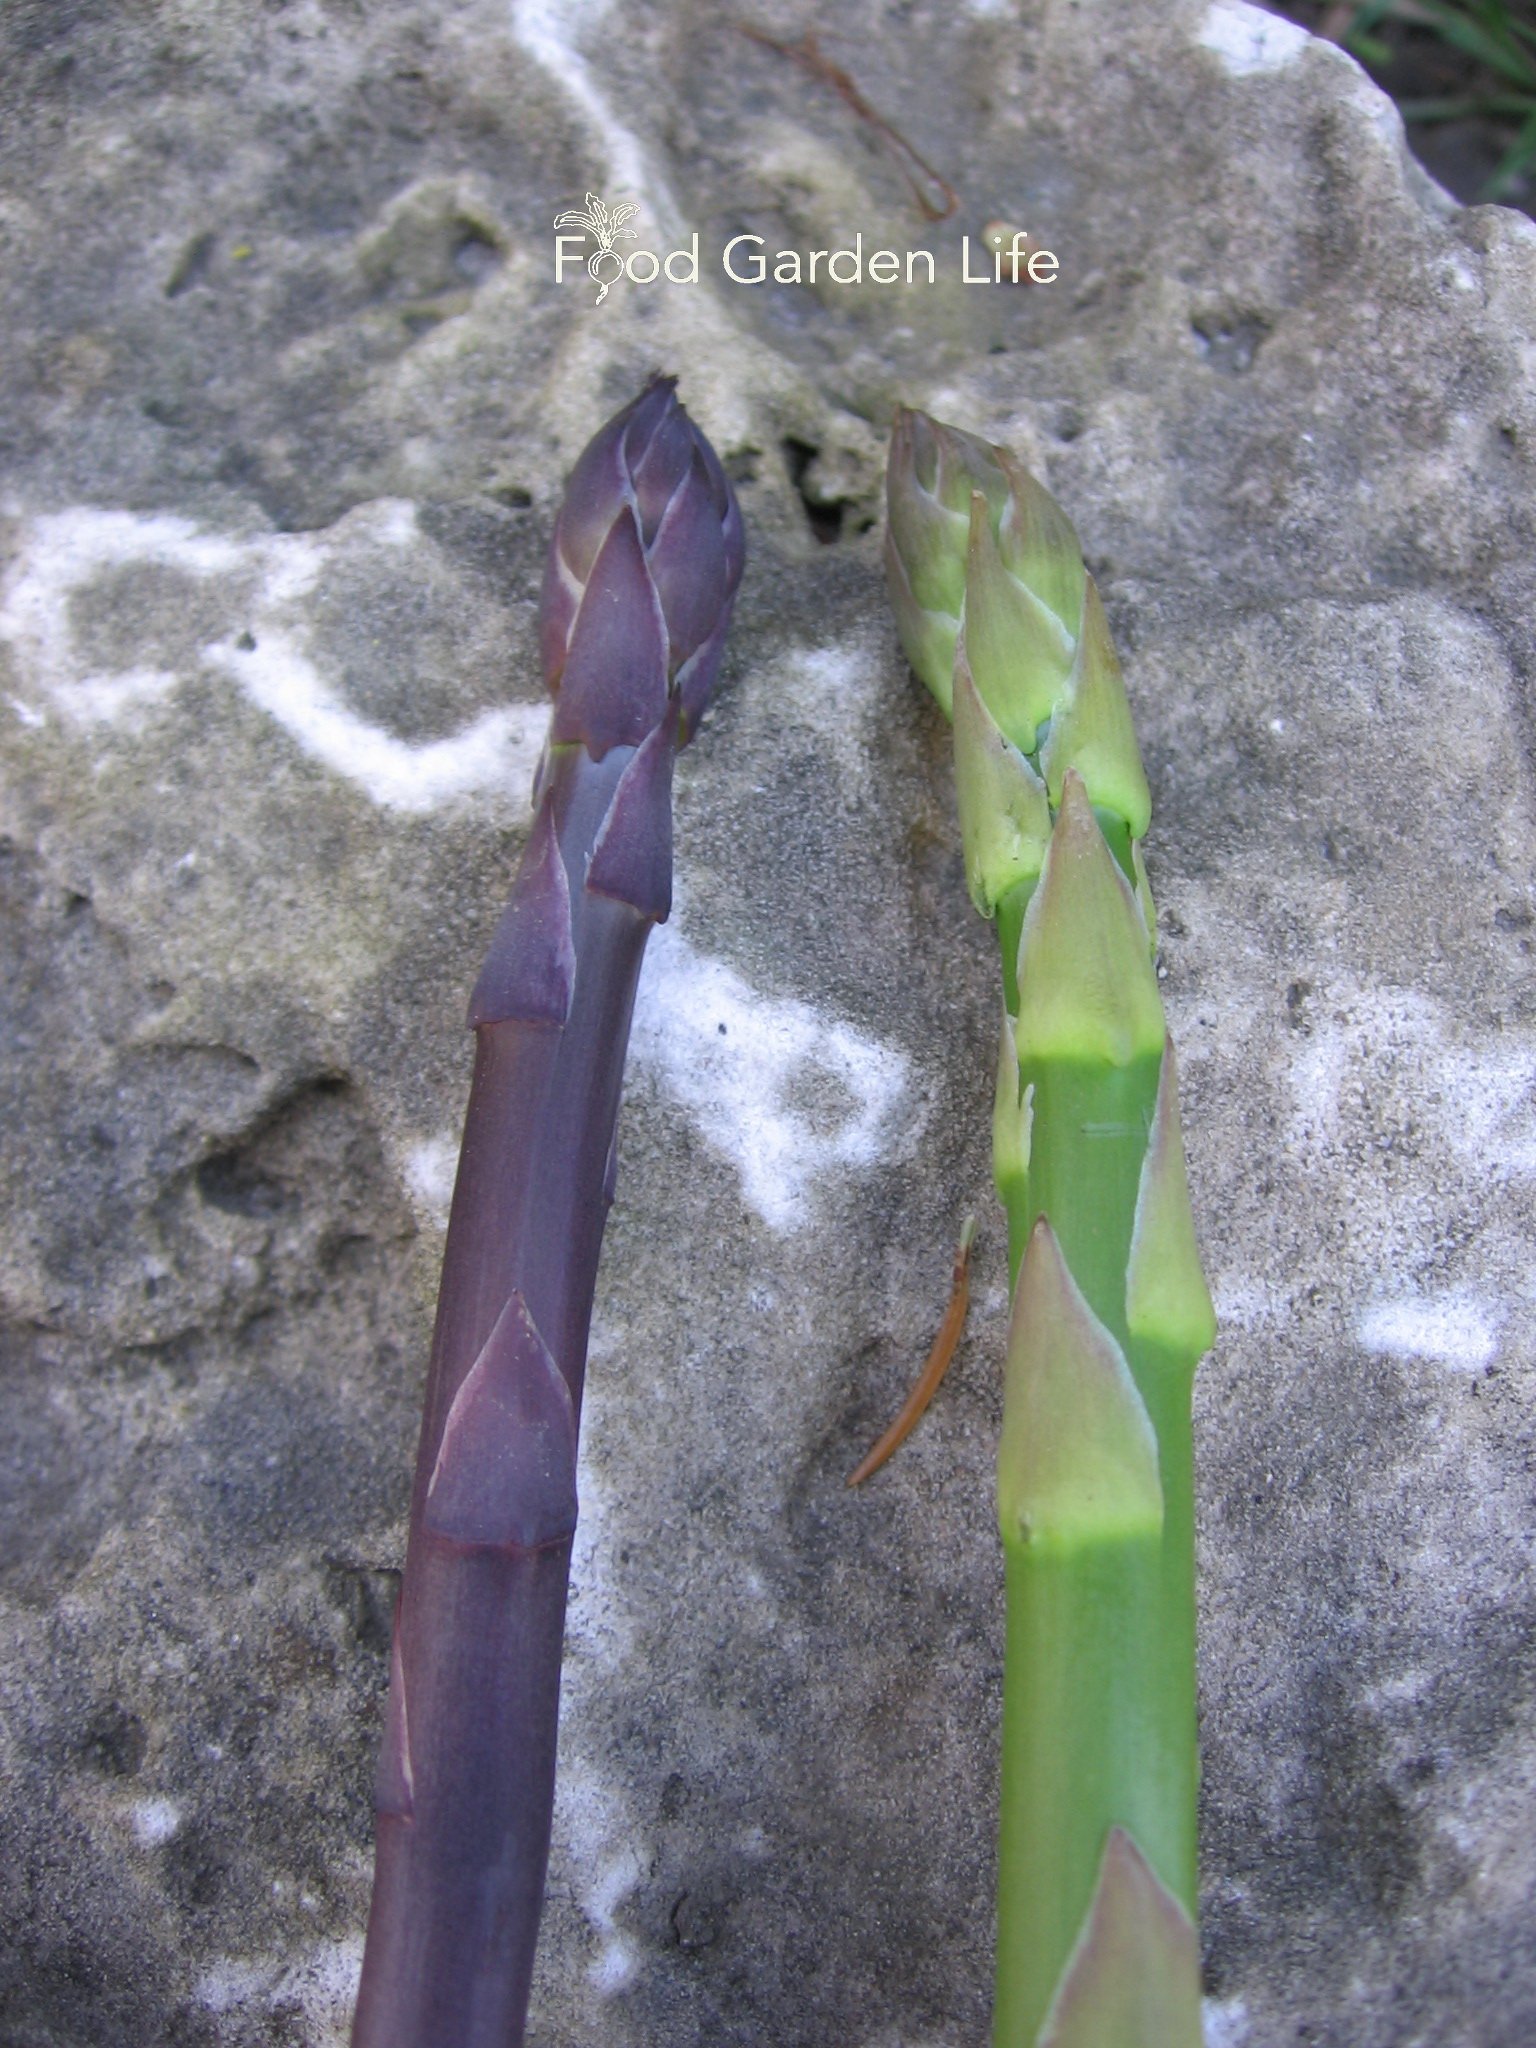
Purple asparagus
Purple might or might not be your jam. If it’s not, think about what delights you.

Where to Put a Kitchen Garden
Every yard is different. Every gardener is different. So there’s no one-size-fits-all answer when it comes to the best location for a kitchen garden.
But my top advice is to think about how you use your yard. Here are questions to think about:
Can it be somewhere close to the house if you want to dart outside for ingredients?
Do you want to see the kitchen garden from the house?
Where do you have growing space available?
Where in your yard are the growing conditions suited to a garden?
Kitchen Garden Plants
My own kitchen garden has annual vegetables, perennial vegetables, herbs, edible flowers, cut flowers, and fruit trees.
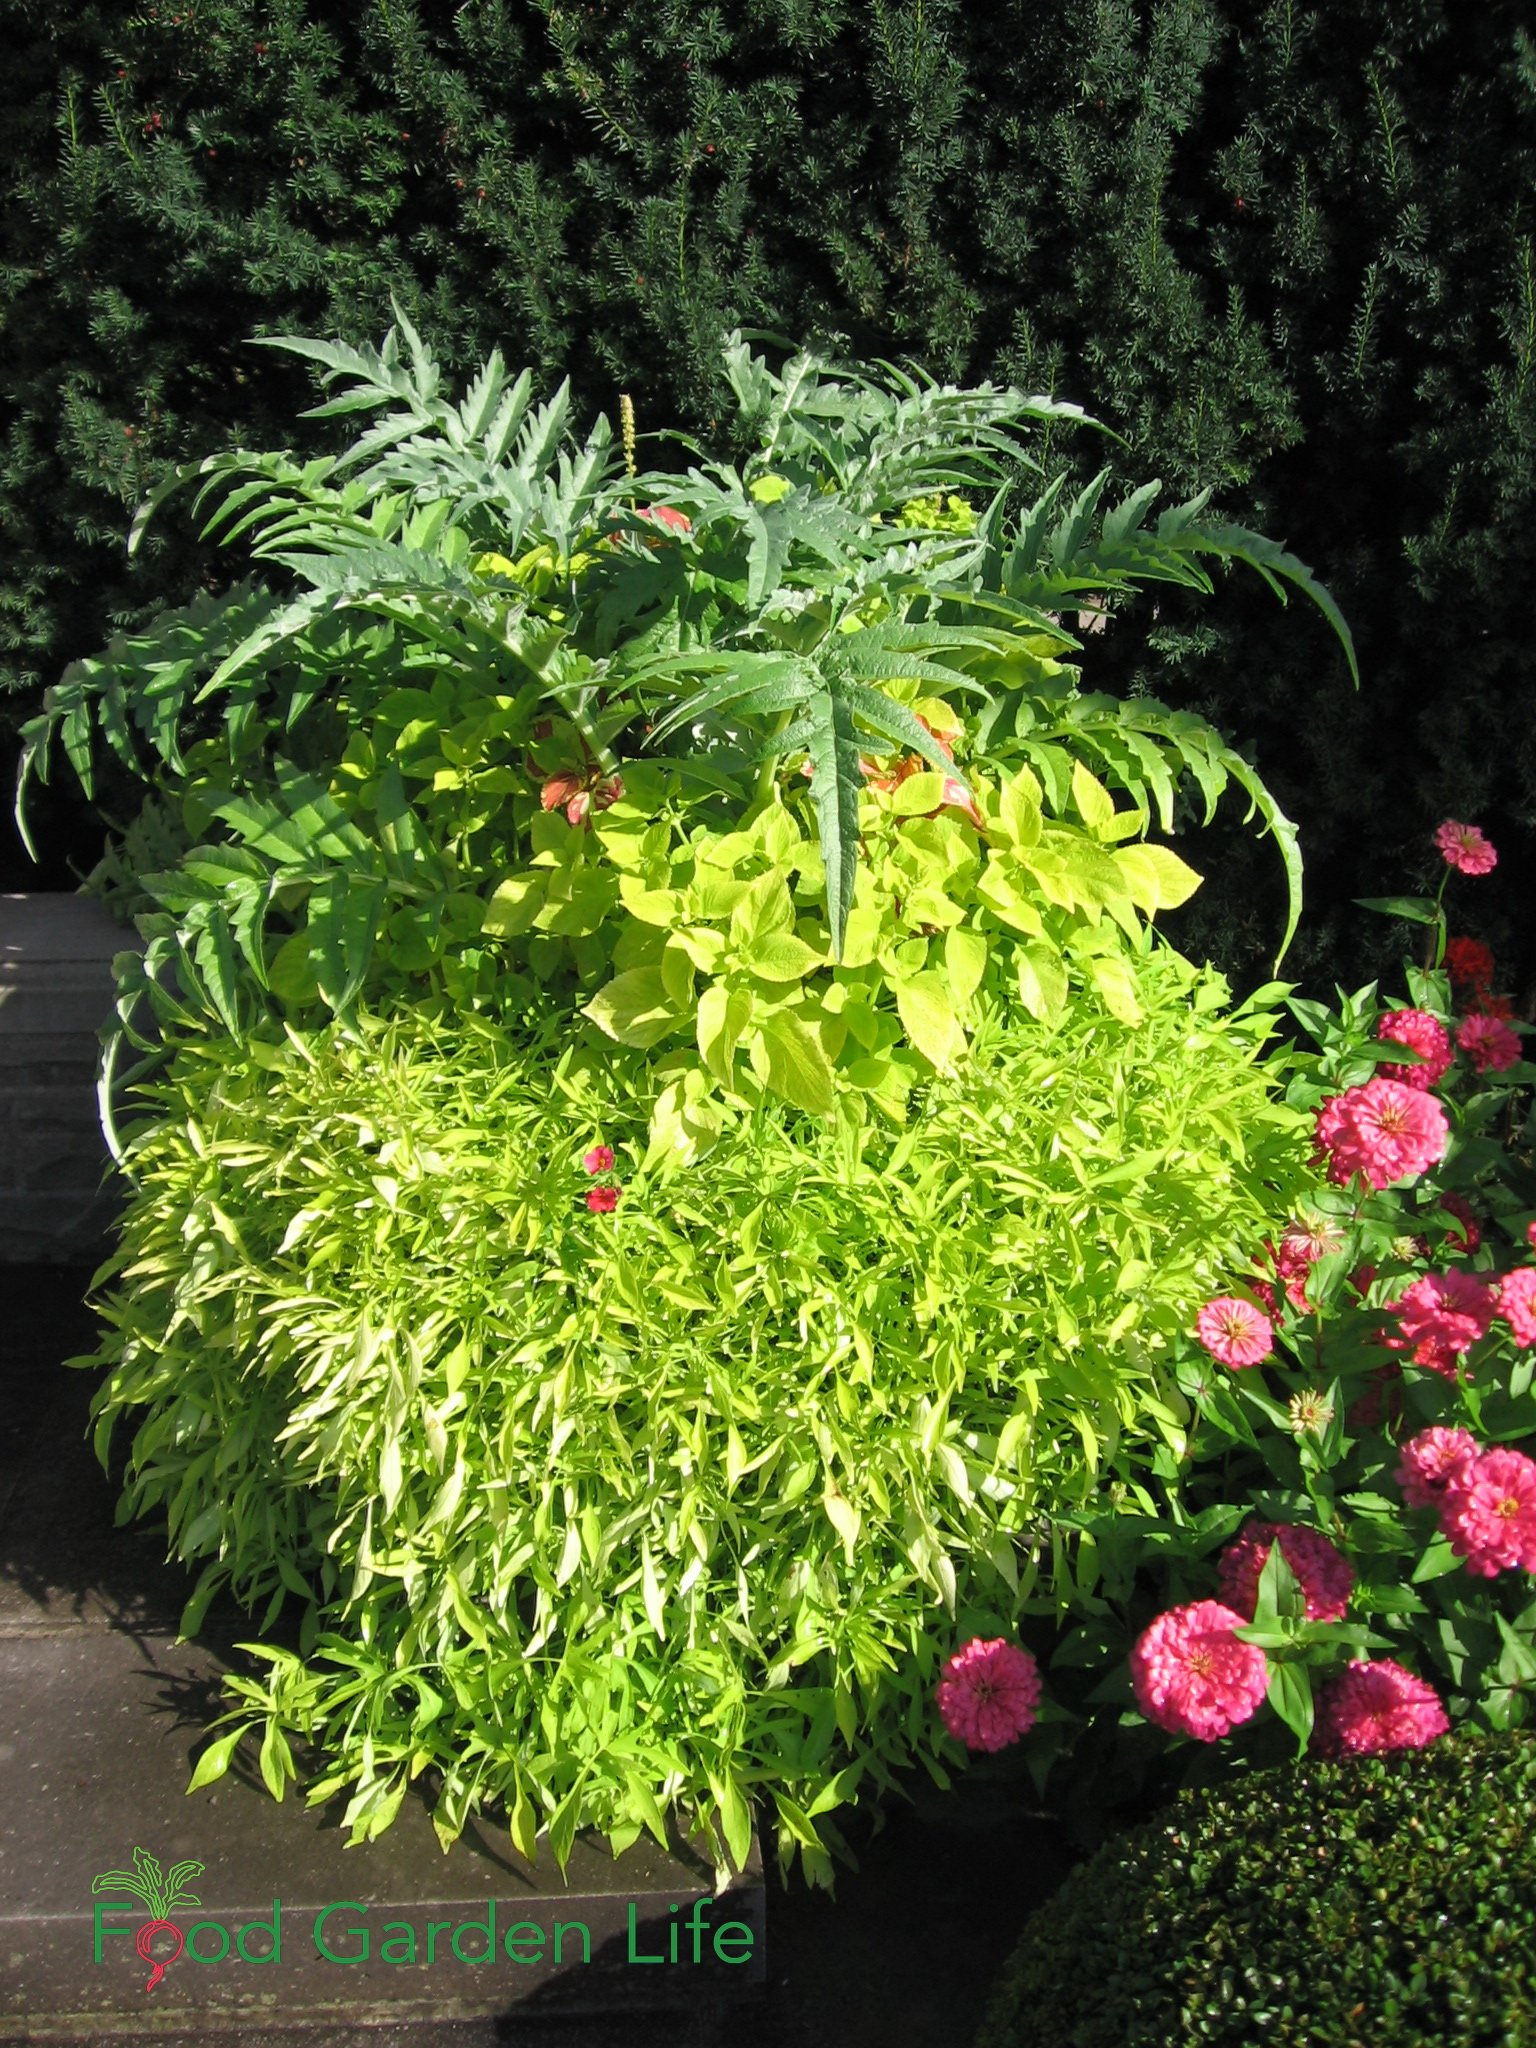
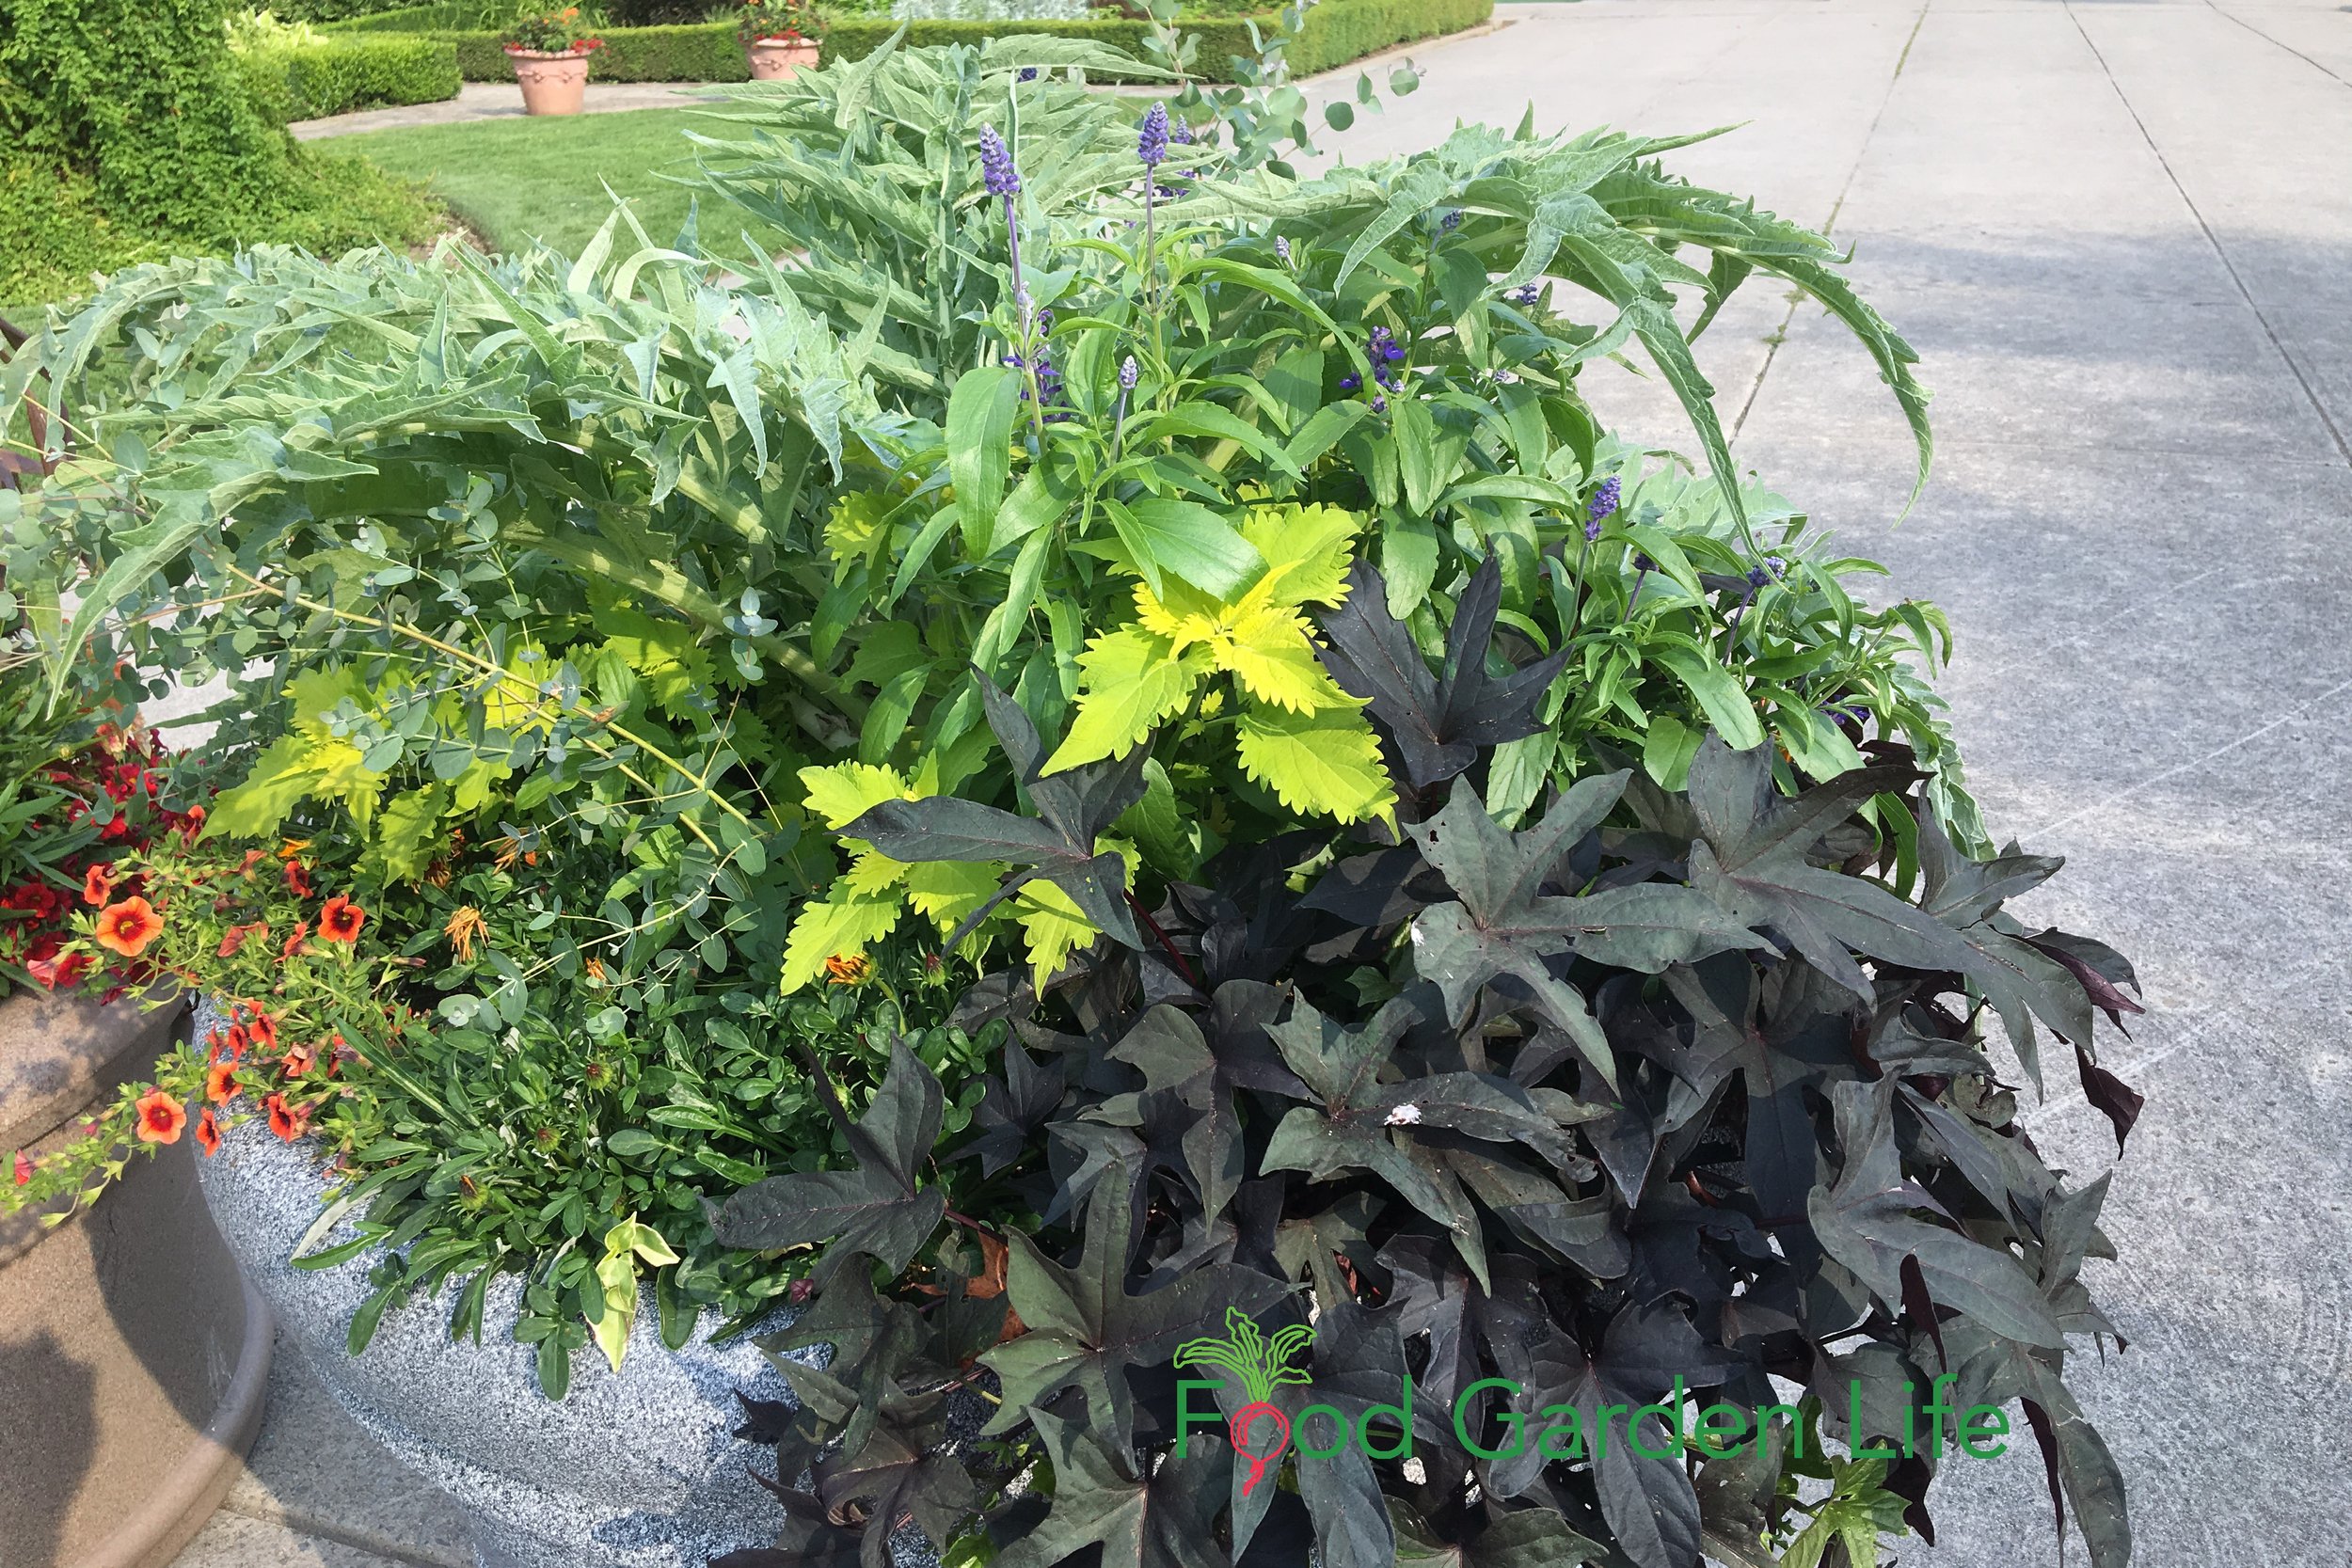
I’m a big believer in weaving flowers into a garden. They looks nice. They attracts pollinators. And they attract beneficial insects (small parasites and predators that help to keep pest populations in check.)

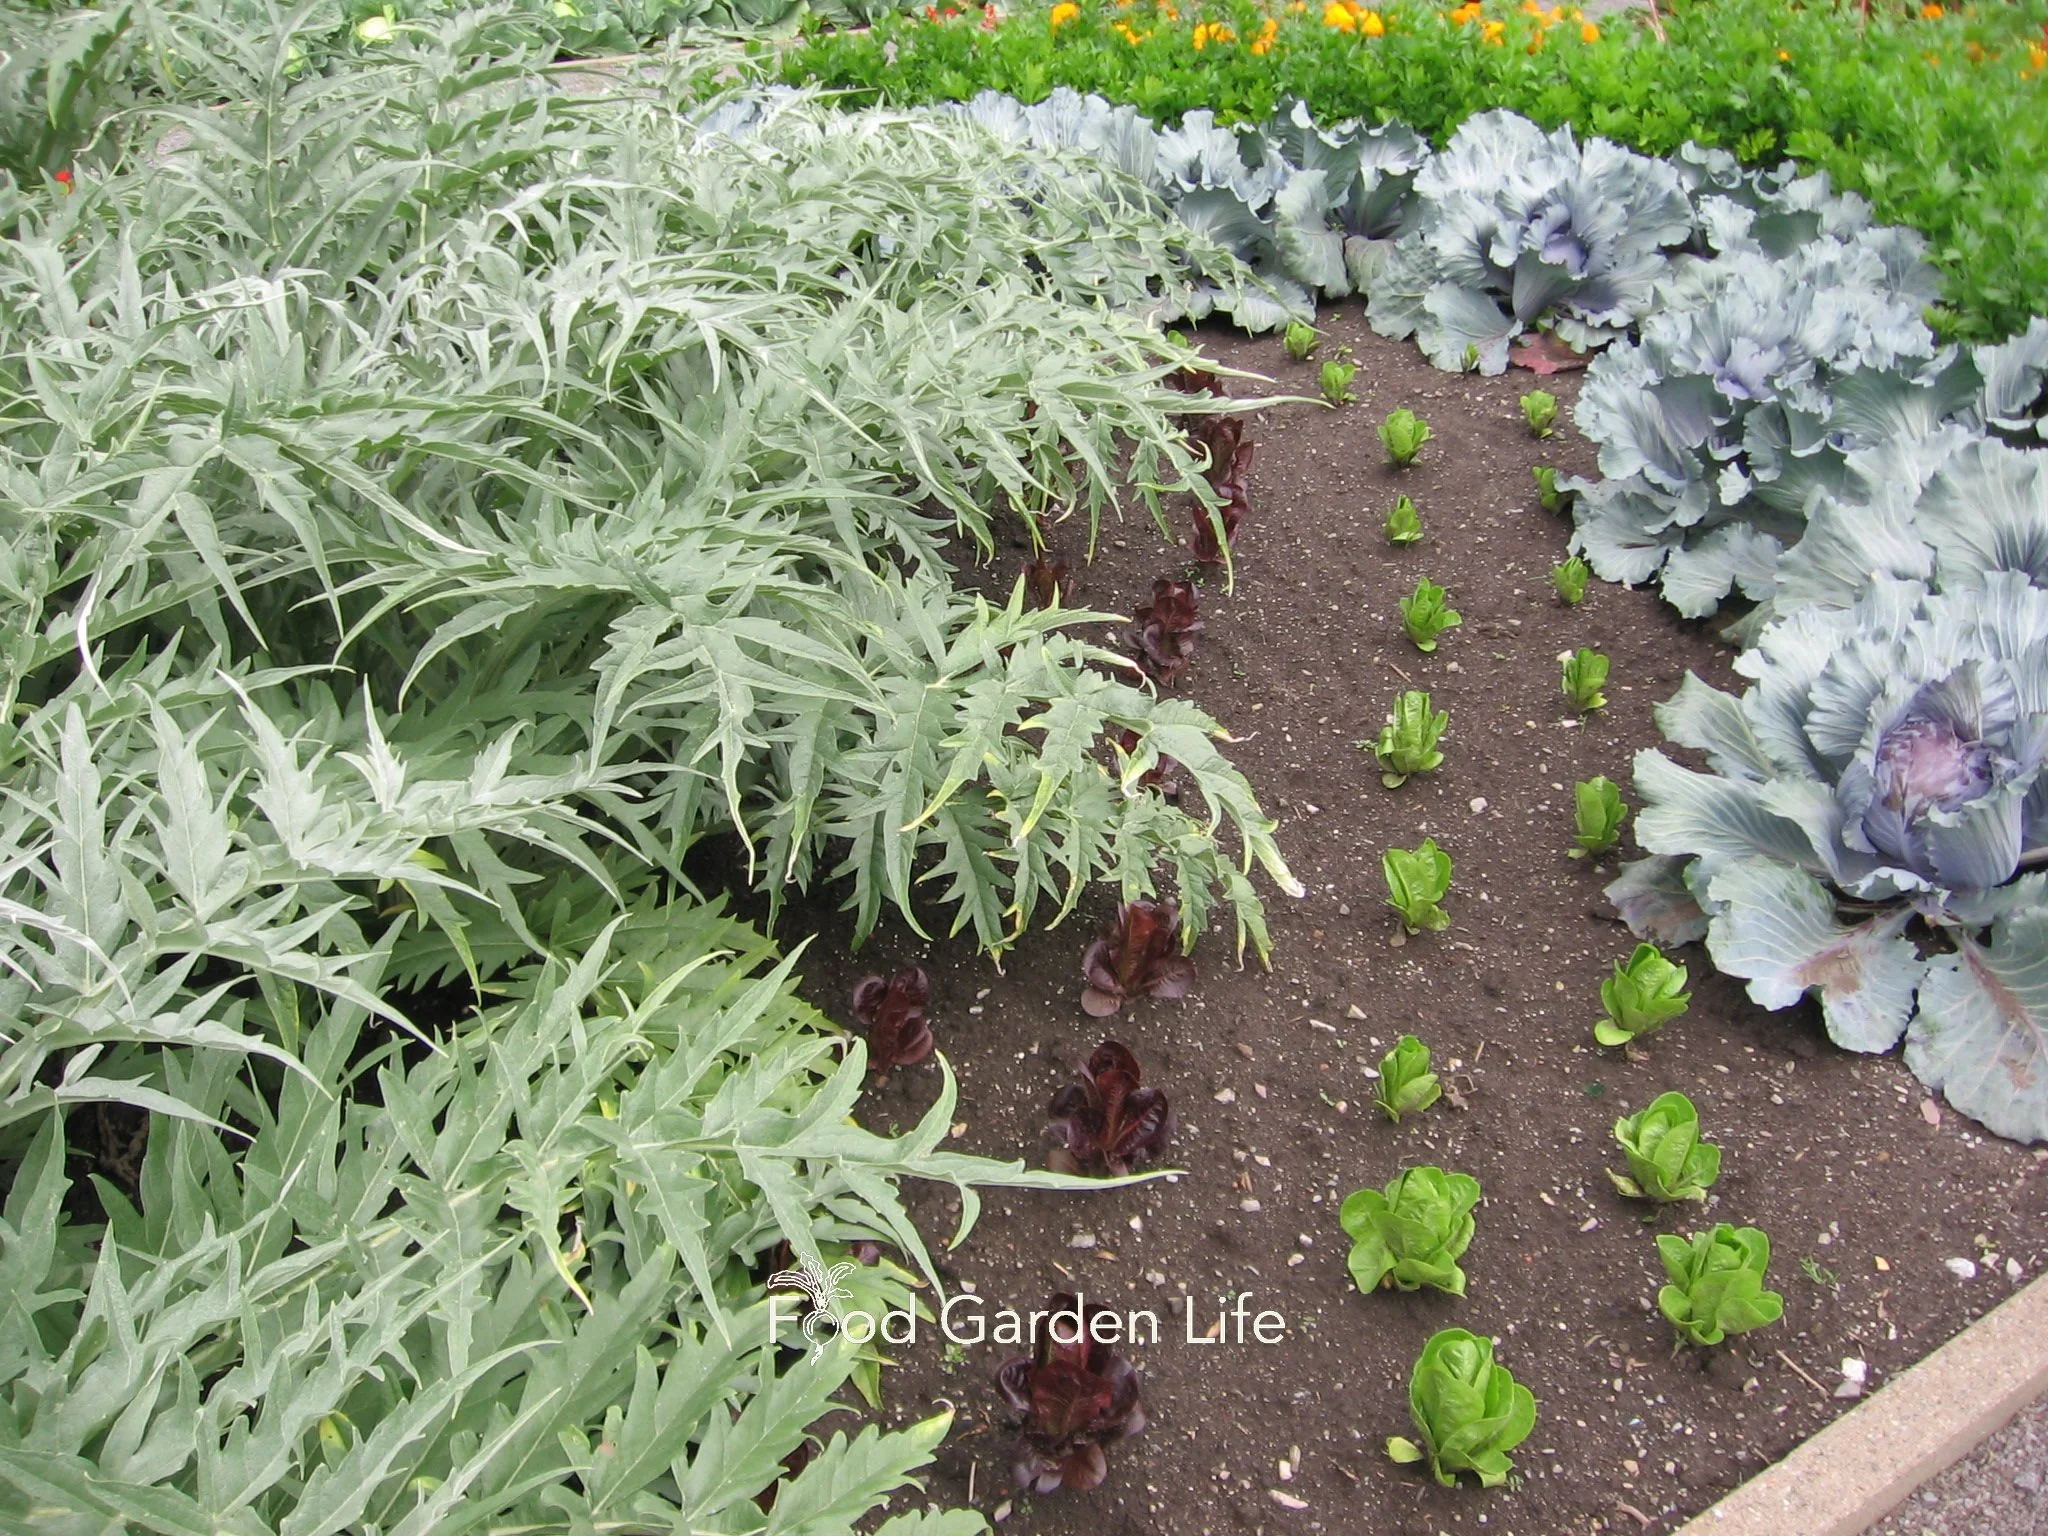
A summer succession crop of lettuce between established cabbage and artichoke crops.
Some crops (e.g. lettuce) don’t last the whole season. As you choose crops, take these short-lived crops into account and plan for succession crops to follow them. (Here’s a guide to succession crops.)
Most importantly, grow things you like to eat. Then add in a few new crops to broaden your palate.
Interested in edible perennials? Check out these edible perennials.
Growing vegetable crops in containers? Here are my favourite container vegetable crops.
Kitchen Garden Layout
How to Start a Kitchen Garden
Layout is a personal thing. I geek out at the mention of traditional French potager gardens.
My kitchen garden doesn’t look quite like a potager—but I took inspiration from that style as I added brick walkways, terracotta pots, and a mix of edibles and flowers for cutting.
Your kitchen garden layout might include raised beds, a cold frame, and large containers. It's up to you.
What is a Potager Garden?
Pin this post!
Think of it as a traditional French kitchen garden. Potager gardens blend colourful flowers, salad greens, fresh fruits, and herbs. There's often symmetry. There's often a focal point.
Oklahoma garden designer Linda Vater loves to create elegant edible gardens. Her work is inspired by the tradition of the potager garden. Get Linda’s tips for making an elegant edible garden.
I love this: Landscape architect Jennifer Bartley says, “The potager is more than a kitchen garden; it is a philosophy of living that is dependent on the seasons and the immediacy of the garden.” Get Jennifer’s tips for designing a kitchen garden.
Spacing in a Kitchen Garden
Experiment with Spacing
Recommendations on seed packets are often geared towards field-scale production, and towards fully mature crops. If you’re planning to harvest baby lettuce, it needs less space than a large, mature head of lettuce.
Another way to look at spacing is through the lens of rows versus blocks. I talk about rows and blocks in this article with 7 garden layout ideas.
Top Kitchen Garden Tip
Be wildly creative.
More Fun Theme Gardens
Fun Kitchen Garden Ideas for Kids (and Adults too!)
In Gardening with Emma, my daughter has a rainbow spread of veggies. Perhaps a rainbow planting in your kitchen garden?
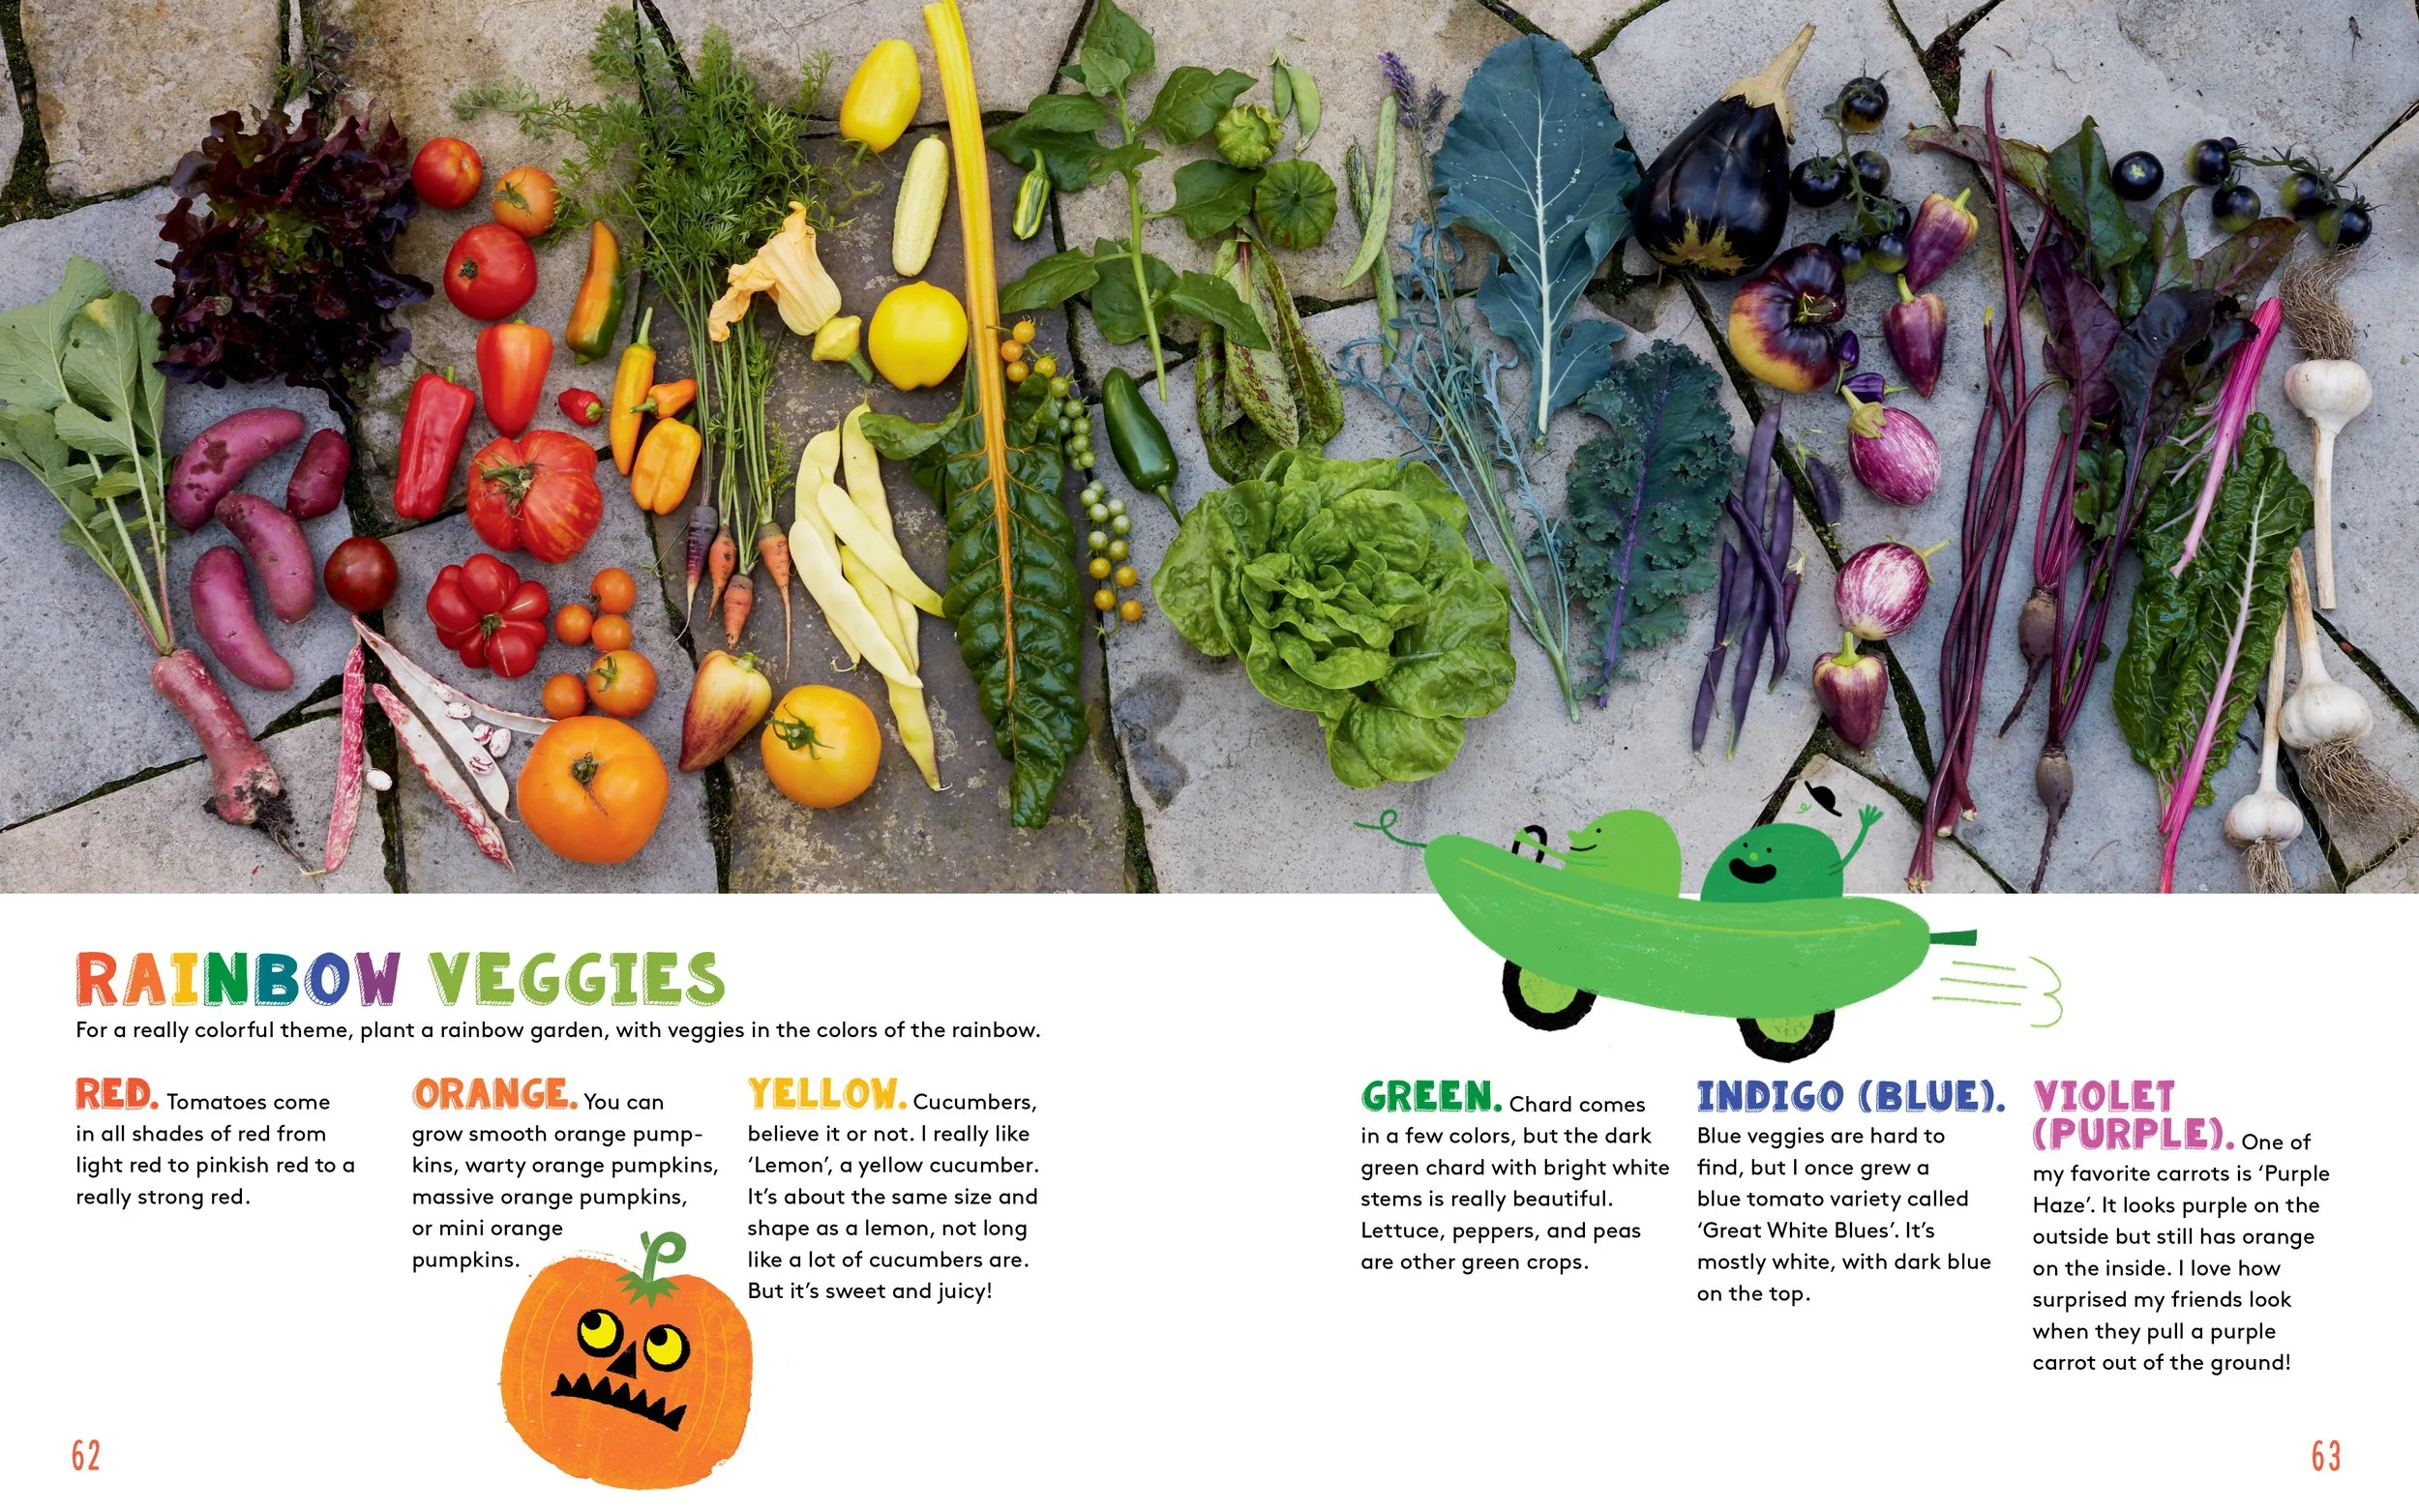
From the book Gardening with Emma.
How About a Dragon-Themed Garden?
Emma and I gave a talk about kids gardening once and the next day a parent emailed to say that her son came home inspired to grow a dragon-themed garden!
Any kids you want to inspire to garden? Get ideas for dragon-themed plants.
Find This Helpful?
Enjoy not being bombarded by annoying ads?
Appreciate the absence of junky affiliate links for products you don’t need?
It’s because we’re reader supported.
If we’ve helped in your food-gardening journey, we’re glad of support. You can high-five us below. Any amount welcome!
More Kitchen Gardening Ideas
Articles and Interviews
For more posts about how to grow vegetables and kitchen garden design, head over to the vegetable gardening home page.
Courses: Edible Gardening
Want more ideas to make a great kitchen garden? We have great online classes that you can work through at your own pace.
Kitchen Garden Consultation
Book a virtual consultation so we can talk about your situation, your challenges, and your opportunities and come up with ideas for your kitchen garden.
We can dig into techniques, suitable plants, and how to pick projects that fit your available time.
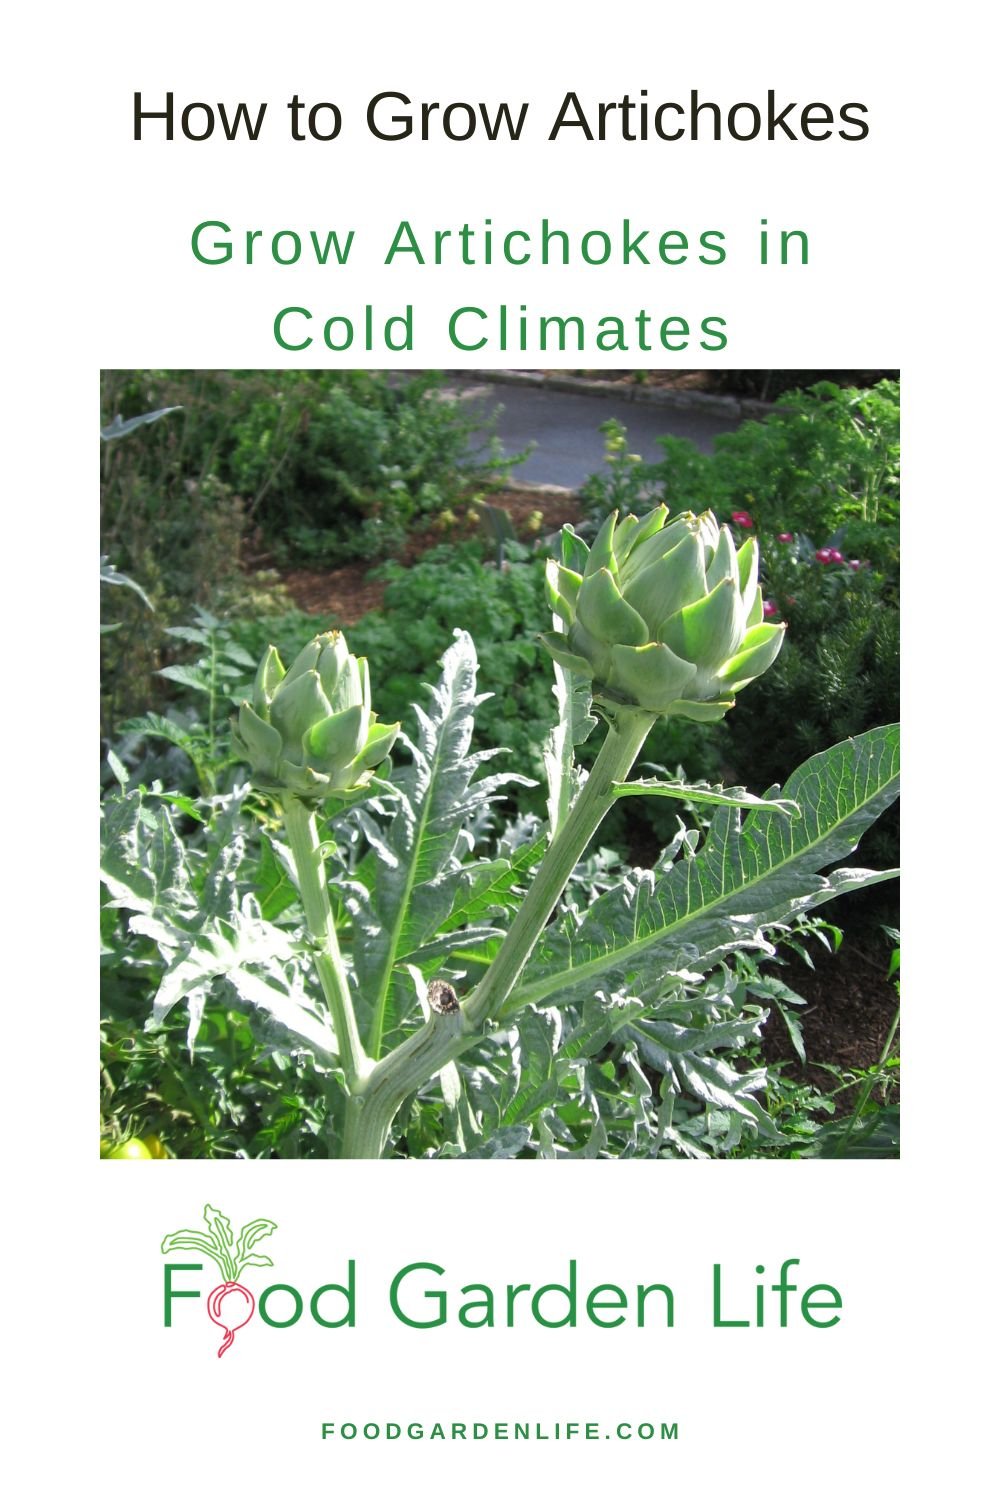
Guide: Grow Globe Artichokes in Cold Climates
Yes, you can grow this Mediterranean vegetable even if you're in a cold climate. This guide tells you what to do to harvest your own homegrown artichokes.
By Steven Biggs
Planting Artichokes for the Delicious Flower Buds
Growing artichokes in cold climates is done differently than in milder climates.
“Dad, make lots of garlic butter!” It’s the first thing my kids say when I tell them I’m cooking fresh artichokes. Fine with me! I love the garlic butter as much as they do.
Besides the taste (and the garlic butter) there’s another thing I love about globe artichoke: It’s slow to eat, so there’s lots of time for family banter. We chat as we peel off bracts, dip them in butter, and repeat.
It’s the antithesis of fast food.
In our household we just call them artichokes. But some people call them globe artichokes – and in the UK you might hear them called French artichokes. (And if you like Latin names, Cynara cardunculus, var scolymus.)
Whatever you call them, you’re eating unopened artichoke flowers. Edible flower buds! (Unlike Jerusalem artichoke, where you’re eating a tuber.)
It can be a challenge to grow artichokes in cold climates. Keep reading, this article will explain how to grow your own artichoke plants and get flower buds.
You can grow artichokes in northern climates…with the right variety, temperature, and timing.
Growing Artichokes in Northern Gardens
Artichoke is a tender perennial, meaning that it lives for a number of years where there are mild winters. But in a colder, northern climate, it does not survive the winter.
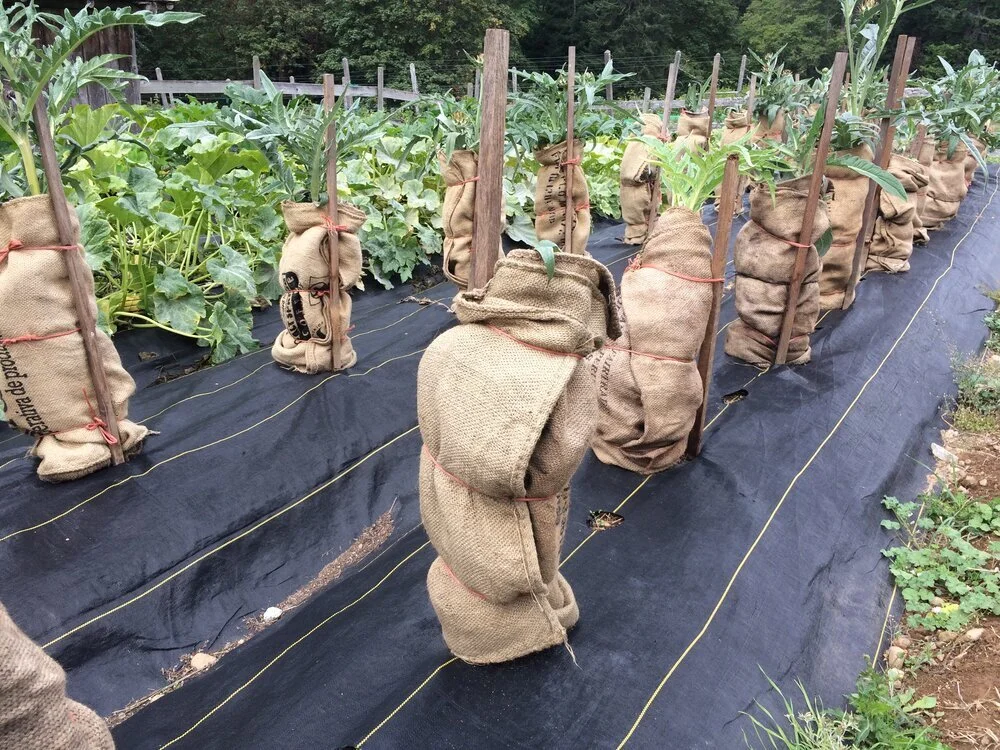
That means northern gardeners grow artichoke as an annual. (I have tried digging up mature plants in the fall to overwinter in my cold cupboard…but, frankly, it’s not worth the bother.)
In warmer areas, artichoke can be a big plant. But in the cold-climate garden, one metre (3’) high and wide is the biggest I’d expect…and probably smaller.
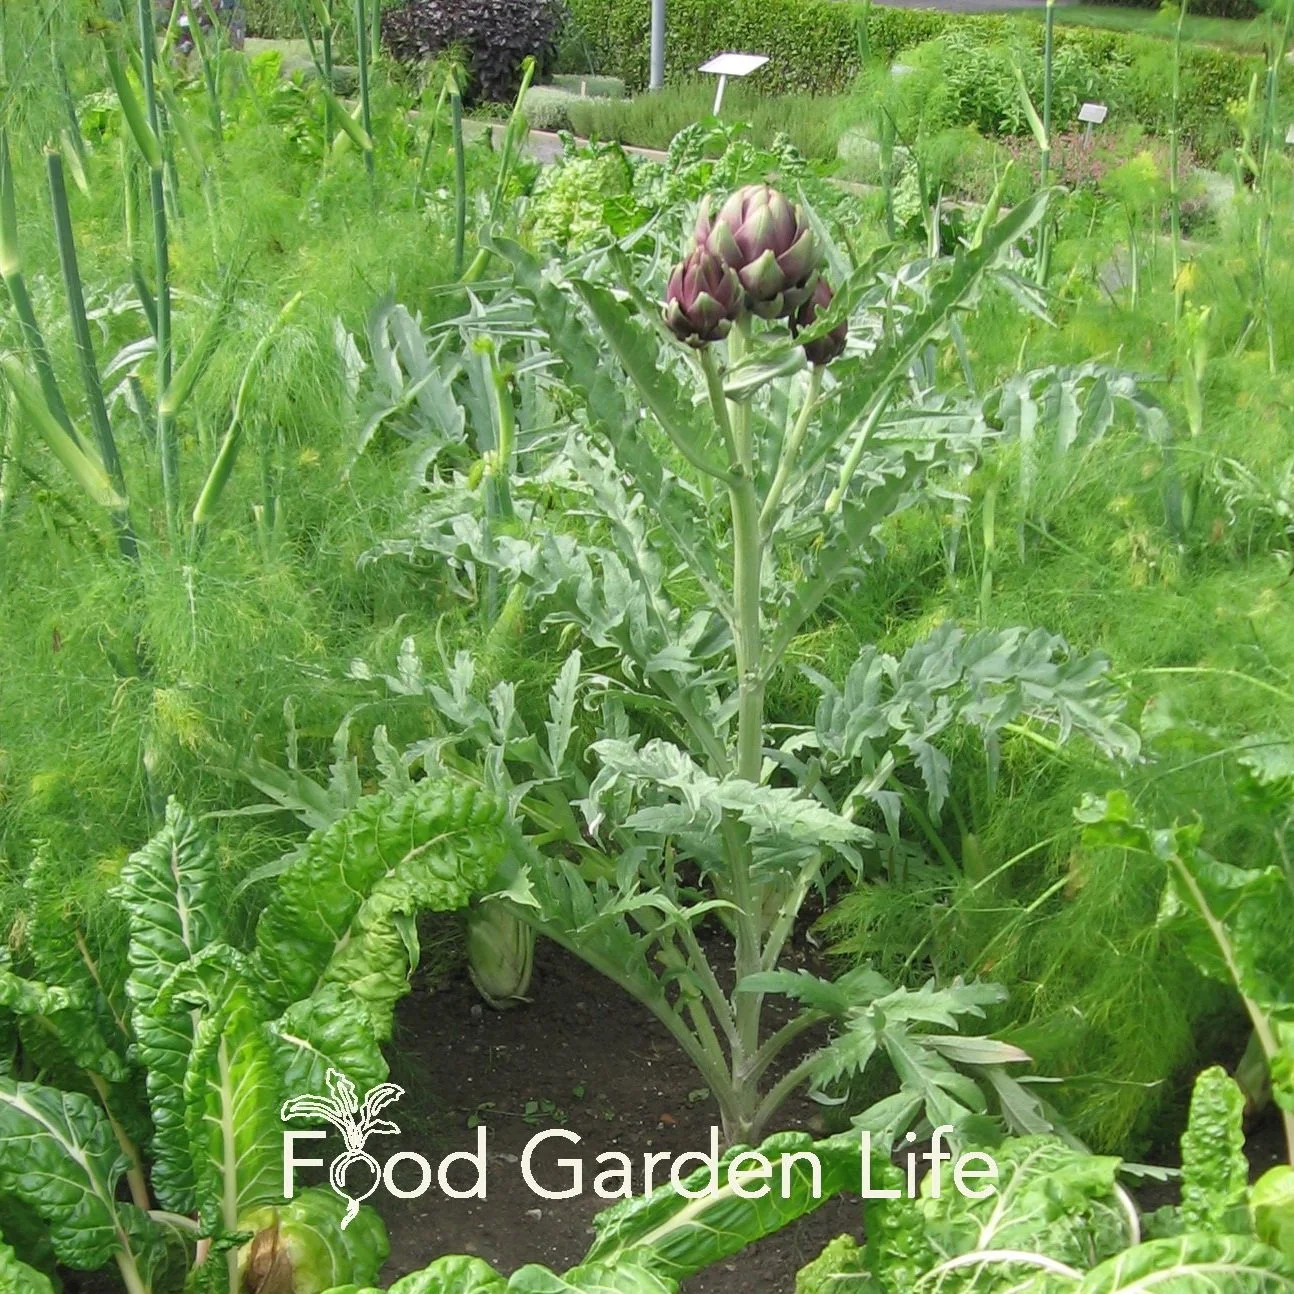
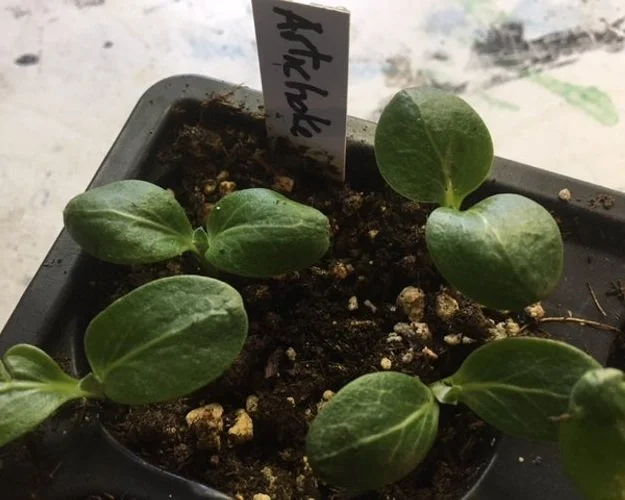
In cold climates, artichoke can be grown successfully from seed
How to Grow Artichoke in a Cold Climate
In areas where it survives the winter, it is often grown from “offsets,” which are side shoots that come up from established plants. These are cut off and rooted to make new plants.
If you’re in a cold climate, you probably won’t find offsets for sale. The alternative is to grow artichoke from seed.
That’s what I do.
Don’t think of seed-growing artichoke as second best. I know of a farm near where I live, in Toronto, that grows first-rate seed-grown artichokes on a large scale.
Just make sure you have a long enough growing season, upwards of about 100 frost-free days.
Grow Artichoke from Seed
Start artichoke seeds indoors, 8-10 weeks before the average last frost date for your area. Plant seeds about 6 mm (1/4”) deep. A warmer temperature helps with germination, so I put mine on a heat mat. (Hot water radiators or heated floors are good heat sources too!)
Once your artichoke seedlings are up and growing, take them off the heat.
I usually plant 3-4 seeds in a small pot. Once they’ve grown a second set of leaves, I separate them and give them their own pots.
Trick
Like many seed-grown perennials, flowering in the first year isn’t assured. To get flowers in same year that you grow your artichokes from seed, you give your young plants a cool-temperature treatment.
It seems counter-intuitive to a lot of gardeners. We’re used to coddling our seedlings. And that’s true for lots of the heat-loving crops we grow such as tomatoes, peppers, eggplants.
But…artichoke plants are different. And the cool-temperature tweak helps induce flowering.
So here’s the idea:
Imagine a young artichoke seedling growing in a warmer zone, where it grows as a perennial: The first year it makes leaves, then it lives through the mild winter, and then, finally, it flowers in its second year
You don’t have the luxury of a second year because your cold winter temperatures will kill your artichoke
But…you can expose your artichoke seedlings to cool conditions before planting them into the garden
And those cool conditions before transplanting into the garden do the same thing as a winter would – they move the plant into flower-production mode
Chill Treatment for Artichoke Plants
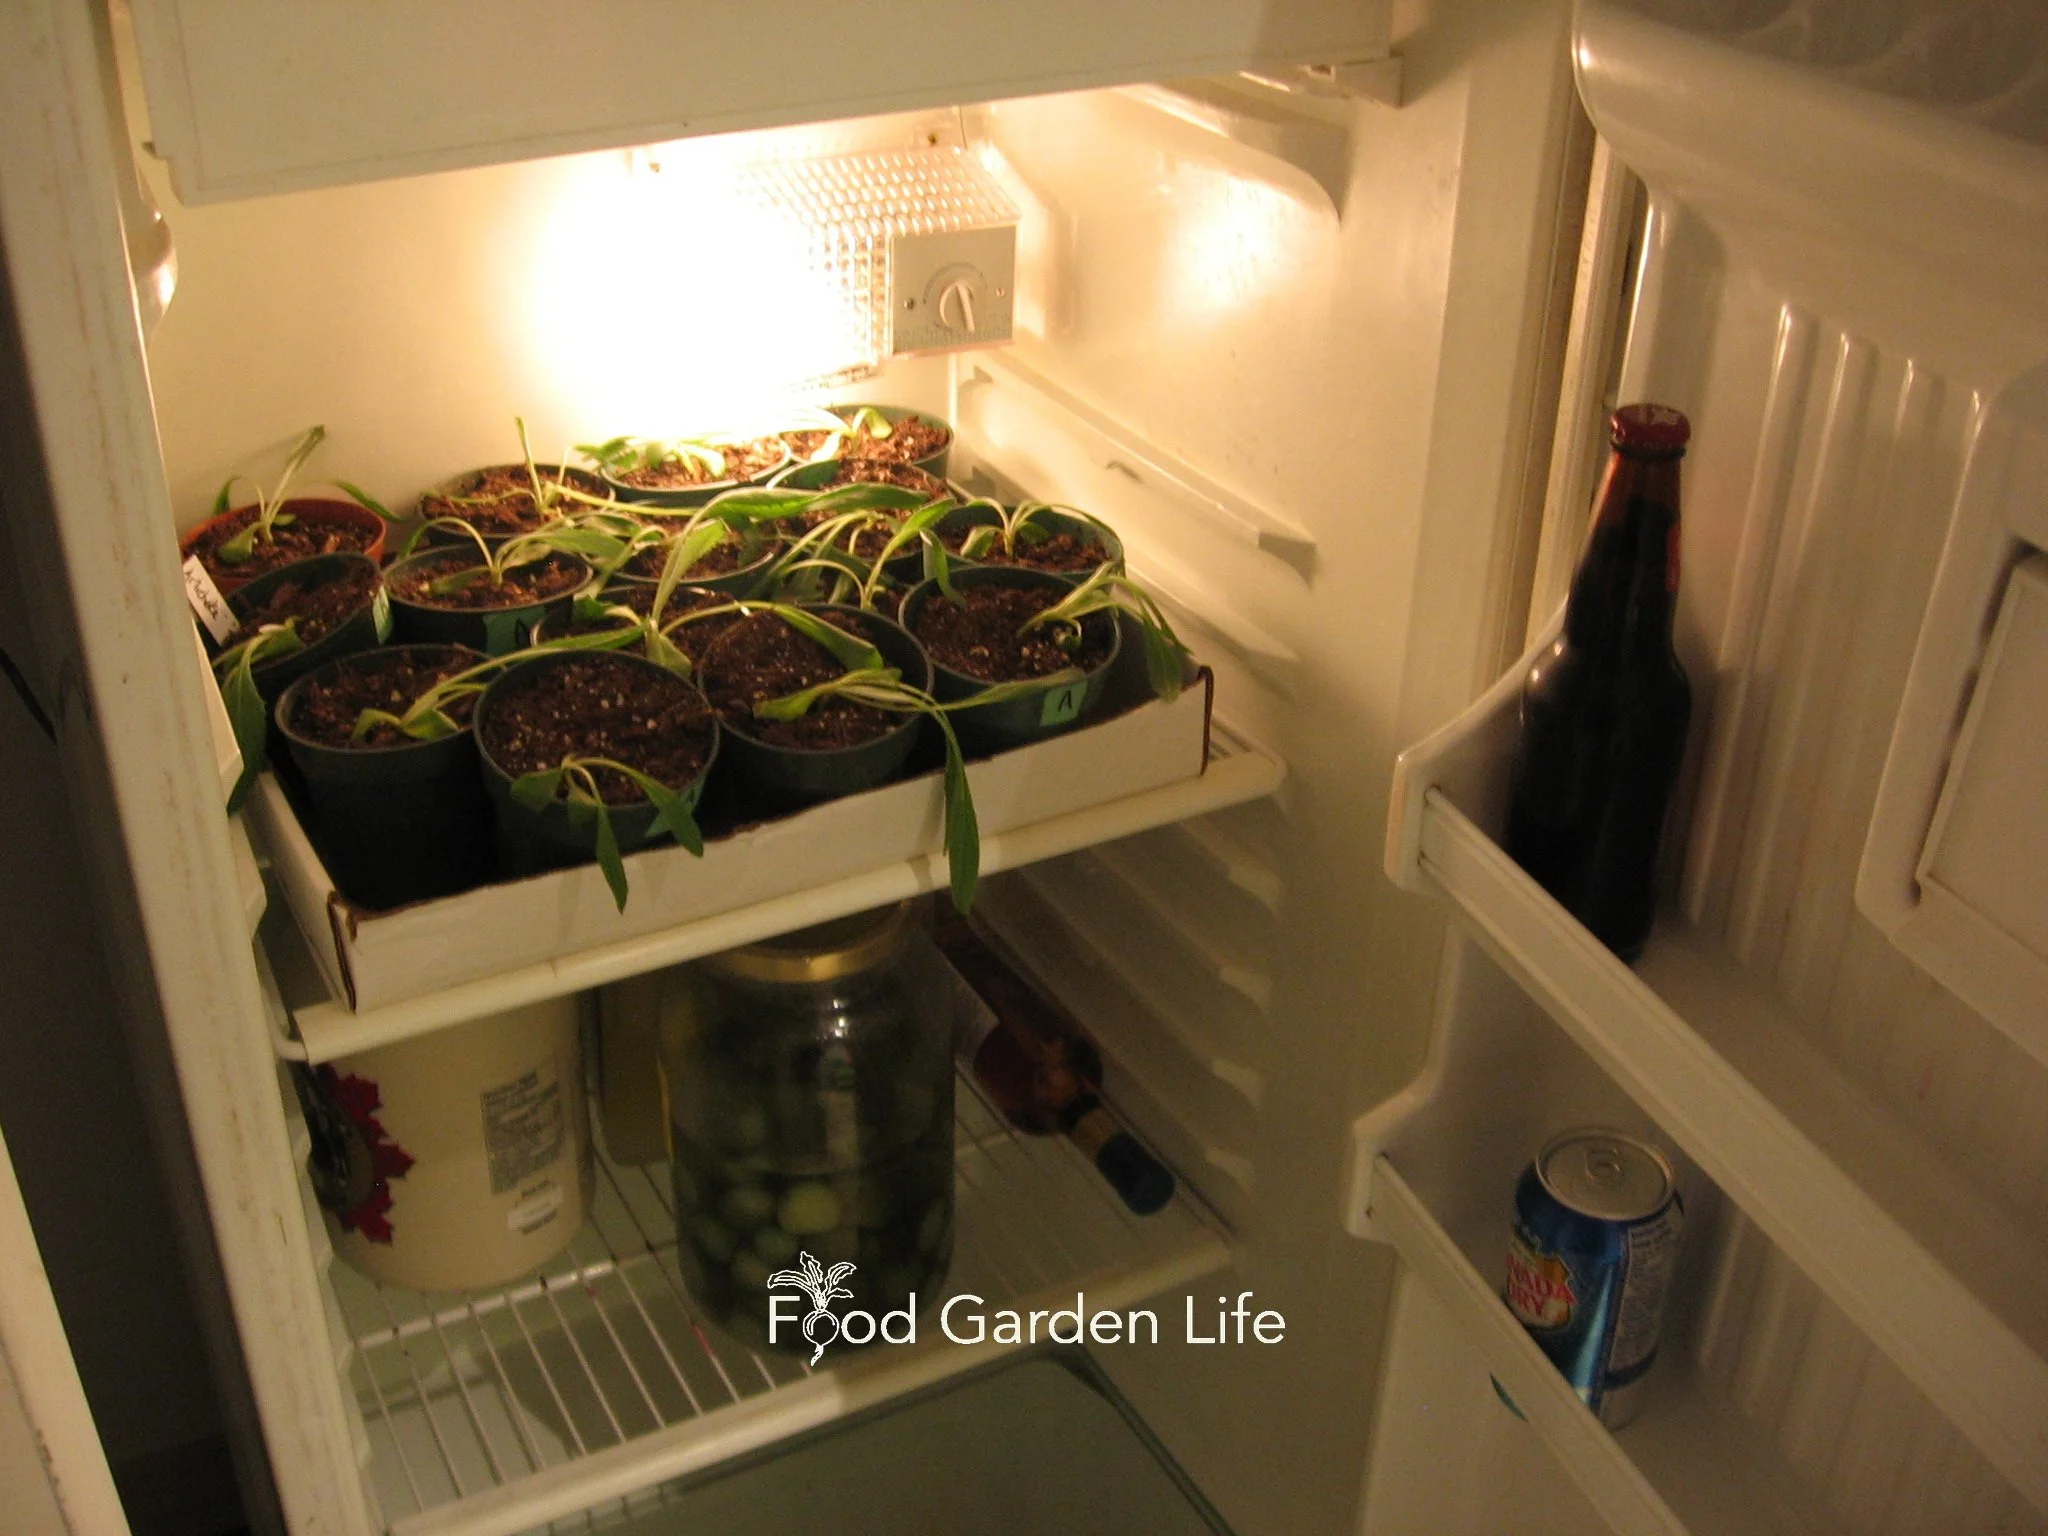
Another way to provide a chill treatment to artichoke seedlings is with a stint in a fridge…but make sure they don’t dry out, as fridges have a drying effect.
Move artichoke plants outdoors when they won’t be exposed to frost, but will still get a week or two of cool temperatures.
Ten to 14 days of temperatures less than 10°C (50°F) helps to get flower buds to form.
Artichoke Seed
Get artichoke varieties known to produce artichokes buds in the first season when grown from seed.
Two well-known varieties are:
‘Green Globe’
‘Imperial Star’
Planting Artichoke Plants in the Garden
Artichoke plants won’t grow as large in cold climates, so a spacing of up to 1 metre (3’) between plants is ample.
Artichoke plants can grow very large plants in areas where they survive the winter. So you might come across recommendations to space them as far apart as 1.5 metres (5’). Don’t!
Spacing: In cold climates, plant artichokes 1 metre (3’) apart
Light: Full sun is best
I’ve seen artichoke plants grown in straw-bale gardens, 2 plants to a bale. Find out more about straw-bale gardening.
Care
If your goal is large artichoke buds, remember that there is a main, central flower; and there will also be secondary flowers. I leave them all to grow, and get 5 or more artichokes from a plant.
But…gardeners out to grow large, prize-winning artichokes can prune off secondary flowers. (But don’t discard them! Use these in the kitchen as baby artichokes, see below.)

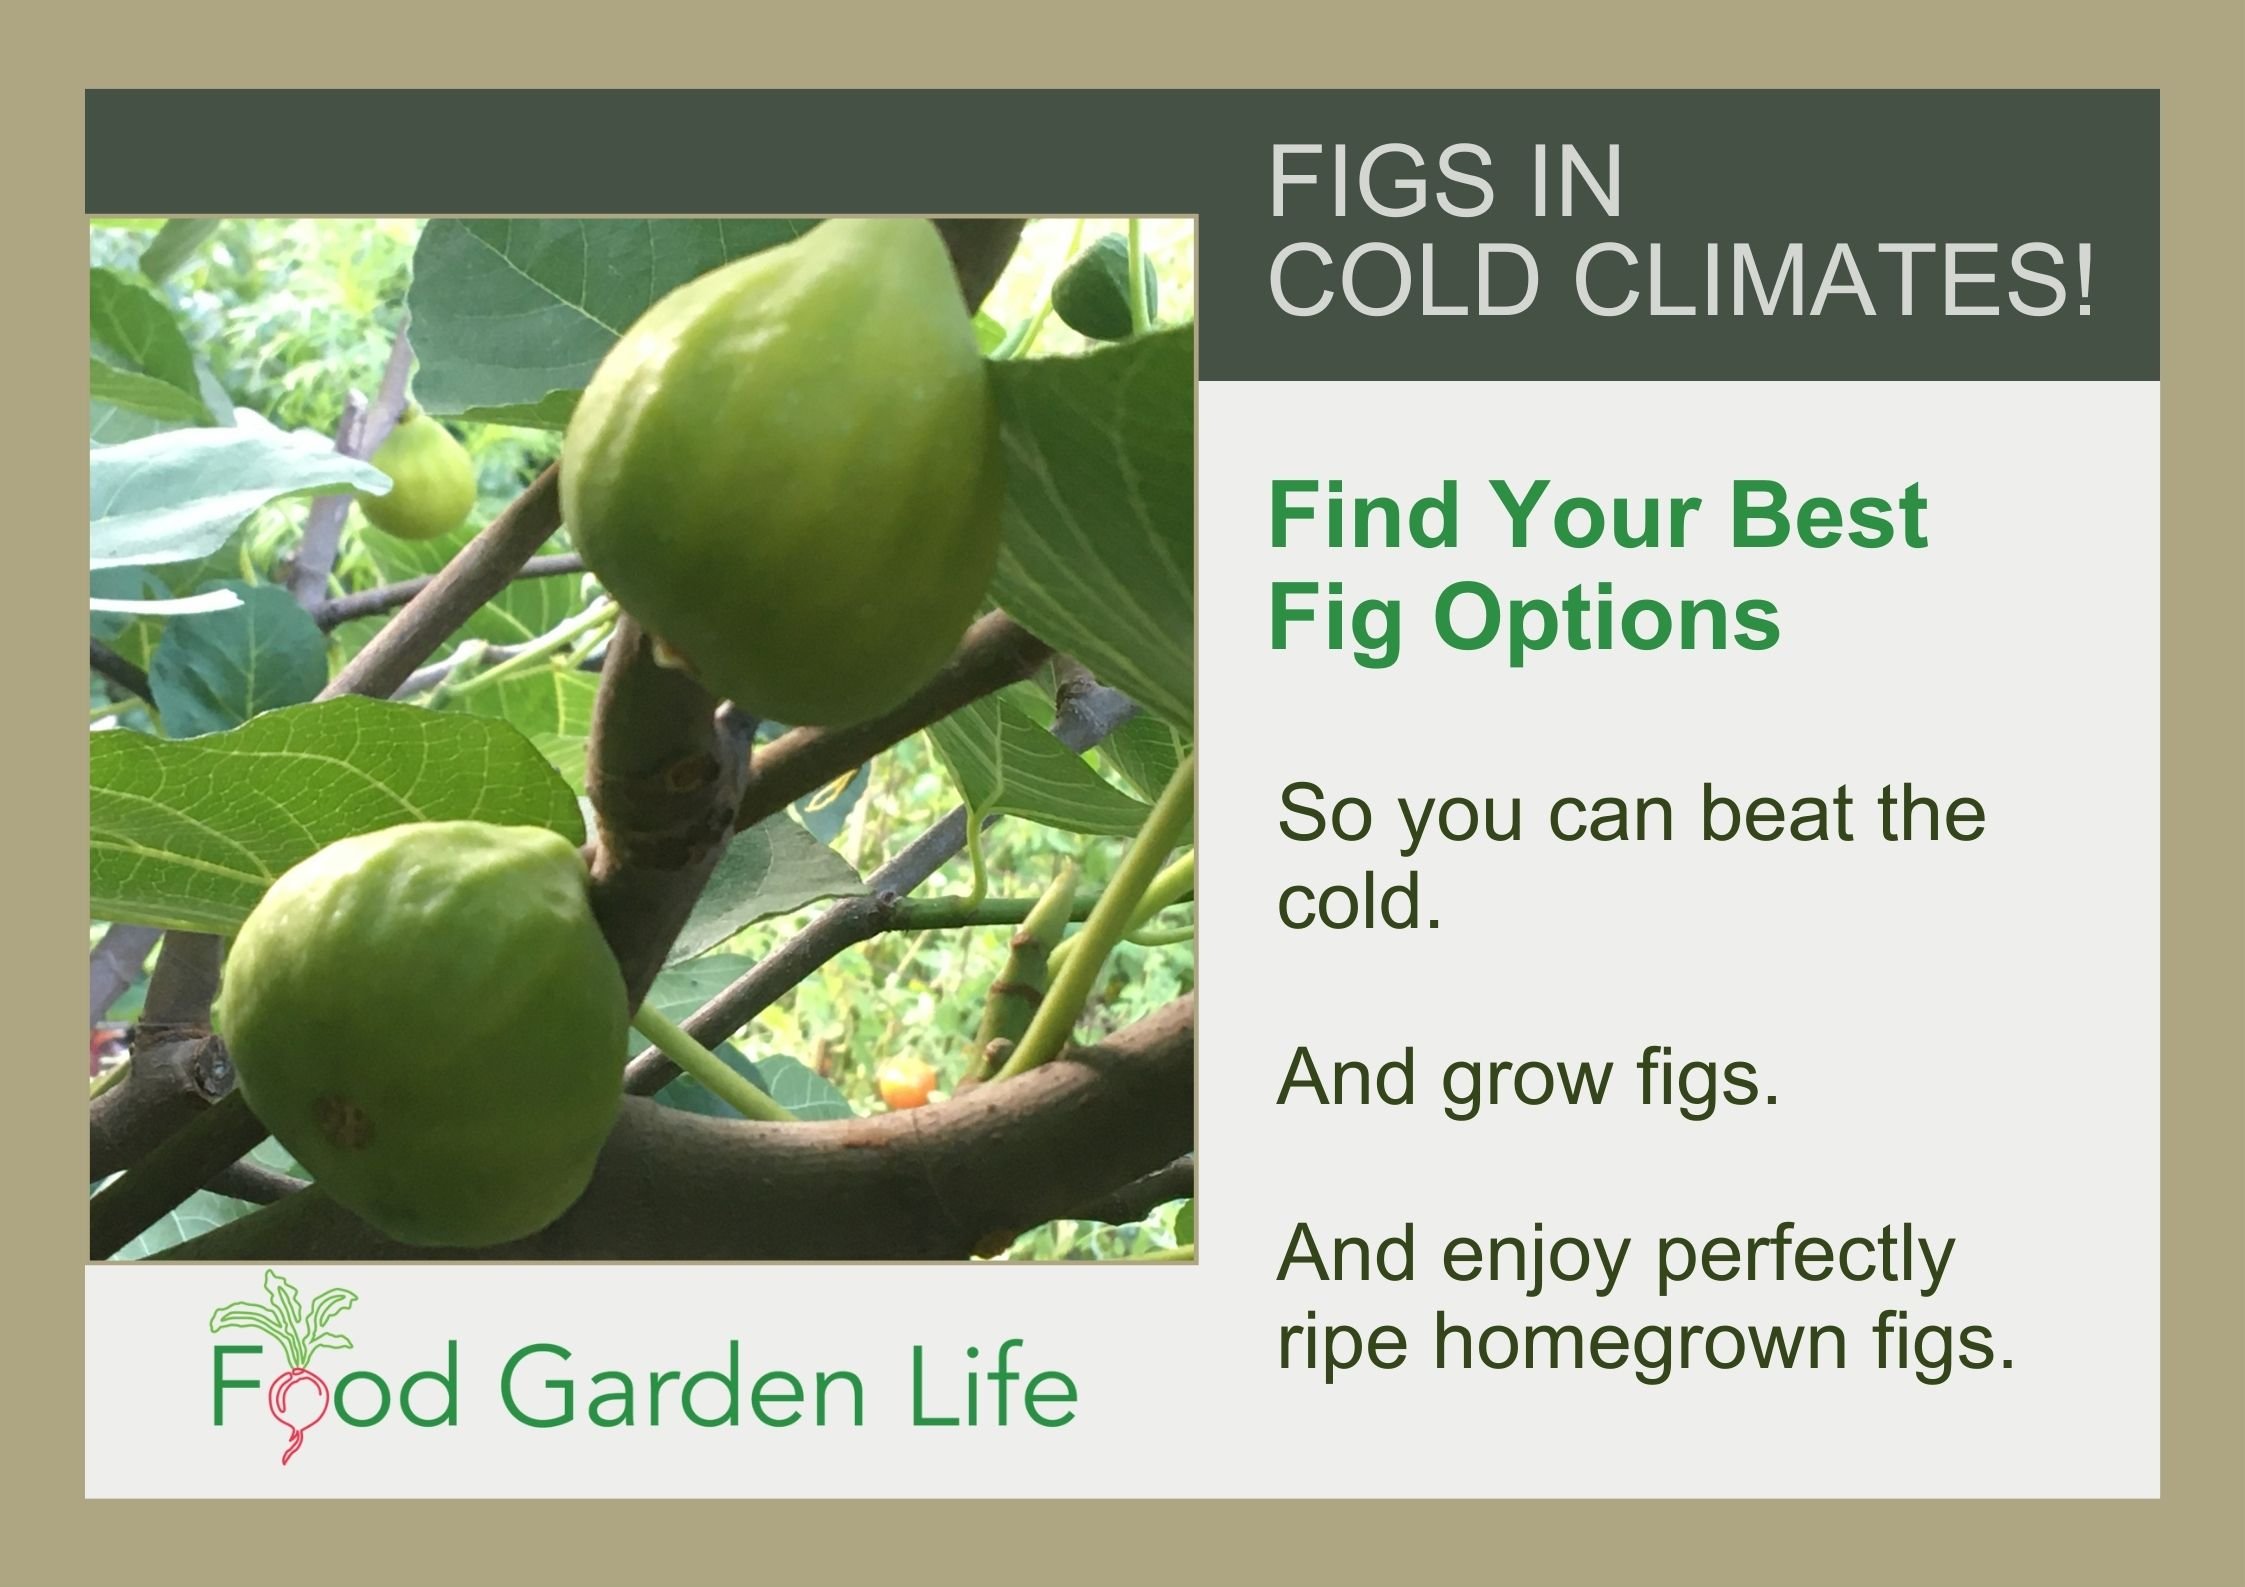
Get Your Fig Trees Through Winter
And eat fresh homegrown figs!
Top Tip
A lot of people think of Mediterranean climates – hot sun and dry conditions – when thinking of artichoke plants. They survive these conditions. But for the best crop, give your artichoke plants conditions that encourage uninterrupted growth. (And, remember, very dry conditions interrupt growth!)
Top Tip: Well-fed soil and ample moisture for uninterrupted growth
Challenges
Most years, artichoke plants are pest- and problem-free in my garden. On occasion, black aphids stop by for a visit. If beneficial insects don’t dispatch the aphids, insecticidal soap will clear them up.
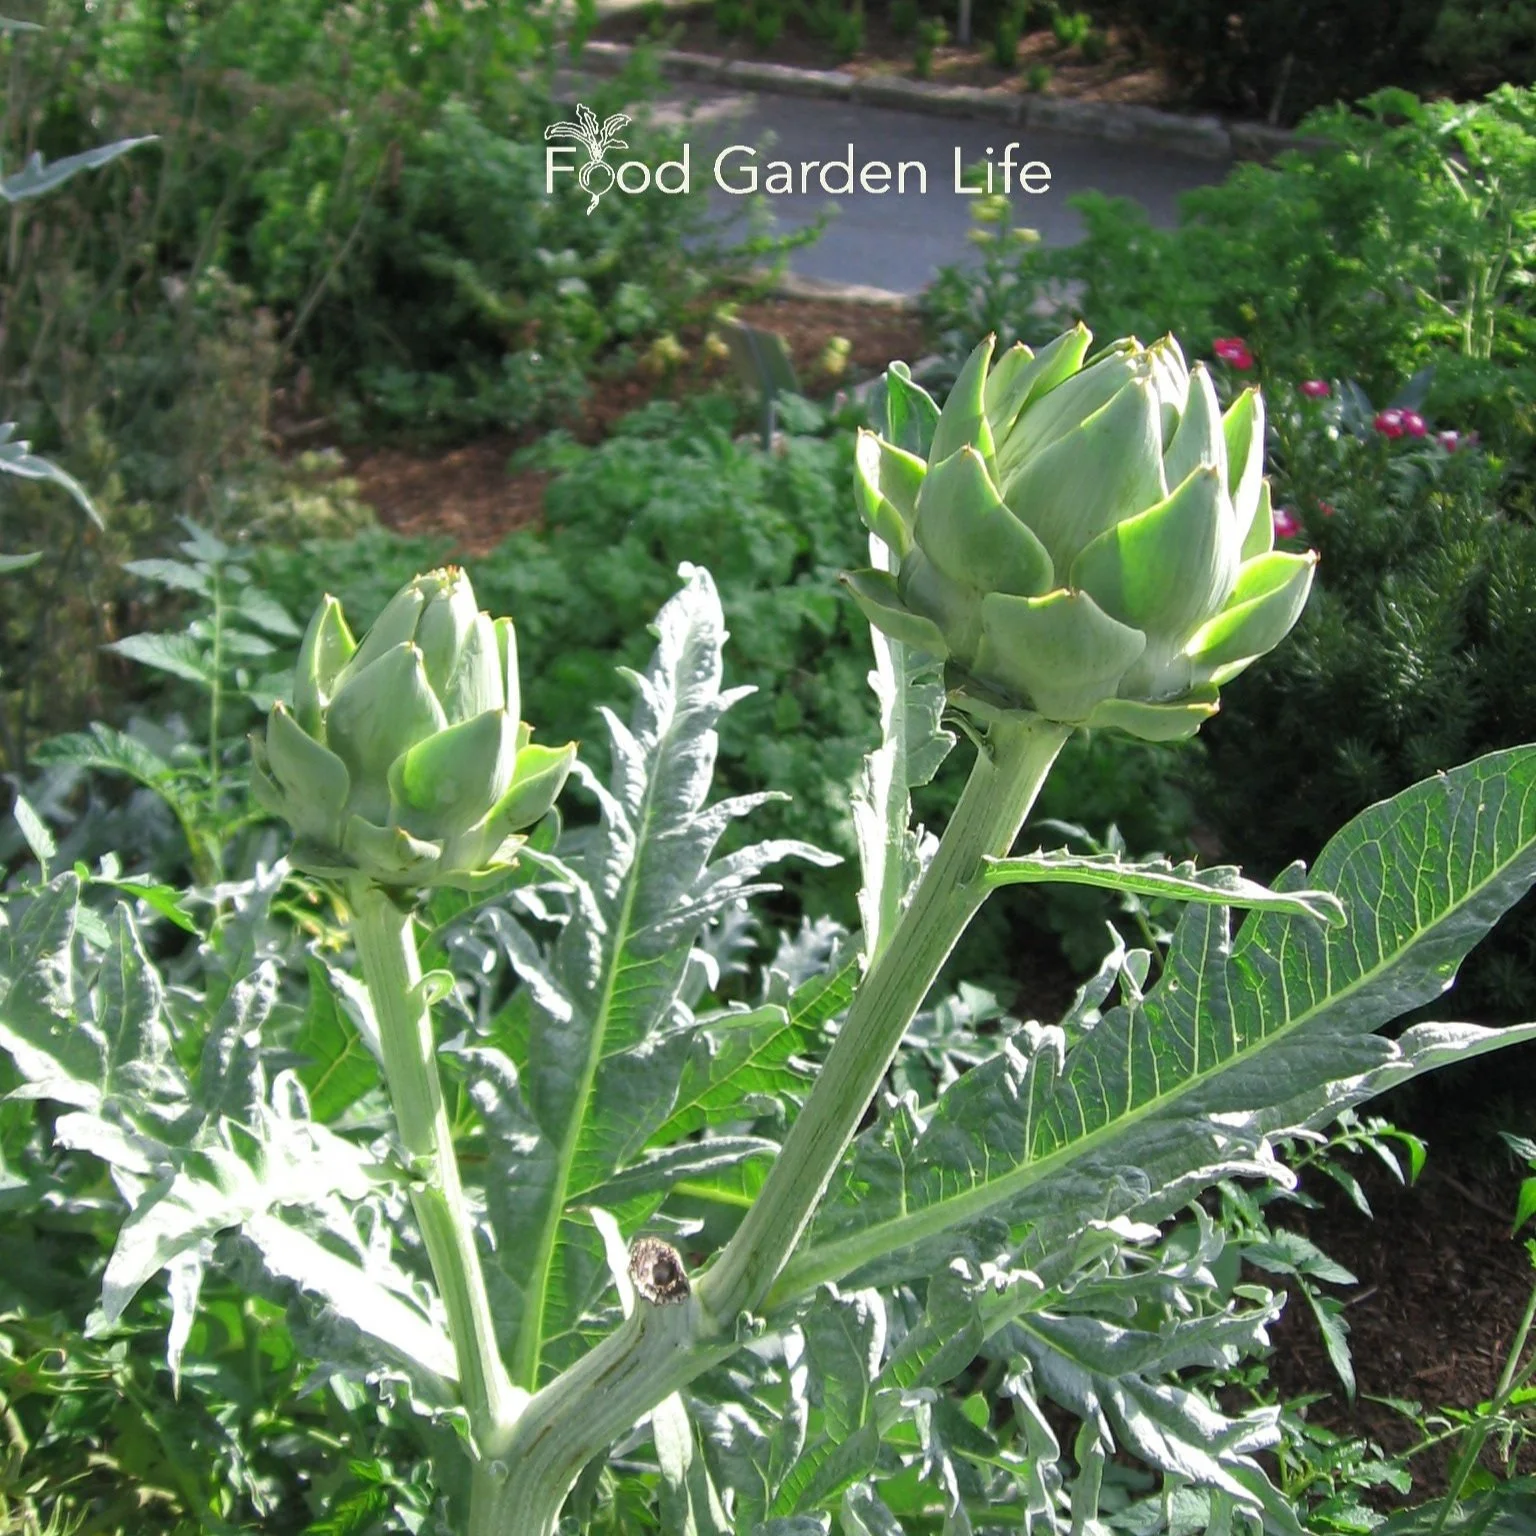
Harvesting Artichokes
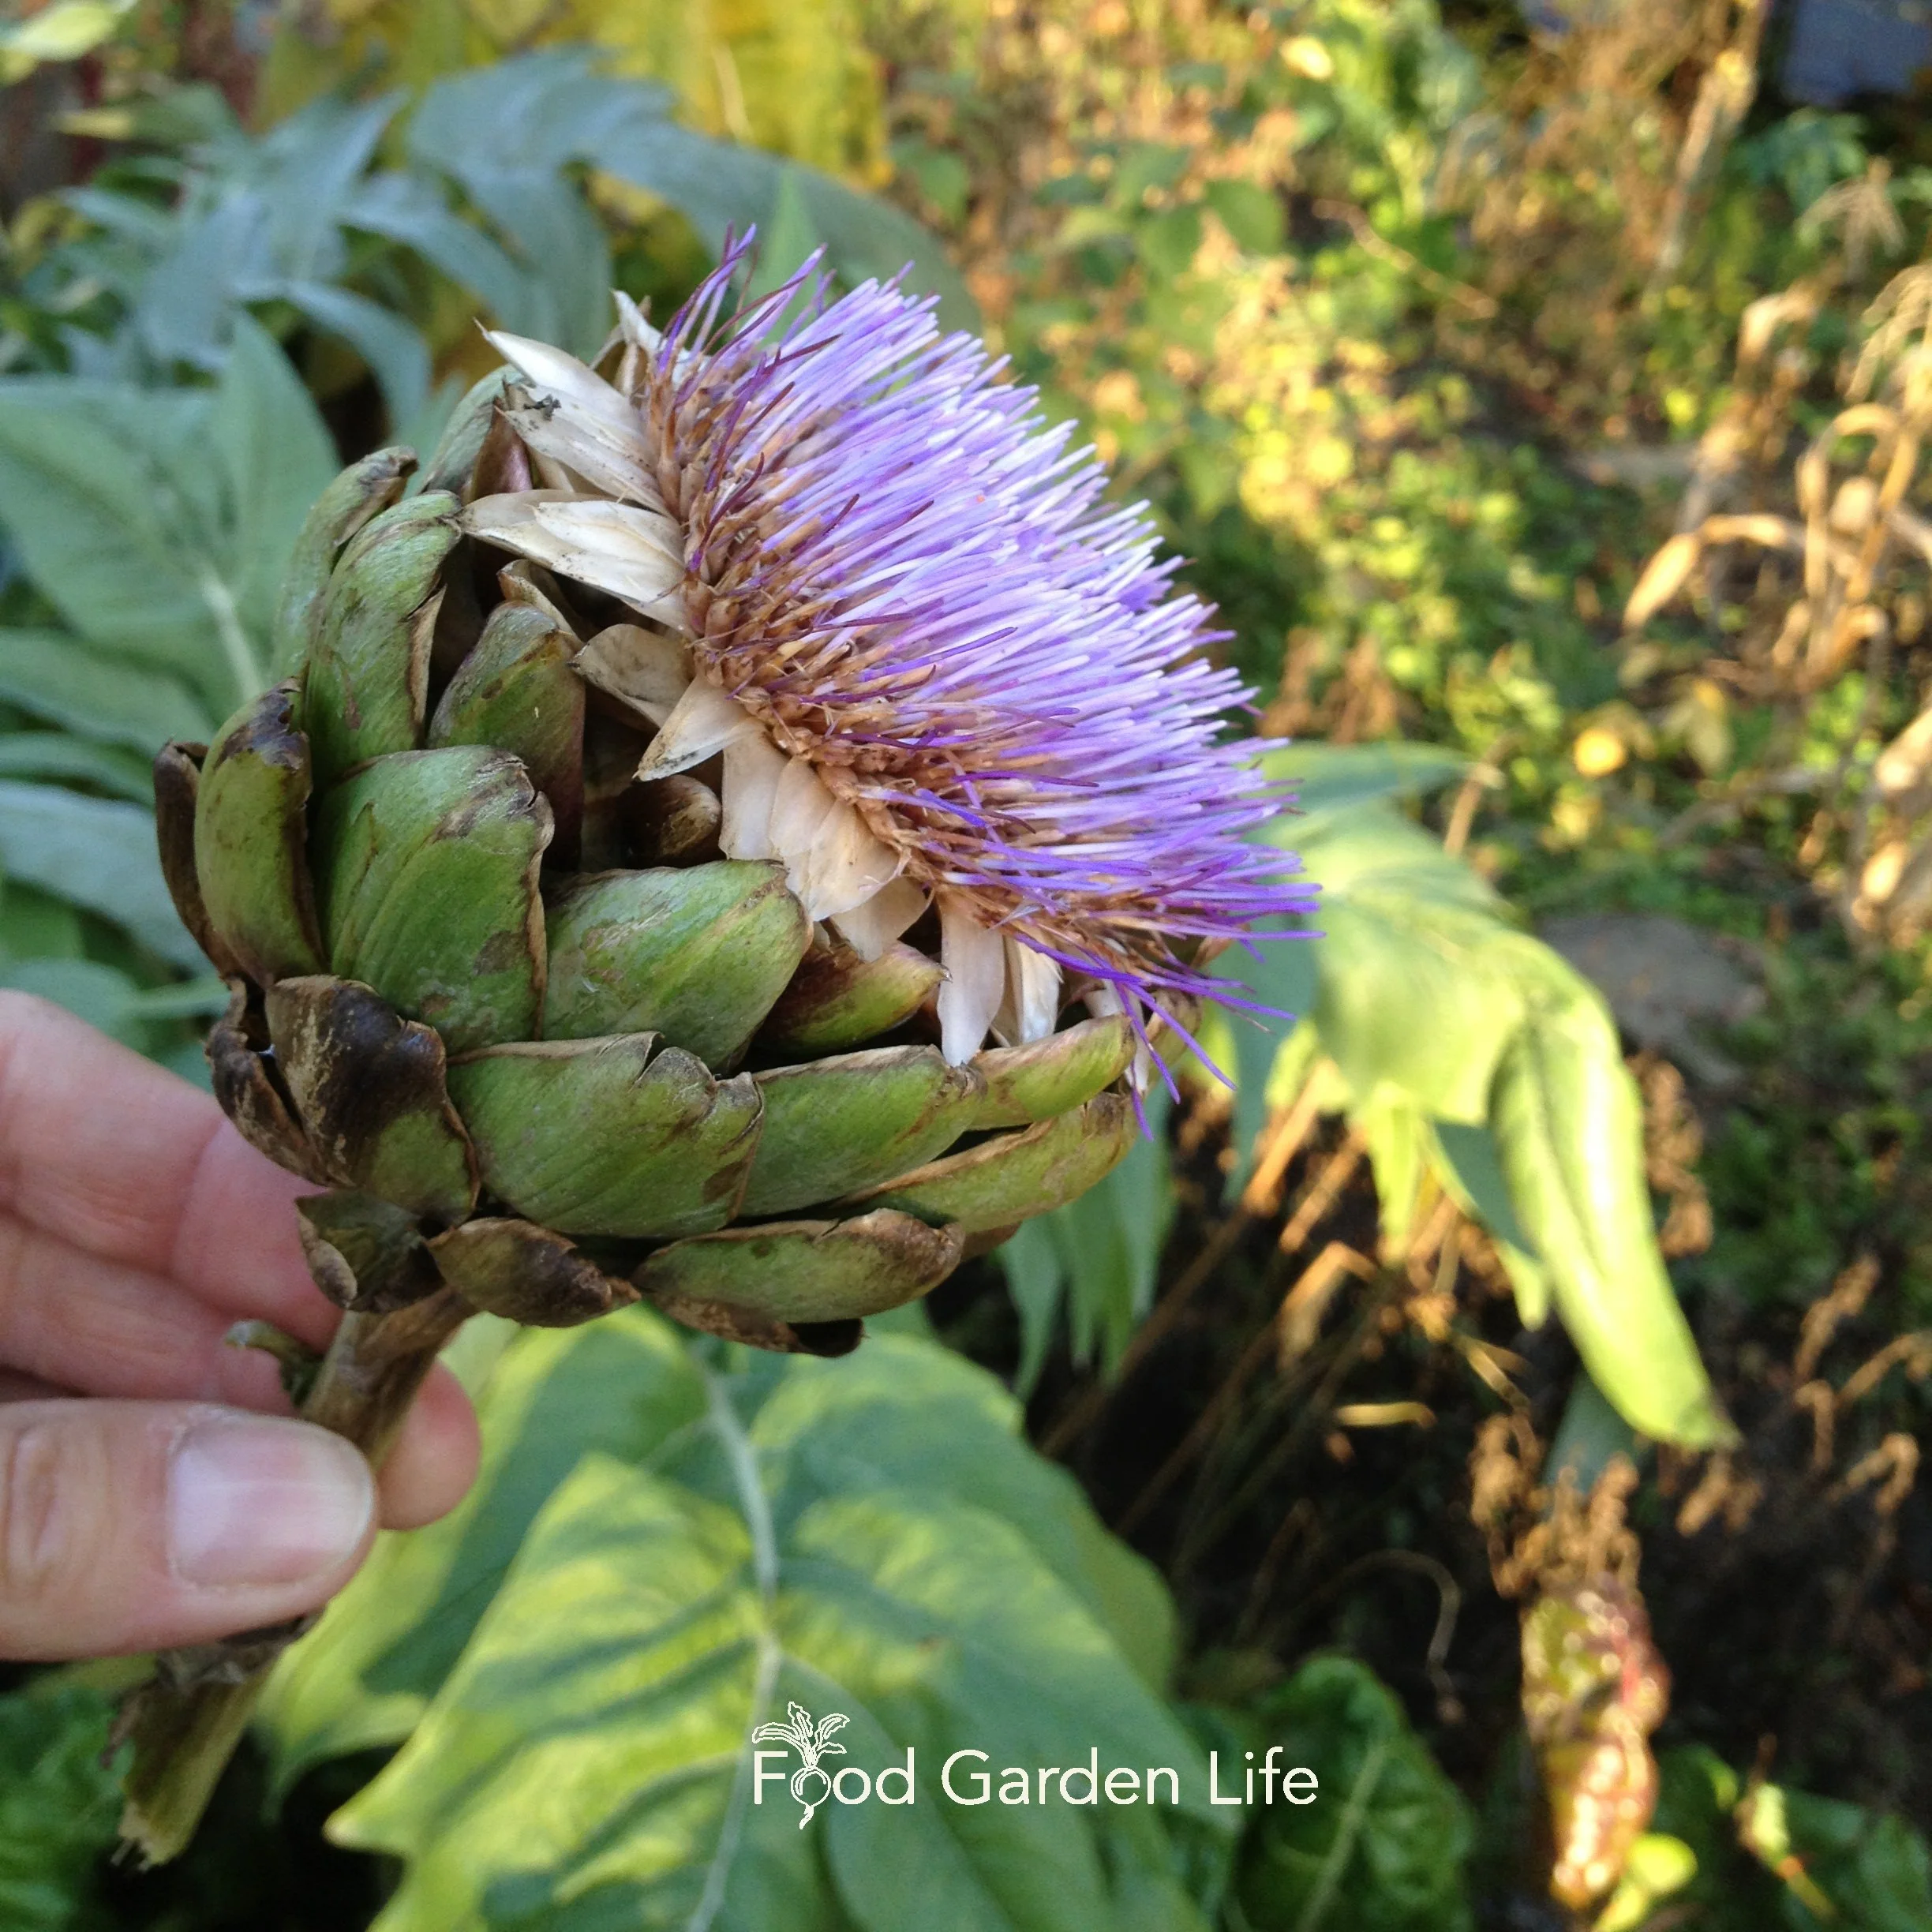
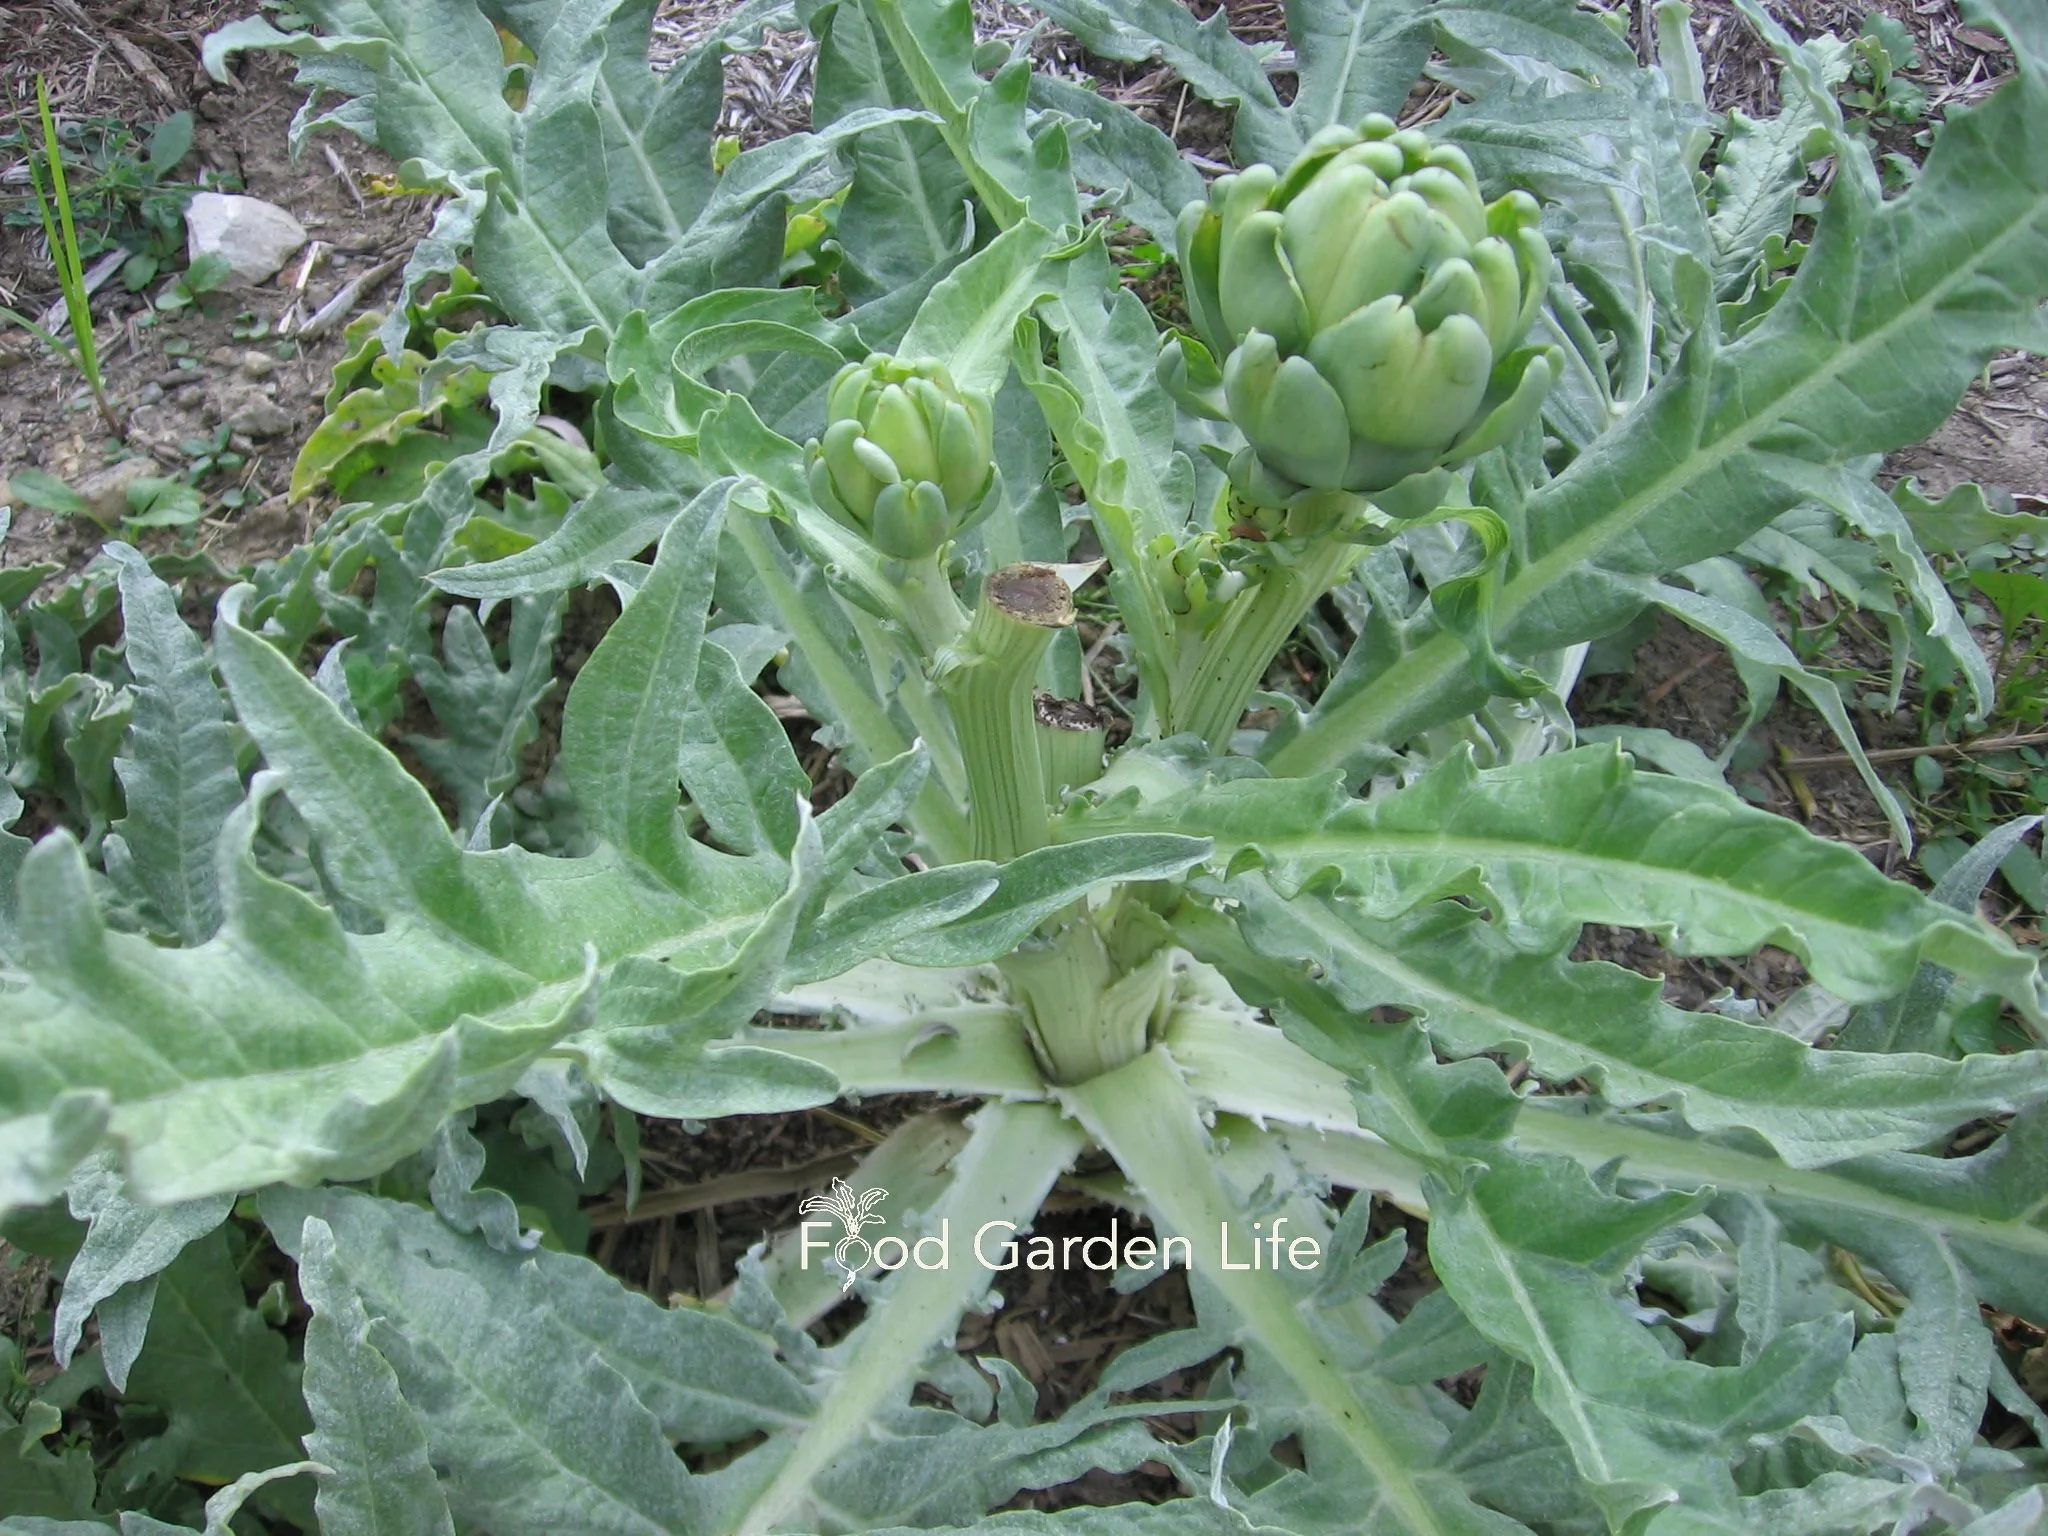
Harvest artichoke before the bracts open into a thistle-like flower.
Harvest artichokes before the bracts start to separate. You want them to be compact.
If you leave the flowers too long and they begin to open, you will get purple-blue thistle-like flowers.
They’re beautiful – but past best-eating.
Artichoke Harvest Tip
As you harvest artichokes, don't cut back the stem any further than you need to. You'll get side shoots from the same flower stalks. These secondary artichokes are not quick as large as the first ones, but just as tasty.
How to Eat Artichokes
For those new to artichokes, you’re peeling off the bracts, dipping them in the butter, and then dragging them against your teeth to scrape off the flesh on the inside. You don’t eat the bracts; they’re too fibrous.
And about those bracts…well, they look like petals. And some people call them scales. (I’ve seen people call them leaves, too.) But, technically, botanically, they’re bracts.
Pin this post!
As you get to the centre, there’s a cone with many small bracts. The bottom of these is usually tender enough to bite right off.
Beneath these, you come the hairy “choke,” a fibrous mat that you scrape off and discard. You don’t eat it. Use a spoon or your fingernails to dislodge the choke, but keep the thick saucer-shaped bit below. It’s called the heart – and artichoke hearts are the prize. Bathe them in butter dip before eating.
To Cook Large Artichokes:
Cut off the stem flush with the bottom of the artichoke
Remove the smaller, lower outer bracts
Use a knife to cut off the top of the artichoke (I take off the top quarter, and find that a bread knife works best to cut through the fibrous bracts)
Steam 30 minutes, top facing downwards (some people boil them, but I prefer steaming them)
Drain well and serve with garlic butter
And don’t skimp on the garlic butter. For a half pound of butter, I usually add a half teaspoon of salt, a crushed clove of garlic, and the juice of half a lemon. Where there are kids in the house demanding extra butter sauce…you can stretch it out by adding olive oil instead of more butter.
To Cook Small Artichokes:
When they’re still small, some of the stem beneath is still probably tender enough to eat. And you’ll be eating the choke too.
Halve artichokes lengthwise
Put in skillet with hot olive oil, garlic, salt and pepper and brown for a moment
Add lemon juice and water and braise until the liquid has evaporated and they’re tender (how much lemon juice will depend how tangy you like them…so play around with it.)
These braised baby artichokes are great as a side dish or on a salad.
Artichoke Plants in Garden Design
If you have a small garden, keep in mind artichoke plants are space hogs. There are more practical food plants you can grow in a small space.
But they are delicious. And they are really beautiful.
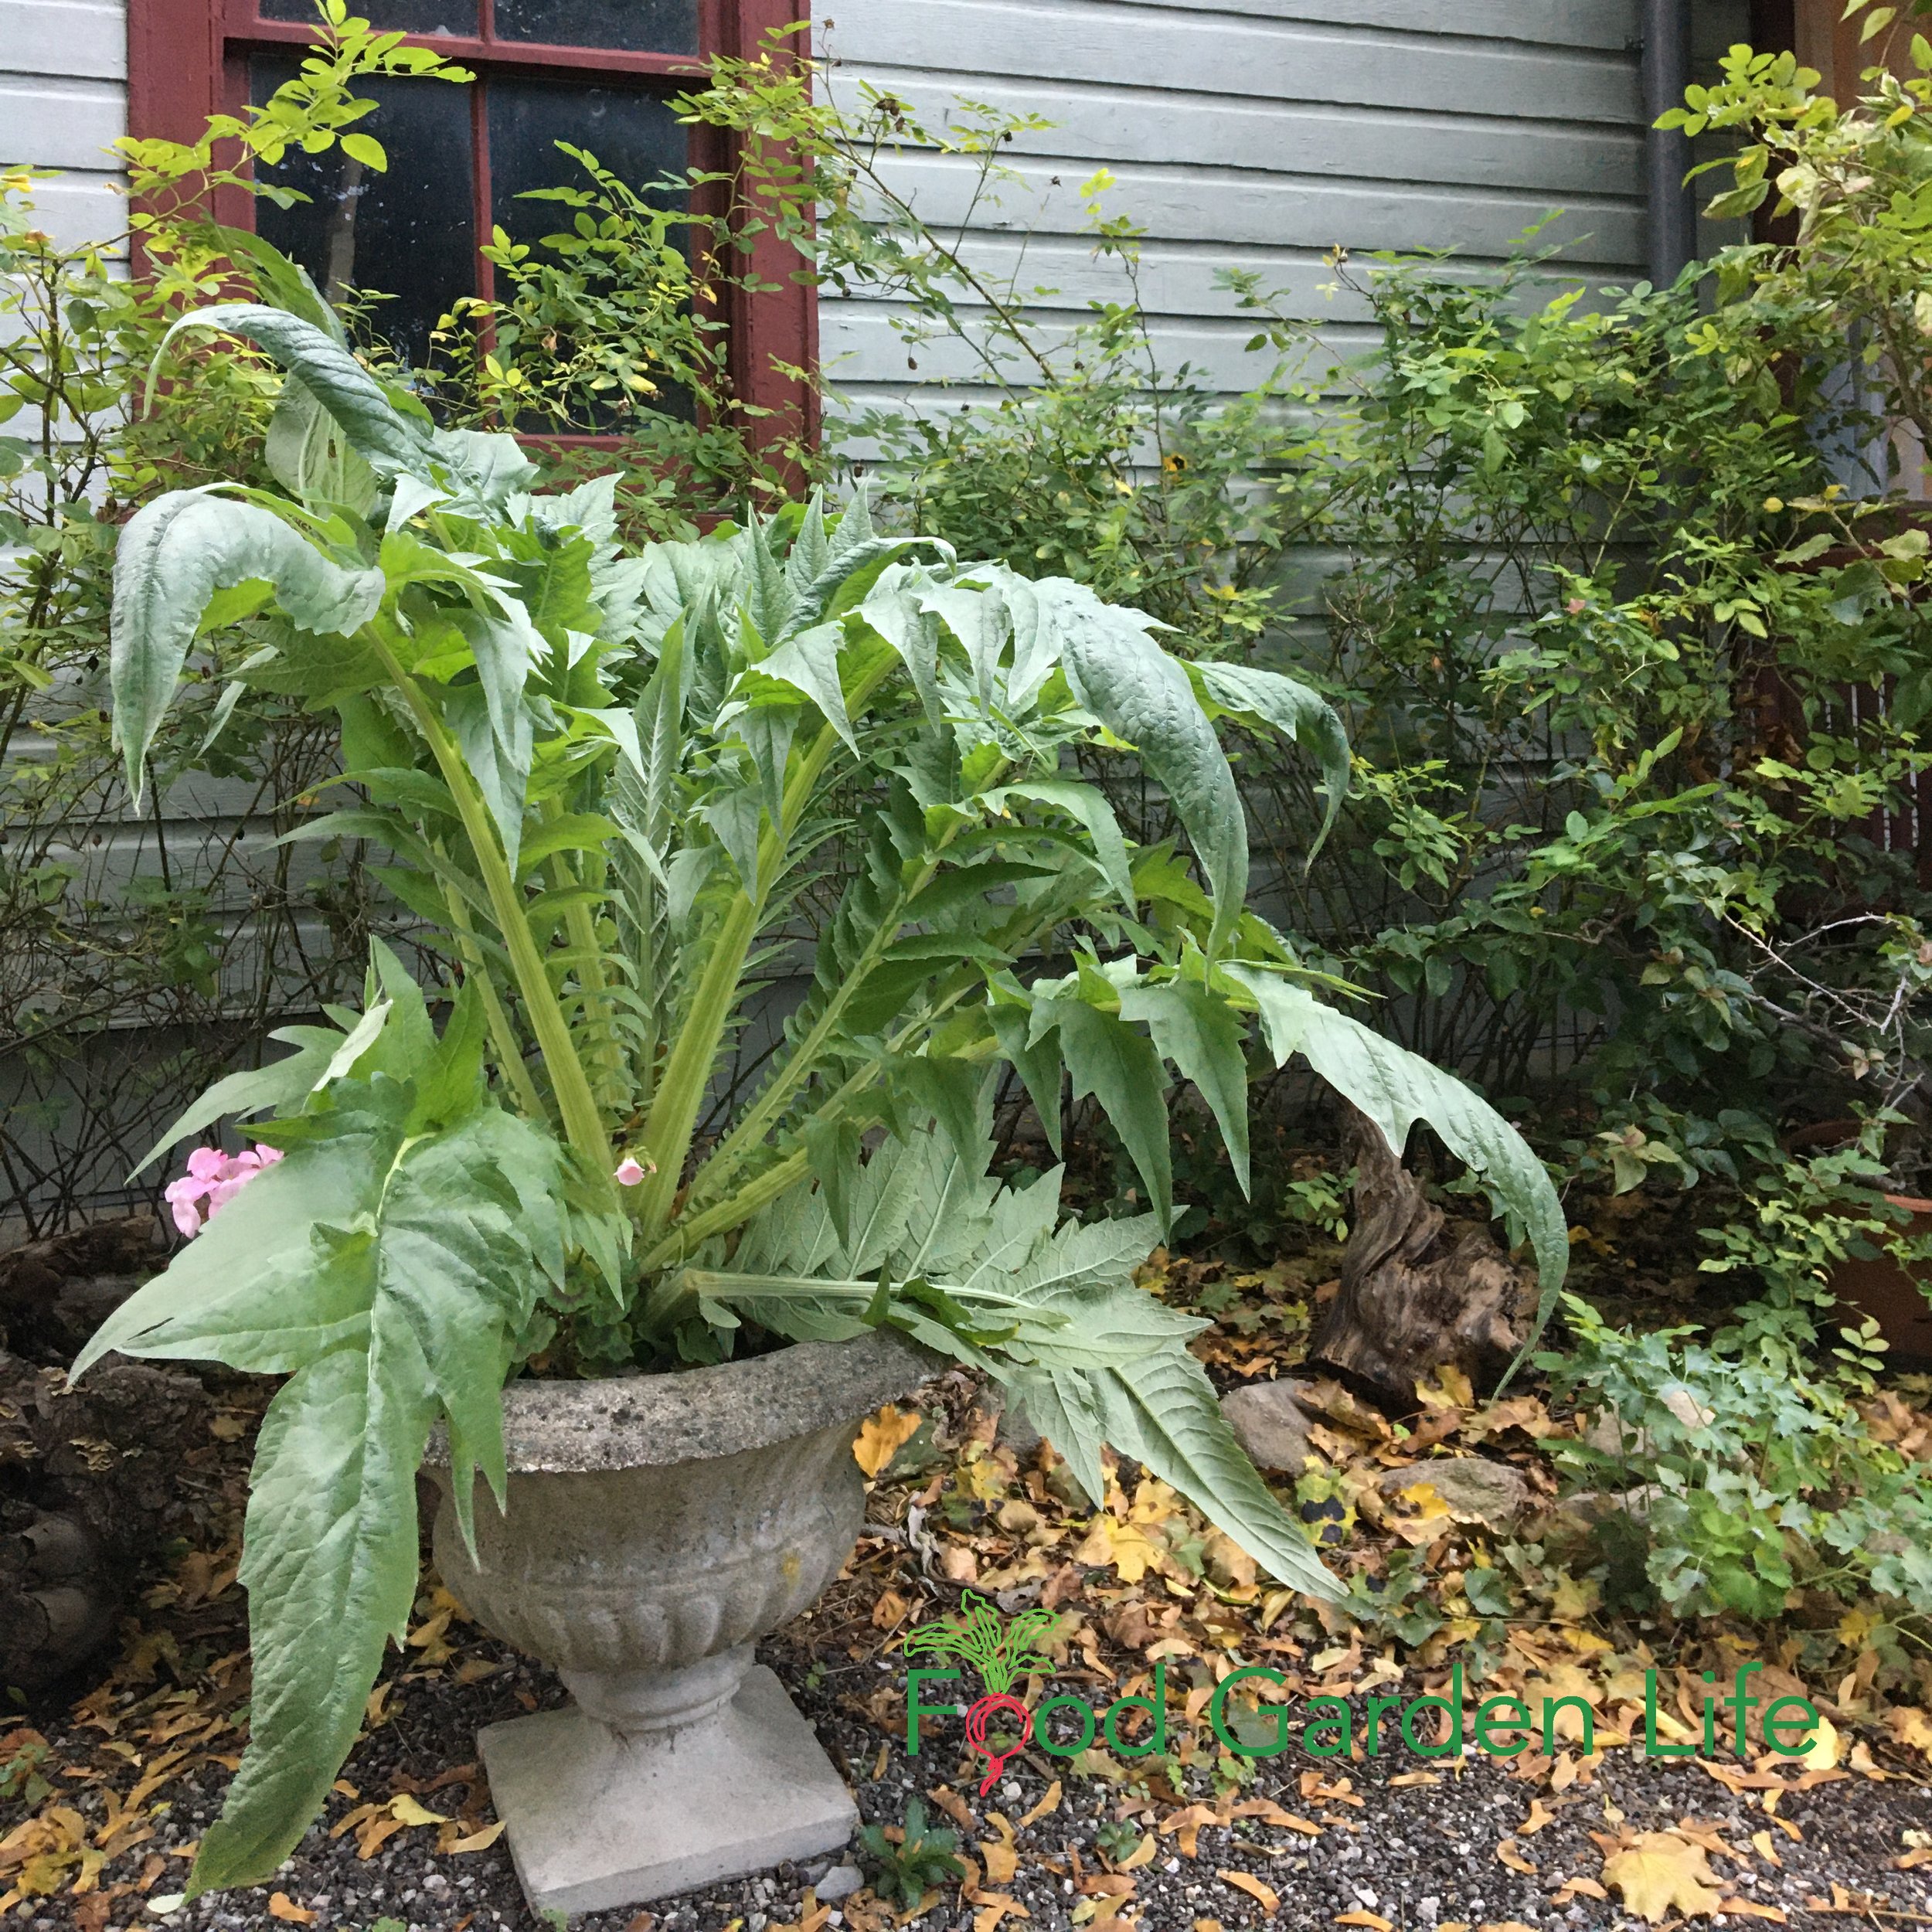
The jagged silver-grey leaves have a whitish underside. I love the colour and texture they bring to the edible garden. (Although they never quite look as good once the artichokes are removed.)
And lastly, if you like the look of artichoke leaves but don’t like to eat artichoke, grow cardoon, the leafy cousin to the artichoke.
Garden design with artichoke: Use it to add colour and texture to the edible garden.
Find This Helpful?
Enjoy not being bombarded by annoying ads?
Appreciate the absence of junky affiliate links for products you don’t need?
It’s because we’re reader supported.
If we’ve helped in your food-gardening journey, we’re glad of support. You can high-five us below. Any amount welcome!
More Vegetable Gardening Ideas
Articles and Interviews
Courses: Edible Gardening
More Mediterranean Crops
Articles and Interviews
Courses: Figs and Lemons

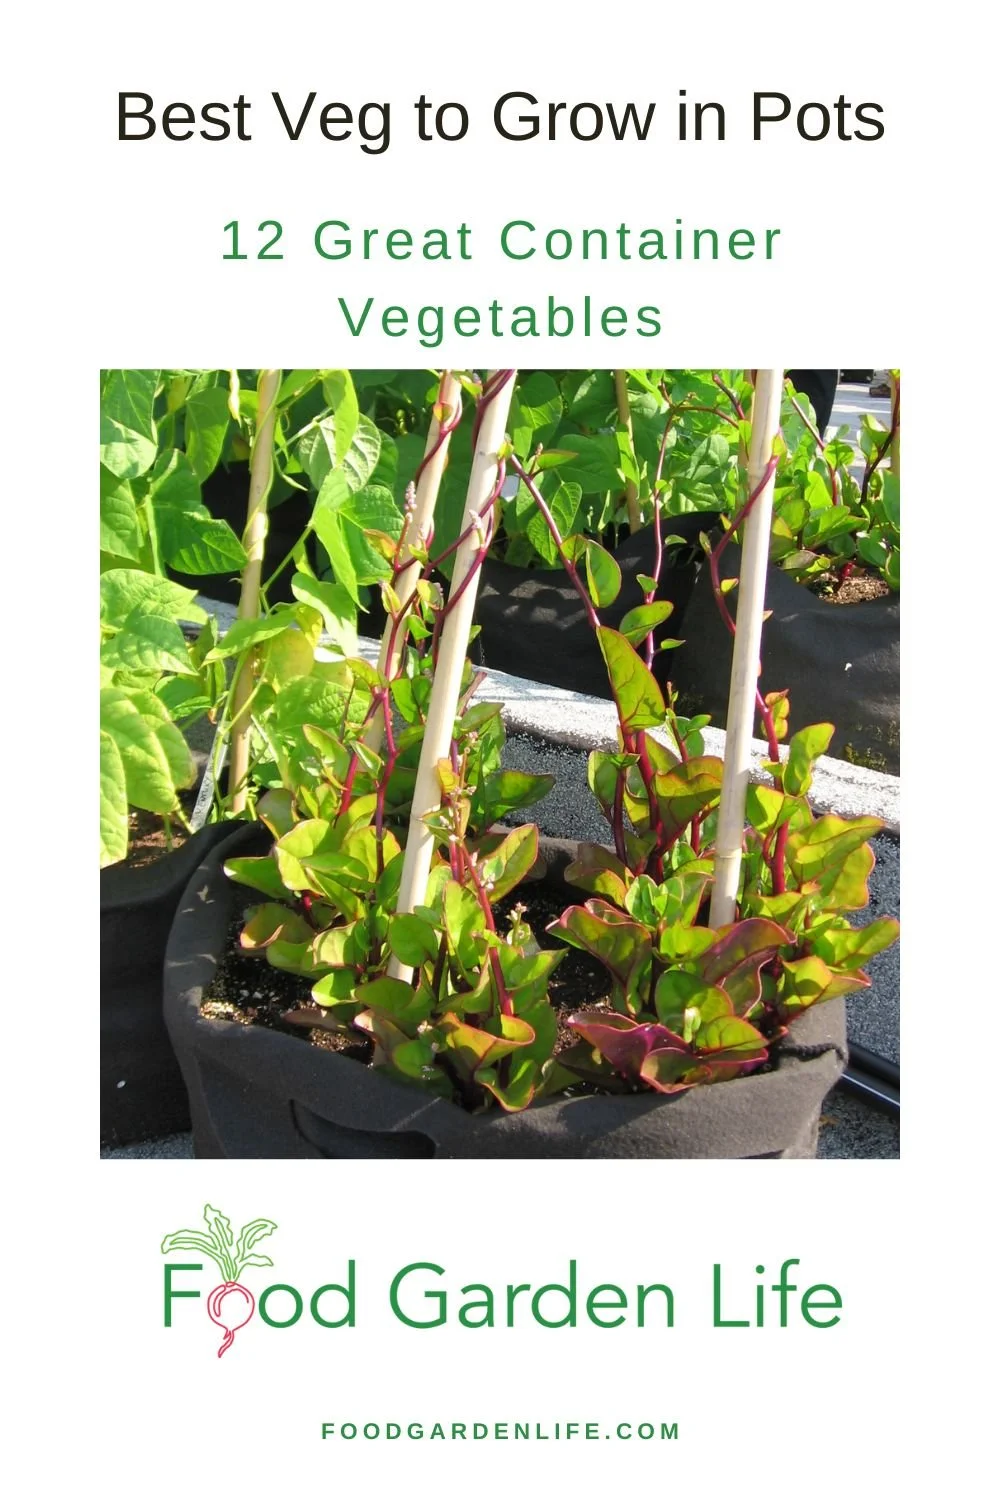
Best Vegetables to Grow in Pots (12 Great Container Vegetables)
Want vegetable container crops that will grow well? Here are 12 crops that thrive in container gardens.
By Steven Biggs
Container Gardens for Vegetables
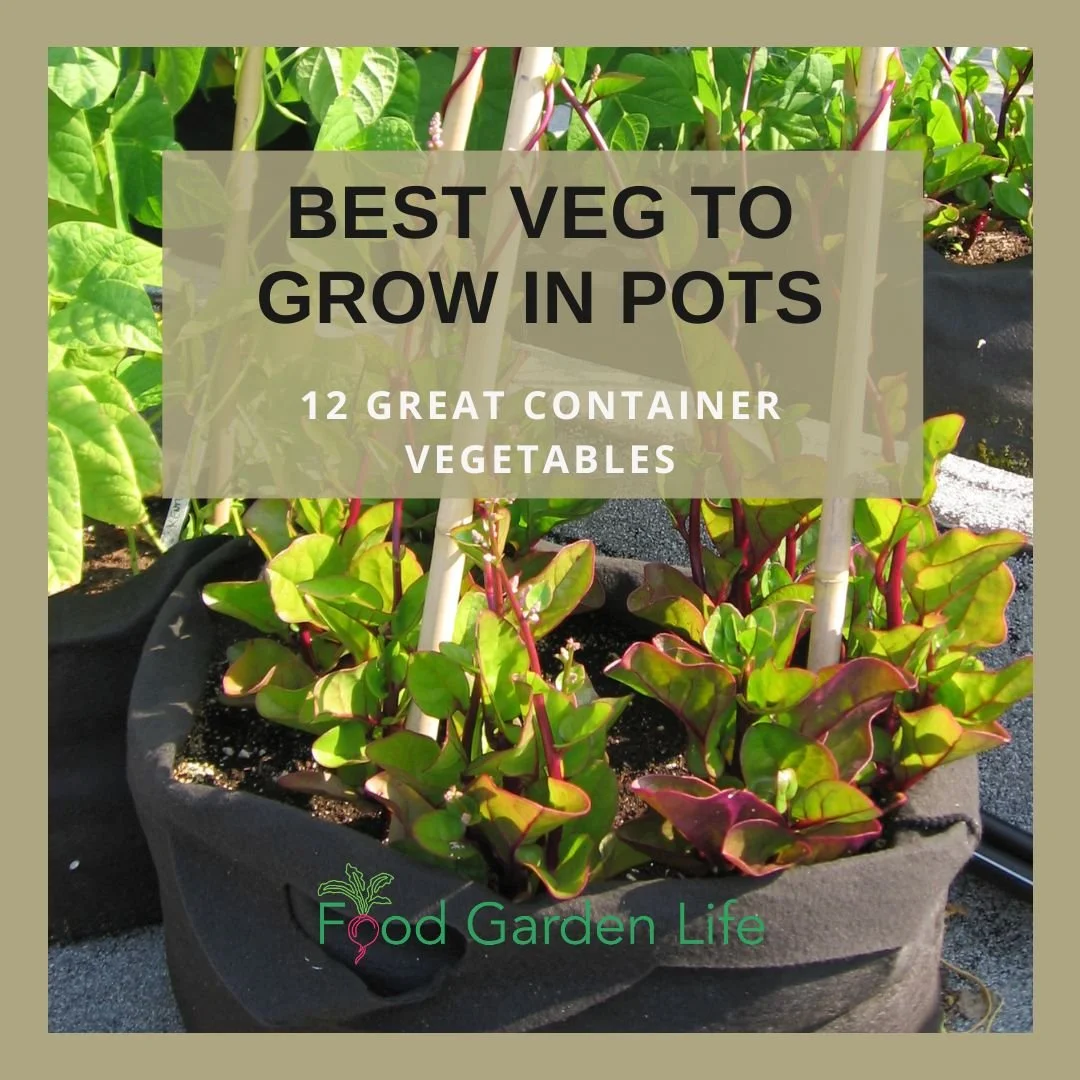
I share my favourite vegetables to grow in pots.
I started growing vegetables in containers when I moved to my first apartment. I loved that apartment! It was in a low-rise yellow-brick building right on the water in suburban Montreal.
(I had the basement…not always a good choice in a waterfront location, but that’s another story.)
My landlord, Mr. Crevier, had ornamental garden beds in the yard. No vegetable plants. But when he decided to get rid of his boat, there was a weedy, hard-packed area where he’d parked his boat trailer. Knowing I worked in the horticulture industry, he asked if I’d like to make a garden there.
He didn’t have to ask twice.
The hard-packed soil was laced with gravel and debris. So I got nursery pots and soil from work, and had a vegetable container garden ready to plant within a couple of days.
Until that first container garden, I wasn’t a fan of container gardening. Seemed like a lot of work…second best to growing in the ground.
But my opinion changed.
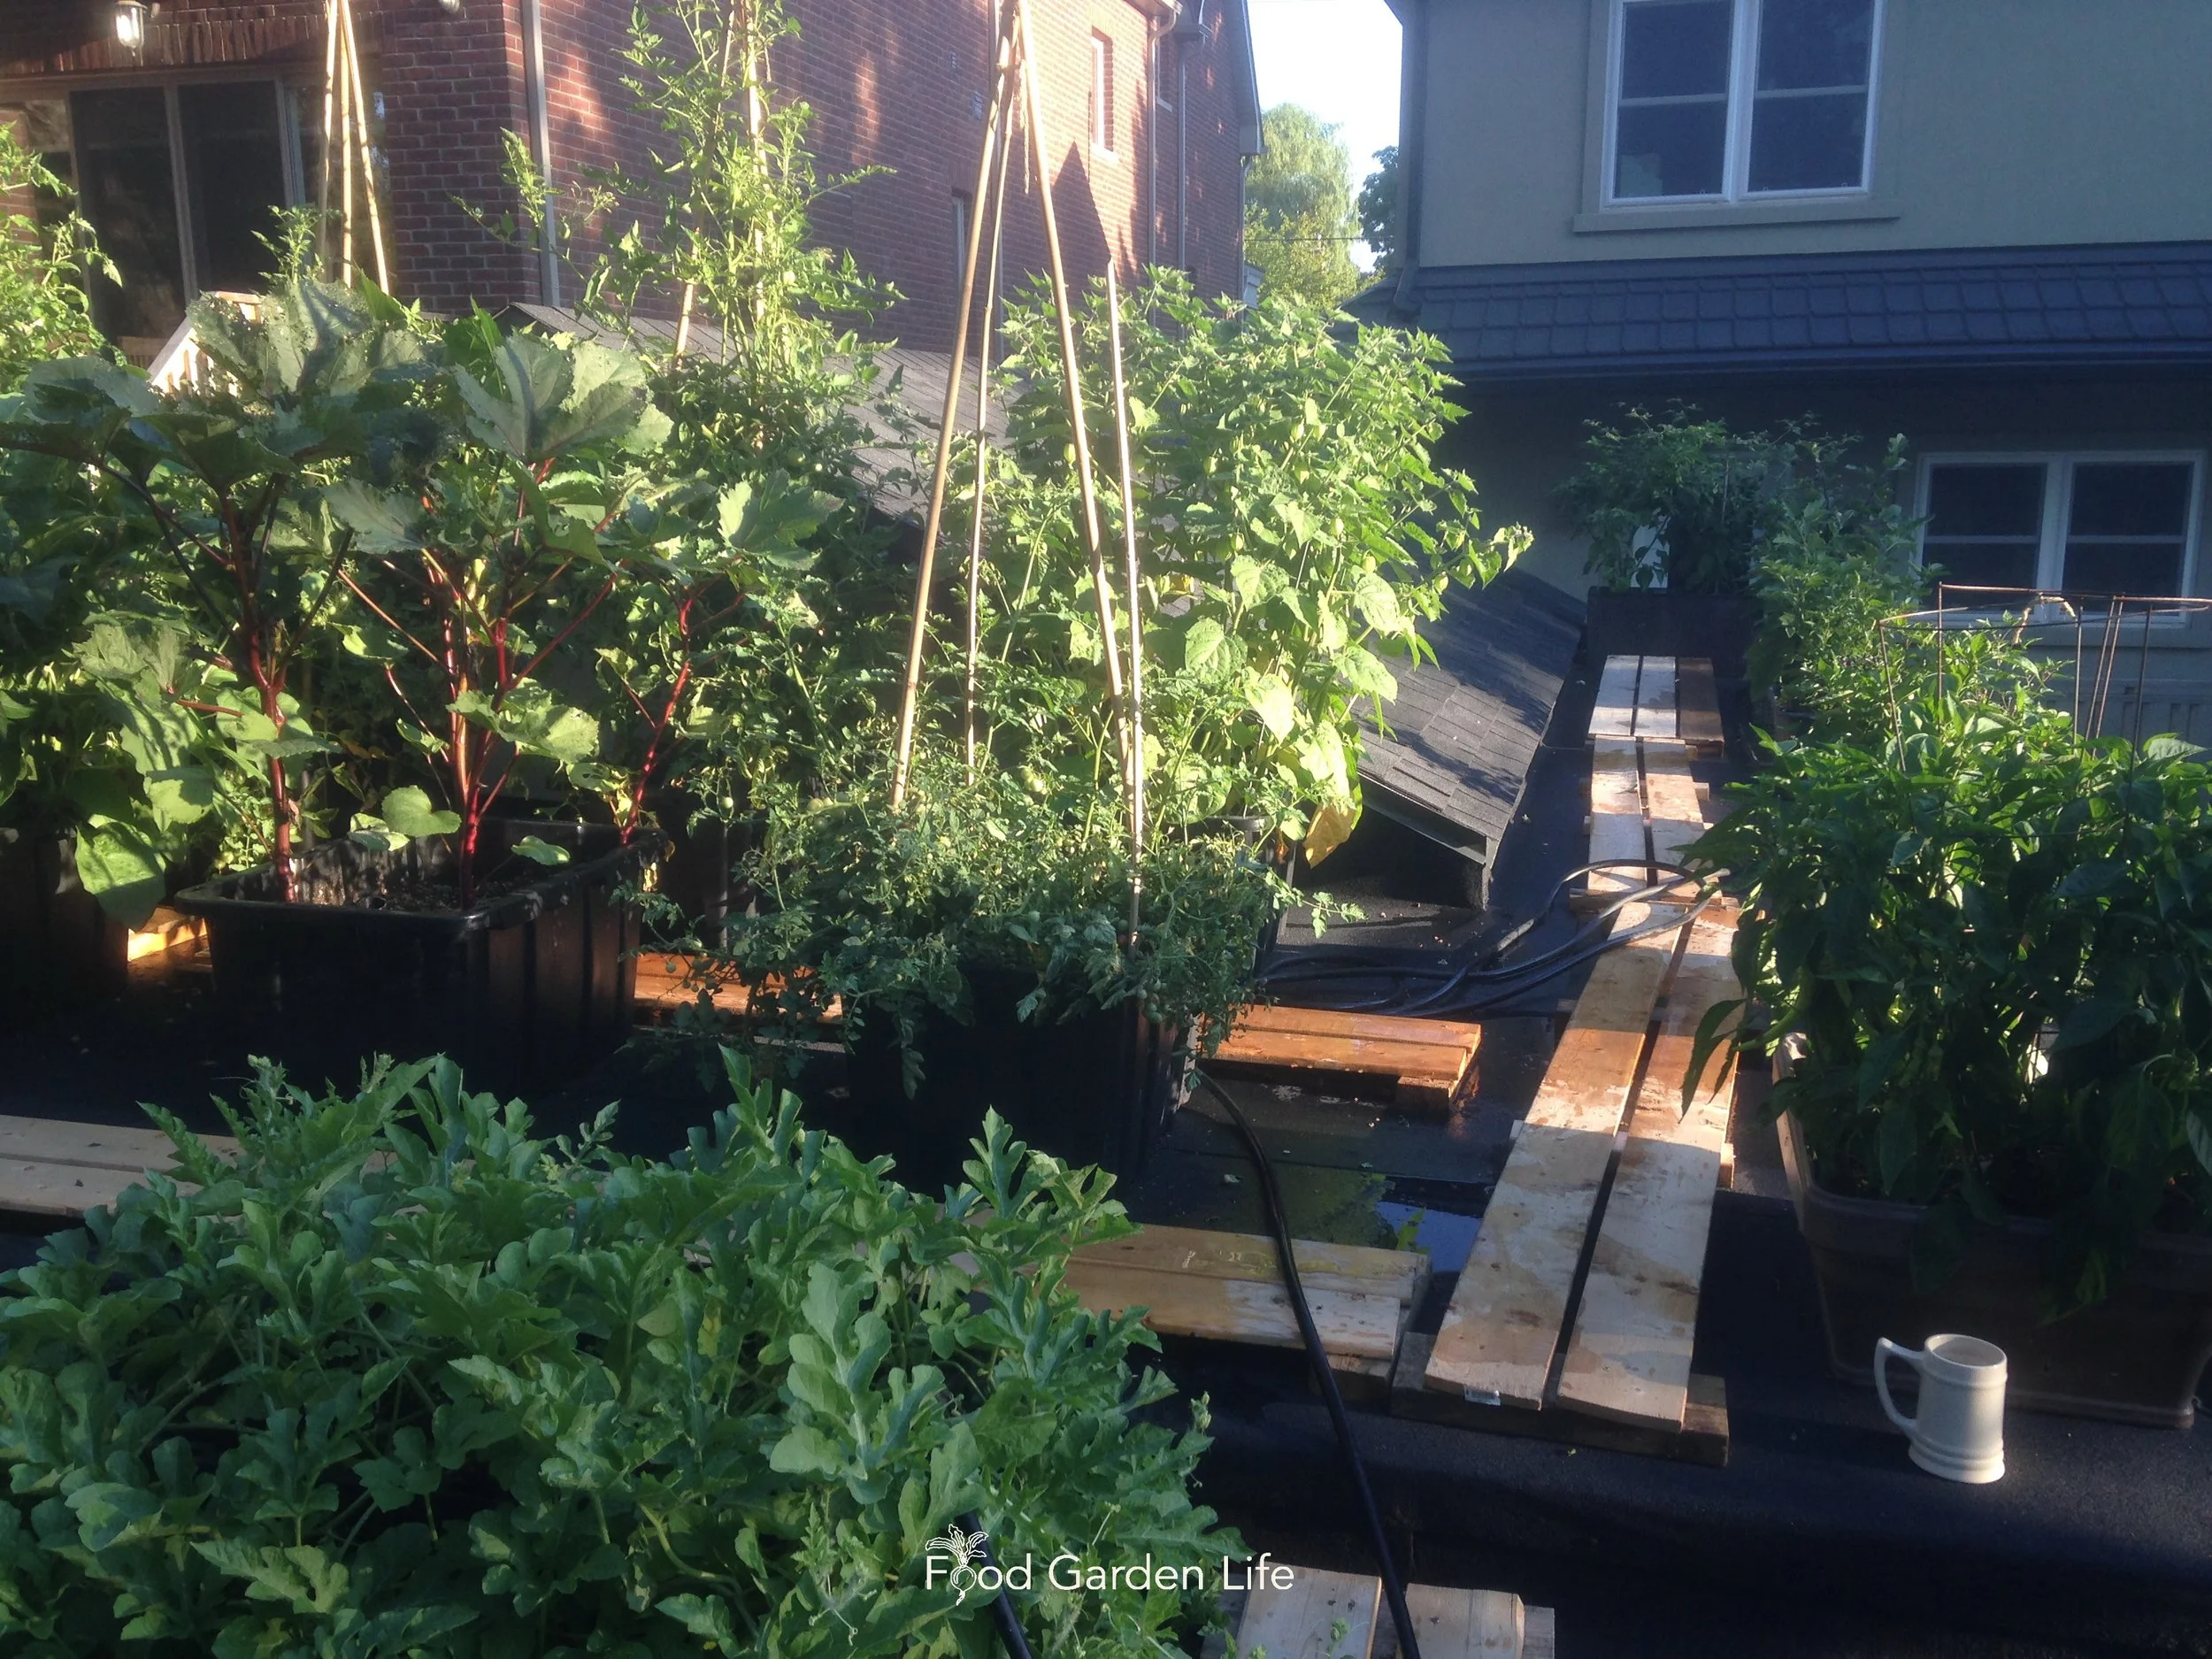
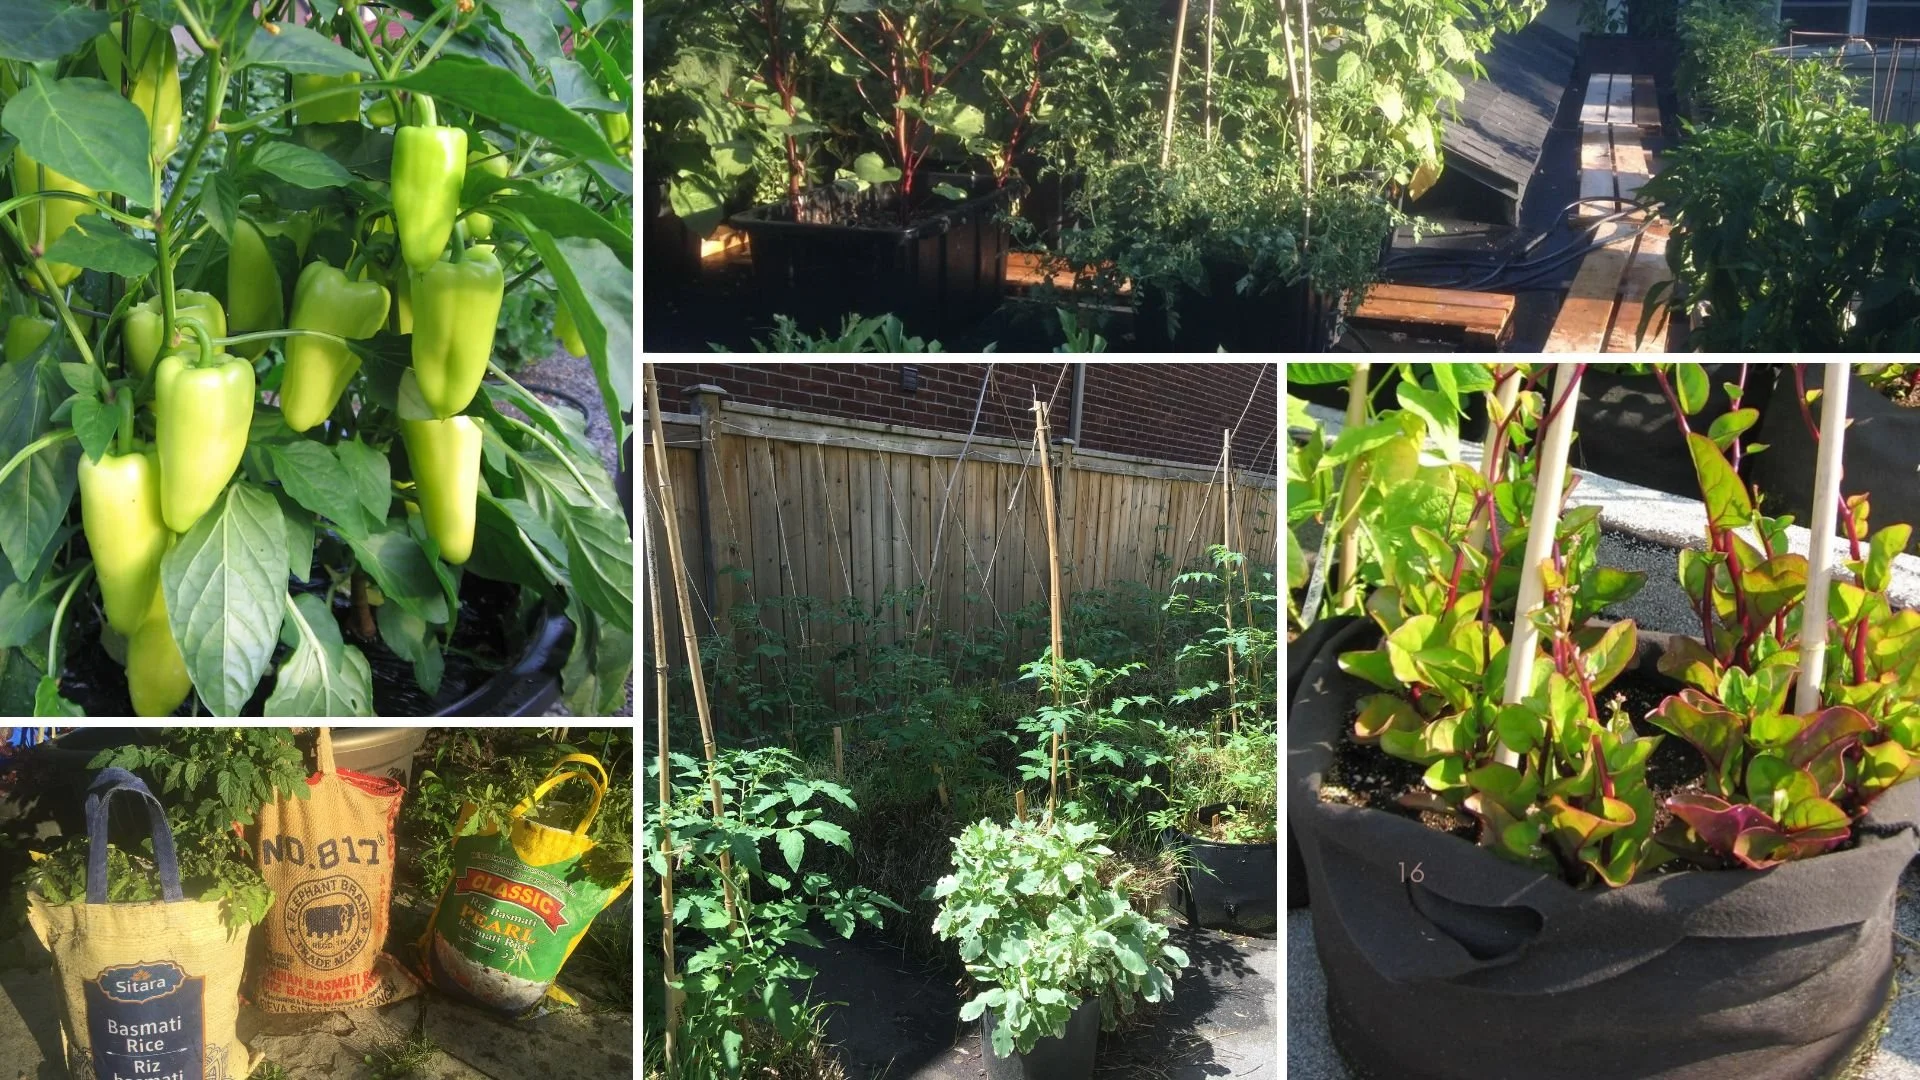
My rooftop vegetable garden! Growing vegetables in containers.
One of my container tomato plants birthed a 3-pound tomato. I had more lettuce than a bachelor could possibly eat. Buttered beans for supper every night…
Since that first container garden, I’ve made rooftop gardens, patio gardens, and driveway gardens full of planter vegetables…even when I have lots of space for veggies in my garden beds.
If you’re thinking of a container gardening, keep reading: This post covers key things to think about, and gives you a list of my top vegetables to grow in pots.
3 Benefits of Vegetable Container Gardening
Container Gardening Gives Vegetable Crops More Heat
The soil in containers warms up more quickly than garden beds—making it possible to grow vegetables earlier in the spring.
Then, during the summer, the soil in containers gets warmer than in-ground beds. Think of sun hitting the side of a container and warming it up. That makes containers a great place to successfully grow heat-loving crops in areas with cool climates or short summers.
Containers Help Squeeze More into a Small Space
It goes without saying that container gardening is a great way to garden in small spaces by using otherwise unused spaces where there’s paving, poor soil, or competing roots.
To squeeze even more vegetable container crops into limited yard space, think in layers:
Low containers
Containers filling space higher up
More containers up above—maybe hanging baskets
Containers to Overcome Soil Issues
Container gardening is also a good option in places with possible soil contamination.
Find out more about soil contamination.
Containers can be a good way to garden near a black walnut tree. Find about about walnut toxicity.
Even if the soil is OK, sometimes tree roots make gardening in the ground impractical. Containers to the rescue!
Grow a Container Vegetable Garden
And get an early harvest of crops that usually take too long!
My Top 12 Vegetable Container Plants
Here are my top vegetables to grow in pots. (In that first container vegetable garden in Montreal I had a lot of these—and they’re still my top choices.)
Beans
Bush, pole, and runner beans all do well as container vegetable crops. Pole and runner beans are a good option where there is a wall, trellis, or railing for support.
I grow both bush beans and pole beans in my driveway container garden. The pole beans hide an ugly fence, while the bush beans fill in space in front of tomato plants.
Recently I’ve been growing beans in my straw-bale gardens. Like container gardens, straw-bale gardens are great for small and paved spaces.
Find out more about straw-bale gardens.
Beet
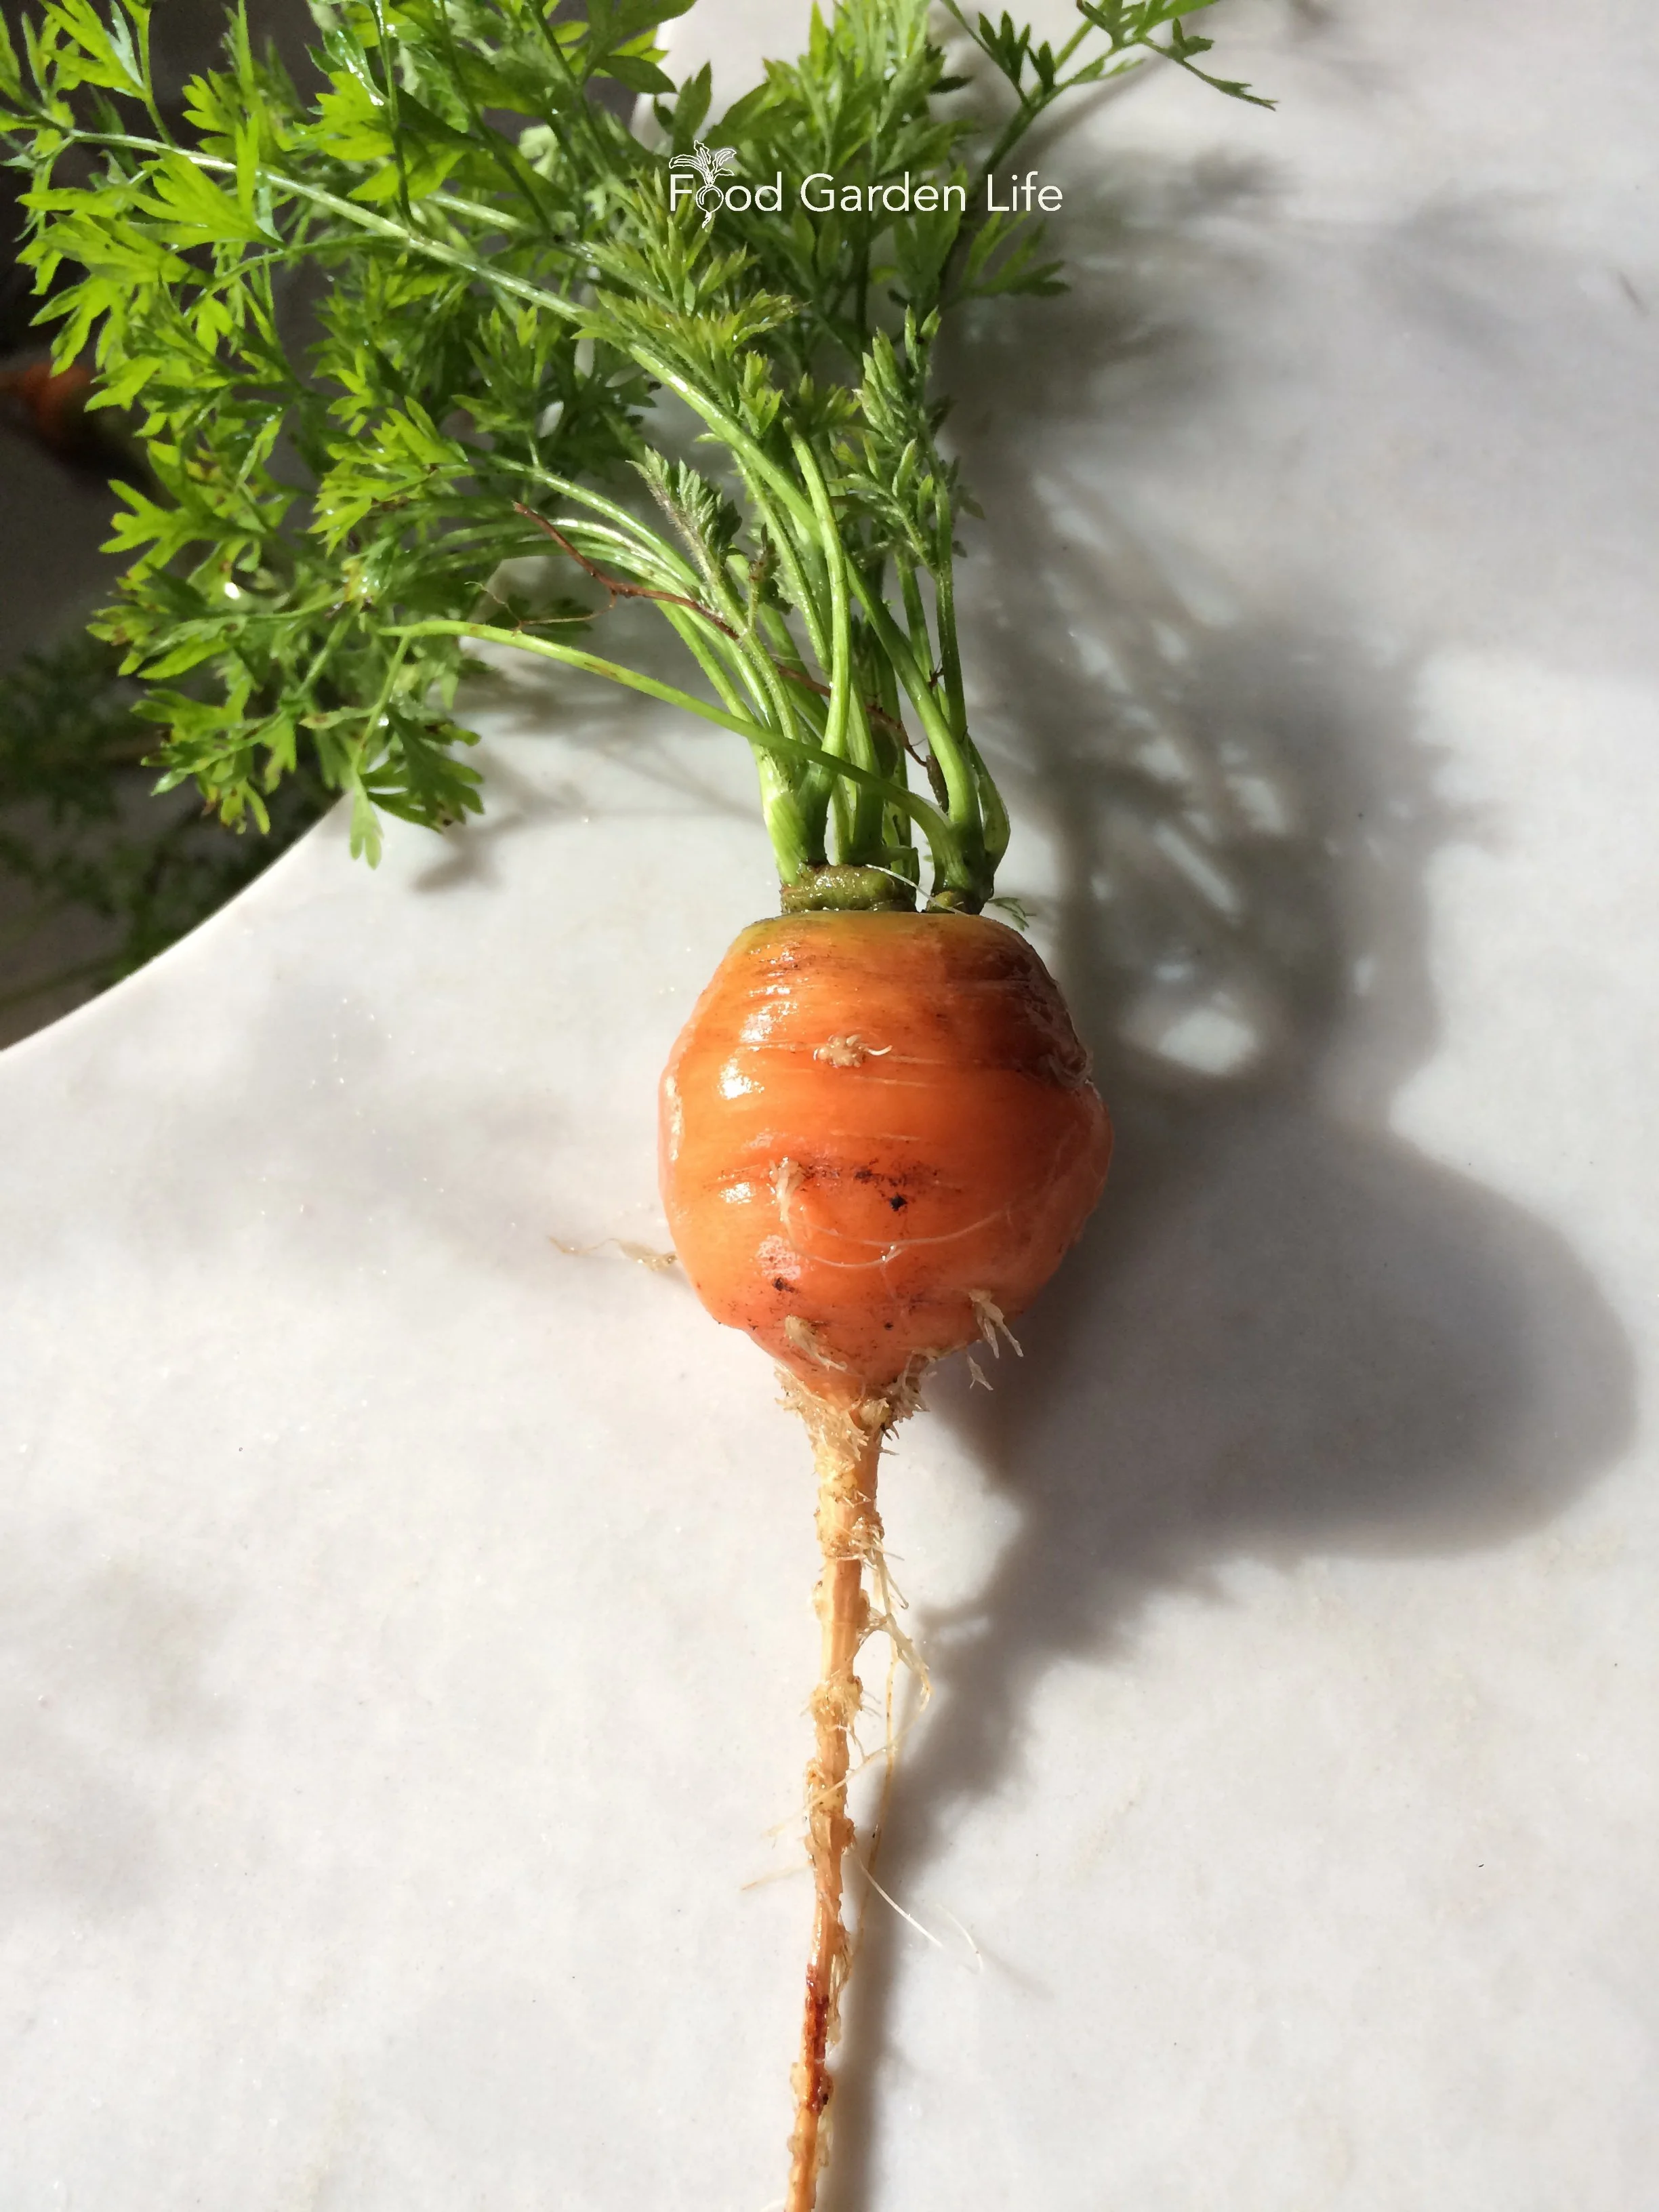
Paris Market carrot, a small carrot that’s well-suited to smaller containers.
Something that puts beets high on my list of is that there are two edible parts: the root, and the leaves.
Beet root is a great storage crop. Here are 25 storage crops you can grow at home.
‘Bulls Blood’ has red foliage prized as a colourful salad green.
Carrot
You can still grow carrots if you have small containers. For shallow containers, look for short varieties that have shallow roots, such as the little, round ‘Paris Market.’
As with beets, this is a crop with two edible parts: Leaves and roots are both edible.
Eggplant
Eggplant loves heat, making it a great choice for growing in containers. Pick the sunniest location you have.
Eggplant flowers are very attractive, making this one of those vegetable crops that’s very ornamental, too.
For novelty, look for red, white, or striped varieties.
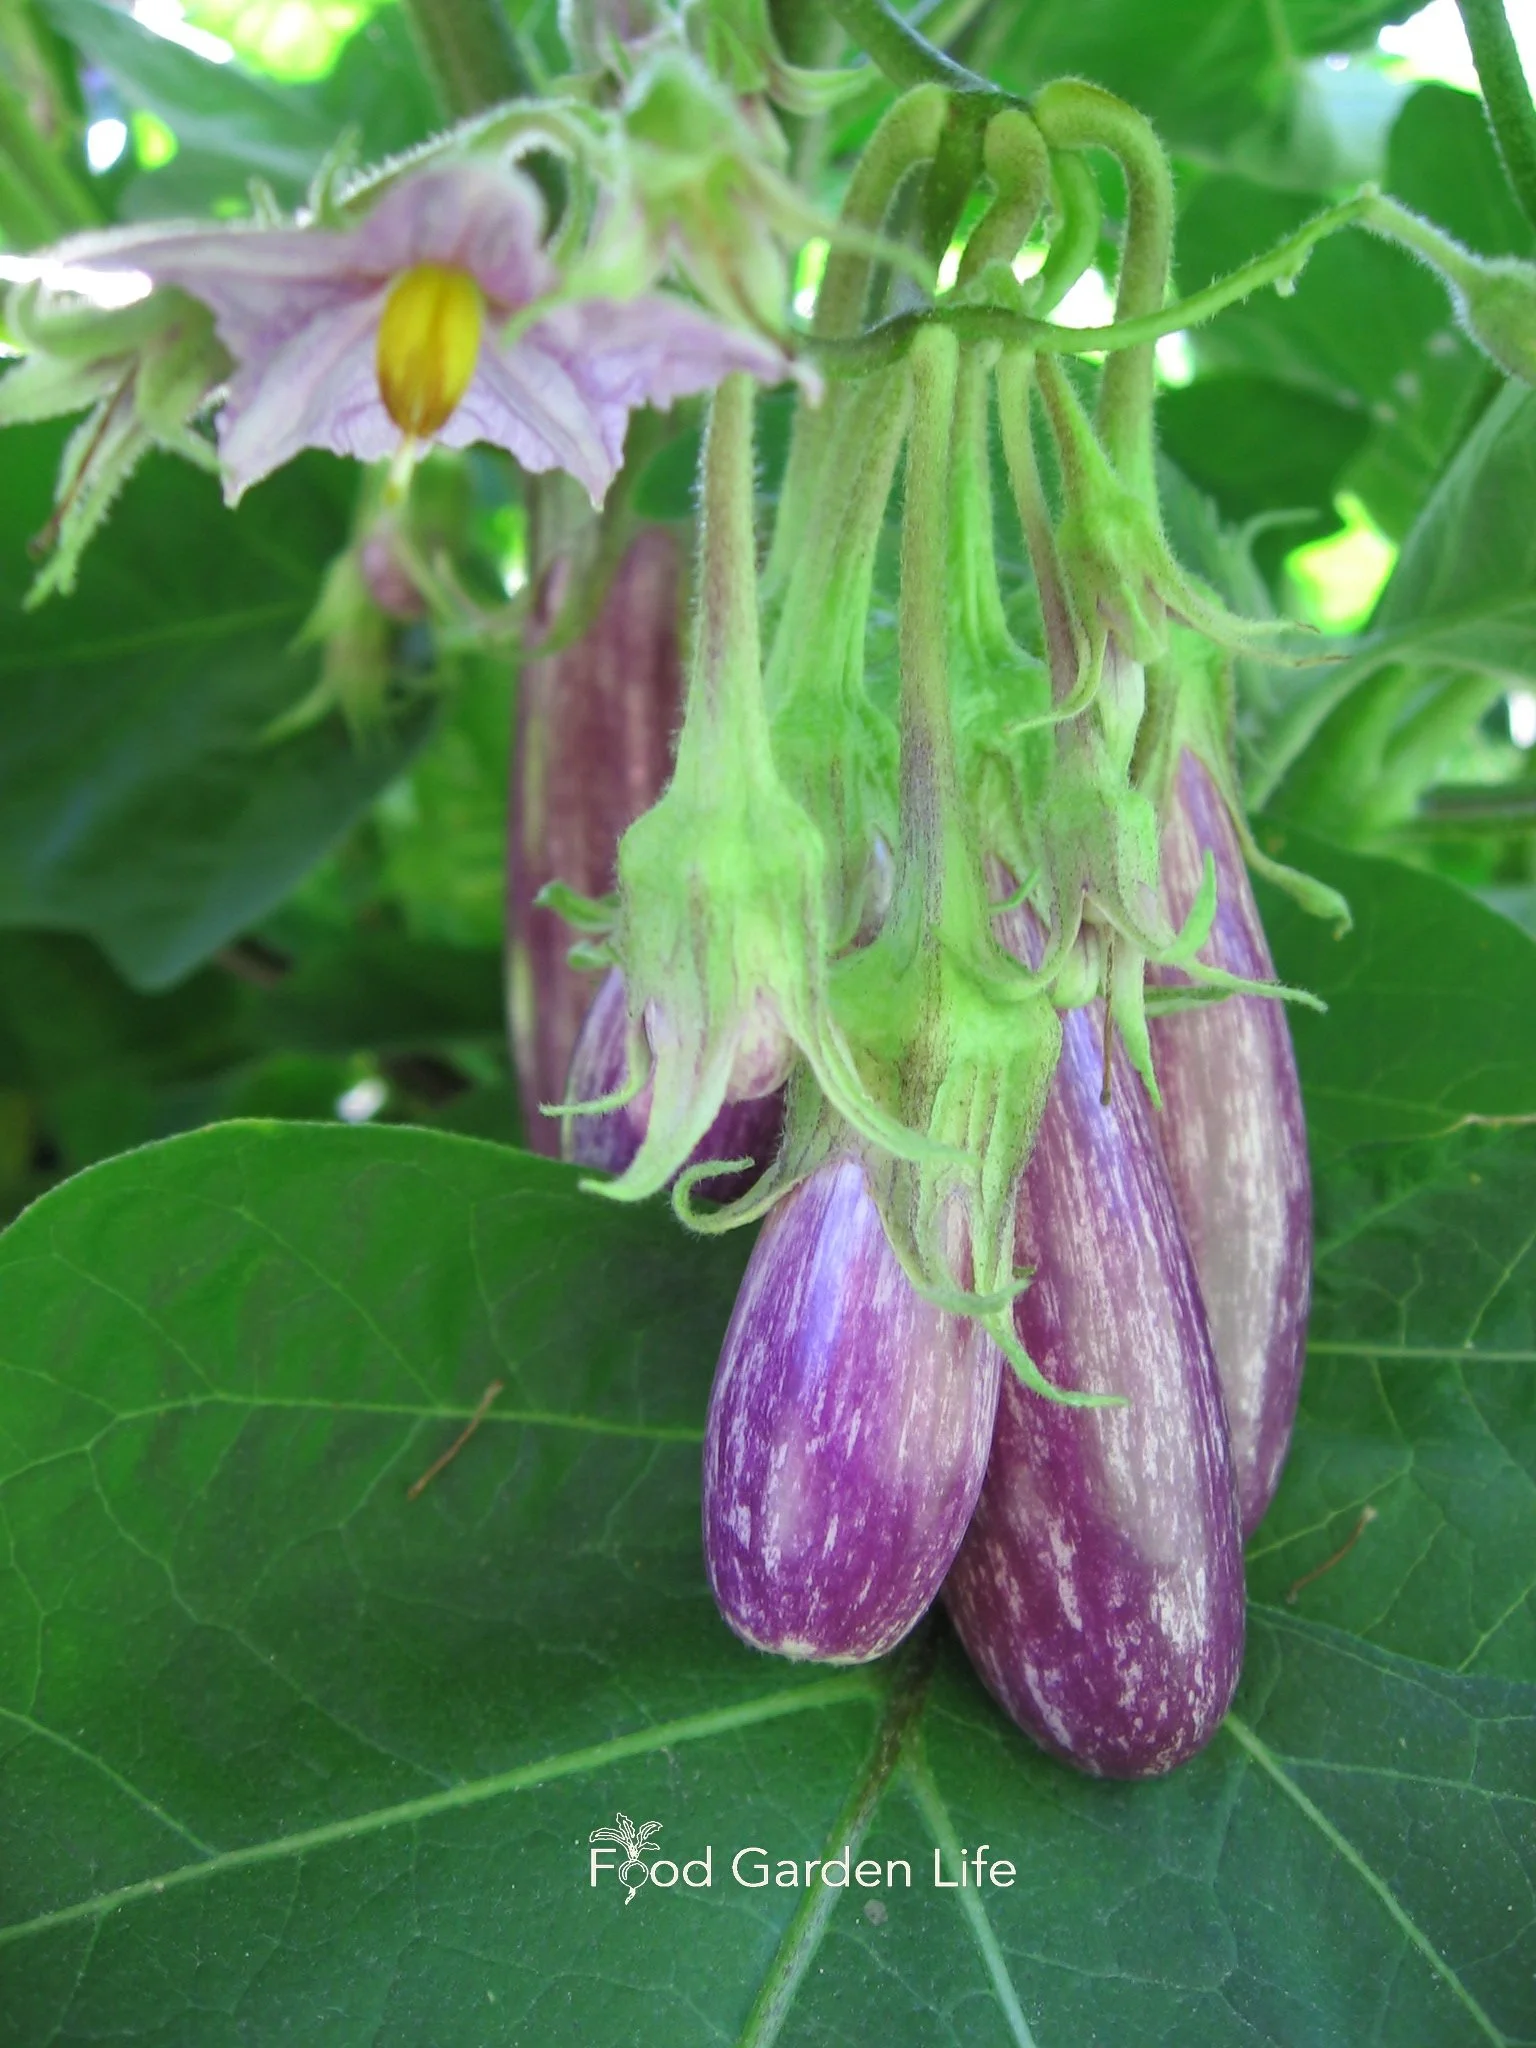
Potted plants that look beautiful! Try some eggplant.
Kale
Kale has excellent ornamental properties as it comes in many colours and has many leaf shapes and textures.
It holds up well through fall frosts and into winter, making it a must-have crop if you want a long harvest window.
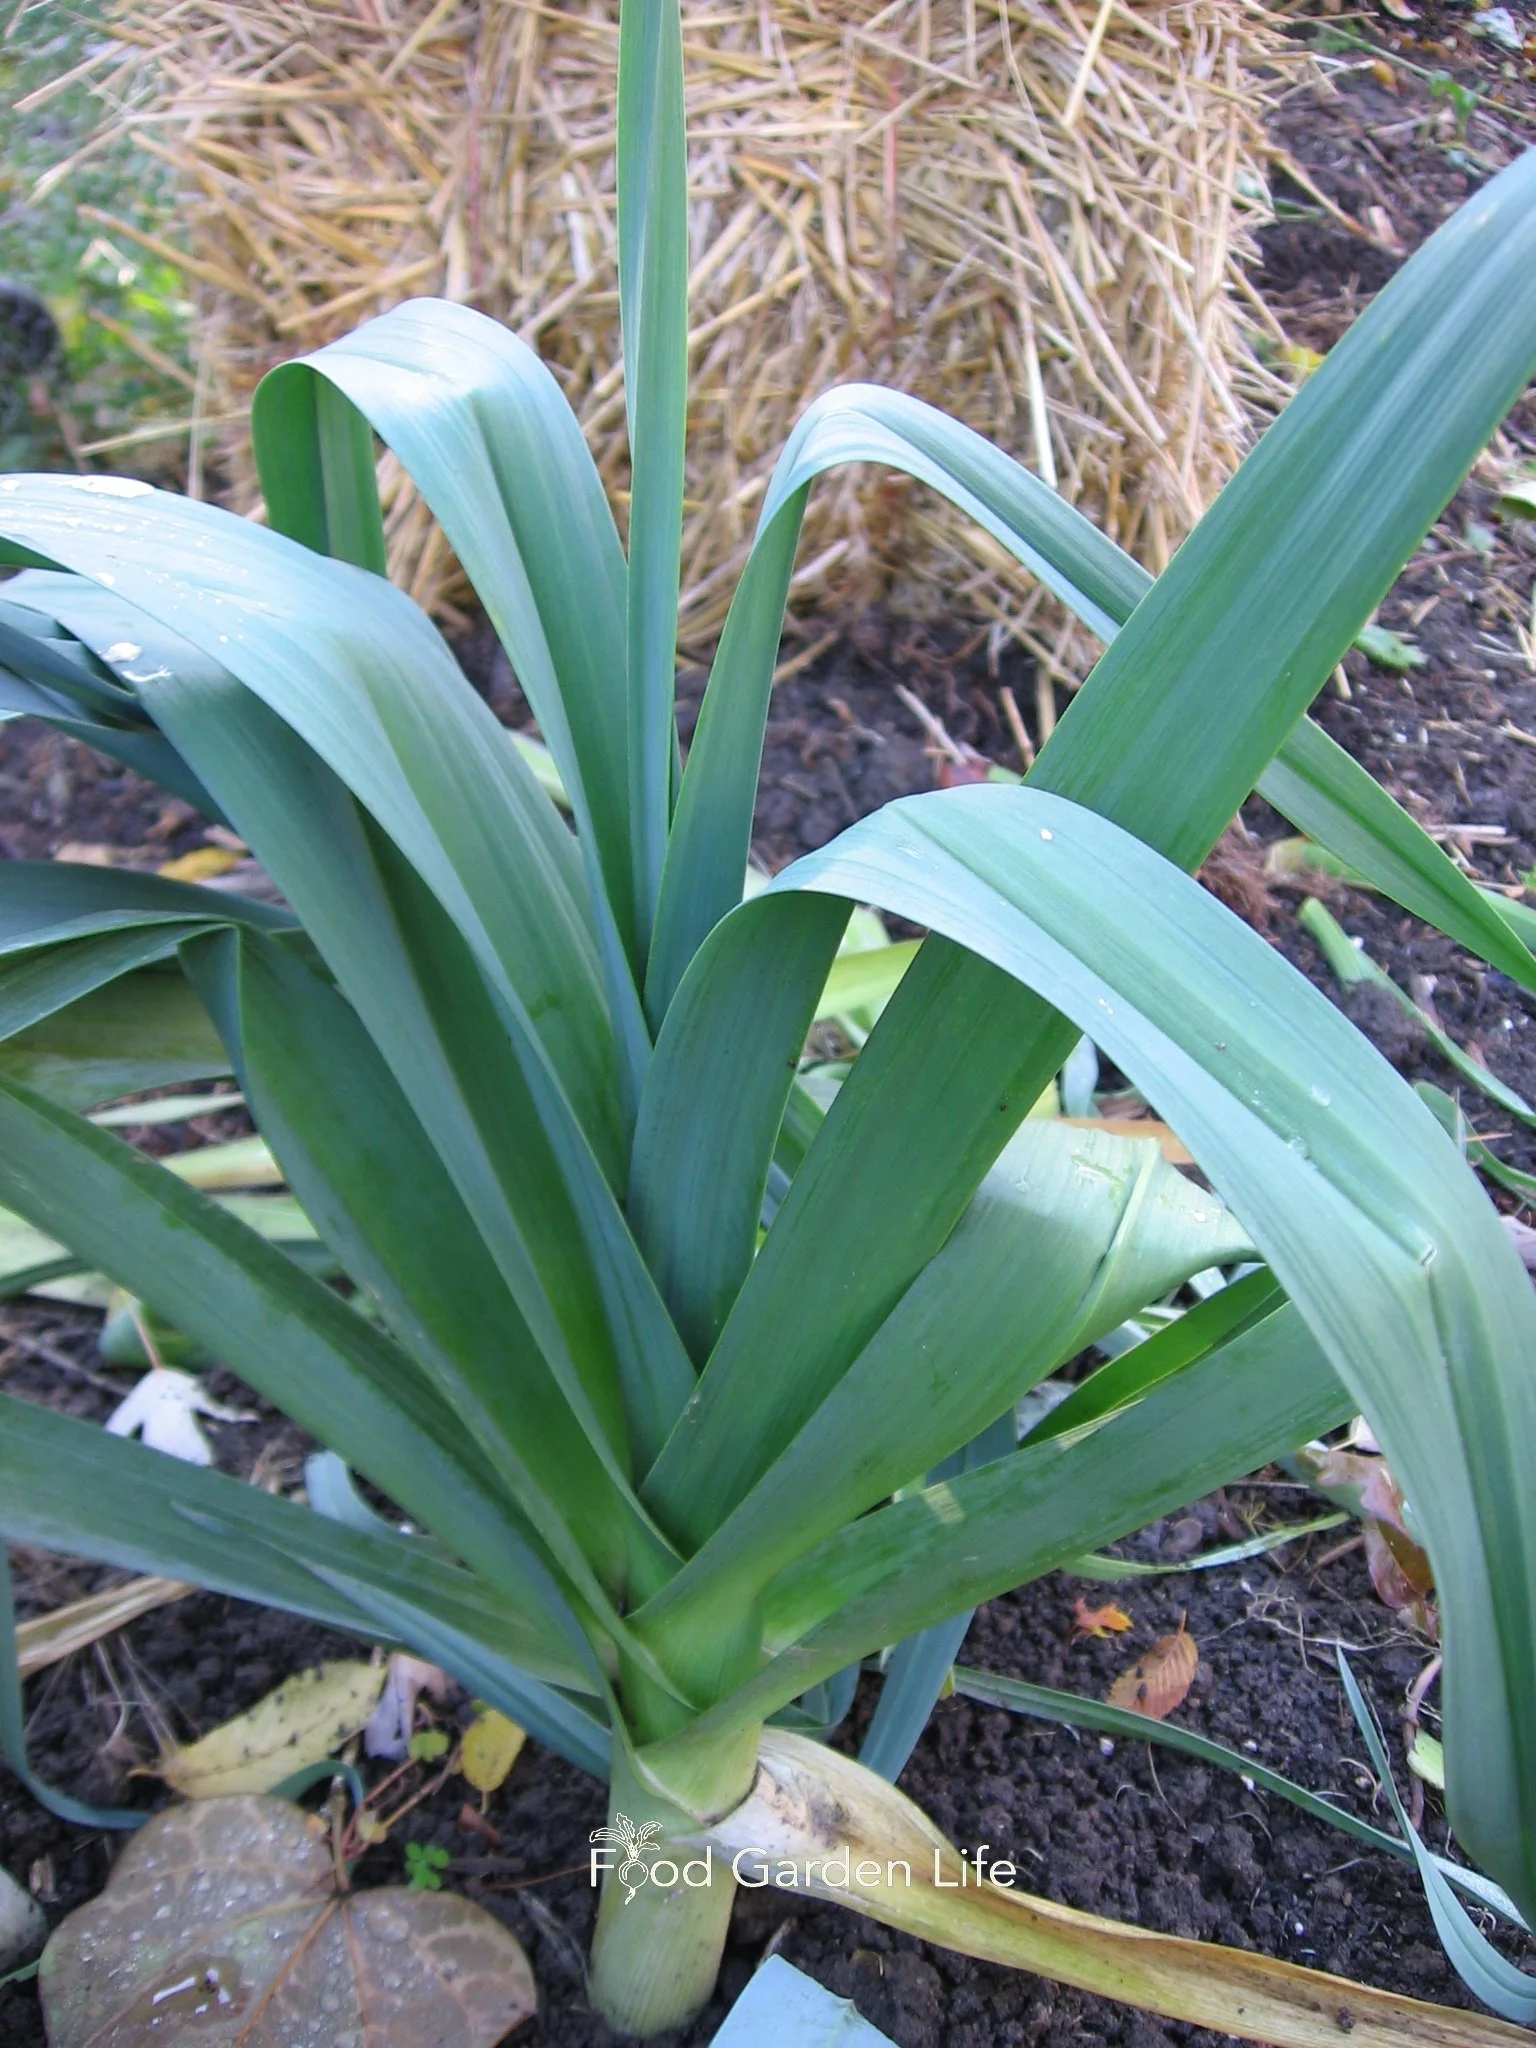
Leeks have a beautiful shape and a long harvest window.
Leek
So often overlooked, the leek is something to add to a container vegetable garden for two reasons:
It lasts right into the winter, making it perfect for gardeners wanting a long harvest window
It has a beautiful shape, and makes an excellent centrepiece in a decorative fall container.
(Makes a nice centrepiece in a fall planter, surrounded by colourful Swiss chard and filly parsley!)
Malabar Spinach
A vining plant with edible stems and leaves that are a good addition to a stir fry. There’s a green variety, and also a red-leafed variety that’s very beautiful.
It’s a great crop for vertical gardening.
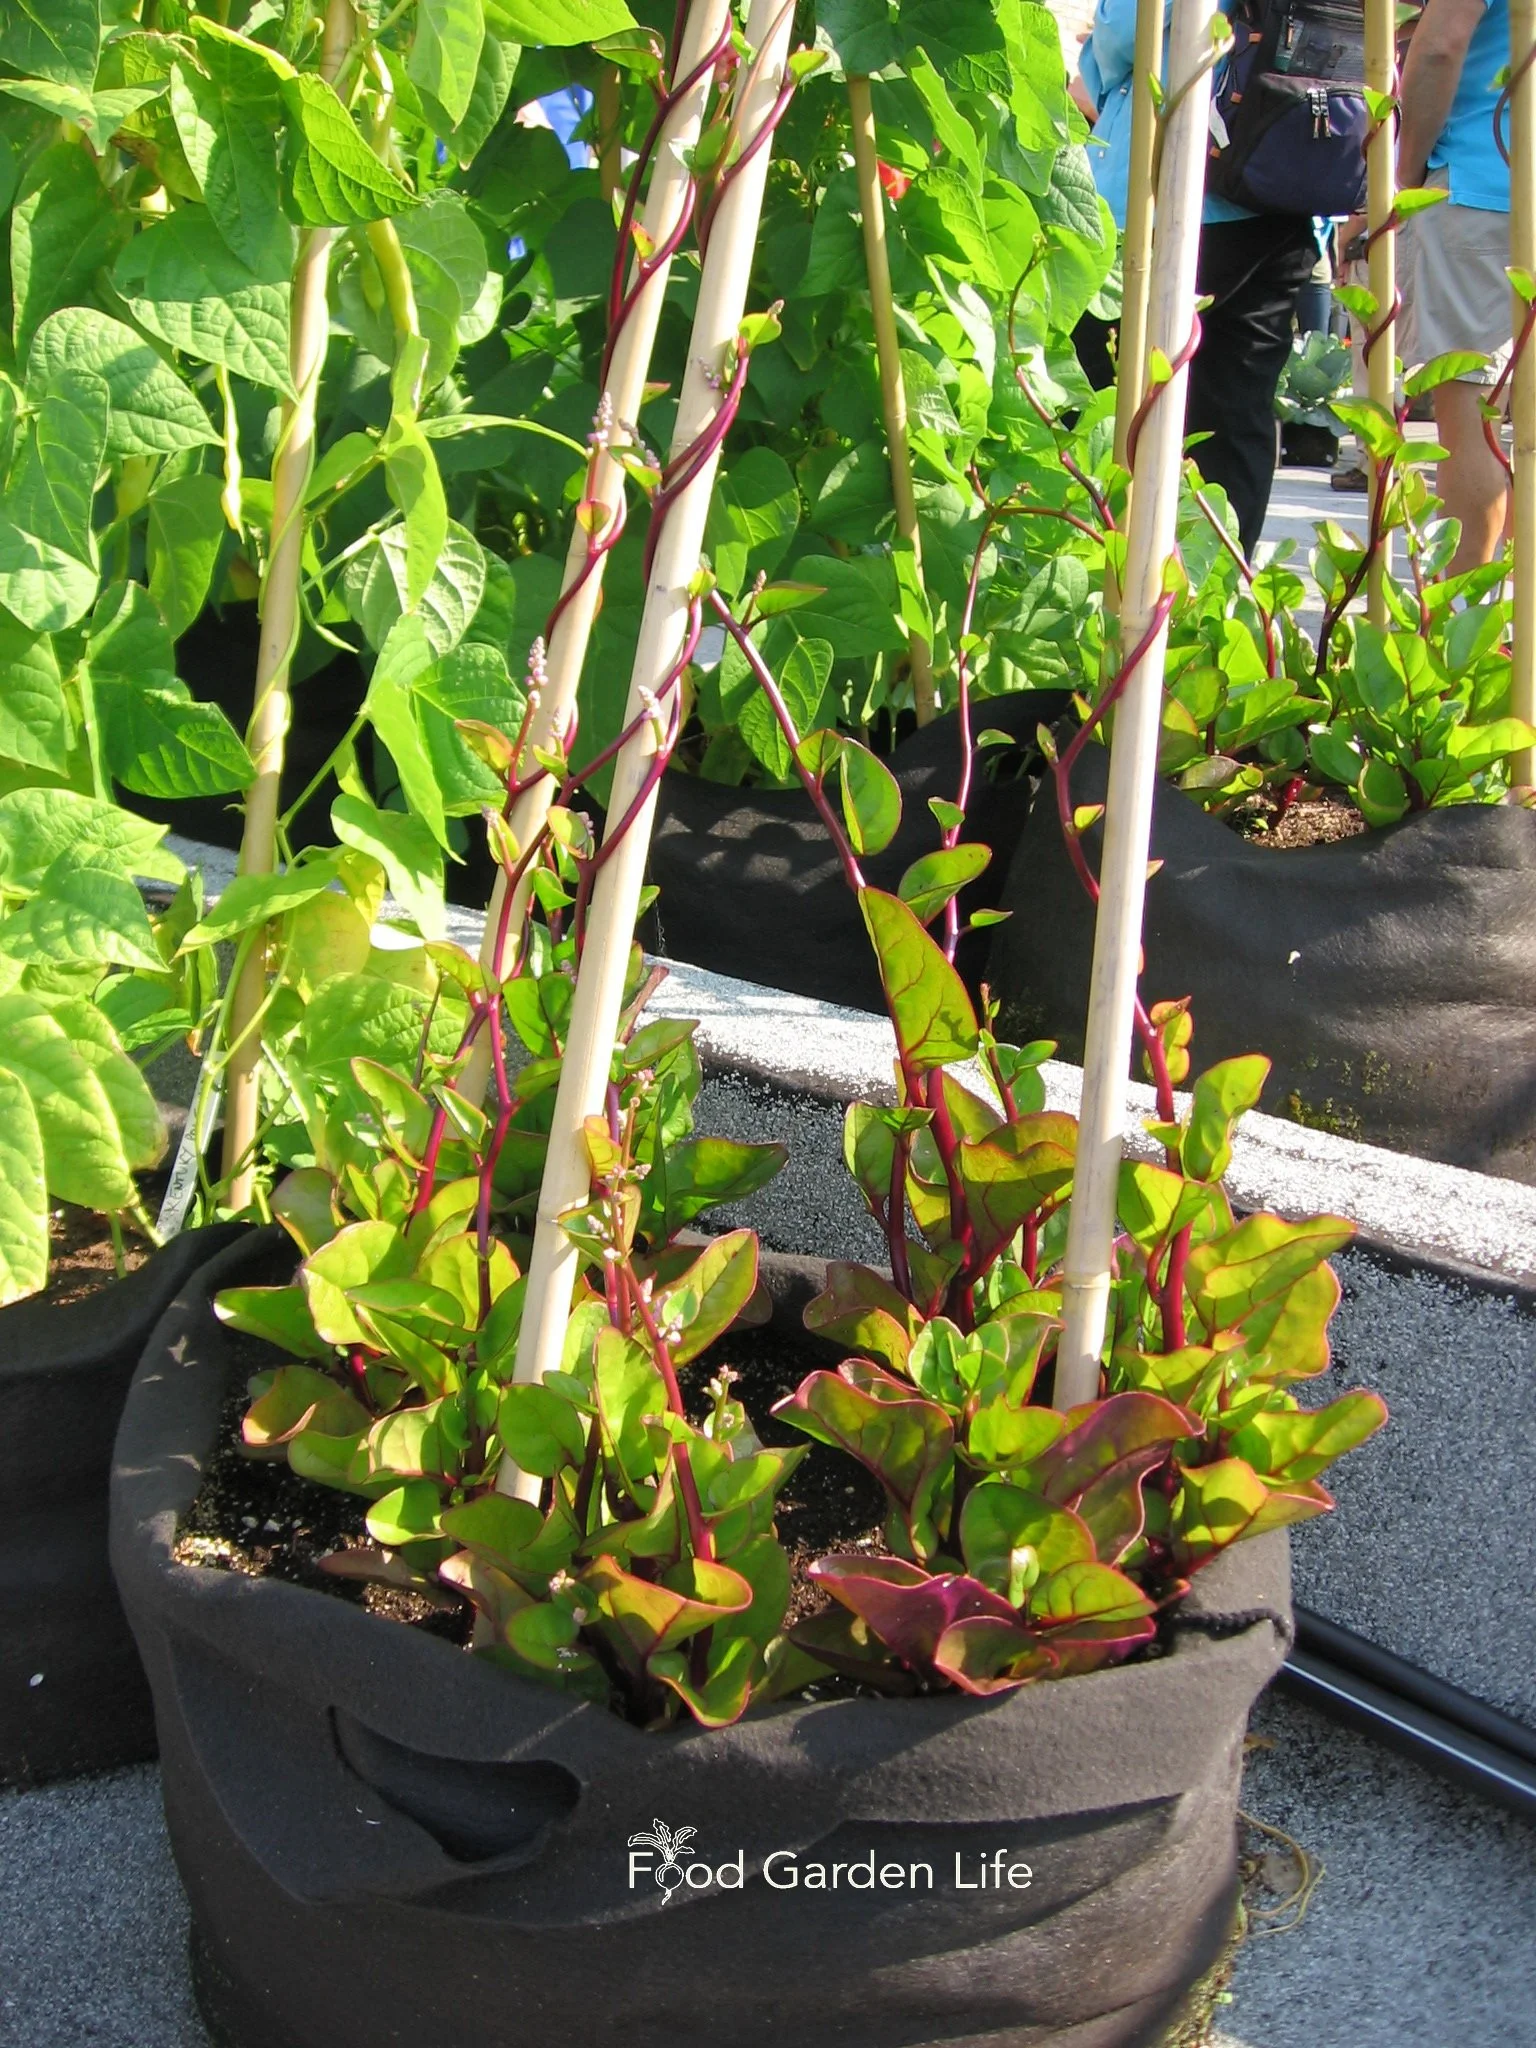
Malabar spinach is a great vegetable to grow in containers because it looks beautiful, produces a lot in a small space, and thrives in the heat.
Okra
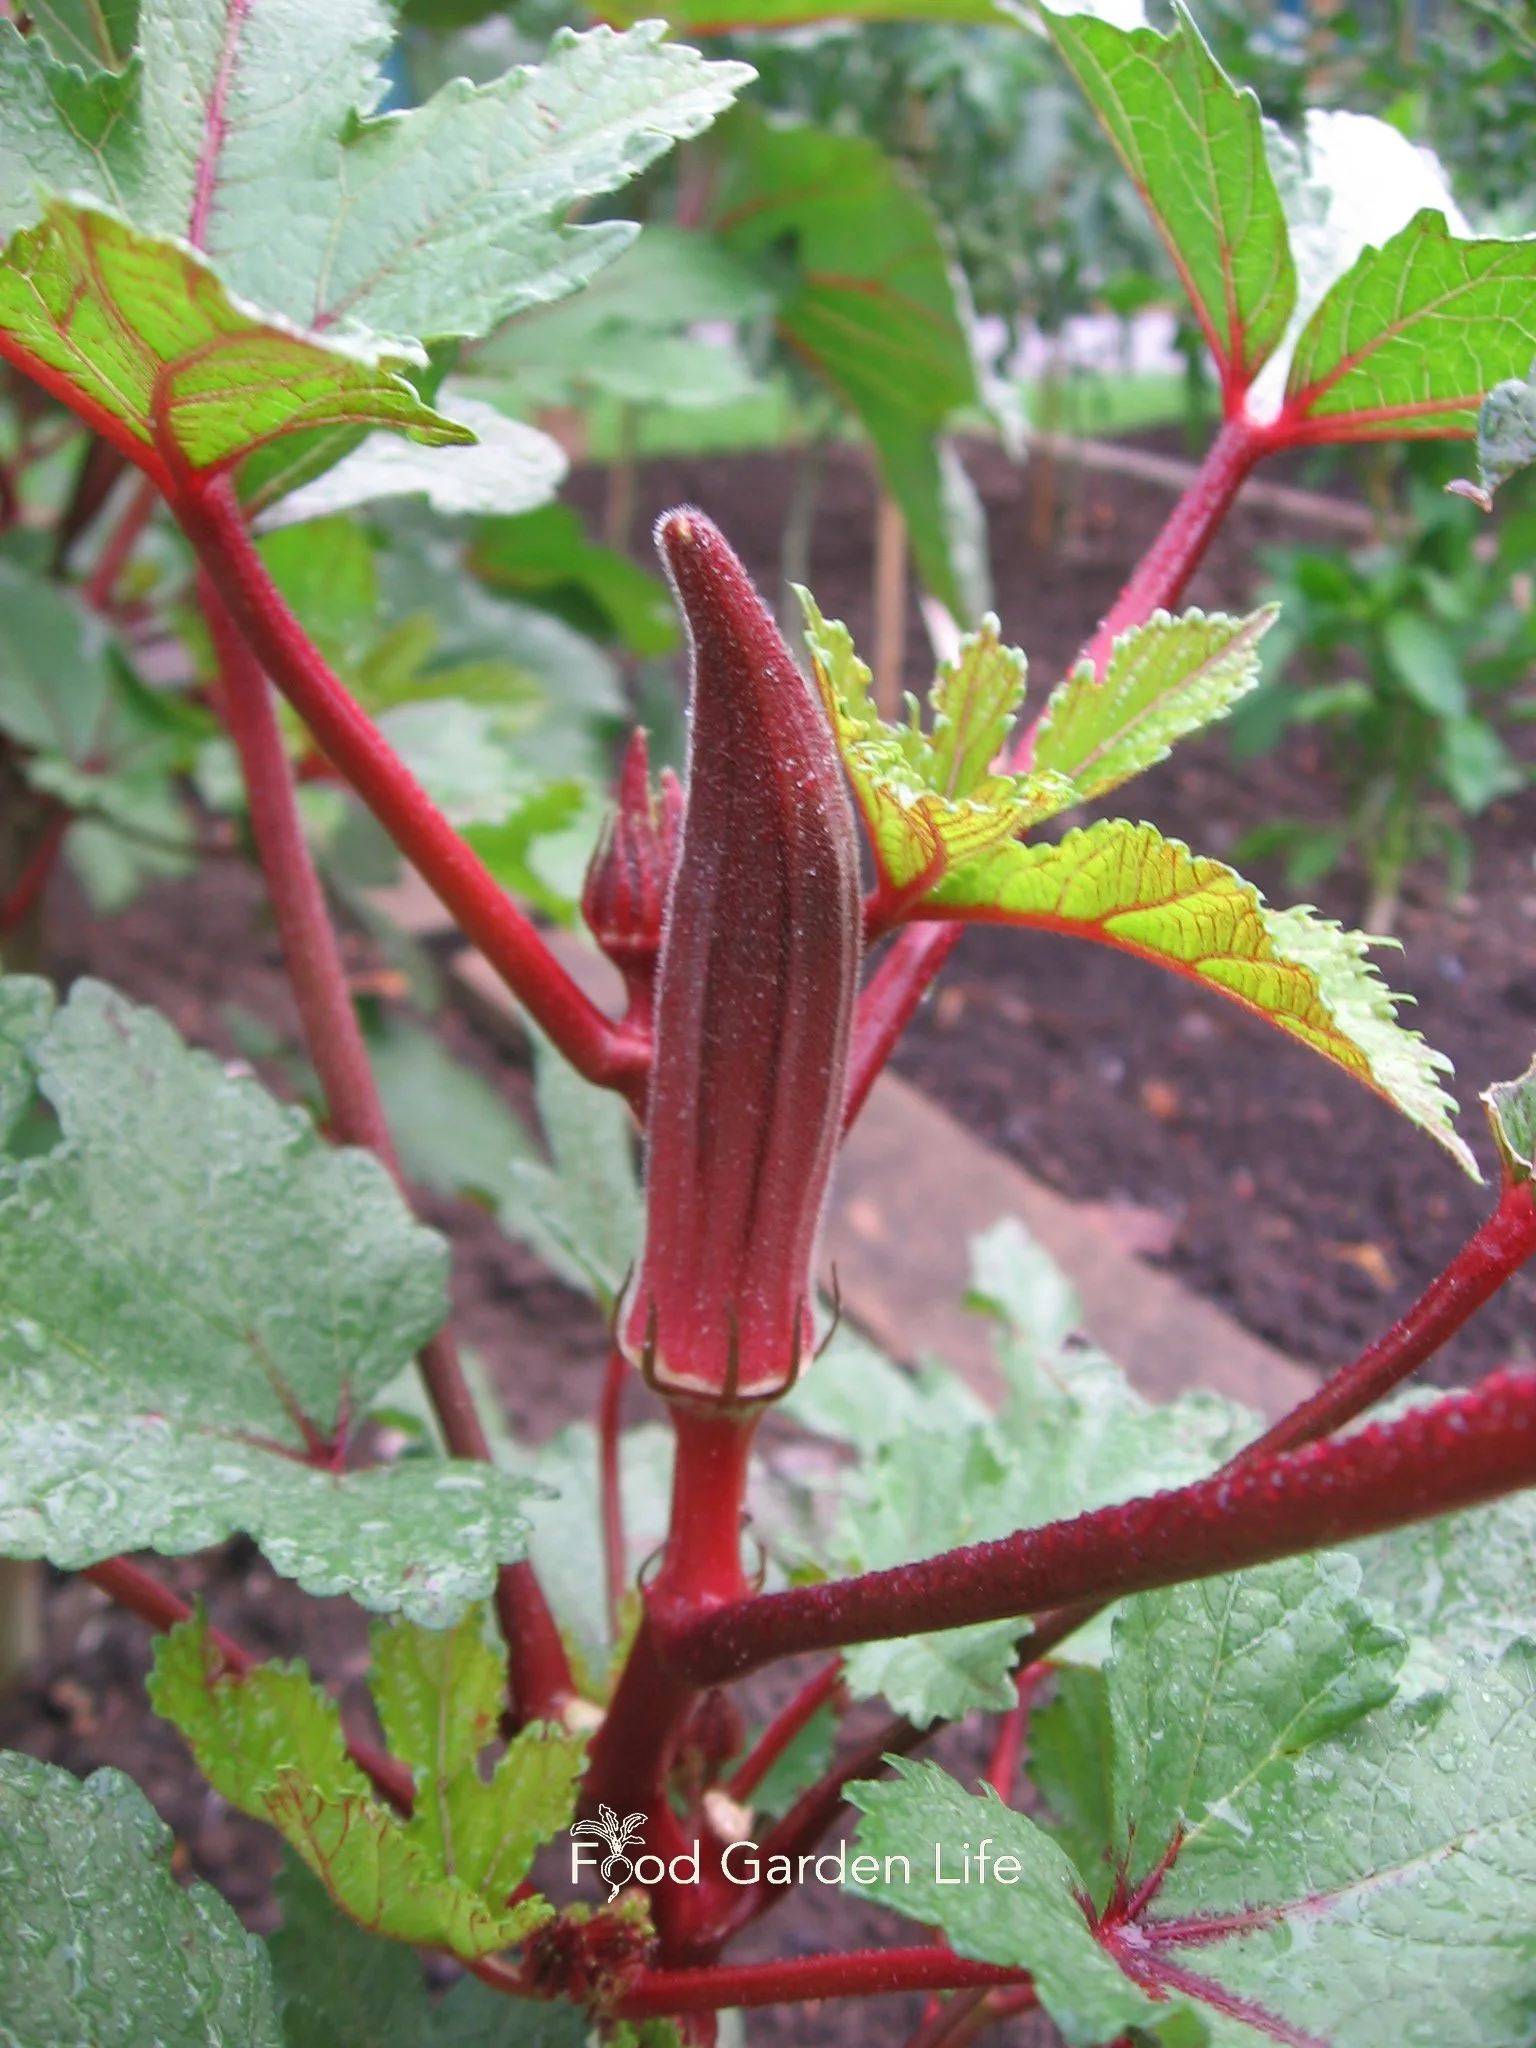
Red-podded okra.
Okra loves heat, making it a good choice for containers in sunny locations.
The red-podded varieties are beautiful, with red stems and red veins on the leaves. Nice ornamental value.
Here’s a chat with the Indiana Jones of okra.
Pepper
Peppers thrive in the heat, so are very well suited to growing in containers in sunny locations.
Both sweet peppers and hot peppers do well as container plants.
Many of the hot peppers have a compact form and look beautiful when the plants are covered with colourful peppers. (A favourite around here it Chinese 5 Colour Pepper, where the peppers go through 5 colours as they ripen—it’s beautiful.)
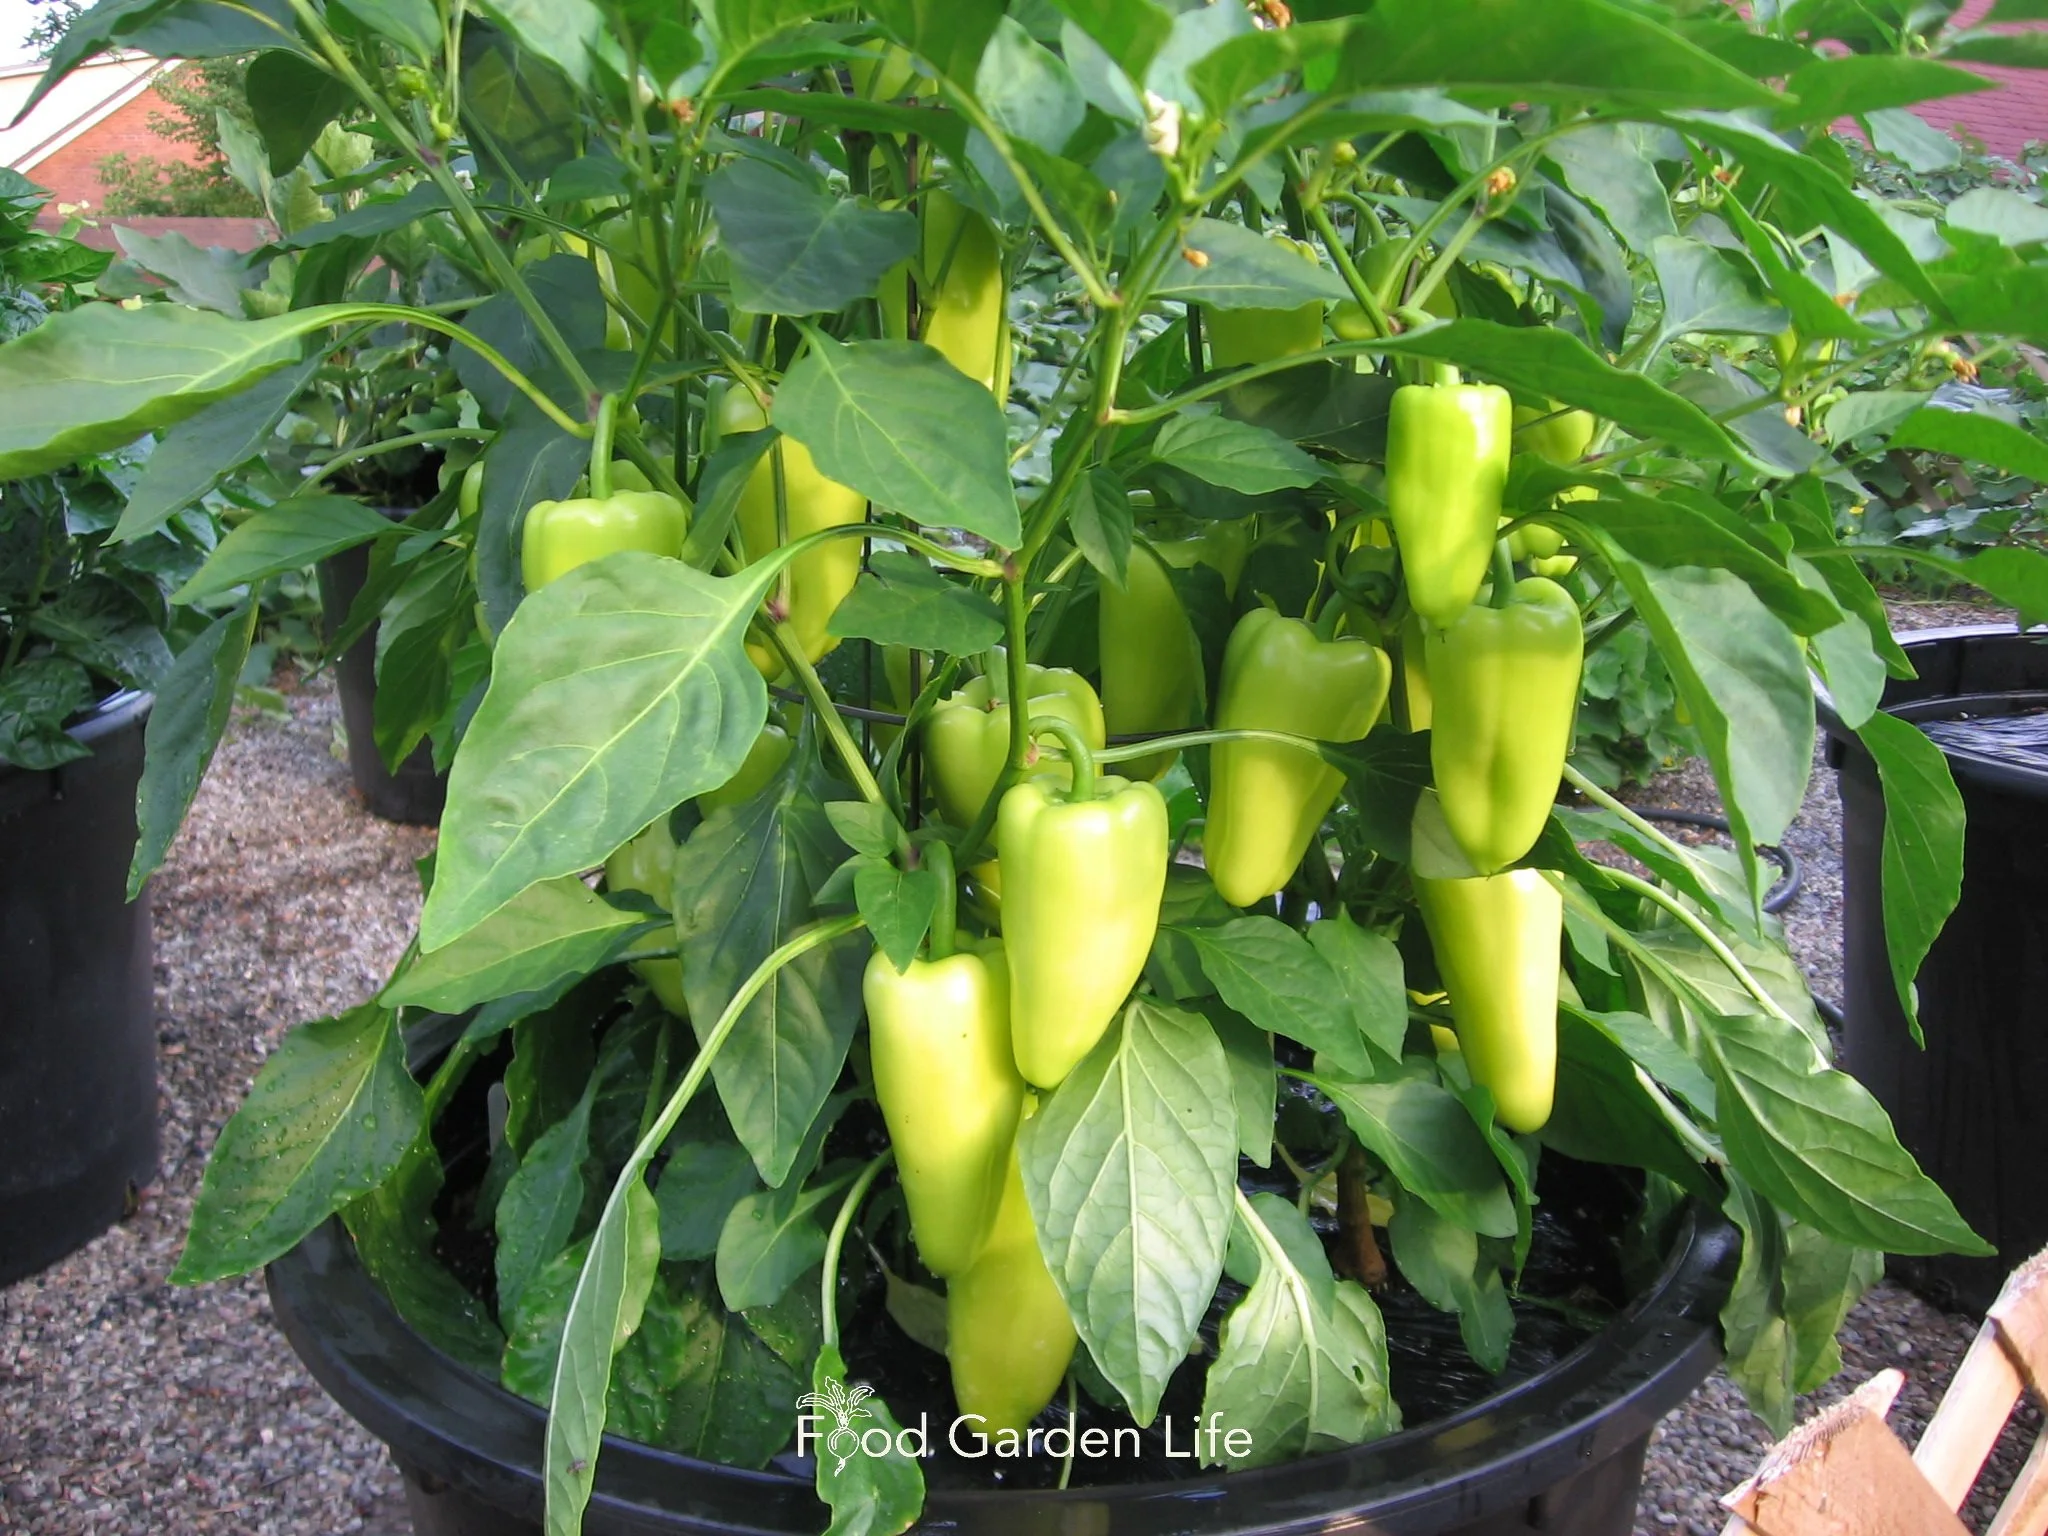
This container pepper plant is laden with peppers!
Potato
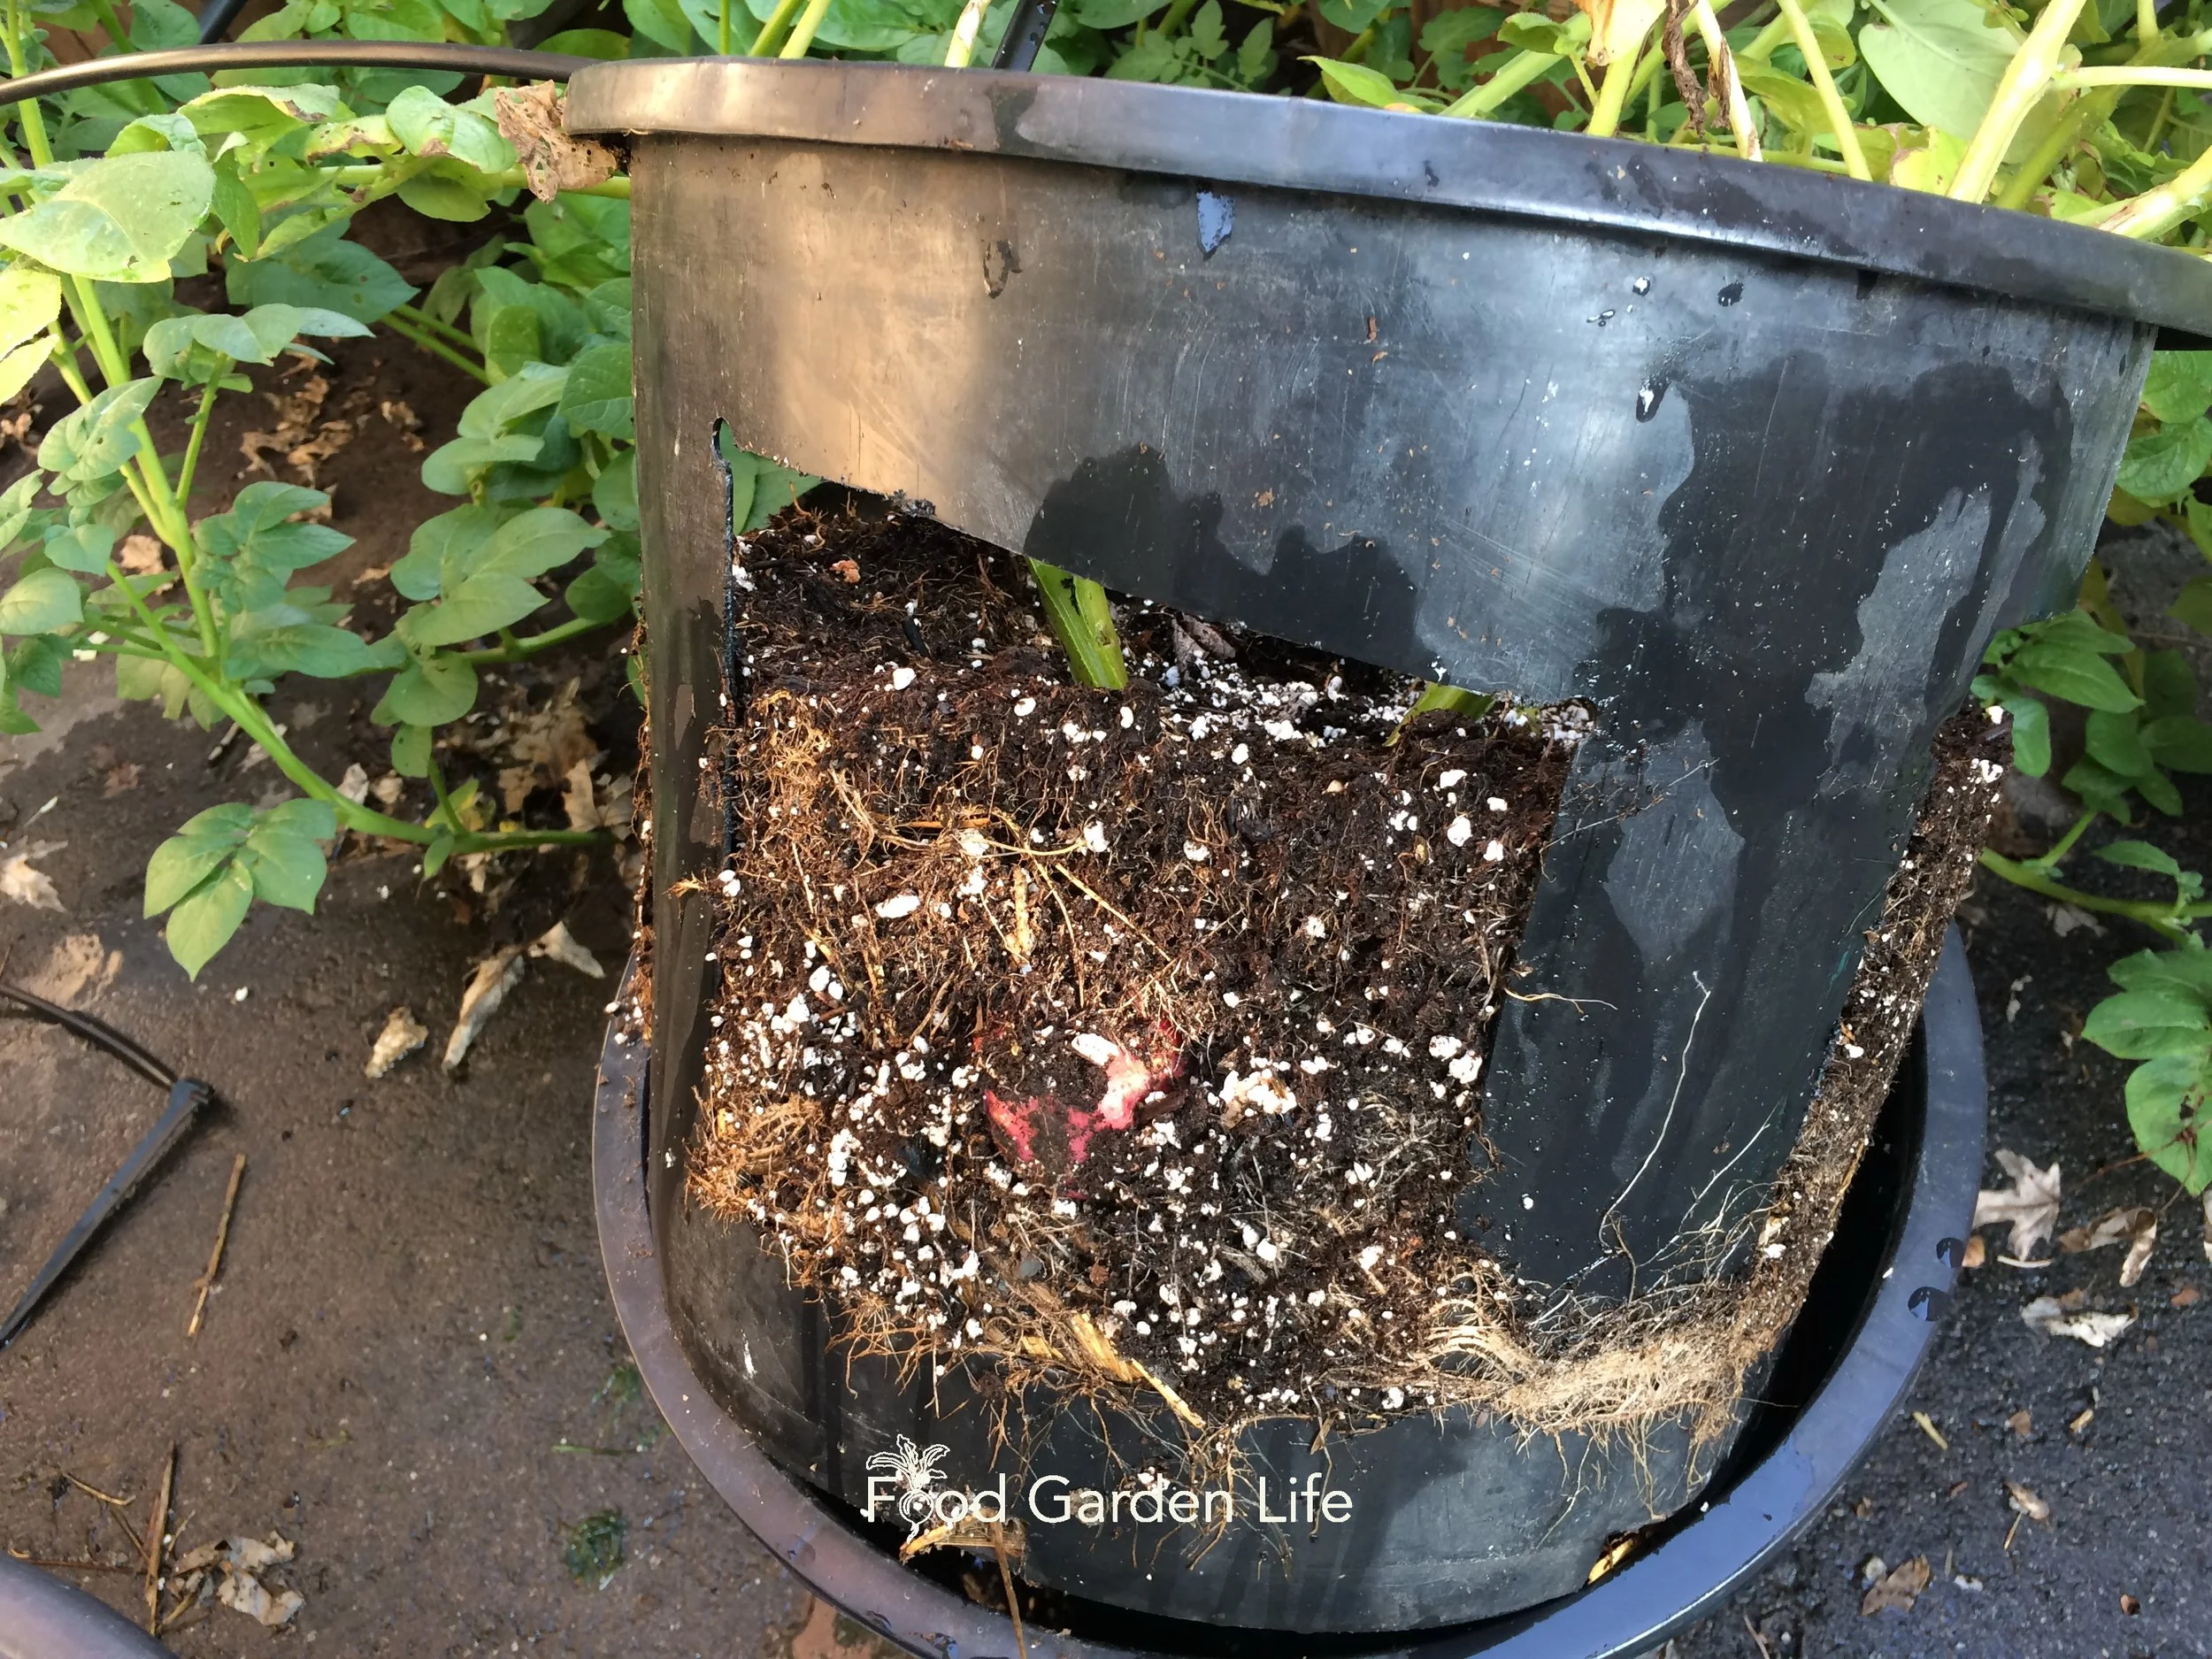
Check out this potato pot! I made it by cutting holes into a nursery pot, and then sliding the nursery pot into another one of the same size.
I love the special fingerling potato varieties that make great potato salads. Don’t waste precious container garden space on big clunky storage potatoes!
Tip: Potatoes form near the soil surface, and it’s important to keep them covered with soil so that they do not go green with exposure to sunlight. Start with just a small amount of soil at the bottom of the pot, then keep adding as the plant grows.
There are even planters with openings in the side for easy early harvest without digging up the whole plant—perfect when you only want a couple of potatoes at a time.
Swiss Chard
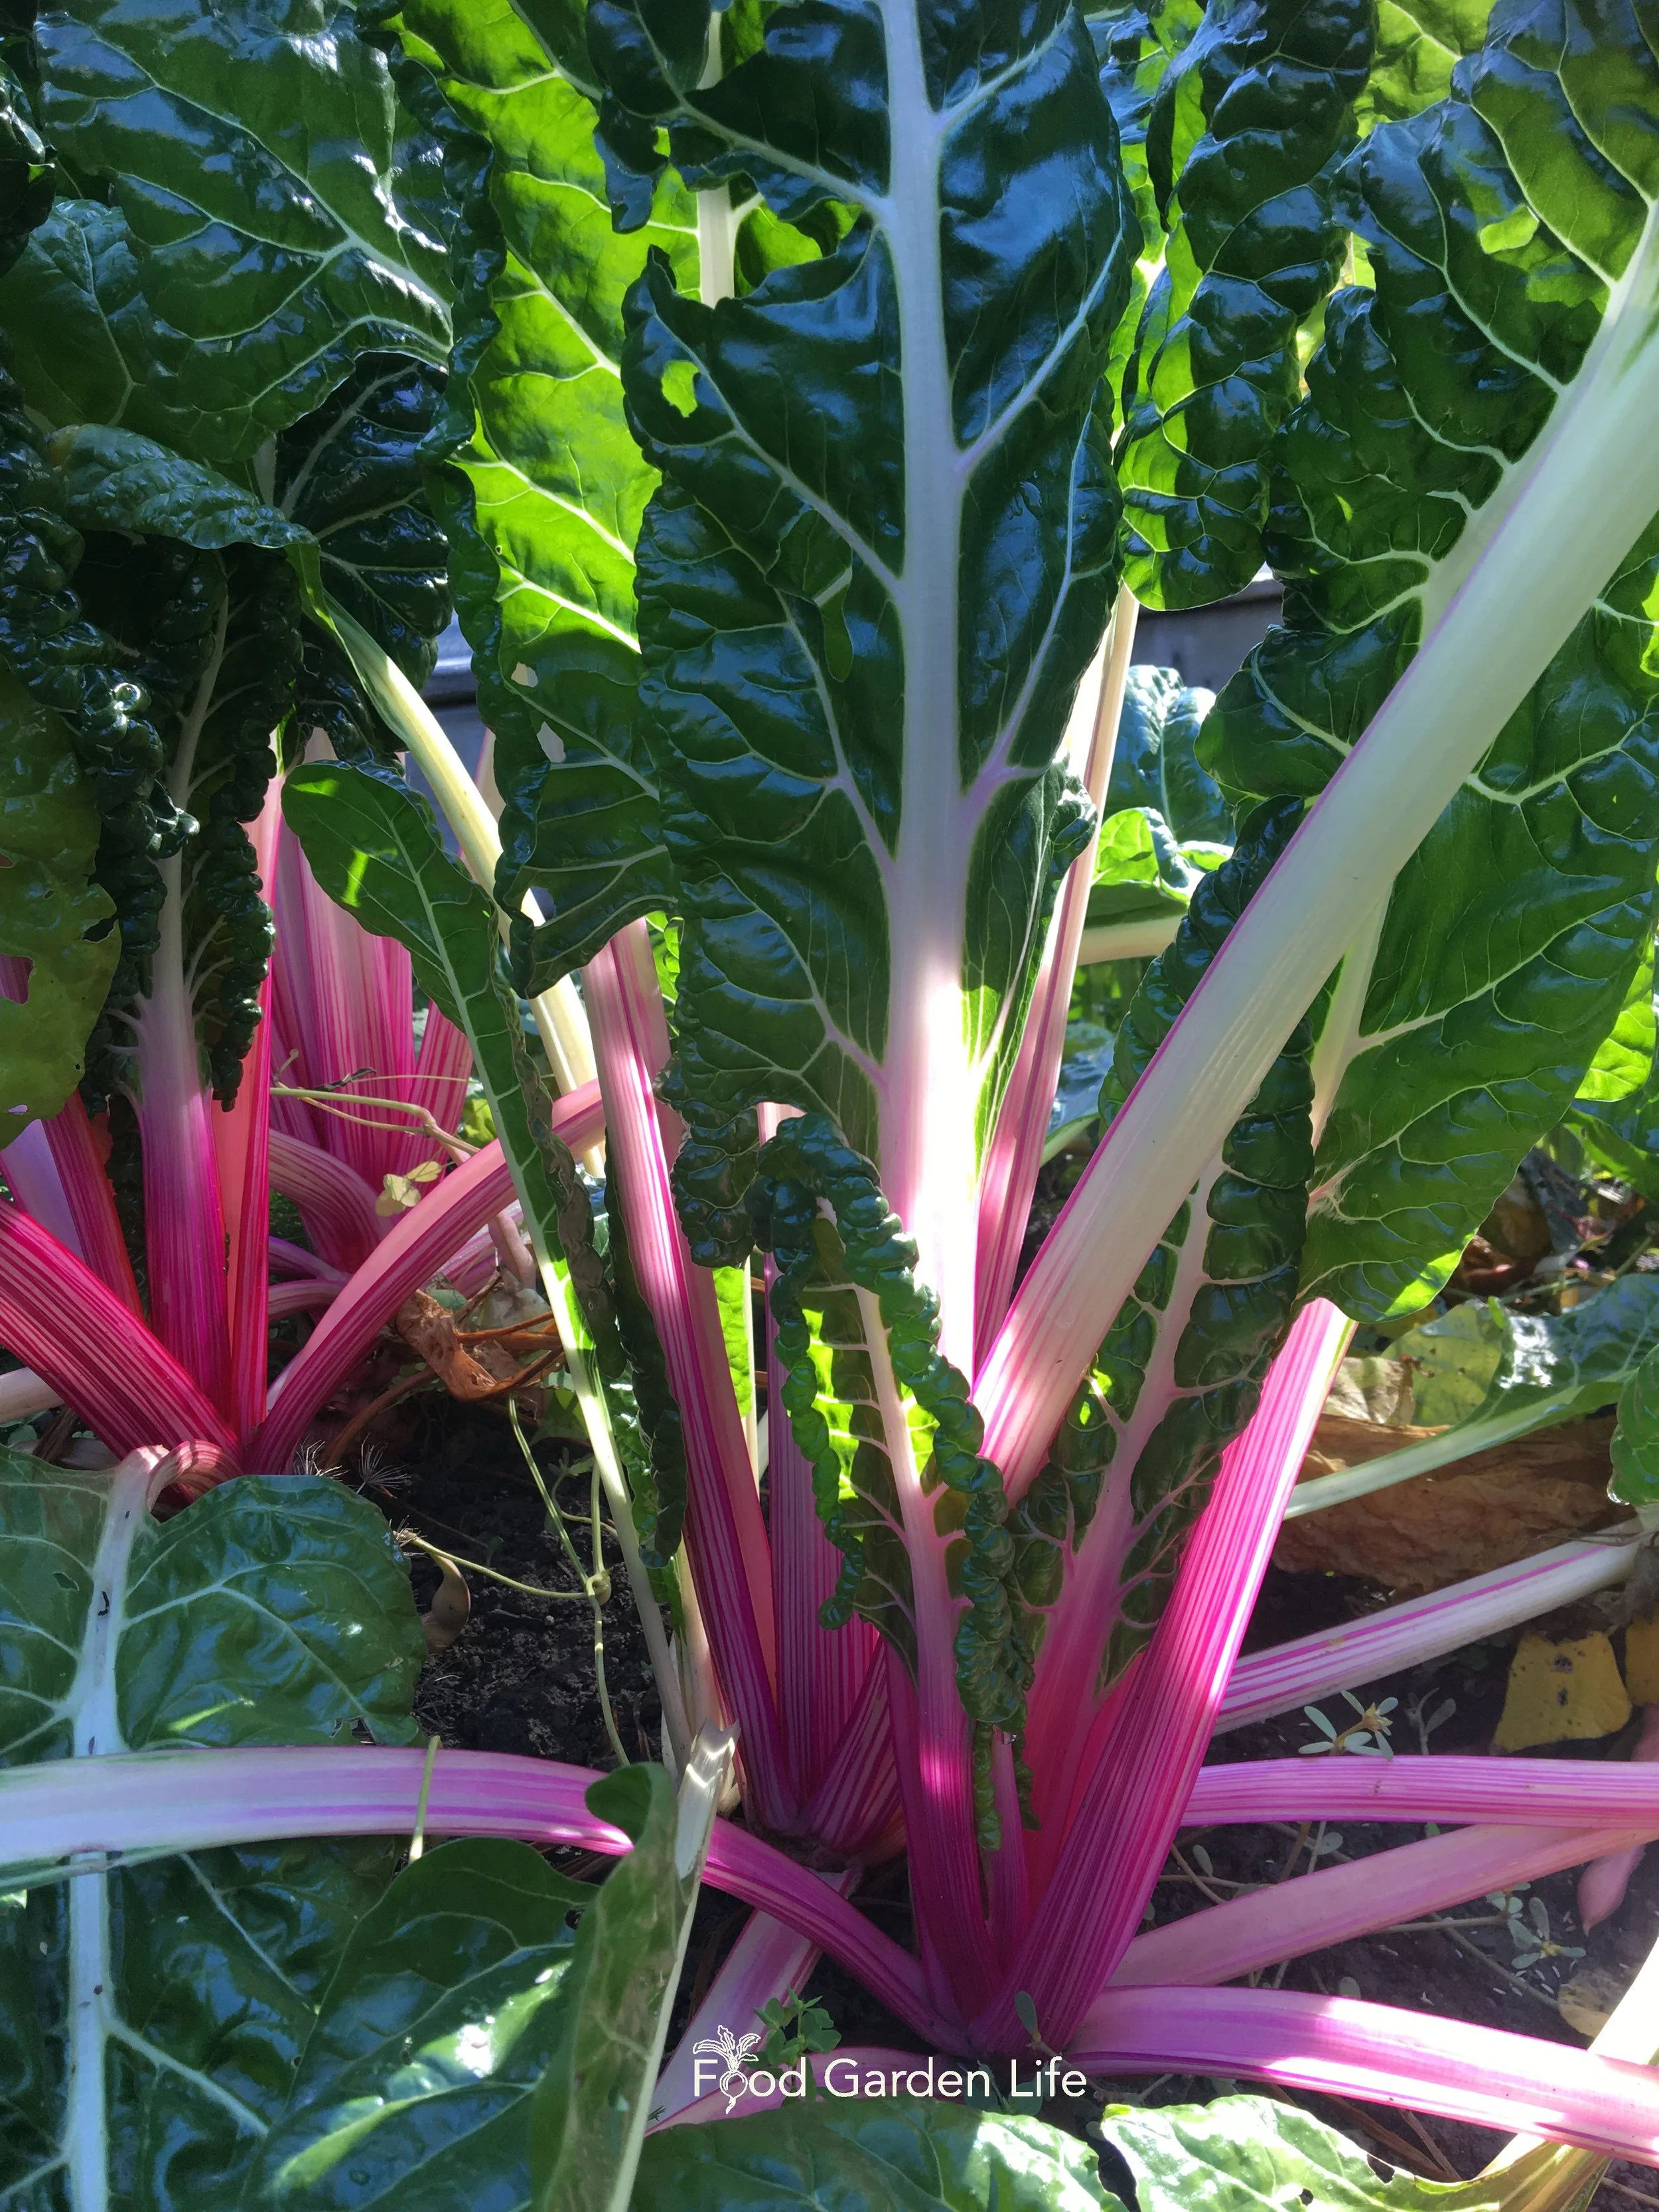
When it comes to salad greens, Swiss chard is easy to grow and long lasting.
I love Swiss chard because it keeps making leaves all summer long…while lettuce and spinach bolt at the first sniff of summer heat. This is the crop if you want leafy greens.
Chard has excellent ornamental properties as it comes in many colours. It holds up well through light fall frosts.
Chard is also a very ornamental vegetable and looks great in the fall.
Check out what chard looks like in the fall.
Tomato
For containers, look for “bush” or “determinate” tomatoes. Or the even more compact “dwarf” types.
I wish I remembered the variety that I grew in that first container garden in Montreal. It was a big, thin-skinned pinky-red coloured variety. But it wasn’t a bush type—which made it more work to stake.
‘House’ is a very compact variety that does well in containers, one that my daughter Emma often grows. Hear her chat with tomato expert Linda Crago about ‘House’ tomato and other fun tomato varieties.
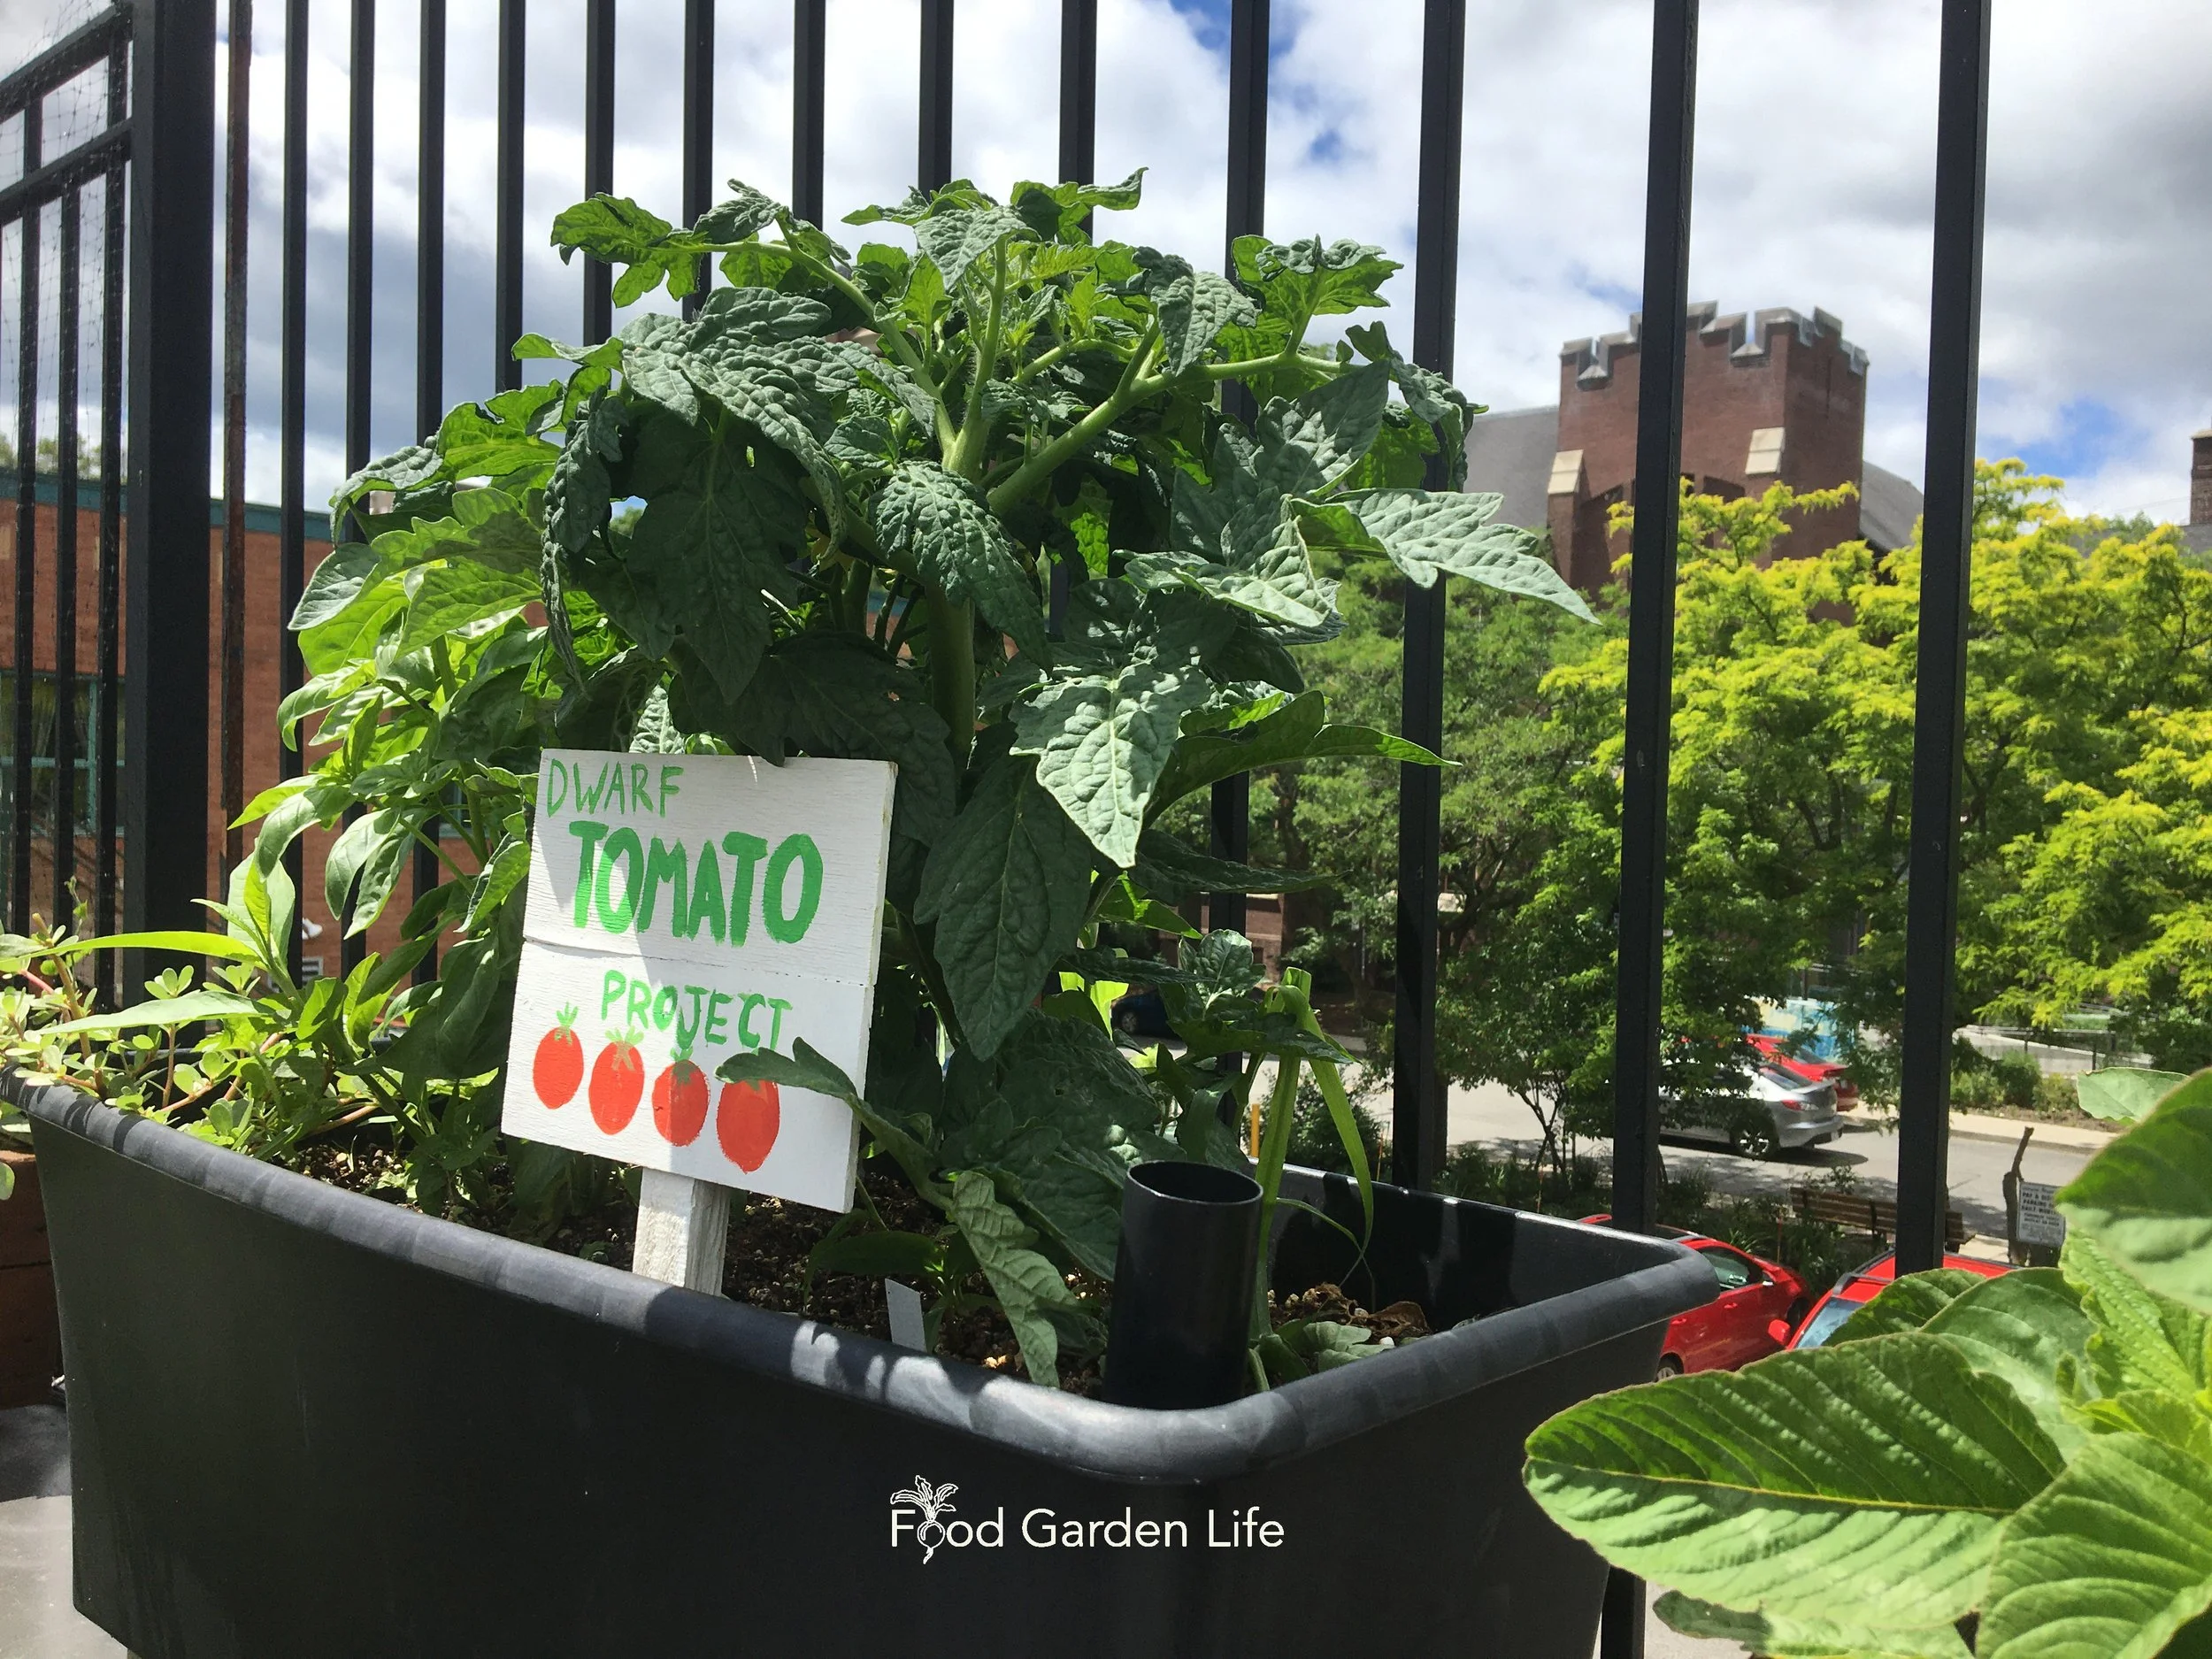
Dwarf tomatoes growing in a rooftop container. No need for staking or support!
Got Shade?
Is shade a challenge in your garden. Don’t worry, you still have lots of options. Find out vegetables that do well in the shade.
Find This Helpful?
Enjoy not being bombarded by annoying ads?
Appreciate the absence of junky affiliate links for products you don’t need?
It’s because we’re reader supported.
If we’ve helped in your food-gardening journey, we’re glad of support. You can high-five us below. Any amount welcome!
More Container Vegetable Gardening Ideas
Pin this post!
Planters with Reservoirs
“Sub-Irrigated planters” can reduce the amount of time you spend watering container gardens.
Find out about how sub-irrigated planters can cut your watering in half.
Straw-Bale Gardens
Think of straw bales as a temporary container garden. They’re quick to set up, and can give great results.
Find out more about straw-bale vegetable gardening.
Here’s a Fun Crop
Cardoon has amazing ornamental value—so it's a fun crop to consider, even if you won’t eat it.
Find out all about cardoon and how to grow and cook it.
More Articles on Vegetable Gardening
Courses: Growing Edibles
Want a Bold Vegetable? Grow This Promethean Plant (the Cardoon)
Grow Cardoon, a bold, beautiful vegetable that has great ornamental appeal.
By Steven Biggs
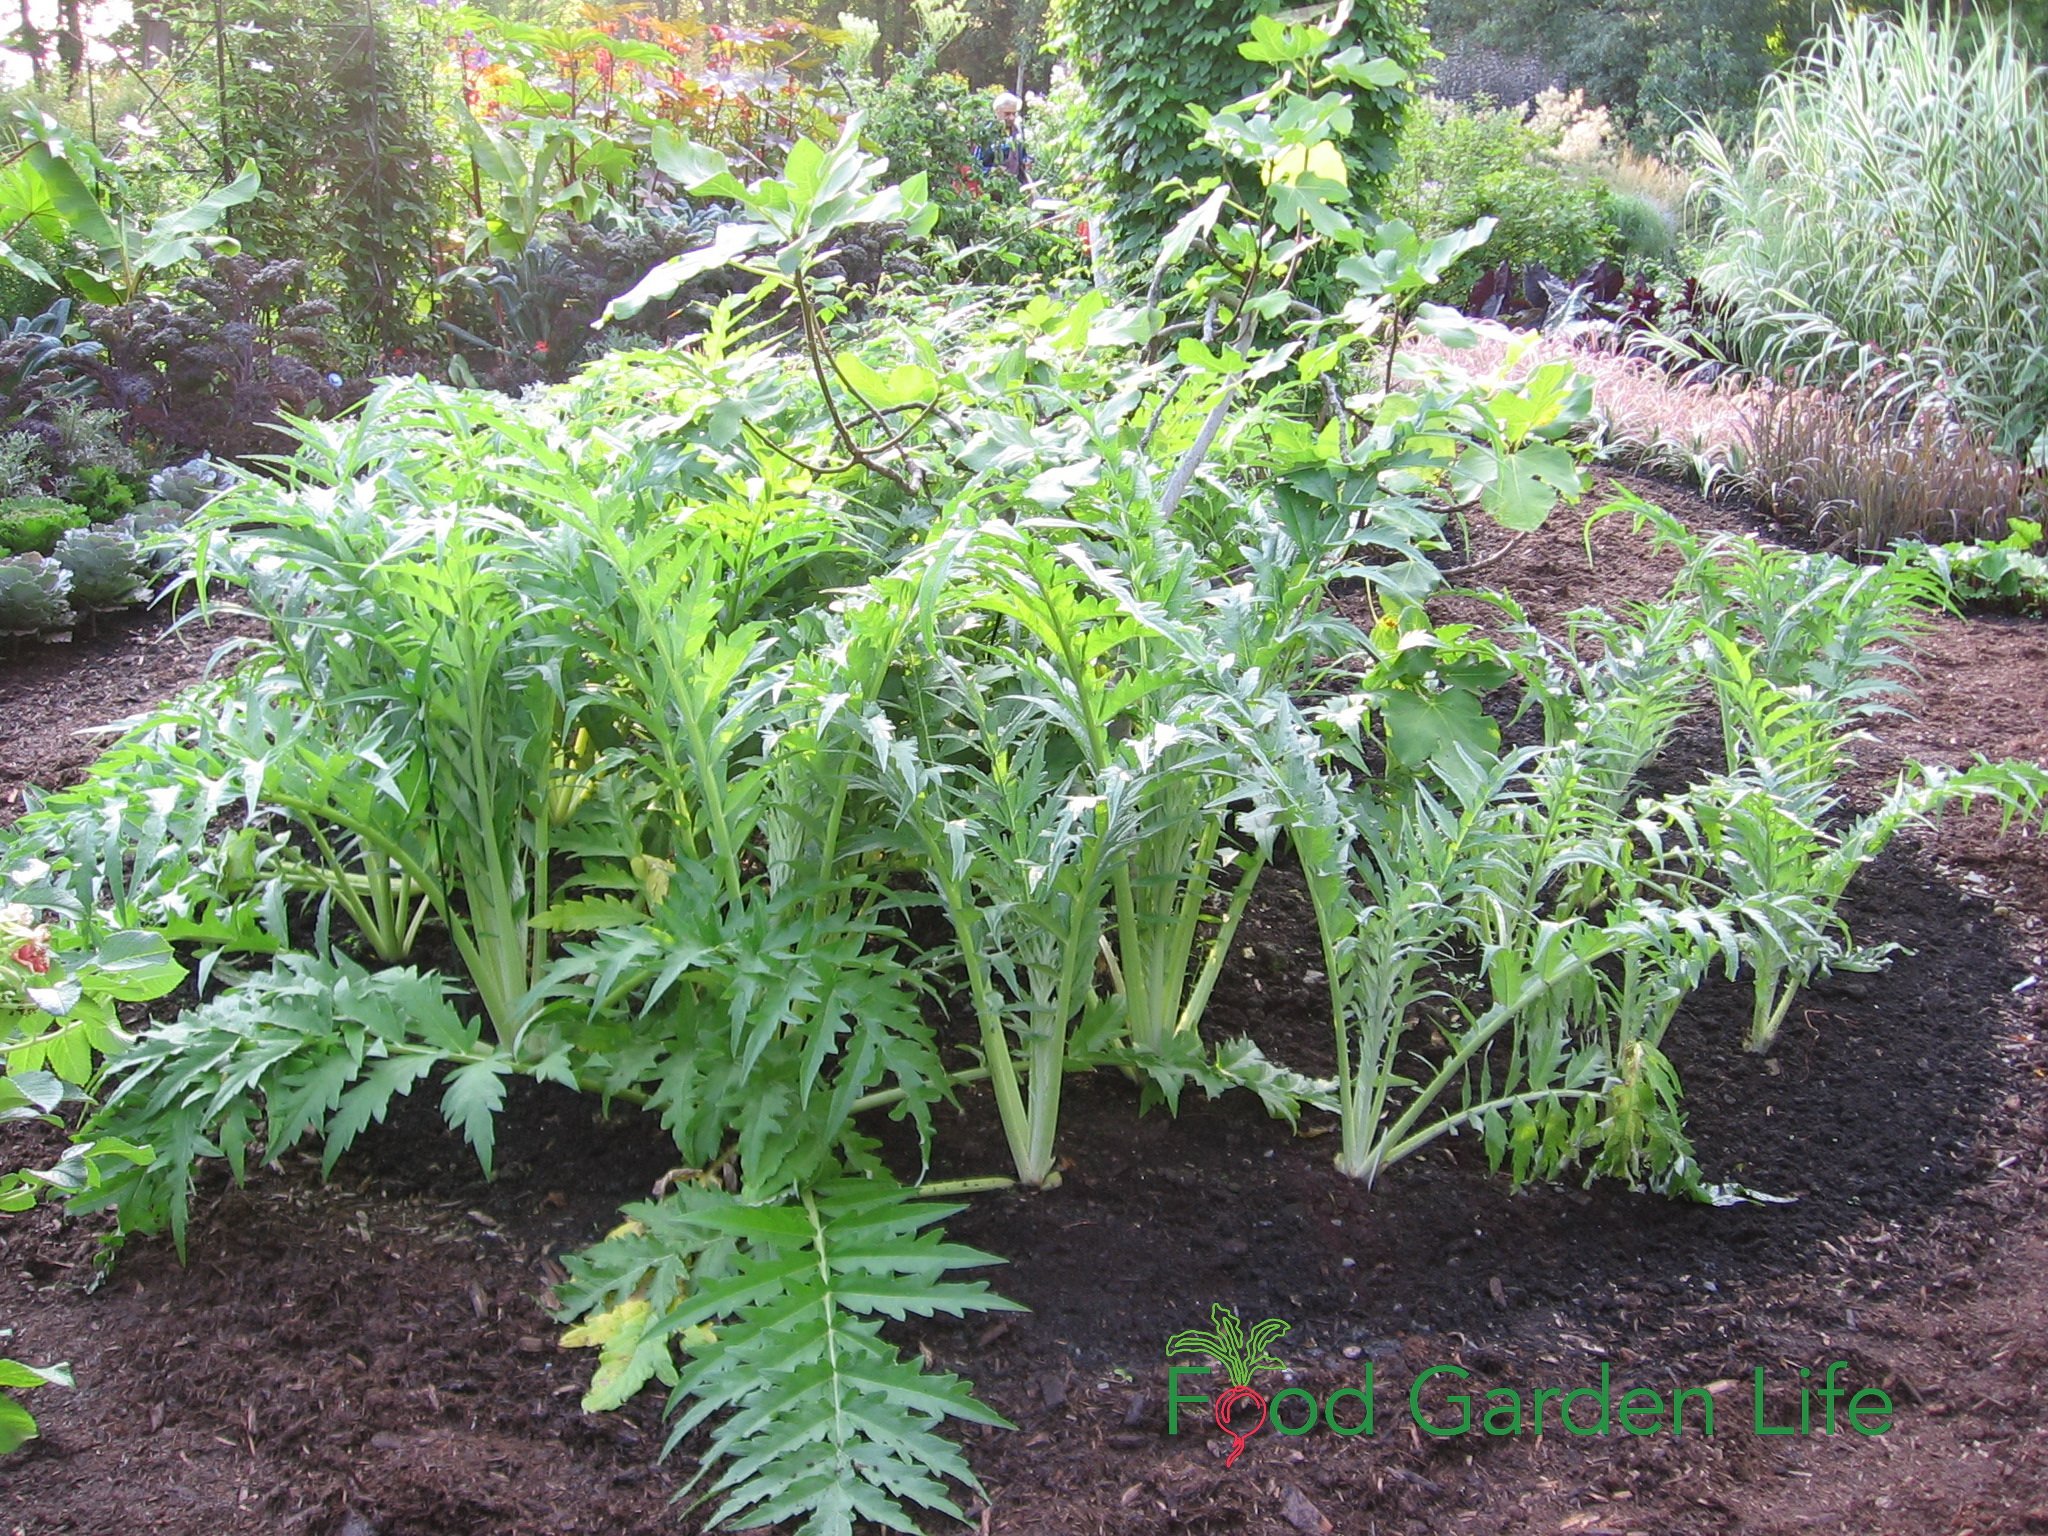
A cardoon plant is beautiful, enormous, and edible.
Cardoon Plant is Beautiful, Enormous, and Edible
“I MUST KNOW THE NAME OF THE PROMETHEAN PLANTS IN YOUR FRONT YARD,” exclaimed the caller, describing bold, arching, grey leaves.
I was delighted by the call, mainly because I love talking about plants—but also because I learned a new word.
I Knew which Plant the Caller Meant
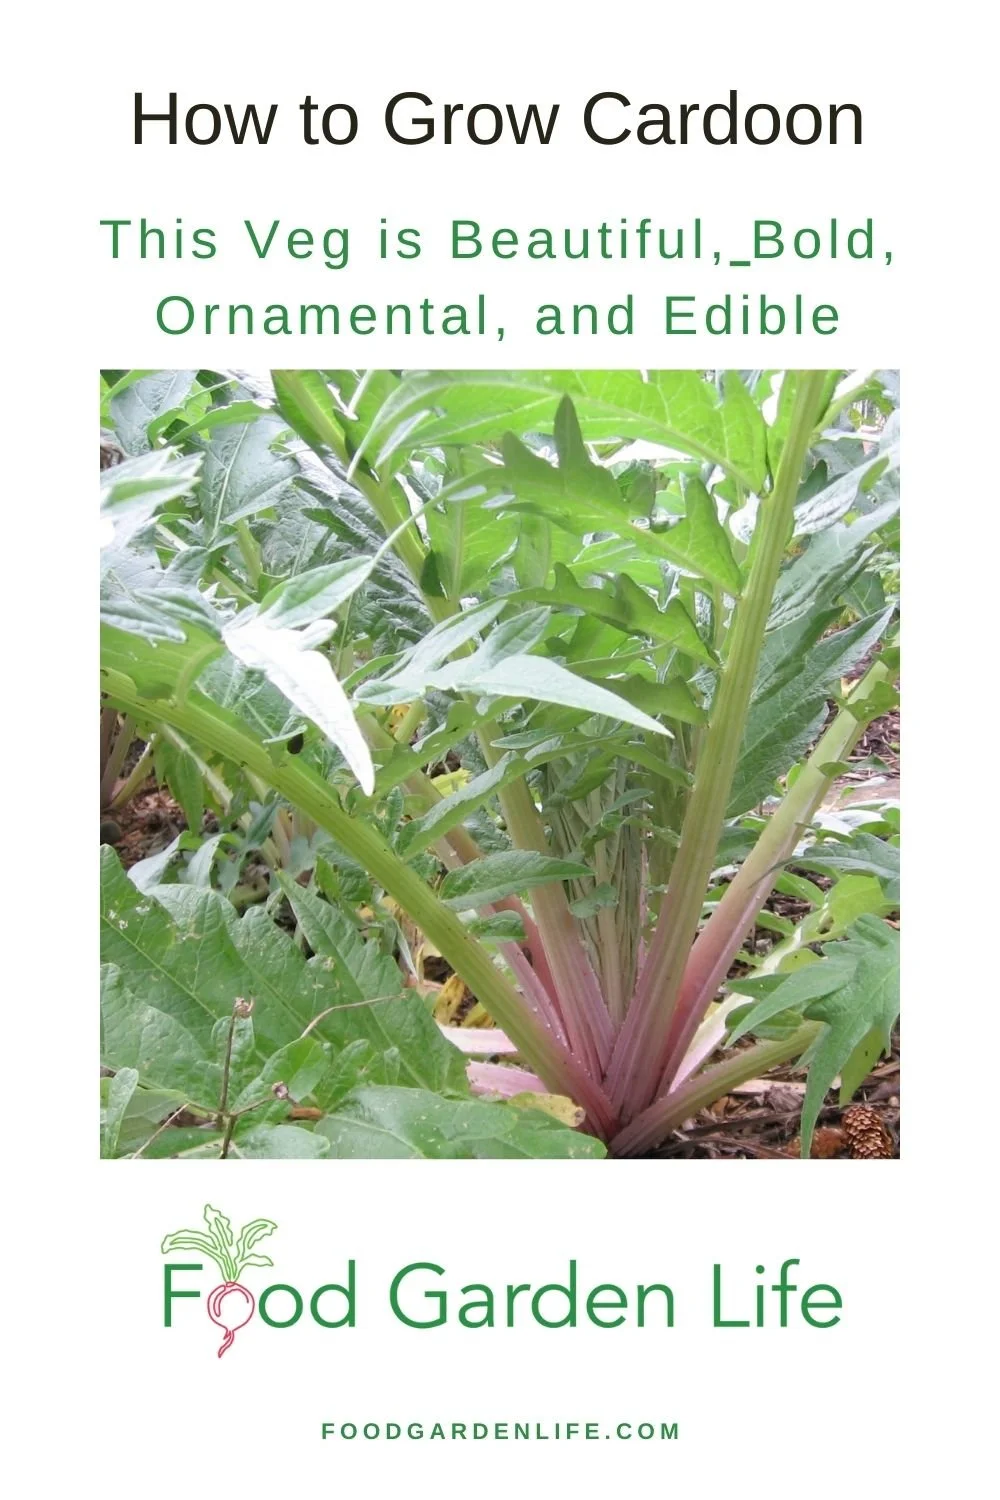
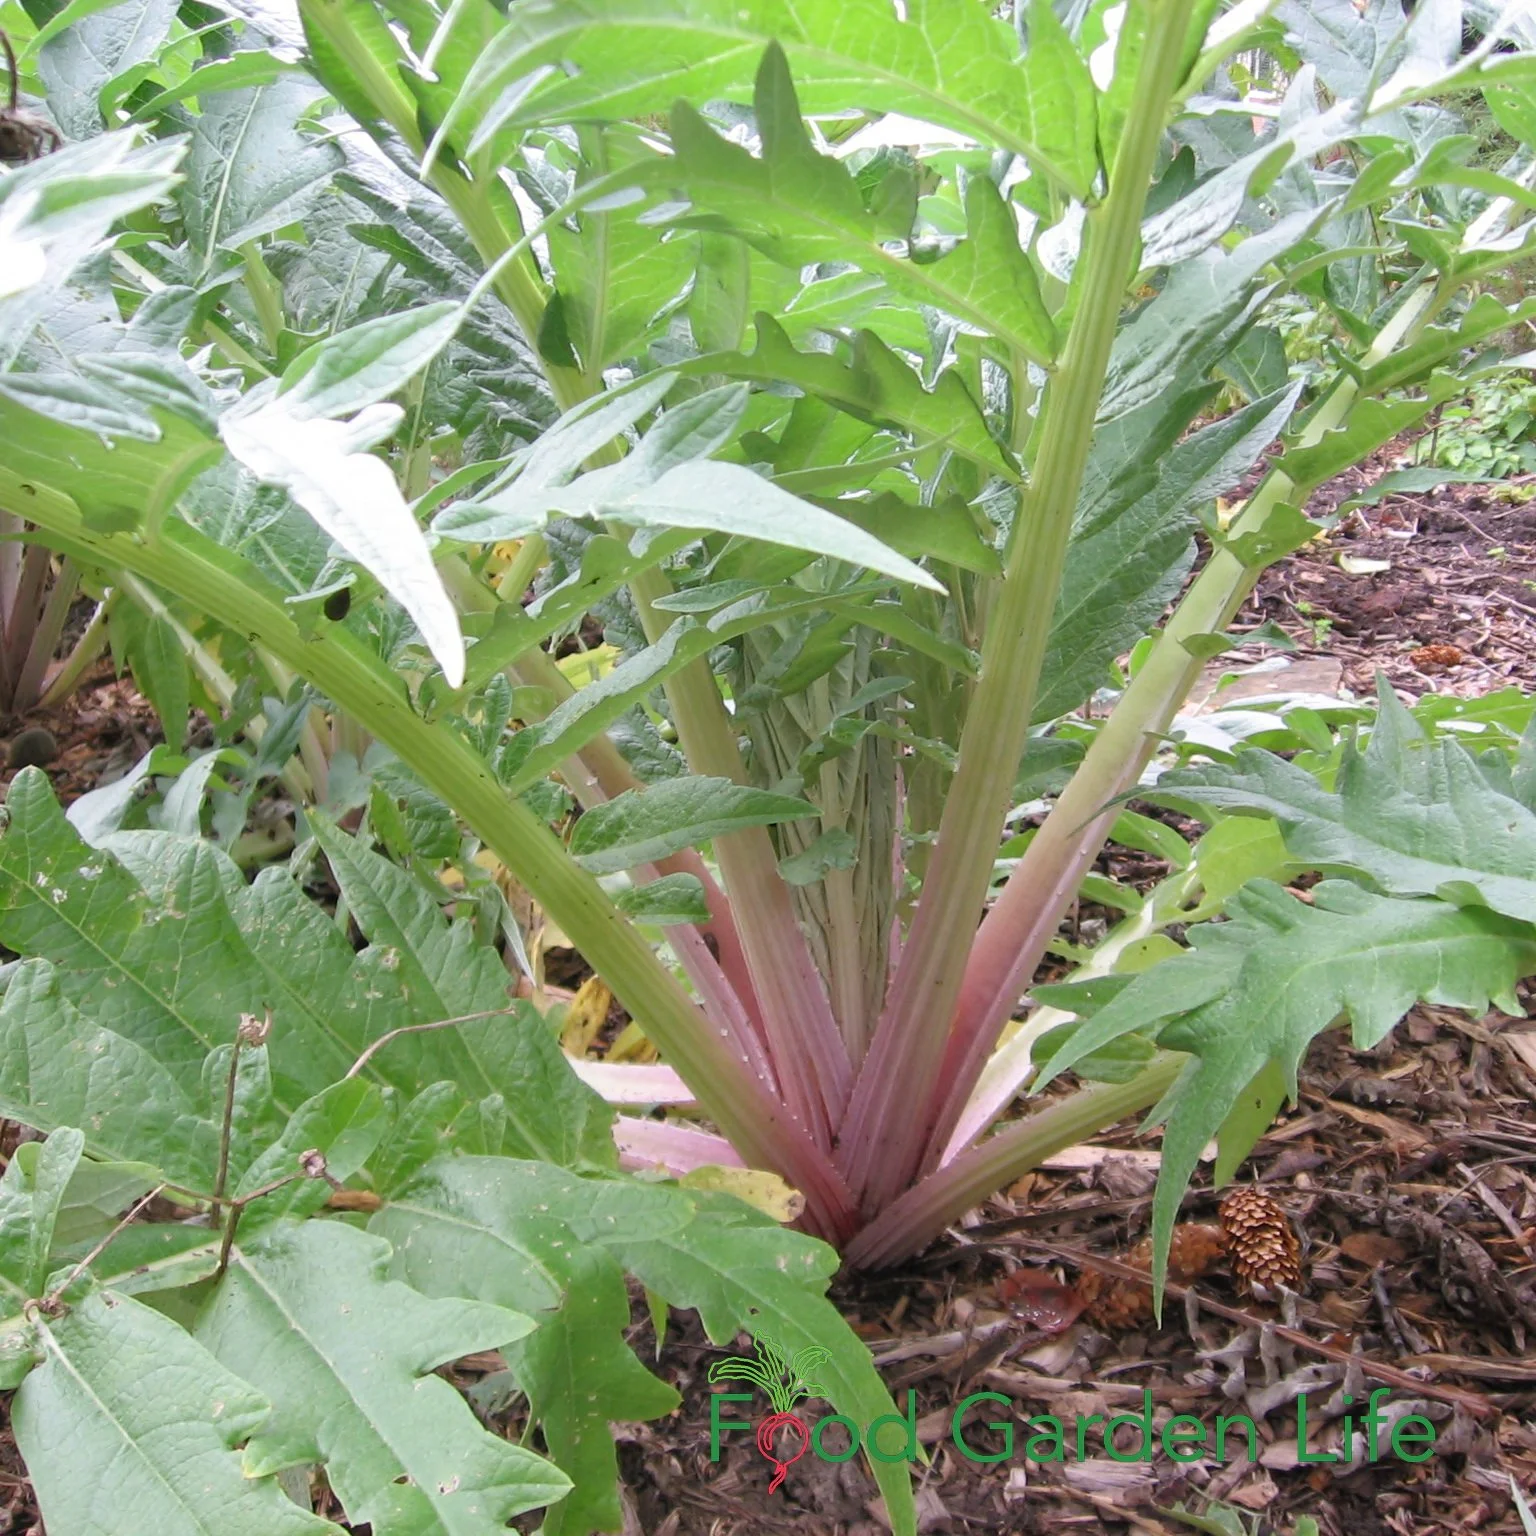
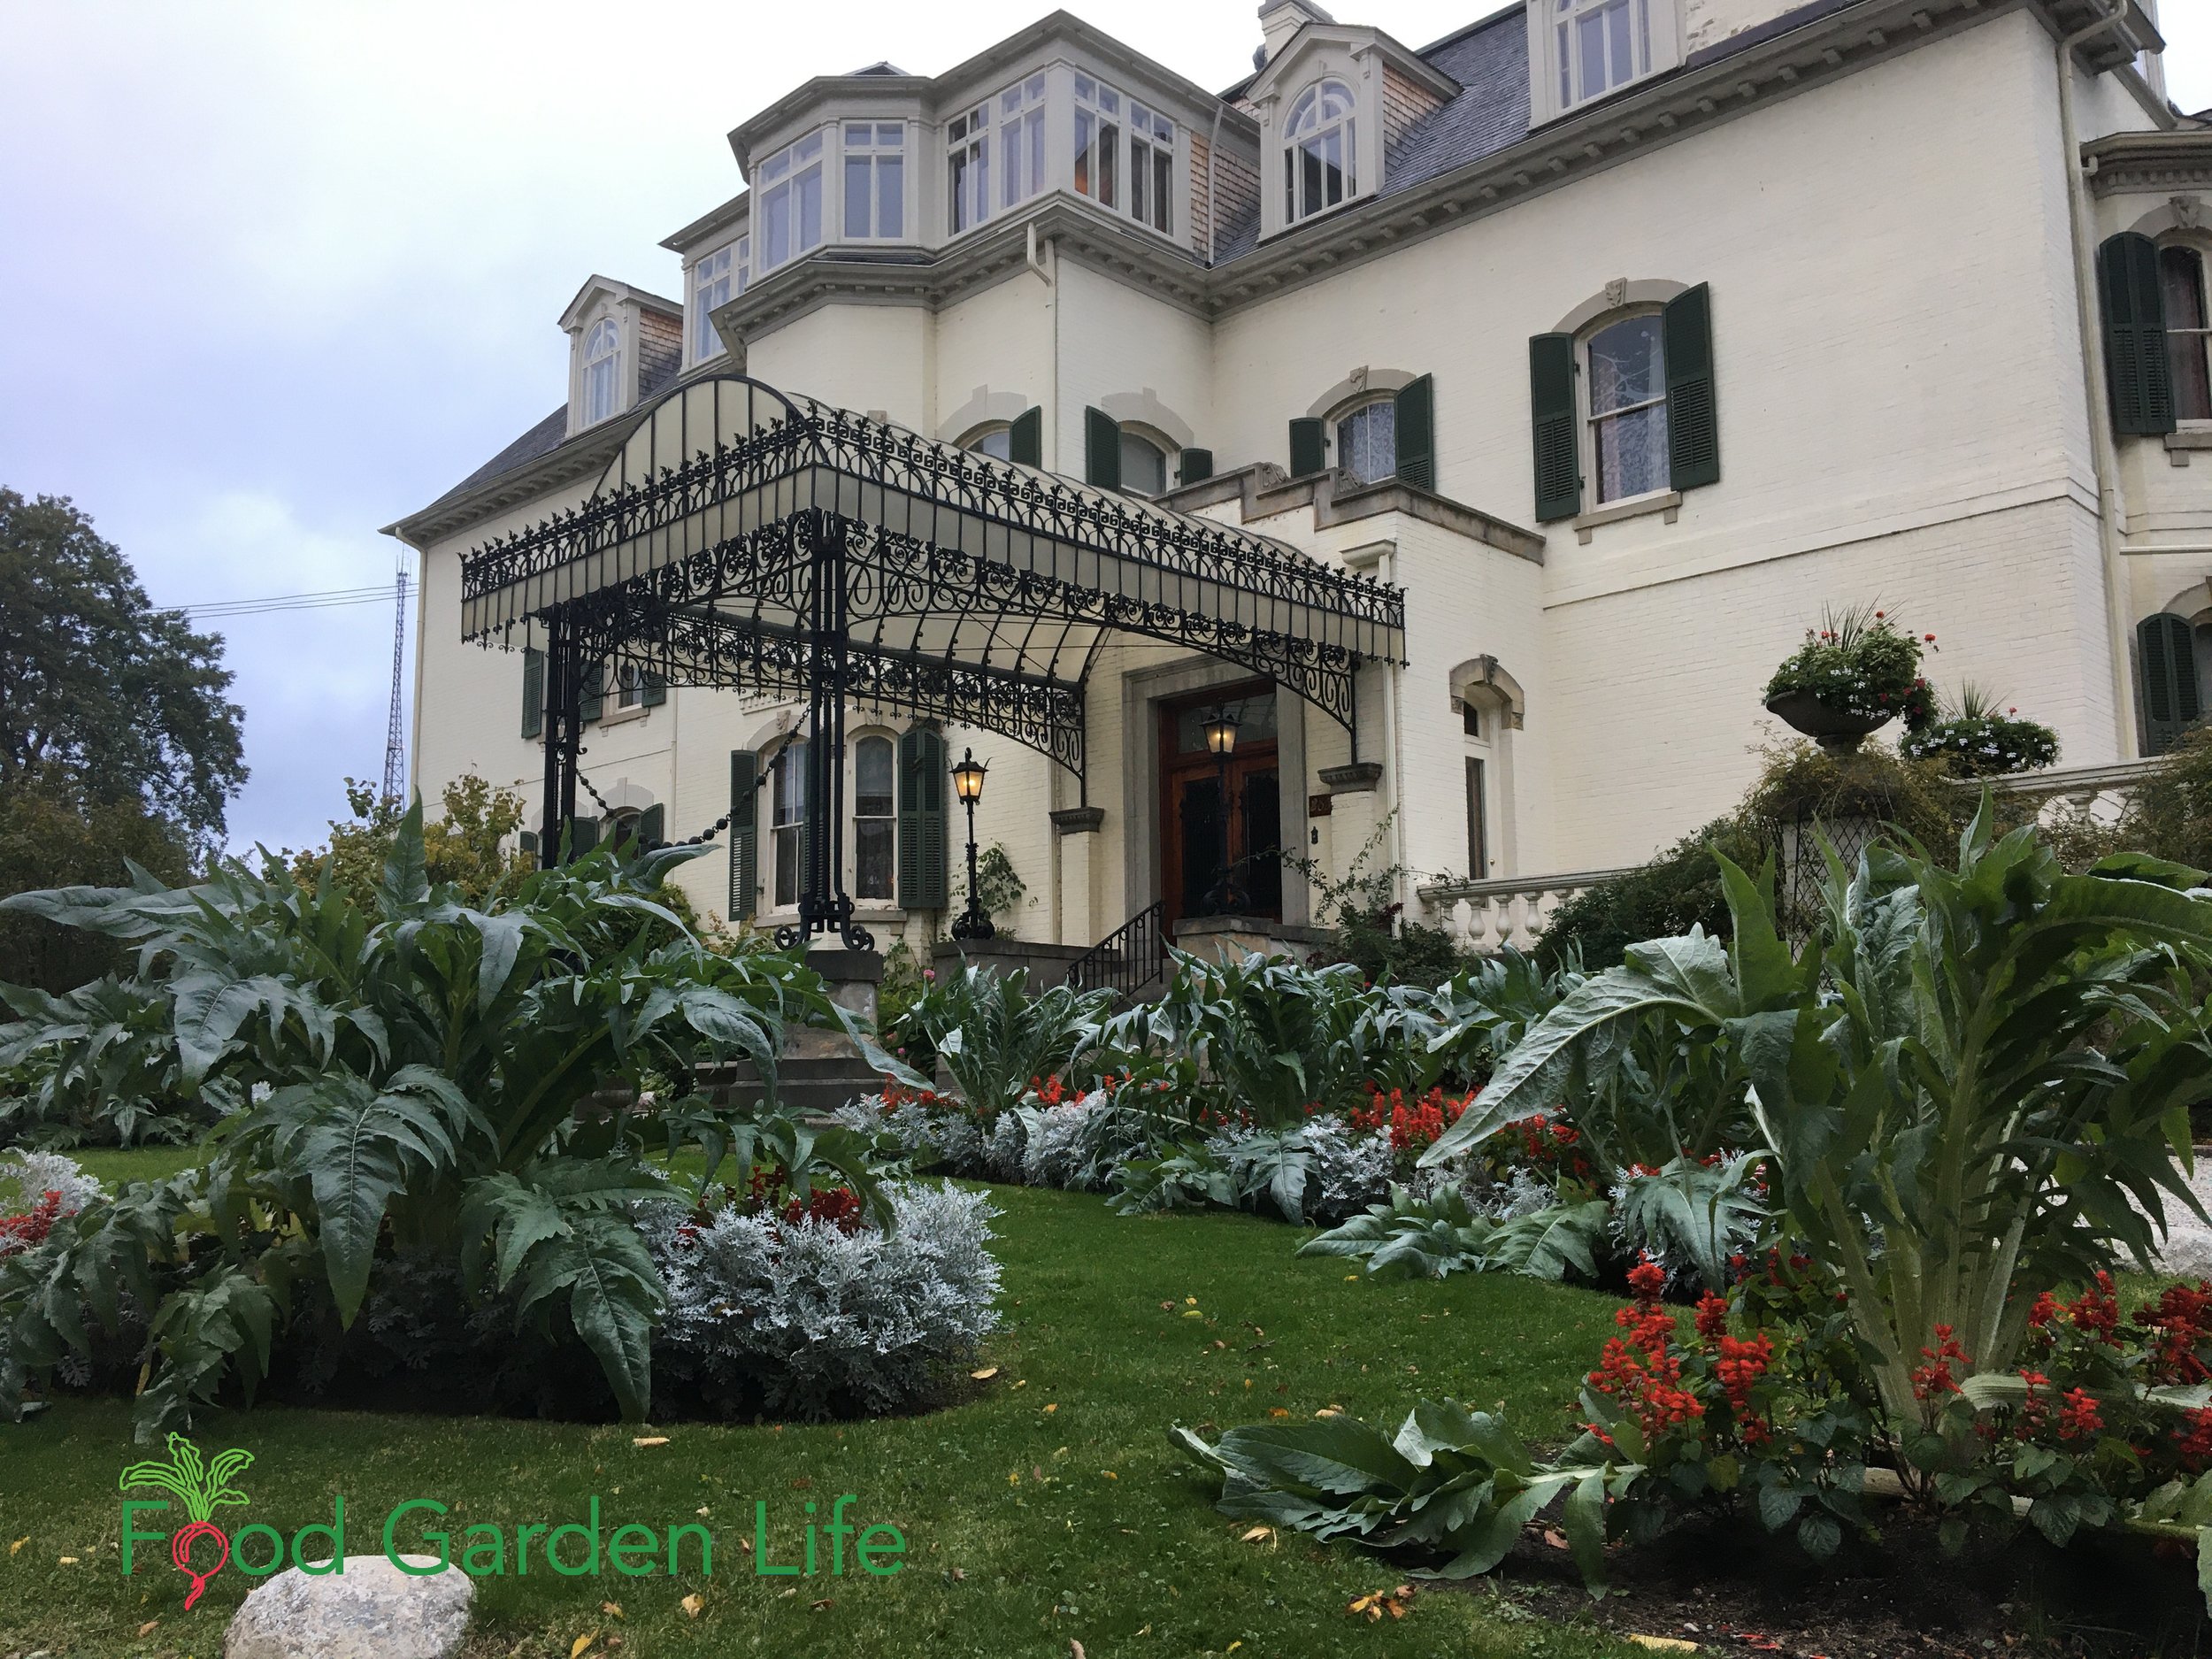
I knew right away the plant in question was cardoon (Cynara cardunculus). The caller was captivated by the four-foot (1.2-m) tall, silver-grey, spiny-leaved plants arching over the edge of my driveway.
Cardoon resembles its cousin, the globe artichoke, but has bigger leaves.
Cardoon plants had prime front-garden real estate because they fit the edible theme I have for the space. Cardoon leaf stalks and flower buds are edible. (And you can do something else with it too…keep reading.)
Pin this post!
An Annual Around Here
Is cardoon perennial?
A perennial in warmer climates, cardoon grows as an annual in many parts of Canada.
Many years mine die over the winter here in Toronto, Canada.
But sometimes, with the right combination of mild temperatures and an insulating blanket of snow, they survive.
When they survive the winter and grow for a second season, they flower.
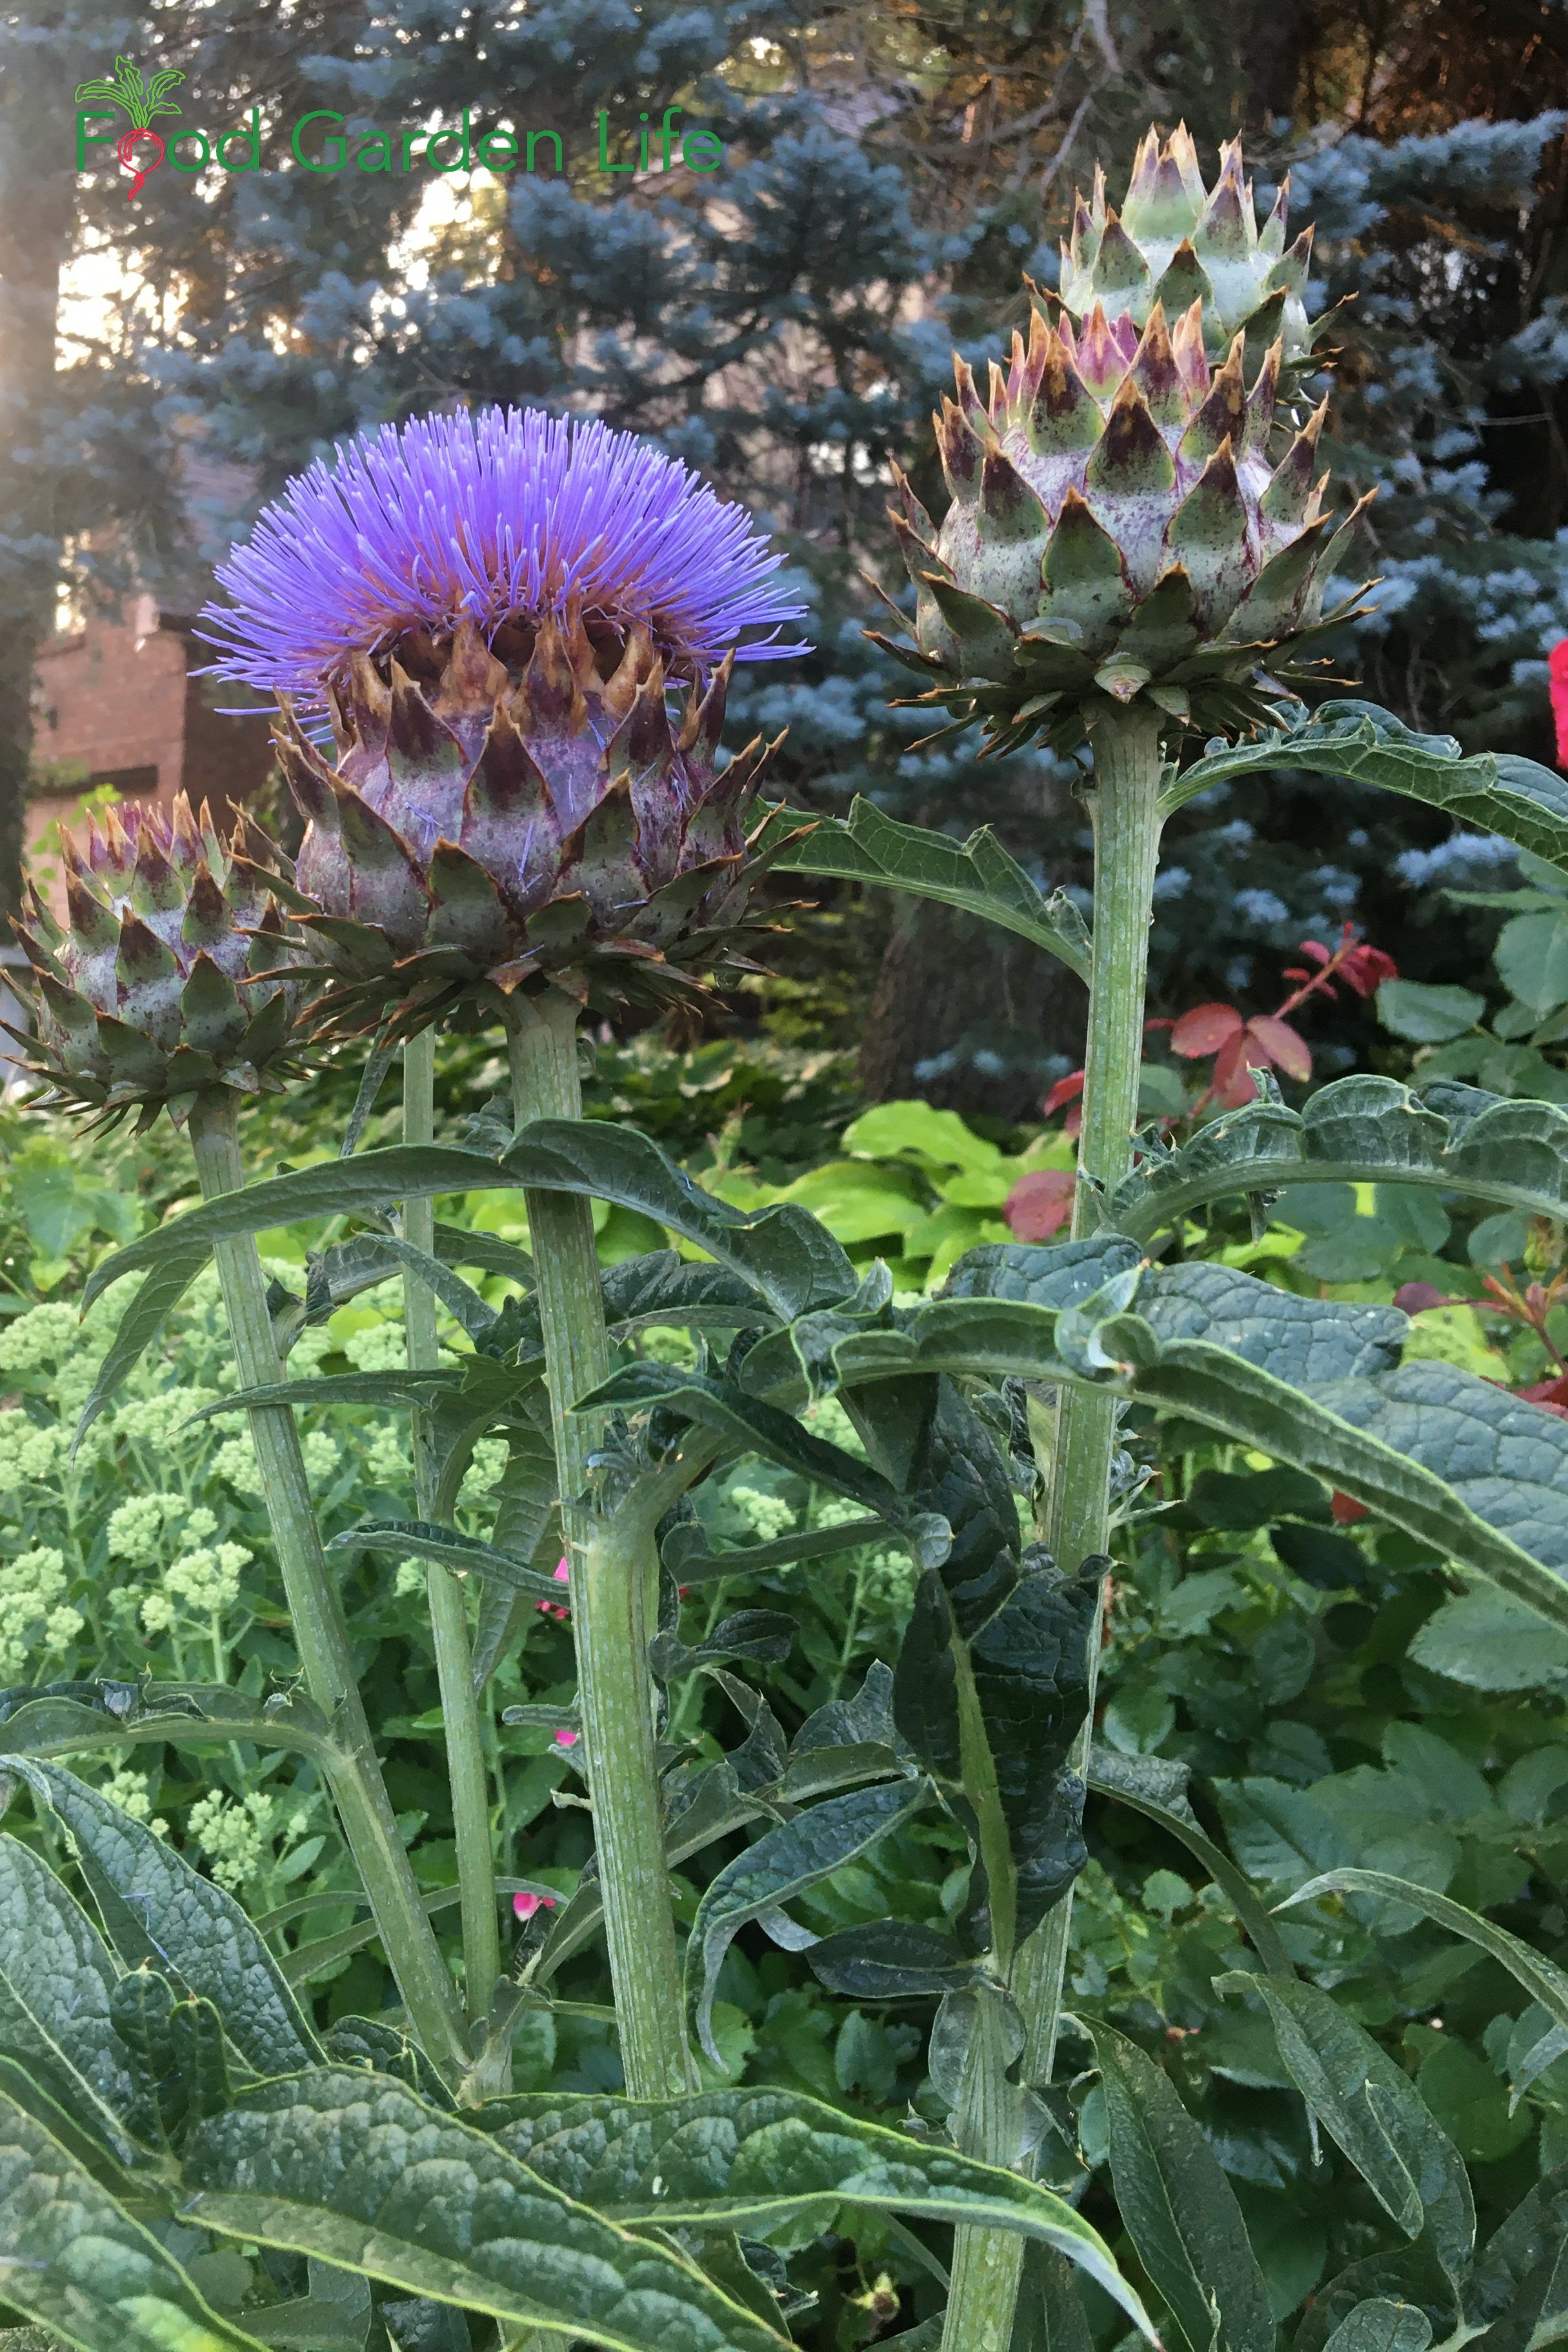
Cardoon Flowers
Cardoon flowers are smaller than globe artichoke flowers, but look very similar.
They are purple and thistle-like, arriving mid-late summer.
When you grow cardoon as an annual, starting with new seedlings every year, there’s a good chance it won’t flower. It flowers in its second year.
If you’re growing cardoon as an annual and do want flowers, here’s a trick:
Give the plants a chill treatment, which tricks the plant into blooming in its first year.
Chill Treatment for Cardoon Seedlings
Chill young plants before planting out in the spring to induce flowering. (Cold-climate artichoke growers do the same thing.)
Put the seedlings somewhere cold—but not freezing—for about 10 days.
A fridge works well; or put them outdoors on cool days, and move them somewhere protected overnight so they don’t freeze.

Can You Eat Cardoon Flowers?
I was told by a Palestinian chef that while the leaf stalks are what is eaten in Southern Europe, in parts of Palestine it’s the flower heads that are eaten. I have not yet tried cooking the heads—but it’s on my to-try list.
Grow cardoon, an edible and attractive relative of the artichoke. Pictured is ‘Rouge d’Alger’ cardoon.
Grow Cardoon From Seed
Cardoon transplants are a rare find at garden centres. Luckily, it’s easy to grow cardoon from seed.
(If you don’t find cardoon seeds in the vegetable section of seed catalogues, check under annuals.)
Start cardoon seeds indoors, about 10 weeks before the last spring frost. Transplant outdoors after the risk of frost is over.
Another advantage to growing cardoon from seed is that you can grow a showy variety such as ‘Rouge d’Alger,’ which has red-tinted stalks.
Cardoon In the Garden
How to Blanch Cardoon Stalks
If you grow cardoon, wrap it with cardboard, newspaper, or burlap (pictured here) to get a milder flavour.
To get cardoon stalks that are whiter, more tender, and less bitter, blanch them.
Blanching simply means excluding sunlight.
To blanch cardoon stalks, wrap the bottom 12 inches (30 cm) of the plant in cardboard or newspaper two to four weeks before harvesting
Harvest inner stalks, not outer the more stringy outer ones
I’ve also seen cardoon stalks wrapped with burlap or fabric.
Find out how to blanch vegetables in the garden.
Grow Cardoons in Containers
If you’re gardening in a small space, you can still grow cardoon, either as an edible or an ornamental plant. Cardoon grows very well in containers.
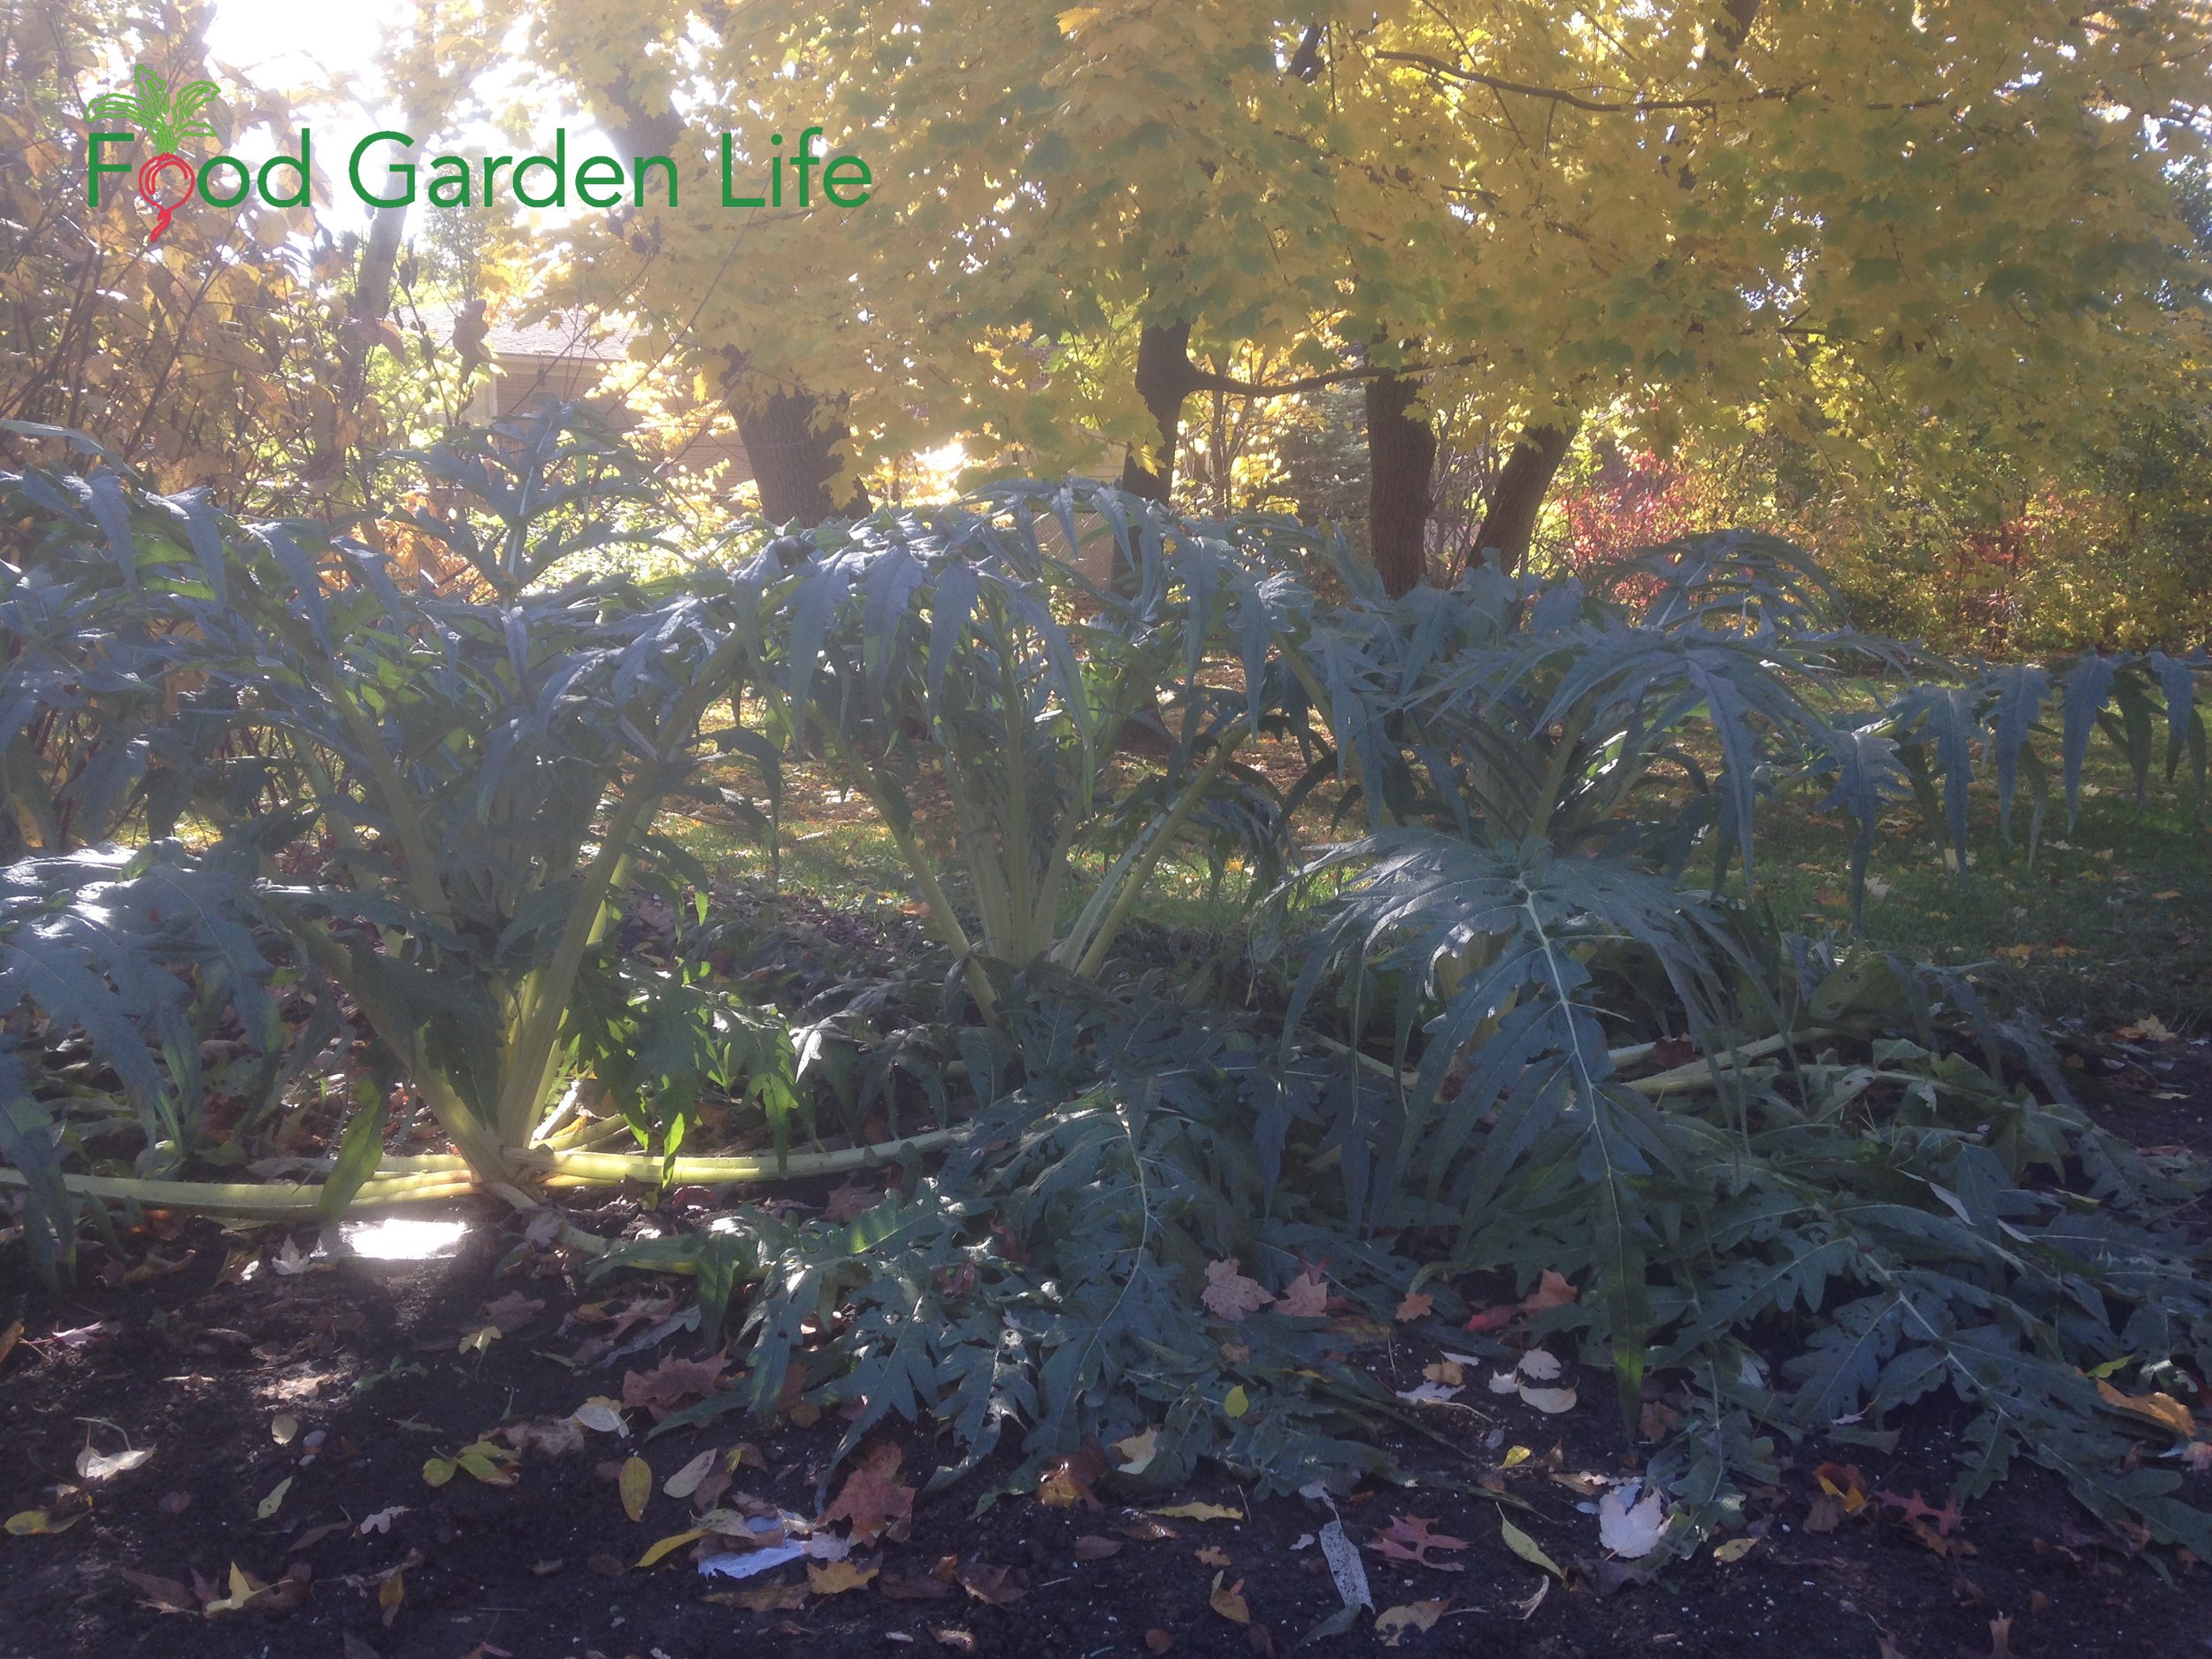
Cardoon in Edible Landscapes
While cardoon is a sun-loving plant, it grows respectably well in partial sun, making it very versatile for use in an edible landscape.
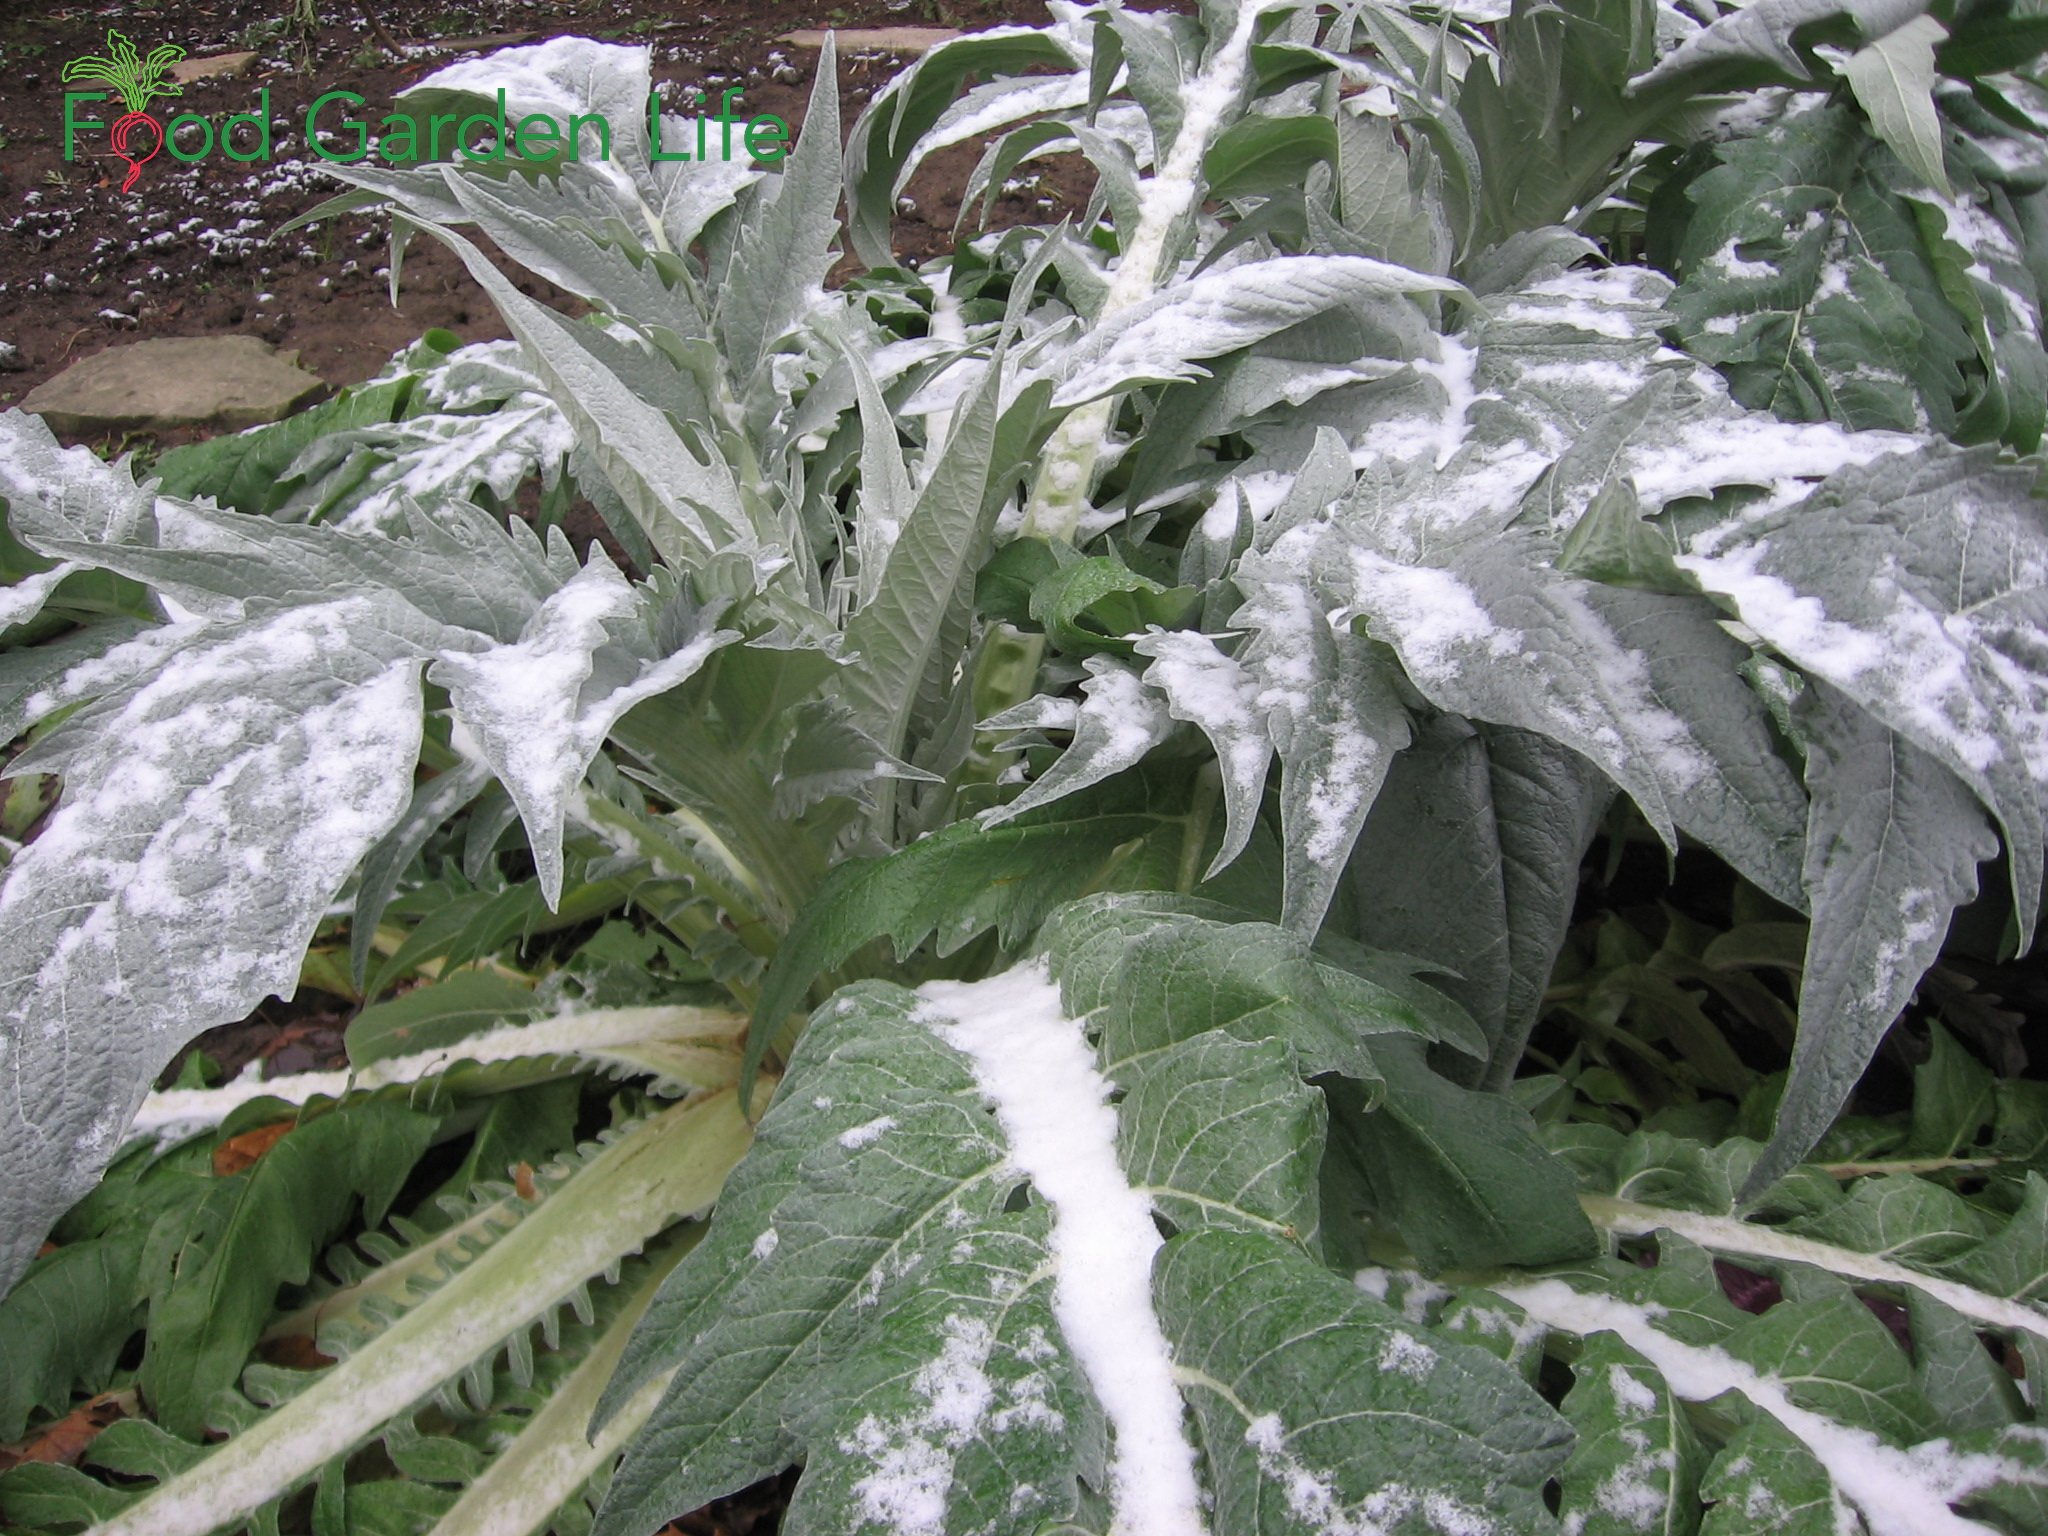
Cardoon for Fall and Winter Interest
Cardoon plants soldier on when cold fall weather arrives. When brushed with frost, they droop a bit, and then spring back as the sun burns off the frost.
As very cold weather with hard freezes arrives, the cardoon plants will be done for the year.
Cardoon as a Cut Flower
No need to say too much here. These bold, dramatic flowers are a great addition to flower arrangements.
Cardoon in the Kitchen
How to Eat Cardoon
I’ve sent home many visitors with leaf stalks from that dashing row of cardoon plants in my front yard.
But take care if you’ve never cooked it!
“Wow, that was disgusting!” my wife and I stammered to each other after our first attempt at eating steamed cardoon.
But I’ve heard from people who love cardoon, and a festive seasonal cardoon soup served in parts of Italy.
Preparing Cardoon Stalks
Use a knife or vegetable peeler to remove the stringy, outer part of the stalk.
Inner stalks on plants that have been blanched are less stringy.
Best Way to Cook Cardoon
I have found that the best way to cook cardoon is to cut stalks into inch-long (2.5-cm) pieces, then bread and deep-fry them, giving crunchy morsels that are a perfect vehicle for a dip.
Minimize Bitterness
Cook cardoon to minimize bitterness, using these pointers from a chef who heard about my reaction the first time I cooked it:
Deep frying helps counter bitterness
Add salt to the water if boiling cardoon (and it’s best to change the water at least once during cooking)
Or roast and lightly char stalks to counter bitterness
Other Ways to Use Cardoon
Cardoon as Rennet Substitute
Extracts from the cardoon flower are used to make a vegetarian substitute for rennet—which is used to make cheese.
Shopping for Cardoon Stalks
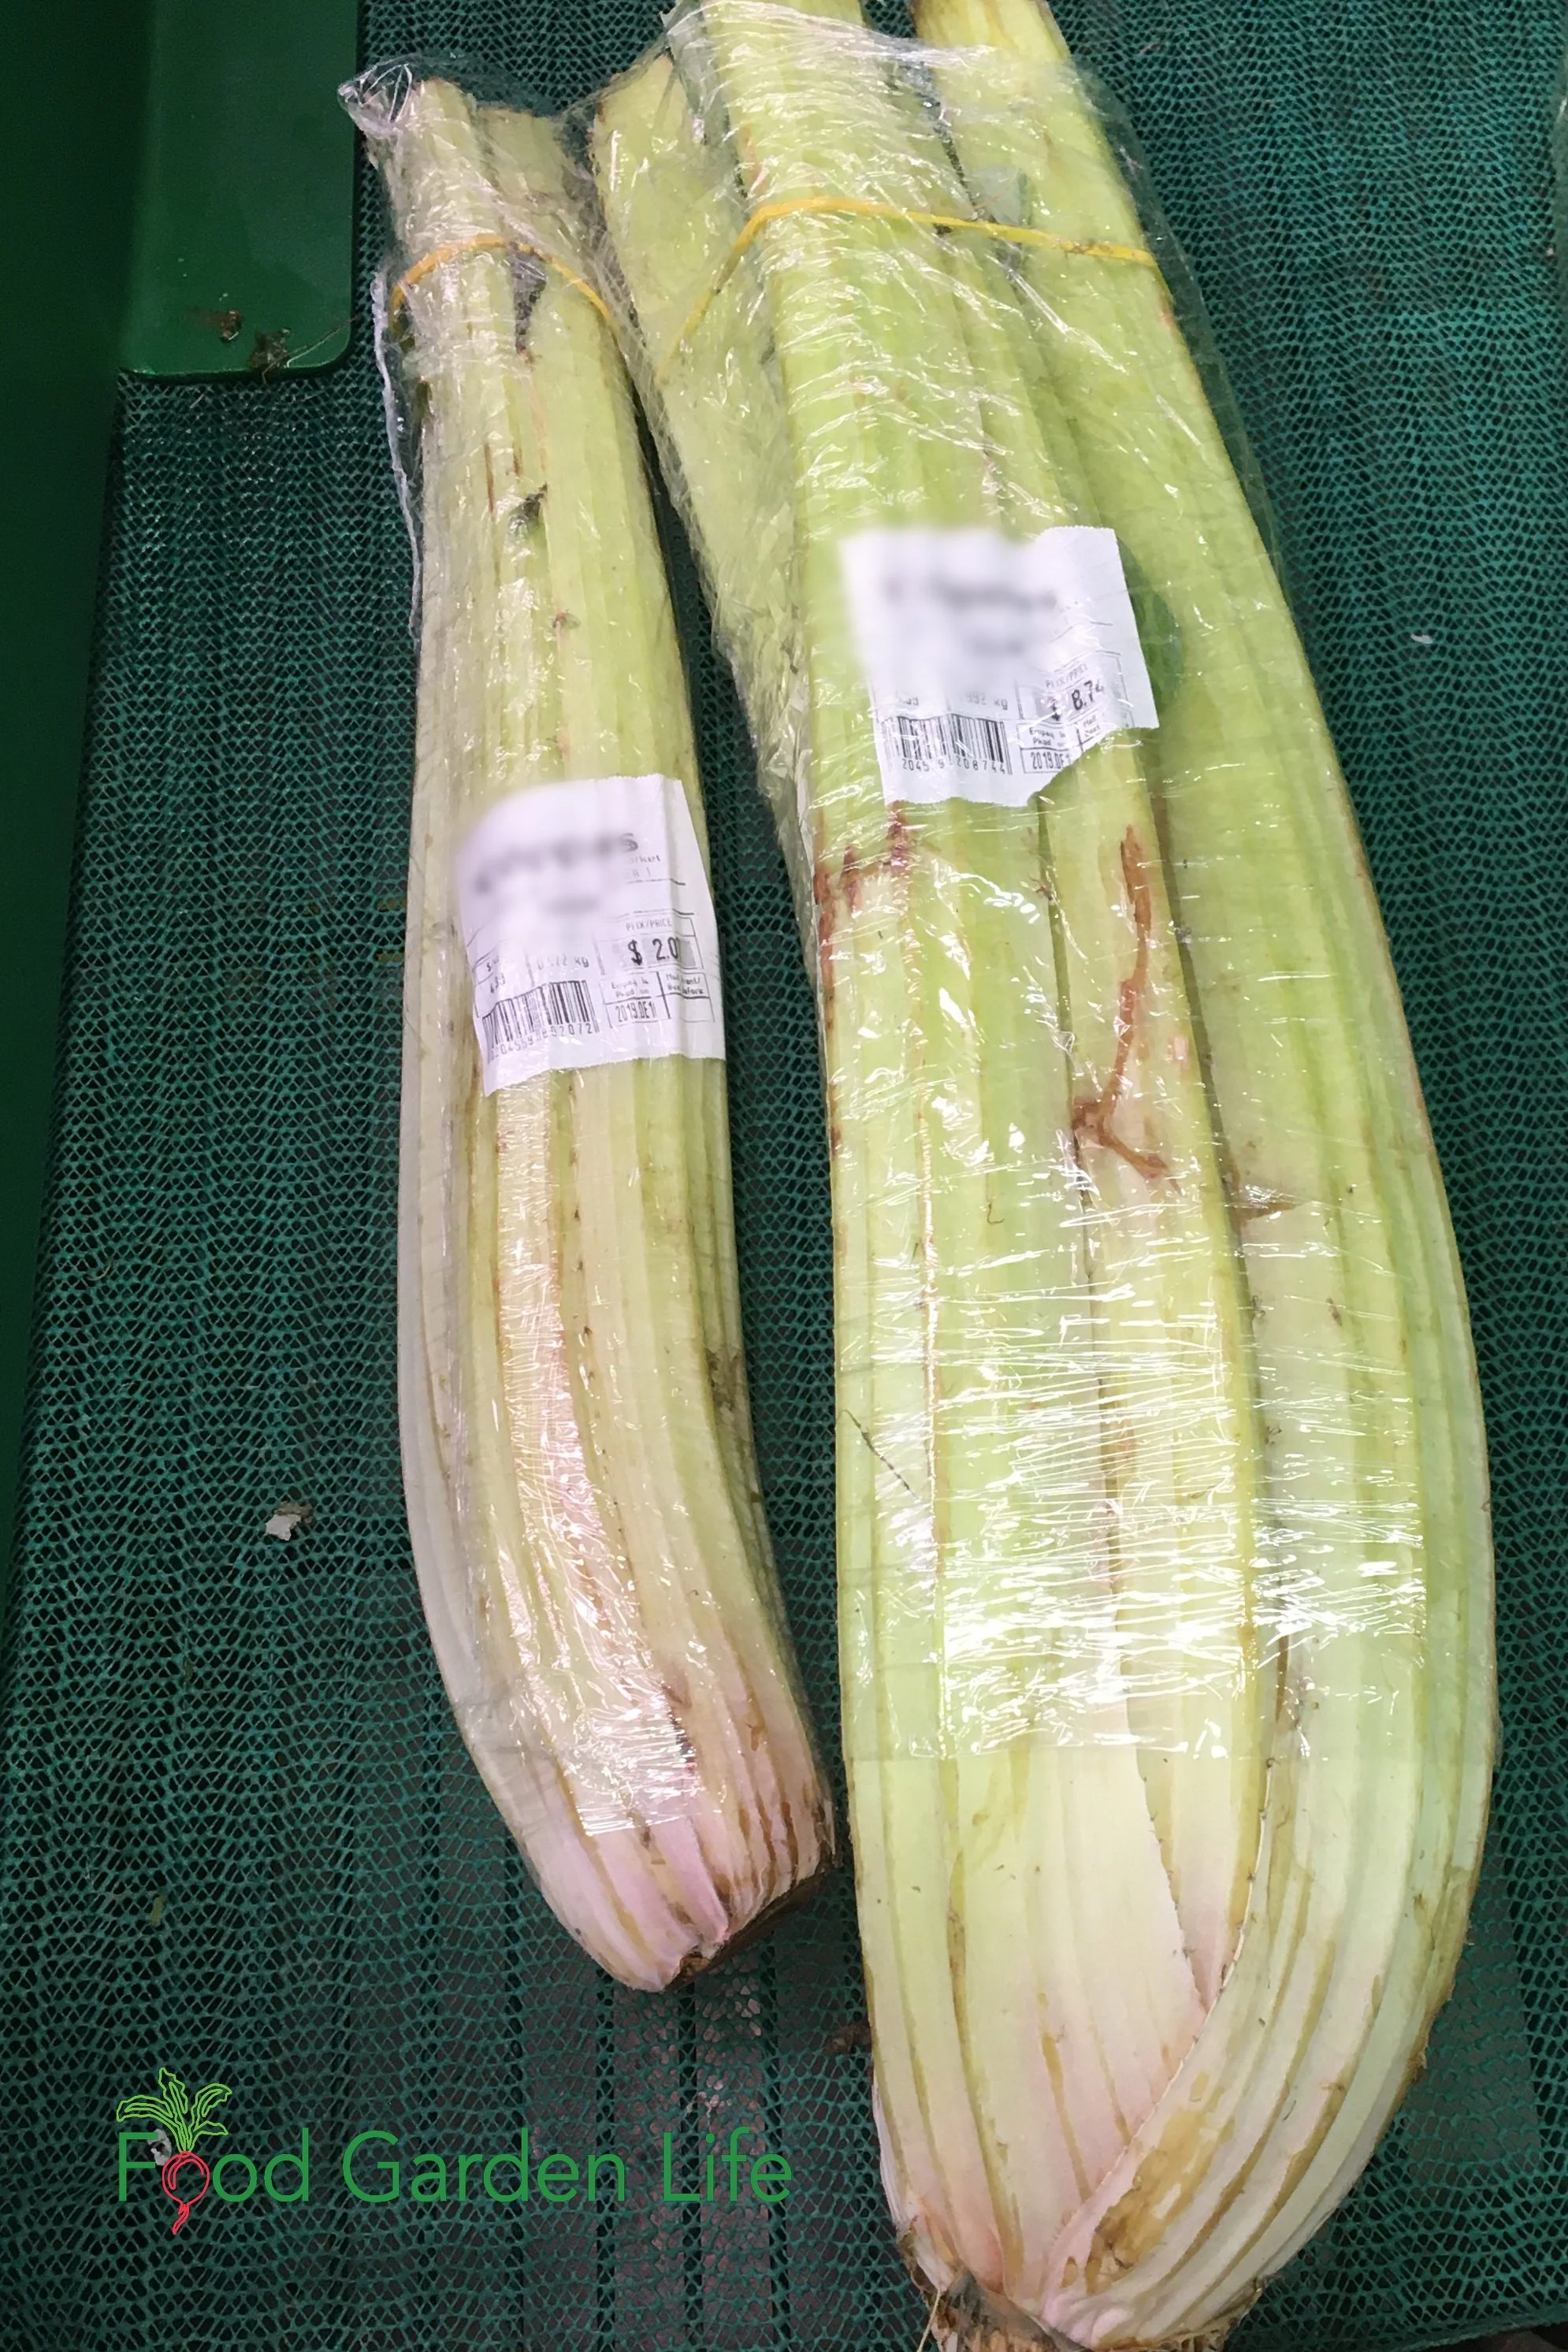
Cardone Vegetable
If you want to buy cardoon stalks, they might not be labelled “cardoon.”
At a local grocery store, cardoon stalks are labelled as “cardone.”
Find This Helpful?
Enjoy not being bombarded by annoying ads?
Appreciate the absence of junky affiliate links for products you don’t need?
It’s because we’re reader supported.
If we’ve helped in your food-gardening journey, we’re glad of support. You can high-five us below. Any amount welcome!
More Vegetable Gardening Ideas
More Mediterranean Crops to Grow in Cold Climates
Guide to Growing an Olive Tree in a Pot
Intro to Growing Figs in Cold Climates
How to Grow Artichoke in Northern Climates
Guide: How to Grow Lemon Trees Indoors That Actually Produce Lemons
Courses to Help You Grow Mediterranean Crops
Books to Help You Grow Mediterranean Crops

7 Vegetable Garden Layout Ideas To Grow More Food In Your Garden
By Steven Biggs
Garden Layout for Vegetables
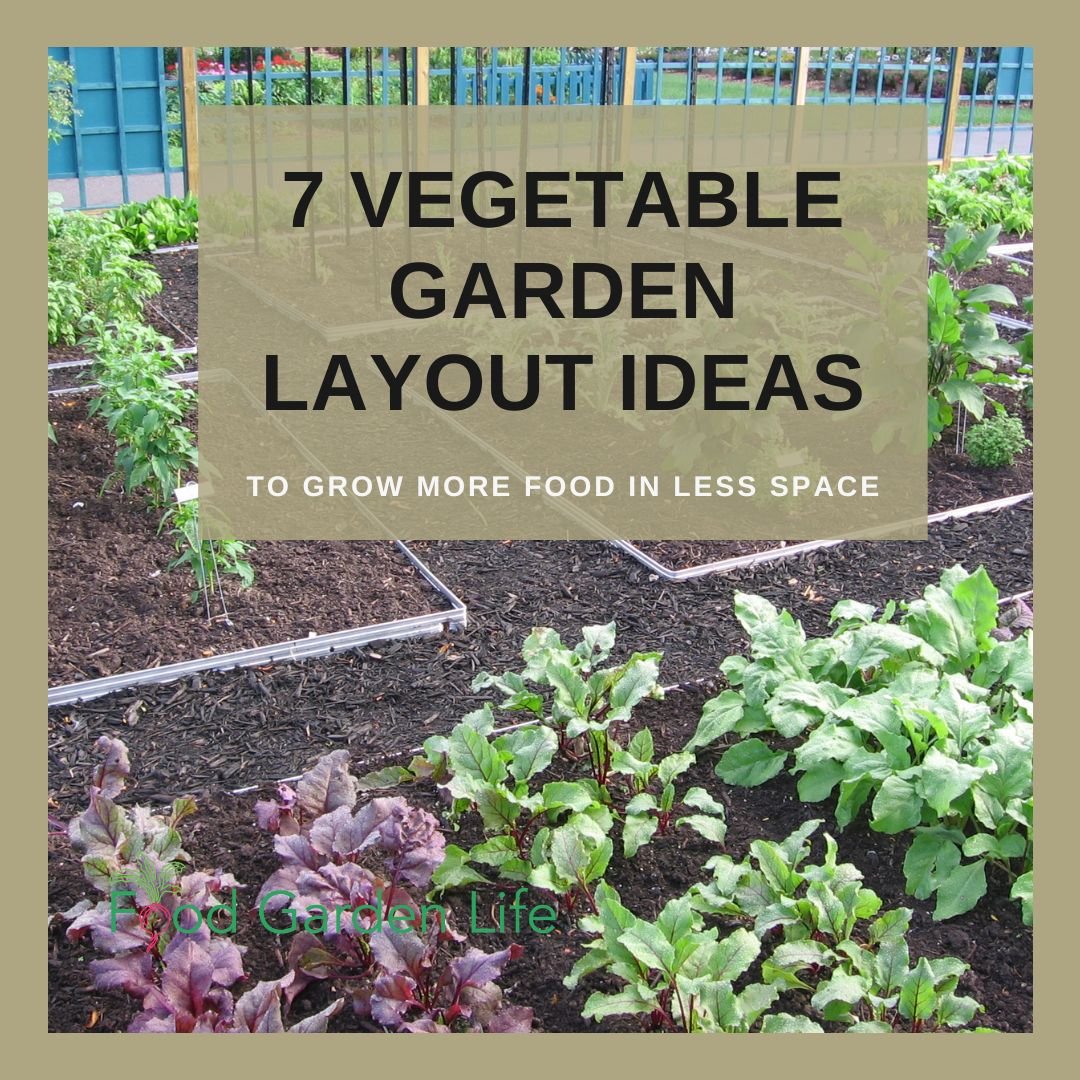
Need help planning a vegetable garden layout? Here are ideas to get your started!
I was delighted when a neighbour removed her front lawn to grow vegetables.
One more edible garden in the neighbourhood! It's a nice departure from the driveway-and-shrub aesthetic around here.
She asked me to help her plan her vegetable garden layout.
But...
I didn’t have a simple explanation about how to make a vegetable garden layout! Keep reading, because this inspired me to map out the way I think when I'm veggie gardening.
As we studied her small, partially shaded front yard, I saw numbers in my mind—distances between plants, between rows, and between crops. I saw centimetres and inches (because we’re in Canada and can’t decide on which to use.)
There's a simpler approach, and I share it below.
Before we get to my top tips: Remember that there are lots of possible vegetable garden layouts. There are many ways to organize and space out vegetables in a garden. There's the growing. And then there's a creative aspect to it. That means that two gardeners given the same garden bed can come up with completely different layout plans. Enjoy the creative journey! There’s no perfect vegetable garden layout—there’s a layout that suits you and your situation.
Keep reading for 7 tips to help you come up with a vegetable garden layout that suits your situation:
1. Grow in Blocks
Rows are for Farms
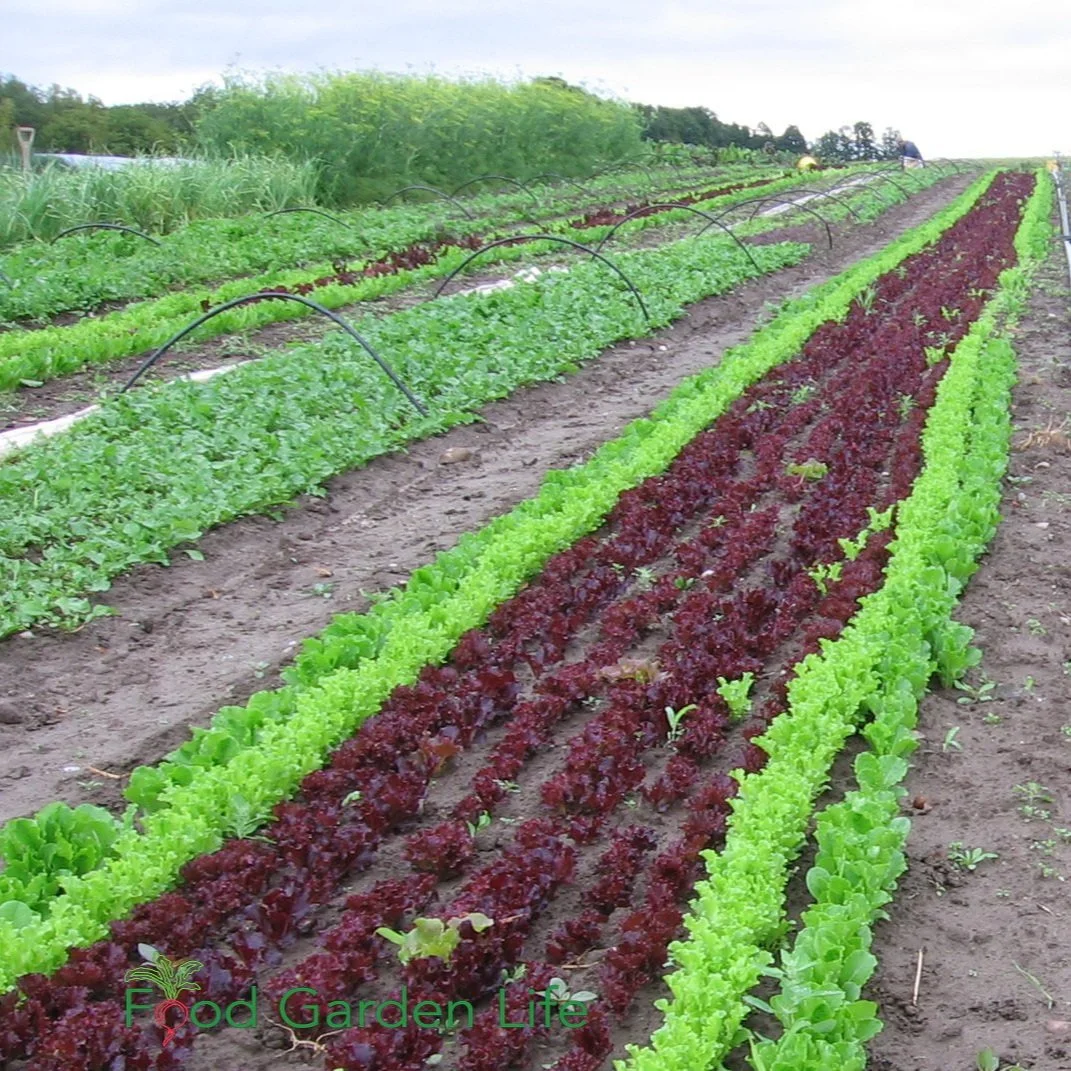
There’s lots of bare soil when growing in rows. Grow in blocks instead of rows to optimize the use of space.
In a traditional row-gardening layout, there's space between rows for cultivating. That cultivating chops down little weed seeds that are germinating. Gardening this way allows one person to weed and tend a lot of plants when labour—not space—is limited.
Planting in rows can make sense on big pieces of land.
But in a home vegetable garden, we're growing on a different scale. In a home veggie garden, we’re limited by space.
And that means growing some vegetables in blocks, instead of spread-out rows of plants. By growing in solid blocks of plants, we fit lots of plants into a plot and have less bare ground showing.
(There are still some vegetables that will do best as single rows of plants, and we'll cover them below.)
Perennial Plants
If your garden design includes perennial vegetable plants, give them a separate block.
2. Grow Vegetables Vertically
Add height to your garden plan! A bamboo-and-wire-mesh A-frame is one way to make good use of the vertical space in a garden.
Plan for the dimension of height in your garden. Use the vertical space! This just means growing some plants upwards instead of letting them sprawl around the ground.
For example:
Growing a climbing plant up a stake or trellis frees up space on the ground for different plants.
Grow crops in layers. By growing vertically, you can also grow more than one crop in a small space. For example, make an A-frame for cucumbers, and underneath the A-frame, plant leafy greens that benefit from some shade during the summer.
And one more idea if you're making layers in your garden: Hanging baskets. They're great for herbs and many of the leafy greens.
Climbing Plants for Vertical Gardens
Here are a few of my favourite climbers to grow in a small space.
Malabar spinach (a vining spinach substitute, not really a spinach…but excellent during the heat of summer)
Achocha (a.k.a. Bolivian cucumber, it’s absolutely prolific, and a fun novelty)
Vining peas
Pole beans
Runner beans
Cucumber
Squash
Need more ideas for climbing plants? Get more crop ideas in this article about vertical gardening.
3. Plant Densely, and then Thin
Seed Spacing…How Many plants?

Plant densely to grow more food in a small space. Here are densely planted carrots, and as the larger ones develop roots big enough to eat, they’re pulled out so there’s space for the remaining ones to develop.
Seed-spacing recommendations on seed packets and in articles are often geared towards commercial production. And these recommendations work fine in a home garden.
But…
Most plants do well with less than the spacing recommended on a seed packet.
So if you want to grow more food, plant more densely.
Forget Finicky
Commercial growers (or hard-core gardeners with big gardens) often use seeding machines to place seeds at a specific spacing. There are also hand-operated seed dispensers to help get perfect spacing.
Your plants won’t know the difference—and you can make your seeding less complicated by not being finicky.
Scatter-Seeding a Block is Not Finicky
When seeding a block, I hand-scatter seed. With practice, you can scatter seeds so that they are spread at approximately the distance you want. Don't sweat the exact spacing.
It’s not an exact process. You will get some seeds too close together; and some too far apart. (Remember, gardening is detox for perfectionists.)
Where seeds are too close, thin as plants start to grow.
Beets too close? Thin out a few and enjoy baby beet greens.
Carrots too close? Thin your block of carrots and have some baby carrots for supper.
When scatter-seeding blocks, you will use more seed than if you seed in rows.
That’s fine: It saves time and you get more veg from the same area.
4. Choose Crops to Maximize Your Harvest
To grow more food in less space, be strategic with your crop choices as you’re laying out a vegetable garden.
My first rule of vegetable gardening is to grow things you like. Sure, radishes are easy to grow. But do you like eating them three times a day?!
Here are three other things to think about as you fit more food plants into your space.

You might choose spreading crops that take a lot of space. That’s fine, just grow them upwards. You don’t see it in this picture, but there’s a whole crop of Swiss card below.
Next, avoid the space hogs. These are crops that take up a piece of garden for the entire growing season...and only give you something at the end of the year. That's right: if you have a small garden, think twice about those parsnips and Brussels sprouts!
Keep the vining space hogs, but grow them vertically (see above.) So instead of squash sprawling around the garden, grow it up a fence or trellis. (I’ve even grown squash along a cedar hedge!)
If you have a small plot, skip the stingy crops. I'm talking about something like edamame, which is easy to grow and delicious...but takes a fair bit of space considering what you get from it. You'll get way more bang for your buck with something like bush beans.
And let’s get back to the idea of rows versus blocks as we think about choosing which vegetables to grow.
What to Grow in Blocks
Here are examples of crops that I like to grow in solid blocks, instead of rows.
Beet
Carrot
Leafy greens
Garlic
Check out Edible Garden Makeover and have fun doing some vegetable garden landscaping!
What to Grow in Rows
It makes sense to grow certain crops in rows. Here are the ones I prefer to grow i rows:
Potatoes (so I can easily "hill" them)
Tomatoes (because I stake them, and it's easiest when I can access them from both sides)
Peas (for ease of picking)
Pole beans (for ease of picking)
5. Keep Pathways to a Minimum

How much growing space could you add in this layout if the pathway down the middle didn’t go all the way through the bed? Lots!
An easy way to grow more food in less space has nothing to do with the distance between your plants!
Use less of the available ground for pathways.
As you map out your beds and pathways, play around with different layout options. Easy access is important, but sometimes there are ways to plan a garden that has access, but fewer pathways. A simple way to do this is with dead-end pathways that go part of the way into big beds…but not all of the way through. That way less of the growing space is sacrificed for pathway. (Having trouble picturing this? Imagine a keyhole garden, where there’s a pathway into the middle—but it doesn’t go all the way through.)
6. Plant Two Crops Together
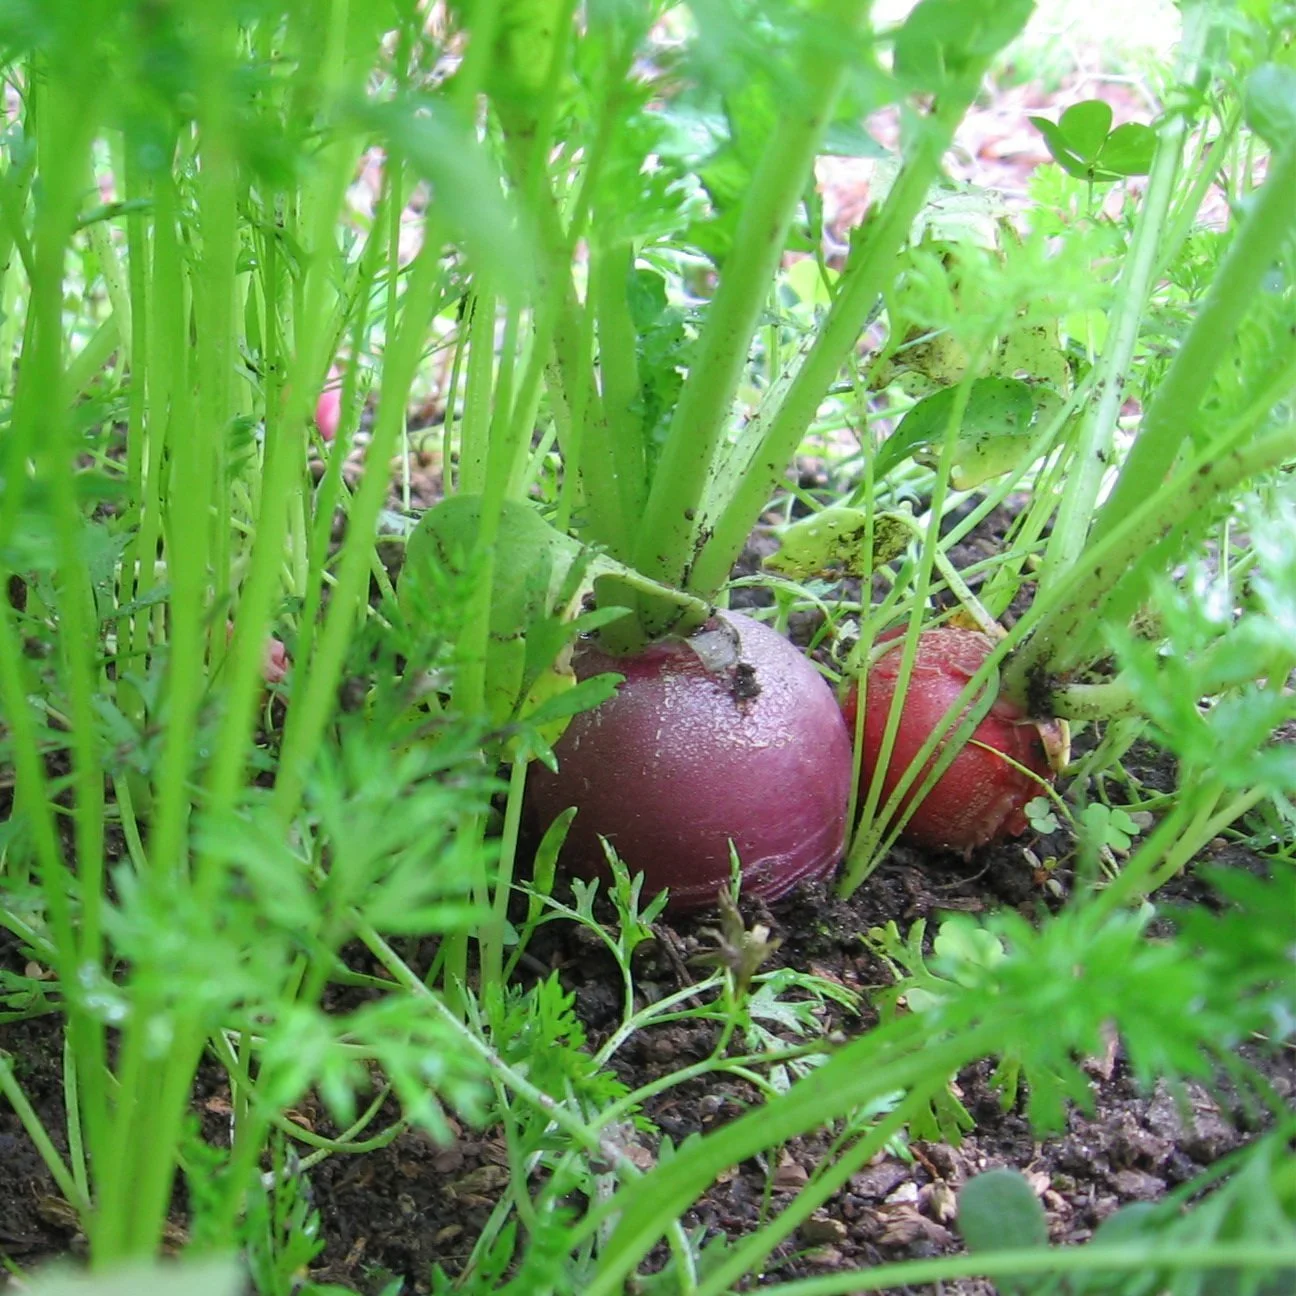
Radishes and carrots seeded at the same time,. The radishes are ready to harvest, while the carrots roots are nowhere near ready for harvest, even as baby carrots.
Companion planting is another way to fit more plants into your vegetable garden.
Plant two vegetables in the same space—ones that are good companions because they mature at different speeds.
My favourite combination is fast-growing radish, with slower-growing carrots or beets.
When I scatter carrot seed on a block of garden, I also scatter radish seed. The radish grows much more quickly than the carrot, and is ready to harvest while the carrot seedlings are still quite small.
Harvesting the radishes frees up space for the carrot seedlings, and as the tap root of the radish comes out, it also loosens the soil around the carrot seedlings. It's a perfect combination.
(There is a lot of rubbish information out there on companion planting. I suggest this science-based book: Plant Partners: Science-Based Companion Planting Strategies for the Vegetable Garden.)
7. Grow Succession Crops
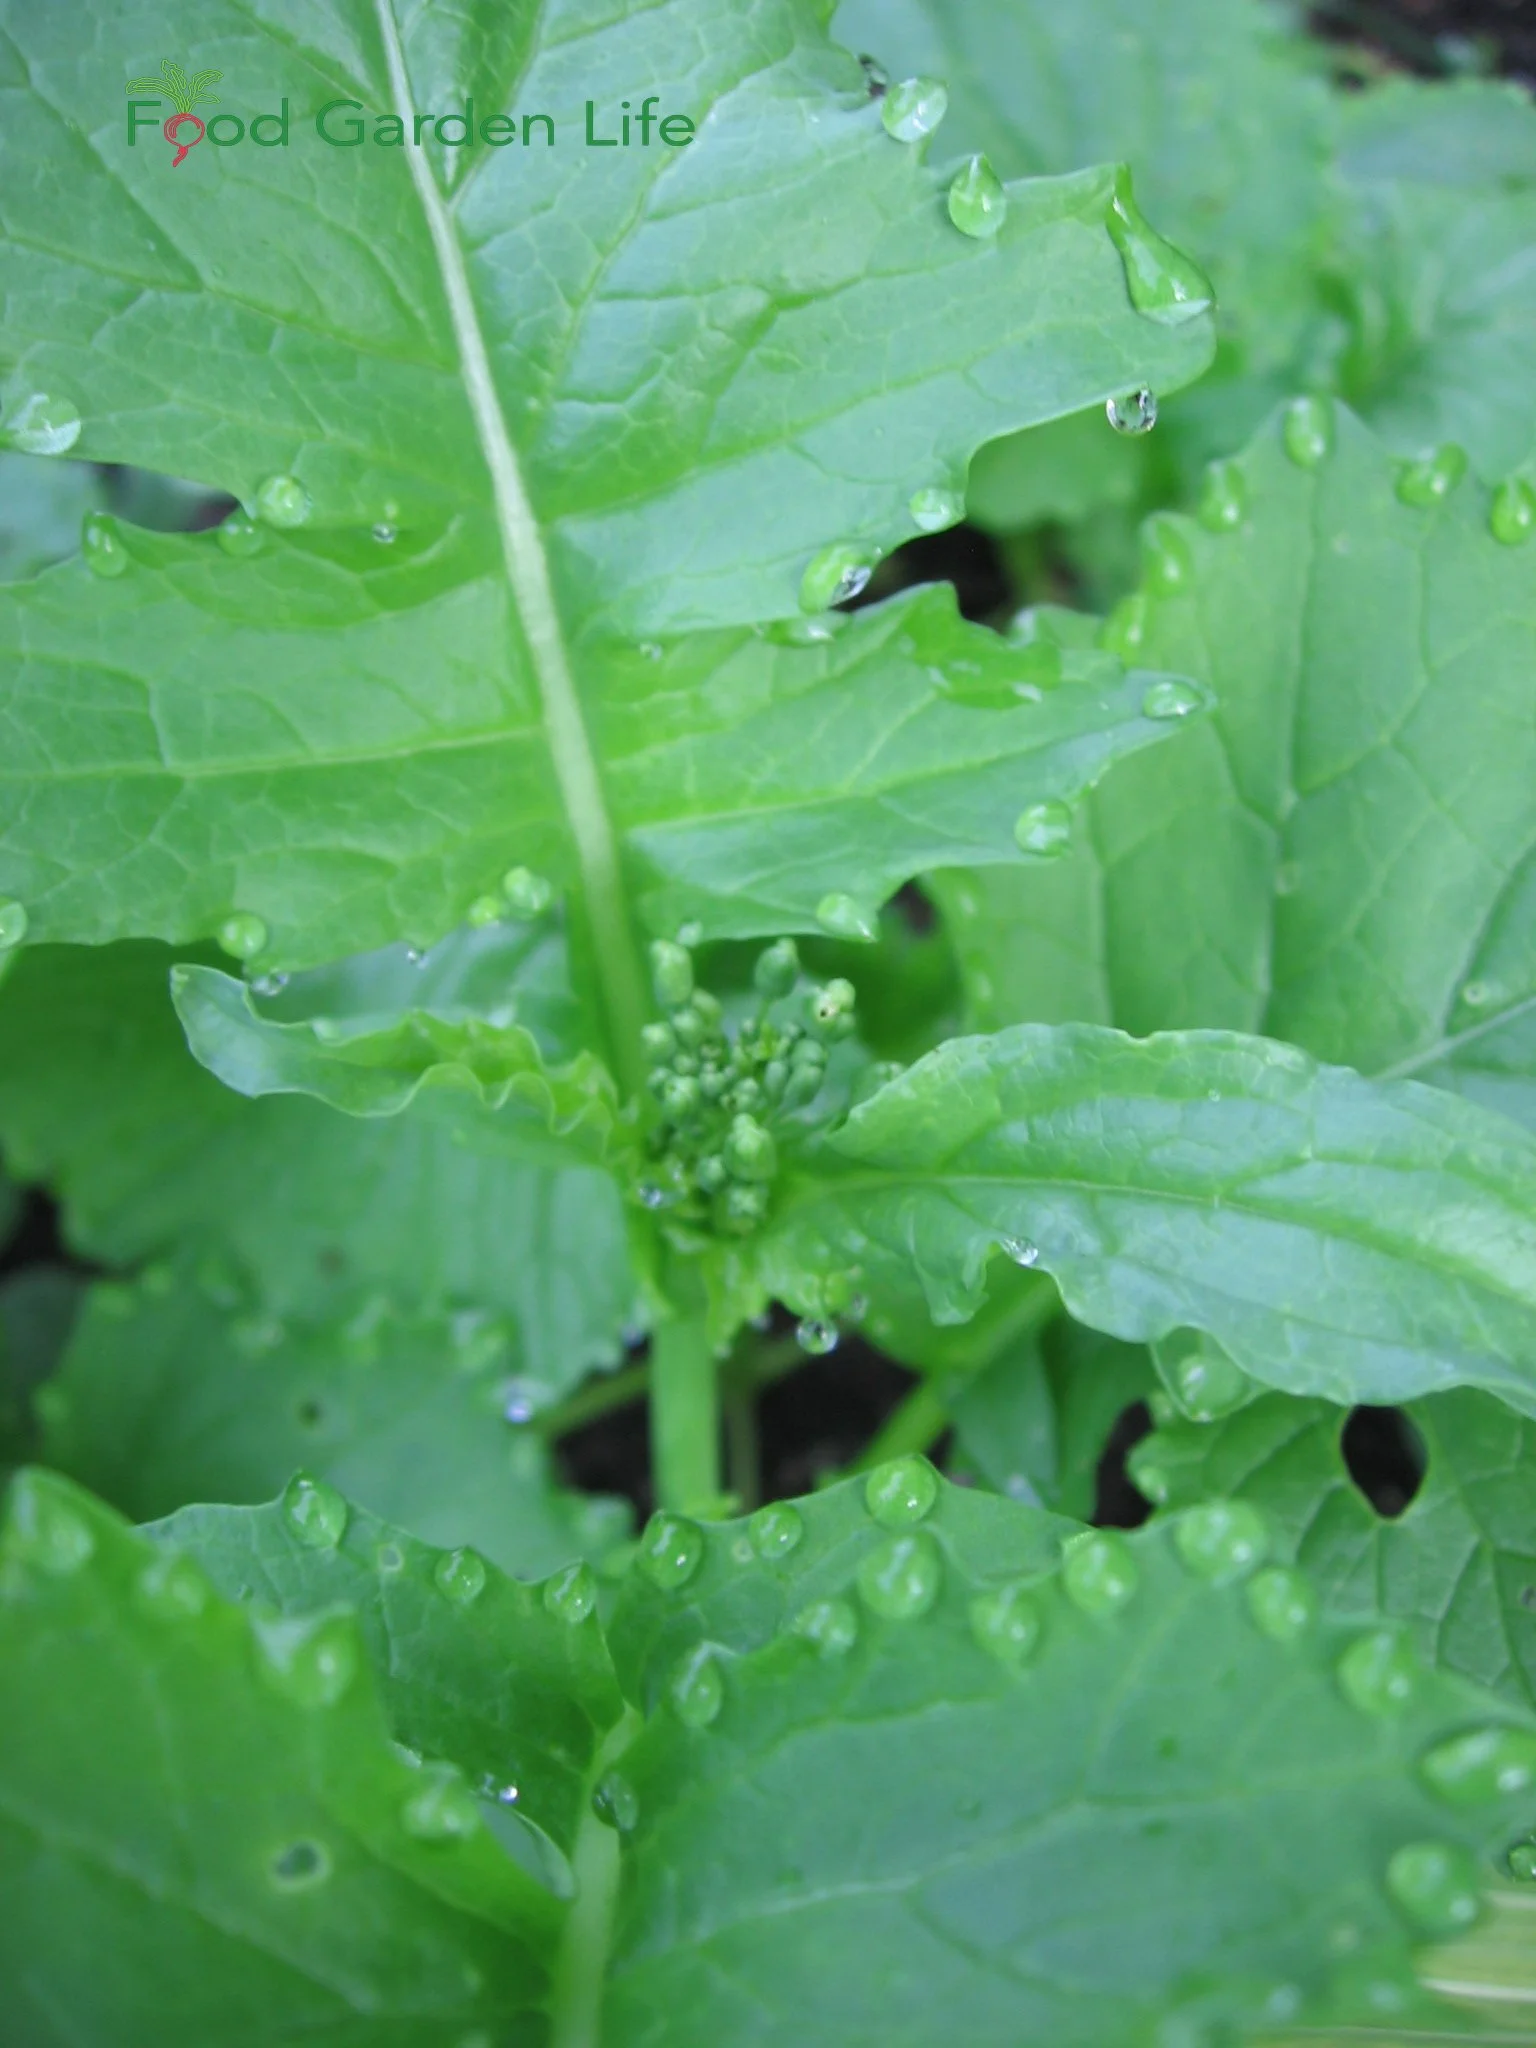
Rapini is one of my favourite summertime succession crops.
Growing vegetables in succession as each parcel of your garden makes sure none of it goes unused during the growing season.
As your spring-planted cool-season crops finish, plant a heat-loving crop for summer.
Bush beans done? Sow some beets.
Garlic done? I like to grow rapini (and for those of you who are avowed rapini haters because of the bitterness, get yourself a bowl of orecchiette pasta with rapini and some chunks of spicy sausage fried to crispy, and you’ll see rapini in a different light.)
Need more Vegetable Garden Layout Ideas?
In Edible Garden Makeover I walk you through lots of vegetable garden layout ideas, raised beds, making garden beds, raised beds, and lots of other ideas that help you grow your own food in a way that suits your setup. I help you imagine an amazing kitchen garden, and also an entire edible garden layout. Find out how you can make your yard into an edible landscape.
Still Not Enough Space?
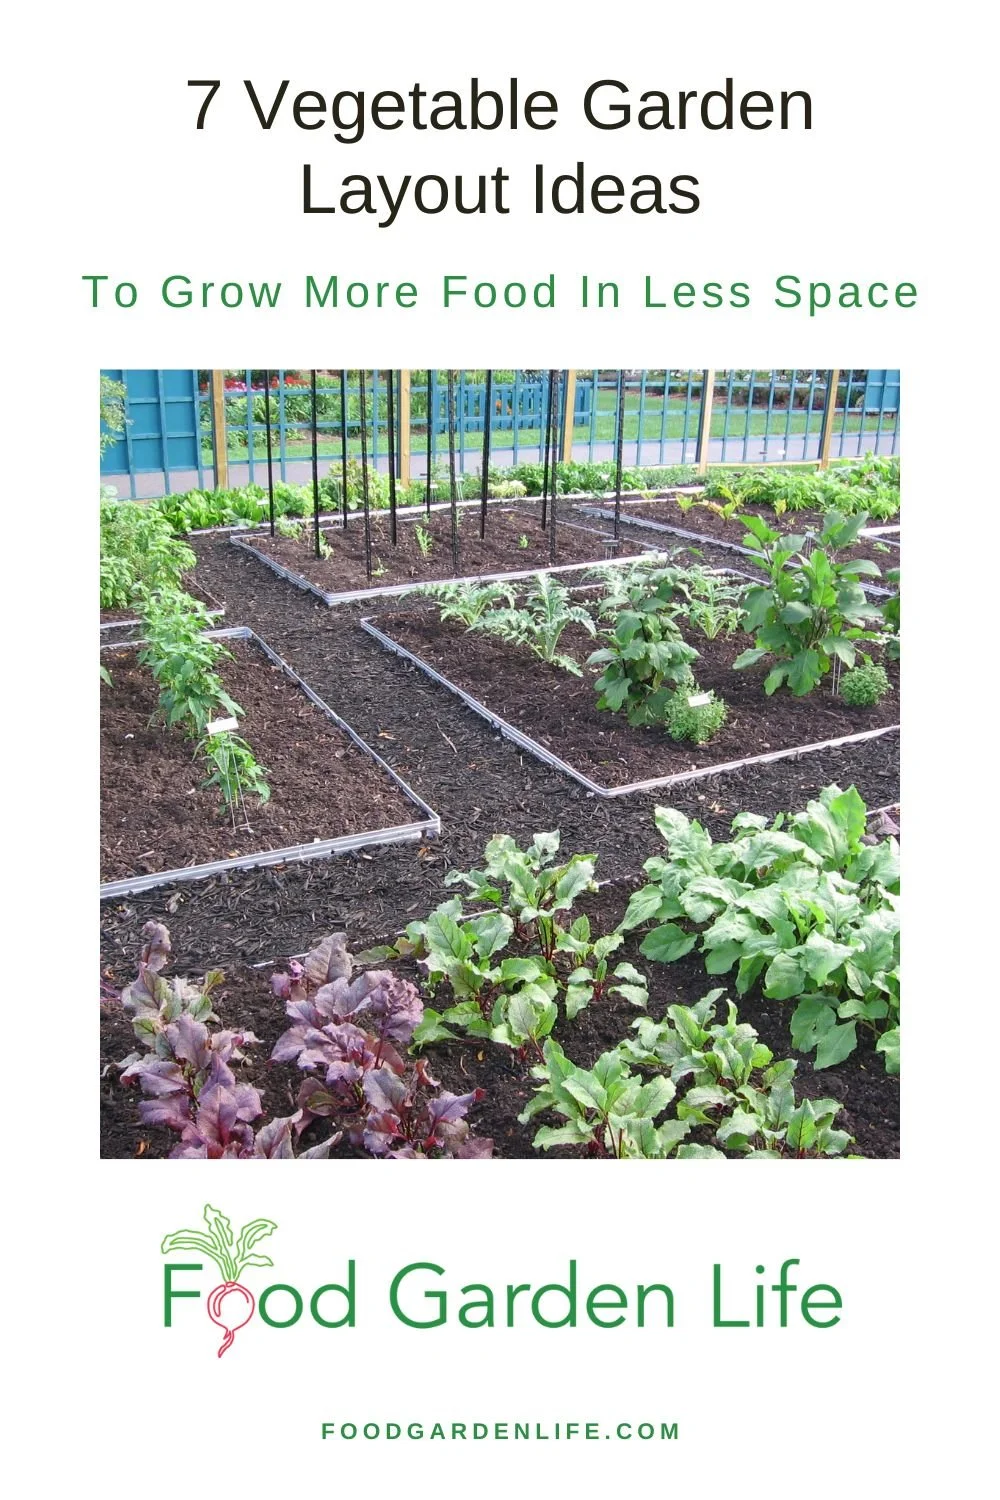
Pin this post!
If you're using these seven approaches to make the best vegetable garden layout for your garden area, and you still want to grow more, think about adding containers to your vegetable garden.
Plant vegetables in containers on:
Paved spaces such as driveways
Decks or balconies
See how I converted my driveway into a tomato plantation.
You can also incorporate containers as part of a vertical garden, to add the element of height. (I've squeezed in pepper crops between an asparagus and horseradish patch...where normally they wouldn't have stood a chance because of the competition. But because they were elevated above the ground in a container, they got sun exposure and had lots of growing space in the container.)
One more space-making idea for you, something that I've used to transform a long, little-used driveway into a tomato oasis.
This idea is quick to set up, easy to care for, and inexpensive compared with permanent container or raised-bed systems.
Add a straw-bale garden to your garden layout. Find out more about straw-bale gardens.
Wondering about Shade?
Shade is something we often deal with in home gardens. Don’t worry, there’s still lots you can grow. Find out vegetable crops that you can grow in the shade.
Find This Helpful?
Enjoy not being bombarded by annoying ads?
Appreciate the absence of junky affiliate links for products you don’t need?
It’s because we’re reader supported.
If we’ve helped in your food-gardening journey, we’re glad of support. You can high-five us below. Any amount welcome!
More Gardening Ideas
Courses
Here are self-paced online courses to help you grow an awesome vegetable garden.
These Edible Perennials and Perennial Vegetables Make a Delicious Edible Landscape
Edible perennials are perfect for an edible landscape! Find out which ornamental perennials are edible, and get ideas for perennial herbs and vegetables.
By Steven Biggs
Grow a Grazing Garden with Edible Perennials and Perennial Vegetables
When I was a child my dad showed me how to take a leaf of stonecrop sedum, methodically press the whole surface of the leaf between my thumb and forefinger to soften it, and then gently push sideways to loosen the skin on the front and back.
Once the skin was loose, we’d blow into the sedum leaf to inflate it – like a little balloon!
It’s a fun trick for a kids. And I still have fun showing it to kids who visit my garden.
Multi-Purpose Plants
In a small-space garden, I like to include multipurpose plants, plants that are more than just ornamental. Edible perennials and perennial vegetables are great for small-space gardens.
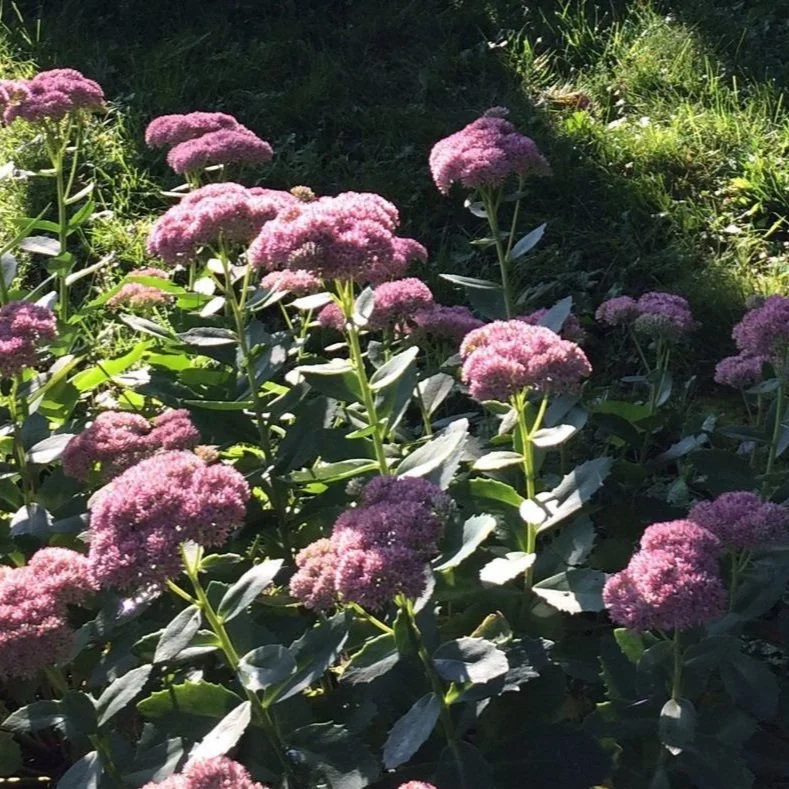
Stonecrop Sedum flowers late in the summer. And it’s edible!
Stonecrop sedum is very ornamental. It’s a reliable, easy-to-grow perennial that flowers in the late summer when most other perennials are done flowering.
It also adds winter interest to the garden. I leave the dry stalks and flower heads in the garden all winter. They add texture and catch the snow.
Beyond it’s ornamental appeal, chalk up two other things for stonecrop sedum (or, as Dad always calls it, frog’s belly.)
The balloon-like leaves are amusing for kids (and adults too!)
It’s edible. You can eat the leaves. They’re mild, slightly lemony.
Keep reading for some of my favourite edible perennials, including herbs, ornamental perennials, and vegetables.
Use Edible Perennials in the Landscape
Traditional vegetable gardening involves a lot of annual crops and annual preparation of the ground. It includes starting transplants indoors, sowing seeds directly into the garden, and preparing the garden soil to make a nice bed.
Even no-dig vegetable gardening systems usually include some sort of soil preparation, whether it’s solarizing the ground (by covering with tarps), scuffing the soil surface to kill small weed seedlings, or mulching.
With this traditional approach to food gardening, there’s often a focus on growing enough to preserve by canning, freezing, or drying.
Perennials for an Edible Landscape
What if you just want to be able to go out into your garden and pick something for the meal you’re about to cook? To see what looks good in the garden – and see what inspires you to be creative in the kitchen?
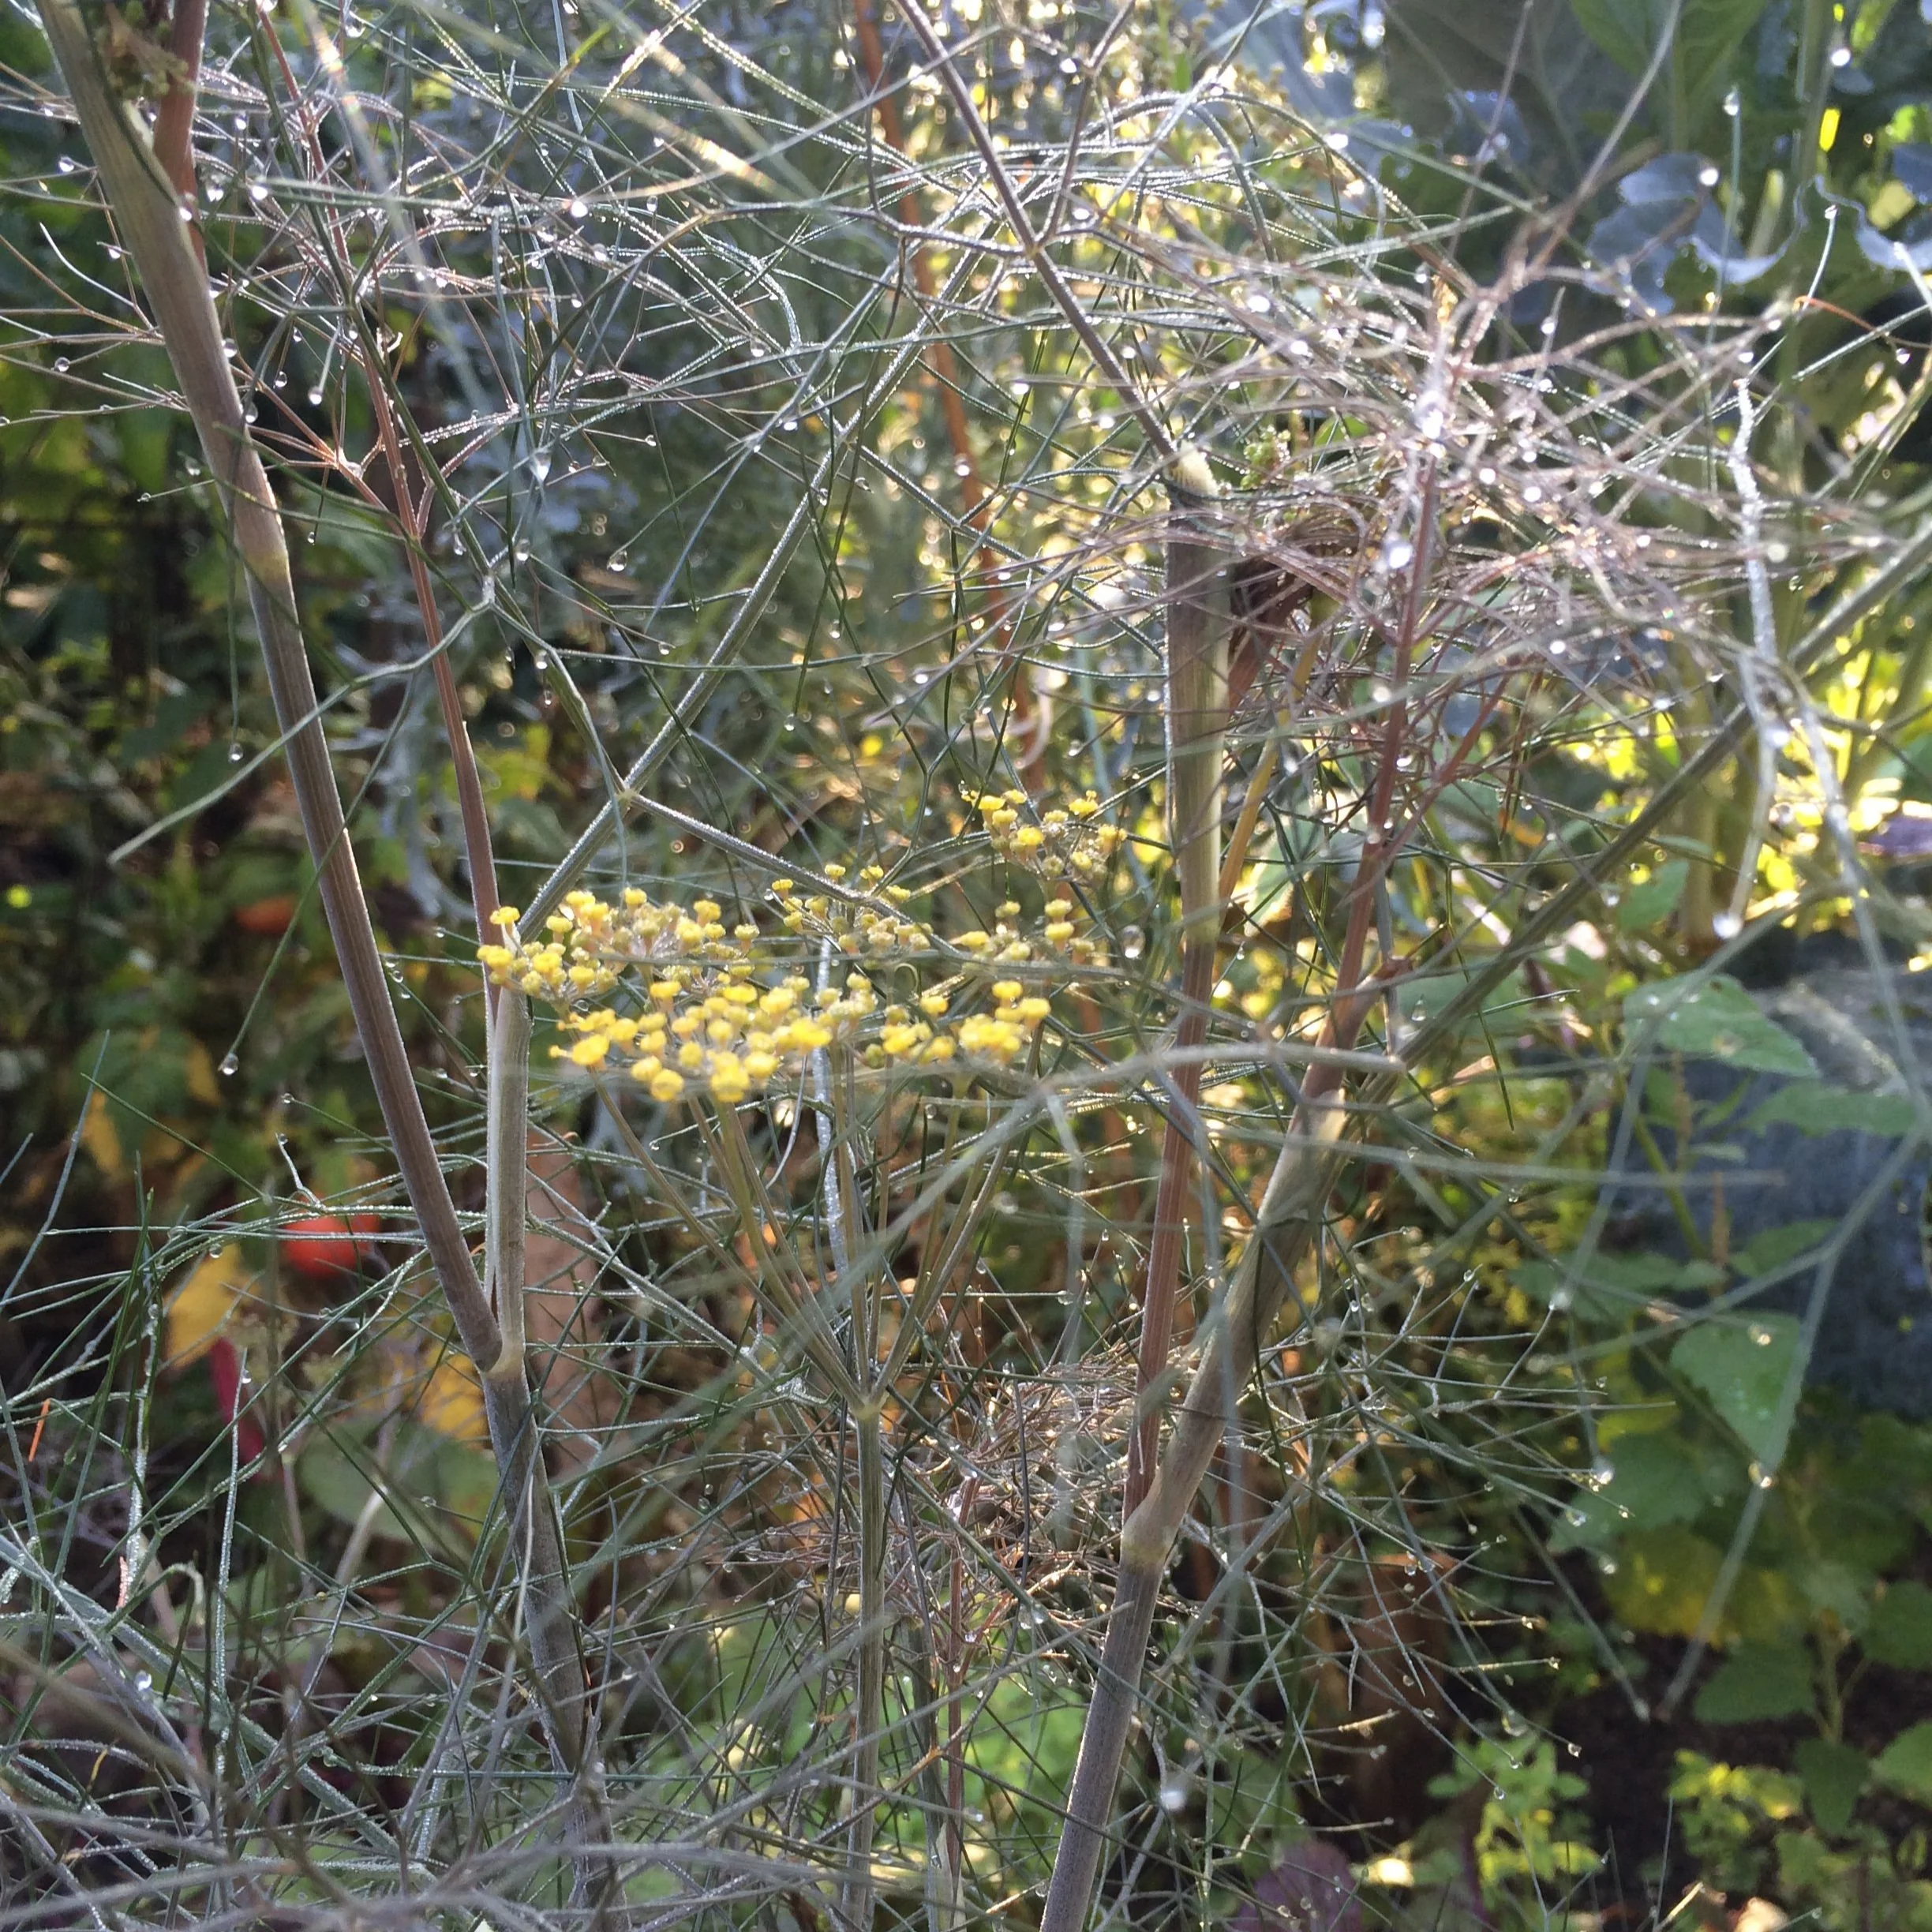
An attractive edible perennial: Airy yellow flowers and a bronze coloured leaf make bronze fennel a beautiful addition to a perennial garden. And leaves and flowers are edible too!
I call this “grazing.” It’s picking just enough for the meal at hand, and letting what you find in the garden inspire what you create in the kitchen.
If you’re a fan of the potager-style garden, which mixes up veggies with herbs, edible flowers, flowers for cutting, and fruit, you’ll get the idea. We’re talking about a grazing garden.
So let’s take this idea of a grazing garden and use it in our perennial flower beds, dotted the landscape with perennial plants that are edible and look nice. This approach to gardening is a great way to grow some of your own ingredients even if you don’t have the space or the time to undertake a more traditional vegetable garden.
Here are some of my favourite edible perennials for a grazing garden:
Perennial Vegetables and Herbs

Lovage deserves a space in any ornamental perennial bed. The celery-like leaves are great in soups and salads.
Asparagus: After you’ve finished harvesting asparagus spears in the spring, this perennial grows into a tall, ferny plant that adds great texture and movement to a garden. Because it’s tall, put it at the back of the garden. Support it to prevent it flopping onto its neighbours.
Bronze Fennel: The feathery, bronze leaves are edible, as are the flowers. The pollen can be used to decorate a plate: Tap the flowers over a white plate to adorn it with the brightly coloured yellow pollen. I like to use the seeds when I make sausage.
Chives: Both leaves and flowers are edible. A tidy, well-behaved plant that looks great when used to edge a garden.
Horseradish: The root is grated to make the well-known condiment. Leaf pieces are sometimes added to pickles. This is a bomb-proof plant with a deep root system that’s hard to remove once established, so put some thought into where you would like it to be in the long term.
Pin this post!
Jerusalem Artichoke: This one is in the Weed Guide of Ontario…so beware. But it’s a versatile plant, taking full sun to part shade. The tubers are plentiful.
Lemon Balm: Use young leaves in salads, and dry leaves for tea. This is not a timid plant; it spreads. But I love if for the fragrant foliage. Plant it somewhere where you’ll brush against it while in the garden and you’ll be glad you have it.
Lovage: My neighbour Dave says that this is the secret ingredient for an award-winning tomato soup. Or you might use it in a bouquet garni. It’s a super celery substitute. (Try mature stems as straws when serving Caesars!) This imposing perennial deserves a space in any ornamental perennial bed.
Mint: My daughter got 19 types of mint one year: chocolate mint, spearmint, pineapple mint… There are so many types. It’s excellent for teas, and we enjoy making mint ice cream. Mint can be invasive. So grow it in containers if you don’t want it to overrun your garden. But if you have a shady corner where not much grows, this might be a suitable place to plant your mint in the ground.
Oregano: A well-known herb that is hardy and an excellent ground cover too. When it’s in bloom watch to see what a bee magnet it is.
Rhubarb: My neighbour Chris planted it next to his pond because the big leaves are so beautiful. Easy to grow and productive. Recommended for sun, tolerates part sun very well. Find out how to force rhubarb indoors in the winter.
Sage: Along with the common grey-green leafed sage, there are varietgated and tri-colour varieties. If, like me, you’ve over-saged the thanksgiving turkey stuffing one too many times and don’t care if you ever cook with it again, some of these tricolour sages still make a beautiful addition to a herb garden.
Sorrel: My favourite. Easy to grow, rarely for sale at the supermarket. I use these tangy leaves mixed in with salad greens, to make soups, and when braising fish and poultry. Think of sorrel as a lemon substitute for northern gardeners. There’s wild sorrel, as well as large-leaved cultivated varieties.
Edible Ornamental Perennials
Daylily flowers and buds are edible.
Bergamot: Great for attracting pollinators, very ornamental – and edible. The leaves can be used to make tea. And the edible flowers are nice when tossed into a fruit salad.
Daylily: A perennial that has naturalized in some rural areas here in southern Ontario, it’s grown as a vegetable in other parts of the world. Unopened flower buds are a great addition to a stir-fry. And the flowers are an excellent garnish. Idea: How about a daylily flower instead of an ice cream cone? Daylily thrives near black walnut trees. Are you dealing with black-walnut toxicity? Here’s an article about juglone-tolerant plants that you can grow near black walnut trees.
Hosta: This ornamental perennial is a very widely used perennial. It does well in shade, makes a good ground cover – and the unfurled leaves in spring are nice steamed and buttered.
Stonecrop: Like hosta, a perennial garden workhorse, with flowers late in the summer when many other plants in the perennial garden are done blooming. But the leaves are edible and can be used in salads. And…there’s the fun of blowing up the leaves!

Stonecrop sedum is an edible perennial, and it's also lots of fun to grow in a kids garden because the leaves are like mini balloons!
Wondering about Shade?
Wondering what vegetable plants and fruit crops grow in the shade? Find out what fruit and vegetables grow well in the shade.
Find This Helpful?
Enjoy not being bombarded by annoying ads?
Appreciate the absence of junky affiliate links for products you don’t need?
It’s because we’re reader supported.
If we’ve helped in your food-gardening journey, we’re glad of support. You can high-five us below. Any amount welcome!
More Edible-Landscape Ideas
Plant ideas, techniques, and creative ideas to transform yards into fantastic edible landscapes.
Ripen Green Tomatoes to Extend Your Harvest
Find out how to ripen the green tomatoes that you still have in your garden, by picking them before the first frost, and bringing them indoors.
By Steven Biggs
How to Ripen Green Tomatoes Indoors

You can eat homegrown tomatoes through the winter. No greenhouse needed.
I’ve even eaten my own homegrown, “fresh” tomatoes in April. These are tomatoes I picked green the previous October, just before the first fall frost killed the plants. Then, I ripened them indoors.
You don’t need special conditions to ripen your green tomatoes because unripe tomatoes that have reached a “mature” size (nearly the final size) will keep ripening after they’re removed from the plant.
You can prolong your tomato harvest for weeks – even months.
Keep reading for pointers on picking, storing, and using your green tomatoes in the fall.
How do they Taste?
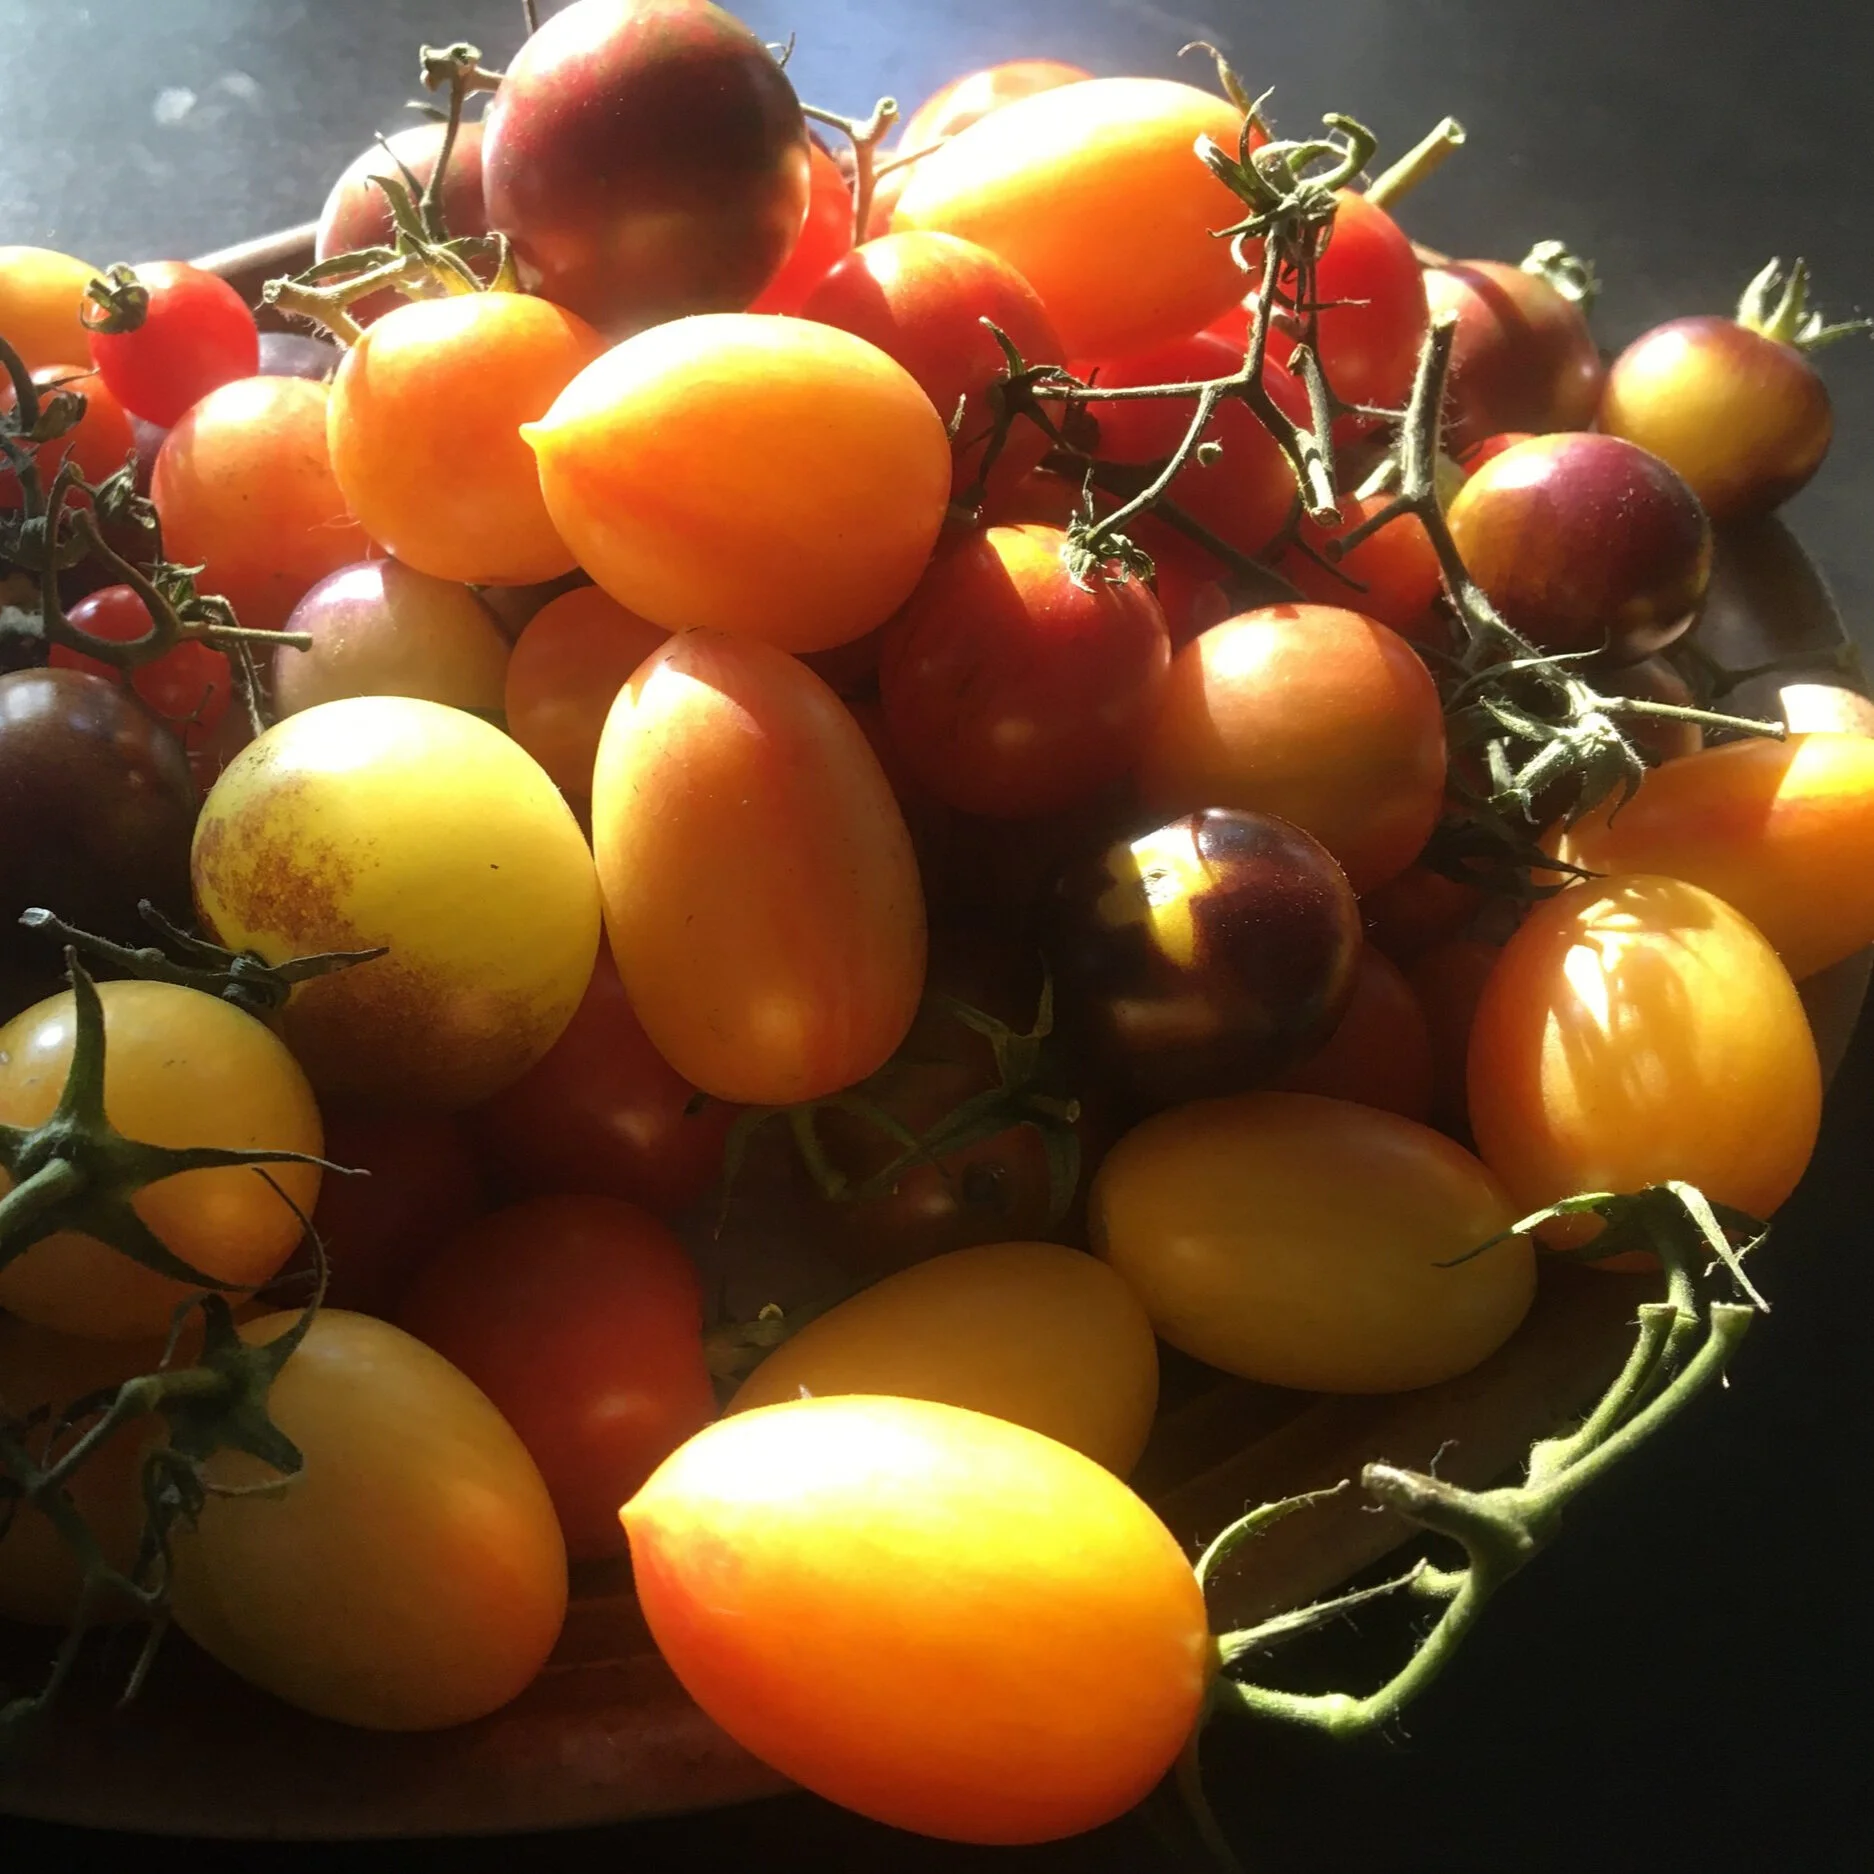
A plate of tomatoes picked green and ripened indoors.
A vine-ripened tomato from the garden has better flavour. That’s because tomatoes ripened on the vine in the garden develop more sugars and acids.
But a green tomato ripened indoors can have a respectable flavour – and it’s certainly far better than the insipid, mealy excuses for tomatoes found at grocers over the winter.
When to Pick Green Tomatoes for Indoor Ripening
Pick your green tomatoes before the first frost in the fall. Tomatoes exposed to frost get mushy and don’t store or ripen well indoors.
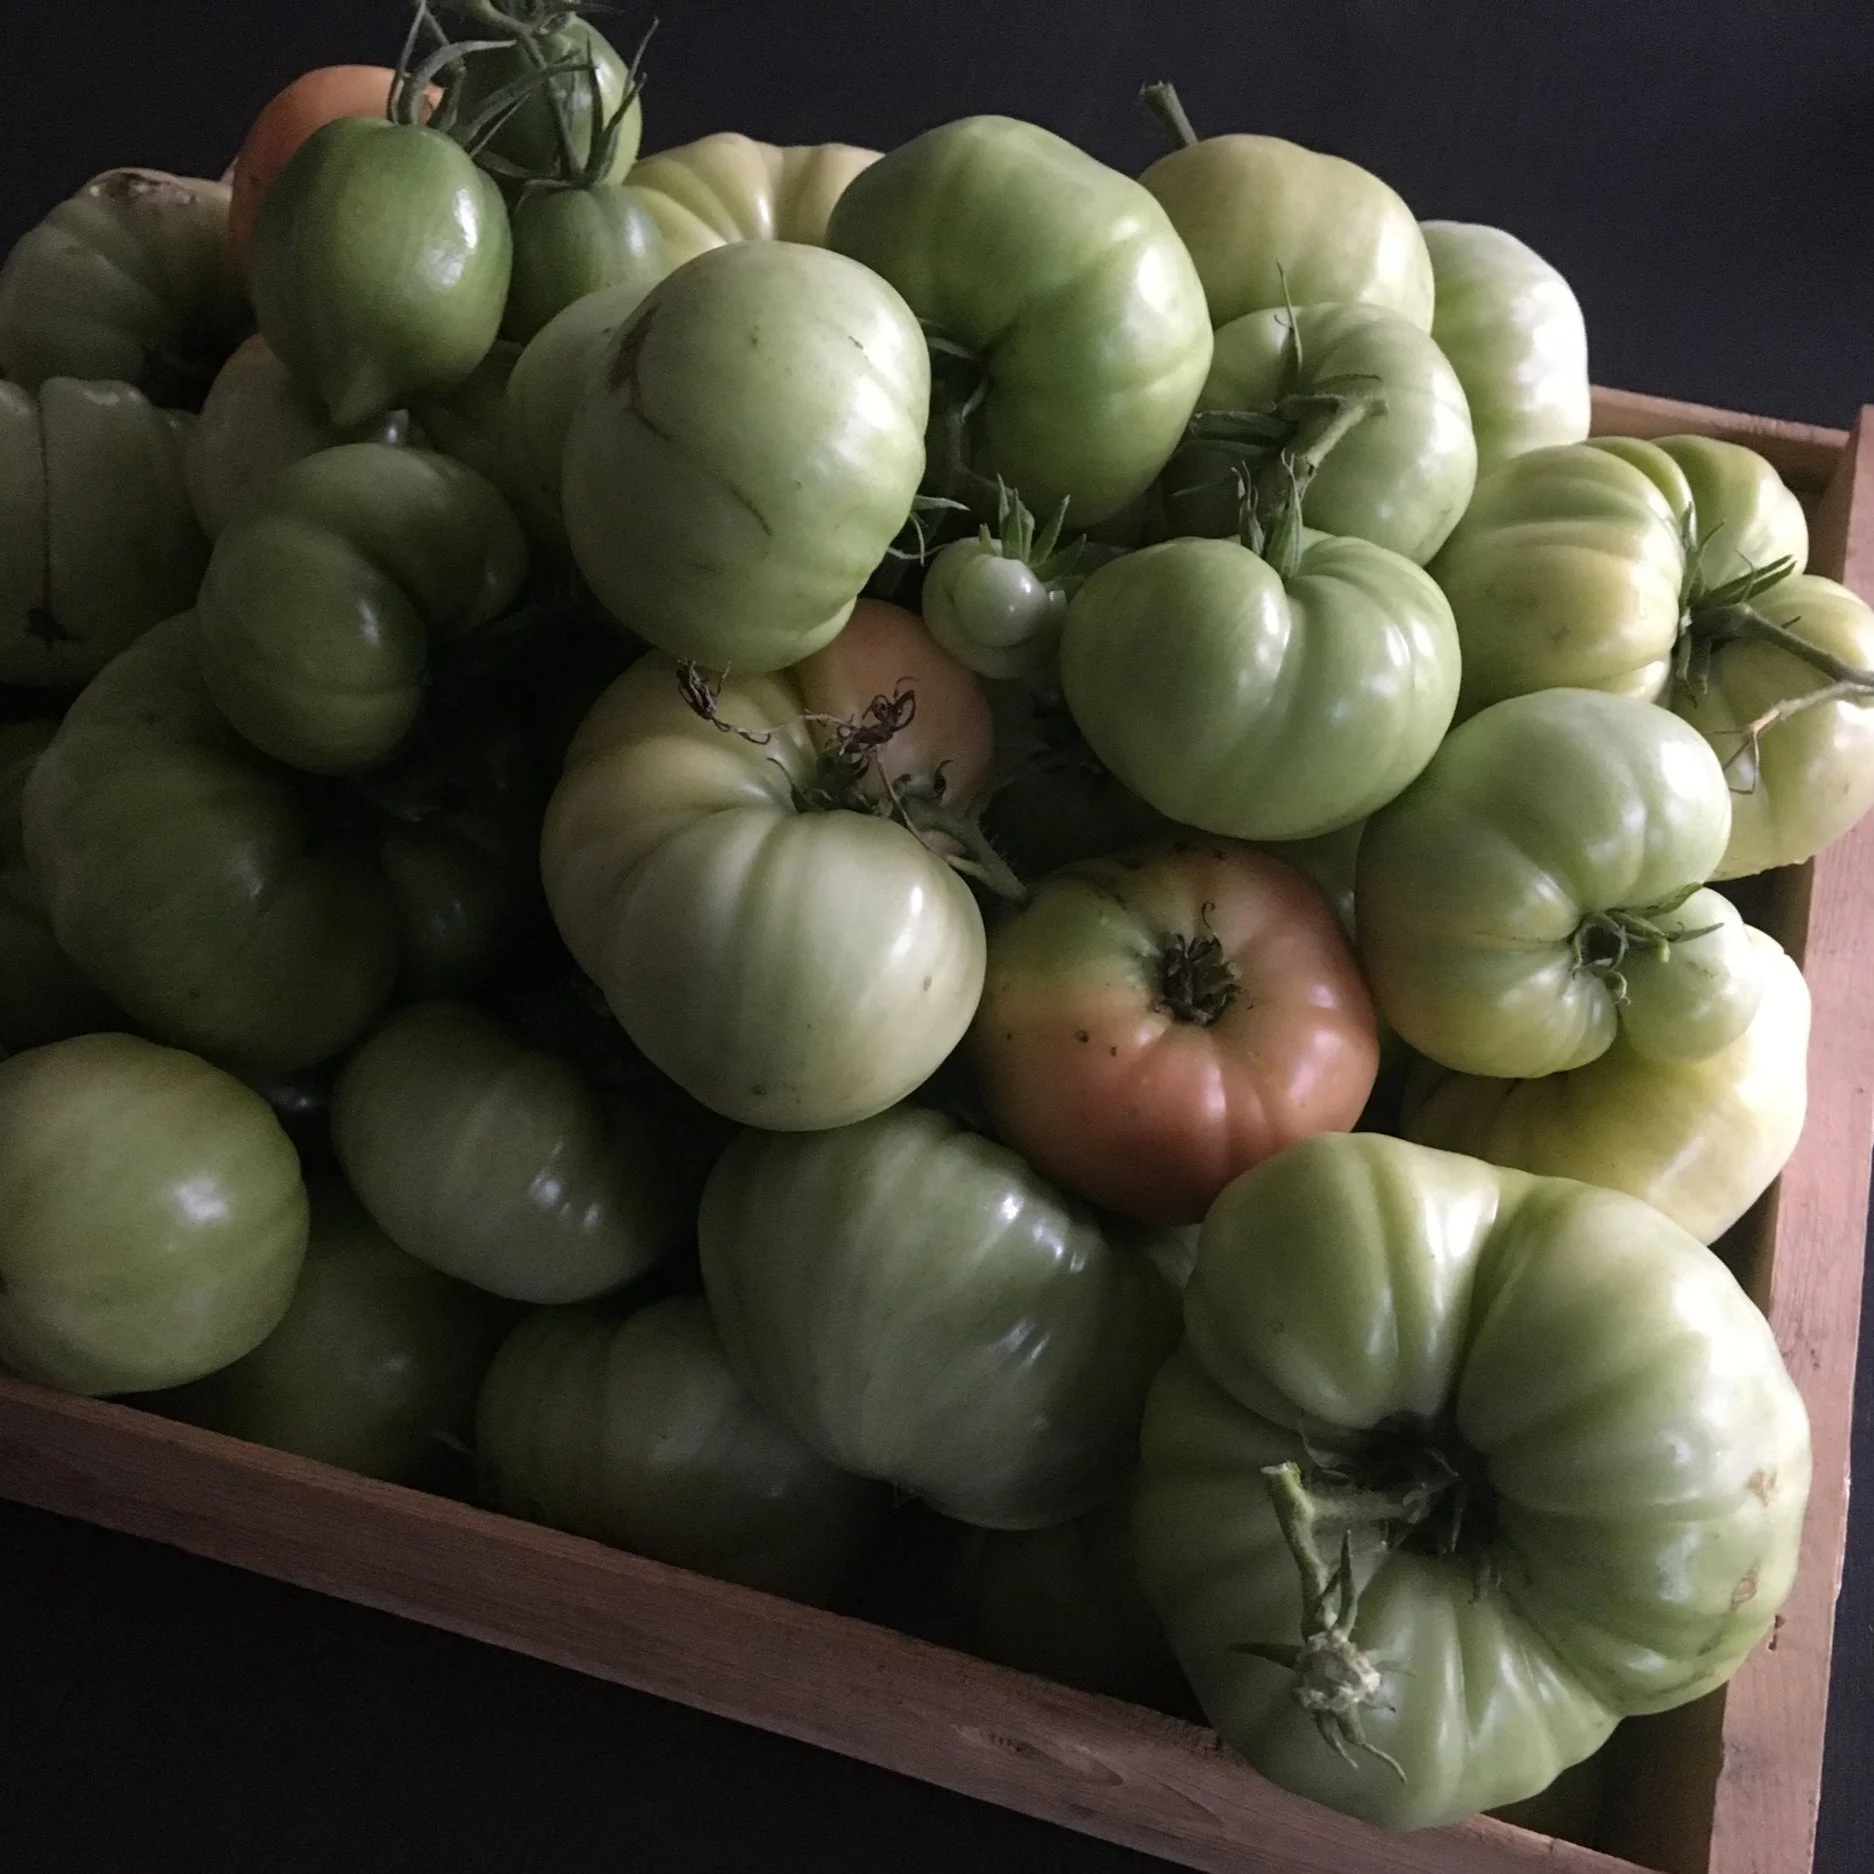
I pick tomatoes that are a mature size, as well as small, undeveloped tomatoes.
What to Pick
I pick everything:
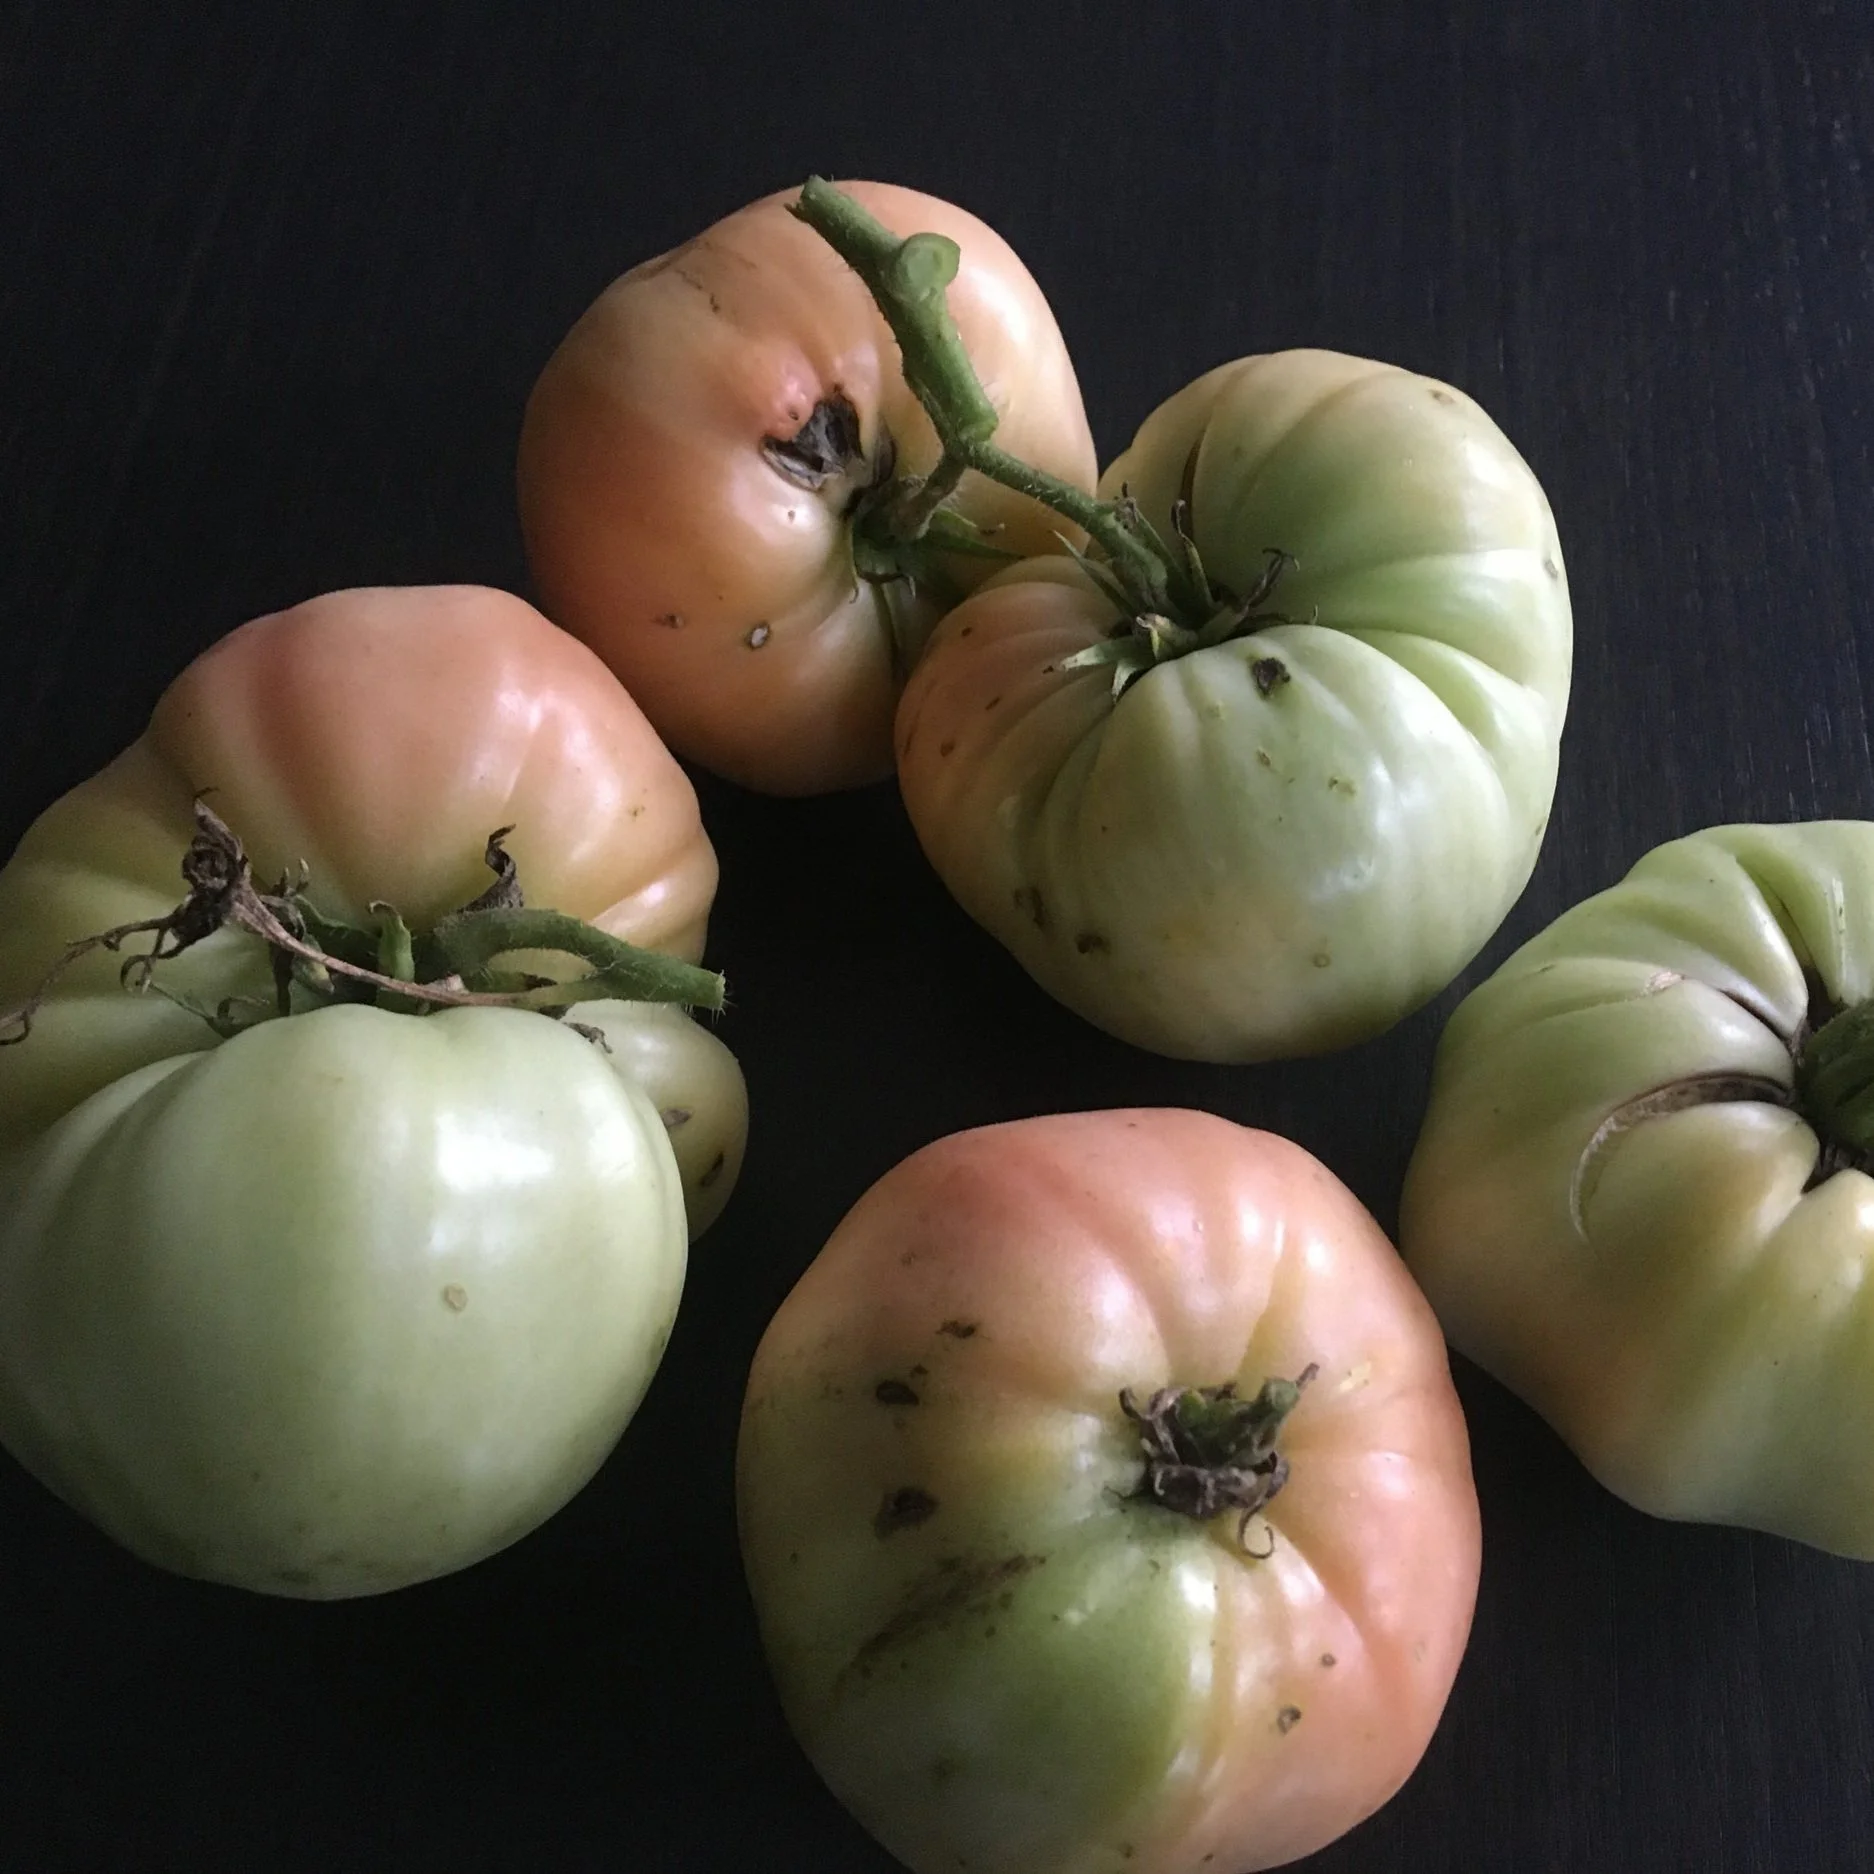
I leave tomatoes that are already colouring up on the kitchen windowsill.
Tomatoes that are a mature size to ripen indoors.
Tomatoes that are small and not fully developed to cook or use in preserves (see my green tomato mincemeat recipe below).
How to Harvest Green Tomatoes
I pick larger tomatoes individually, leaving a small bit of stem attached. The reason that I like to leave a bit of stem attached is that with some tomato varieties, it’s easy to tear the skin while trying to remove the stem.
I leave cherry- and grape-type tomatoes on the stem and harvest the whole cluster.
Another approach is to harvest the whole plant. Cut off entire branches – or even cut off the stem at ground level, leaving the unripe green tomatoes on the plant.
Grow a Container Vegetable Garden
And get an early harvest of crops that usually take too long!
You Control the Ripening Speed
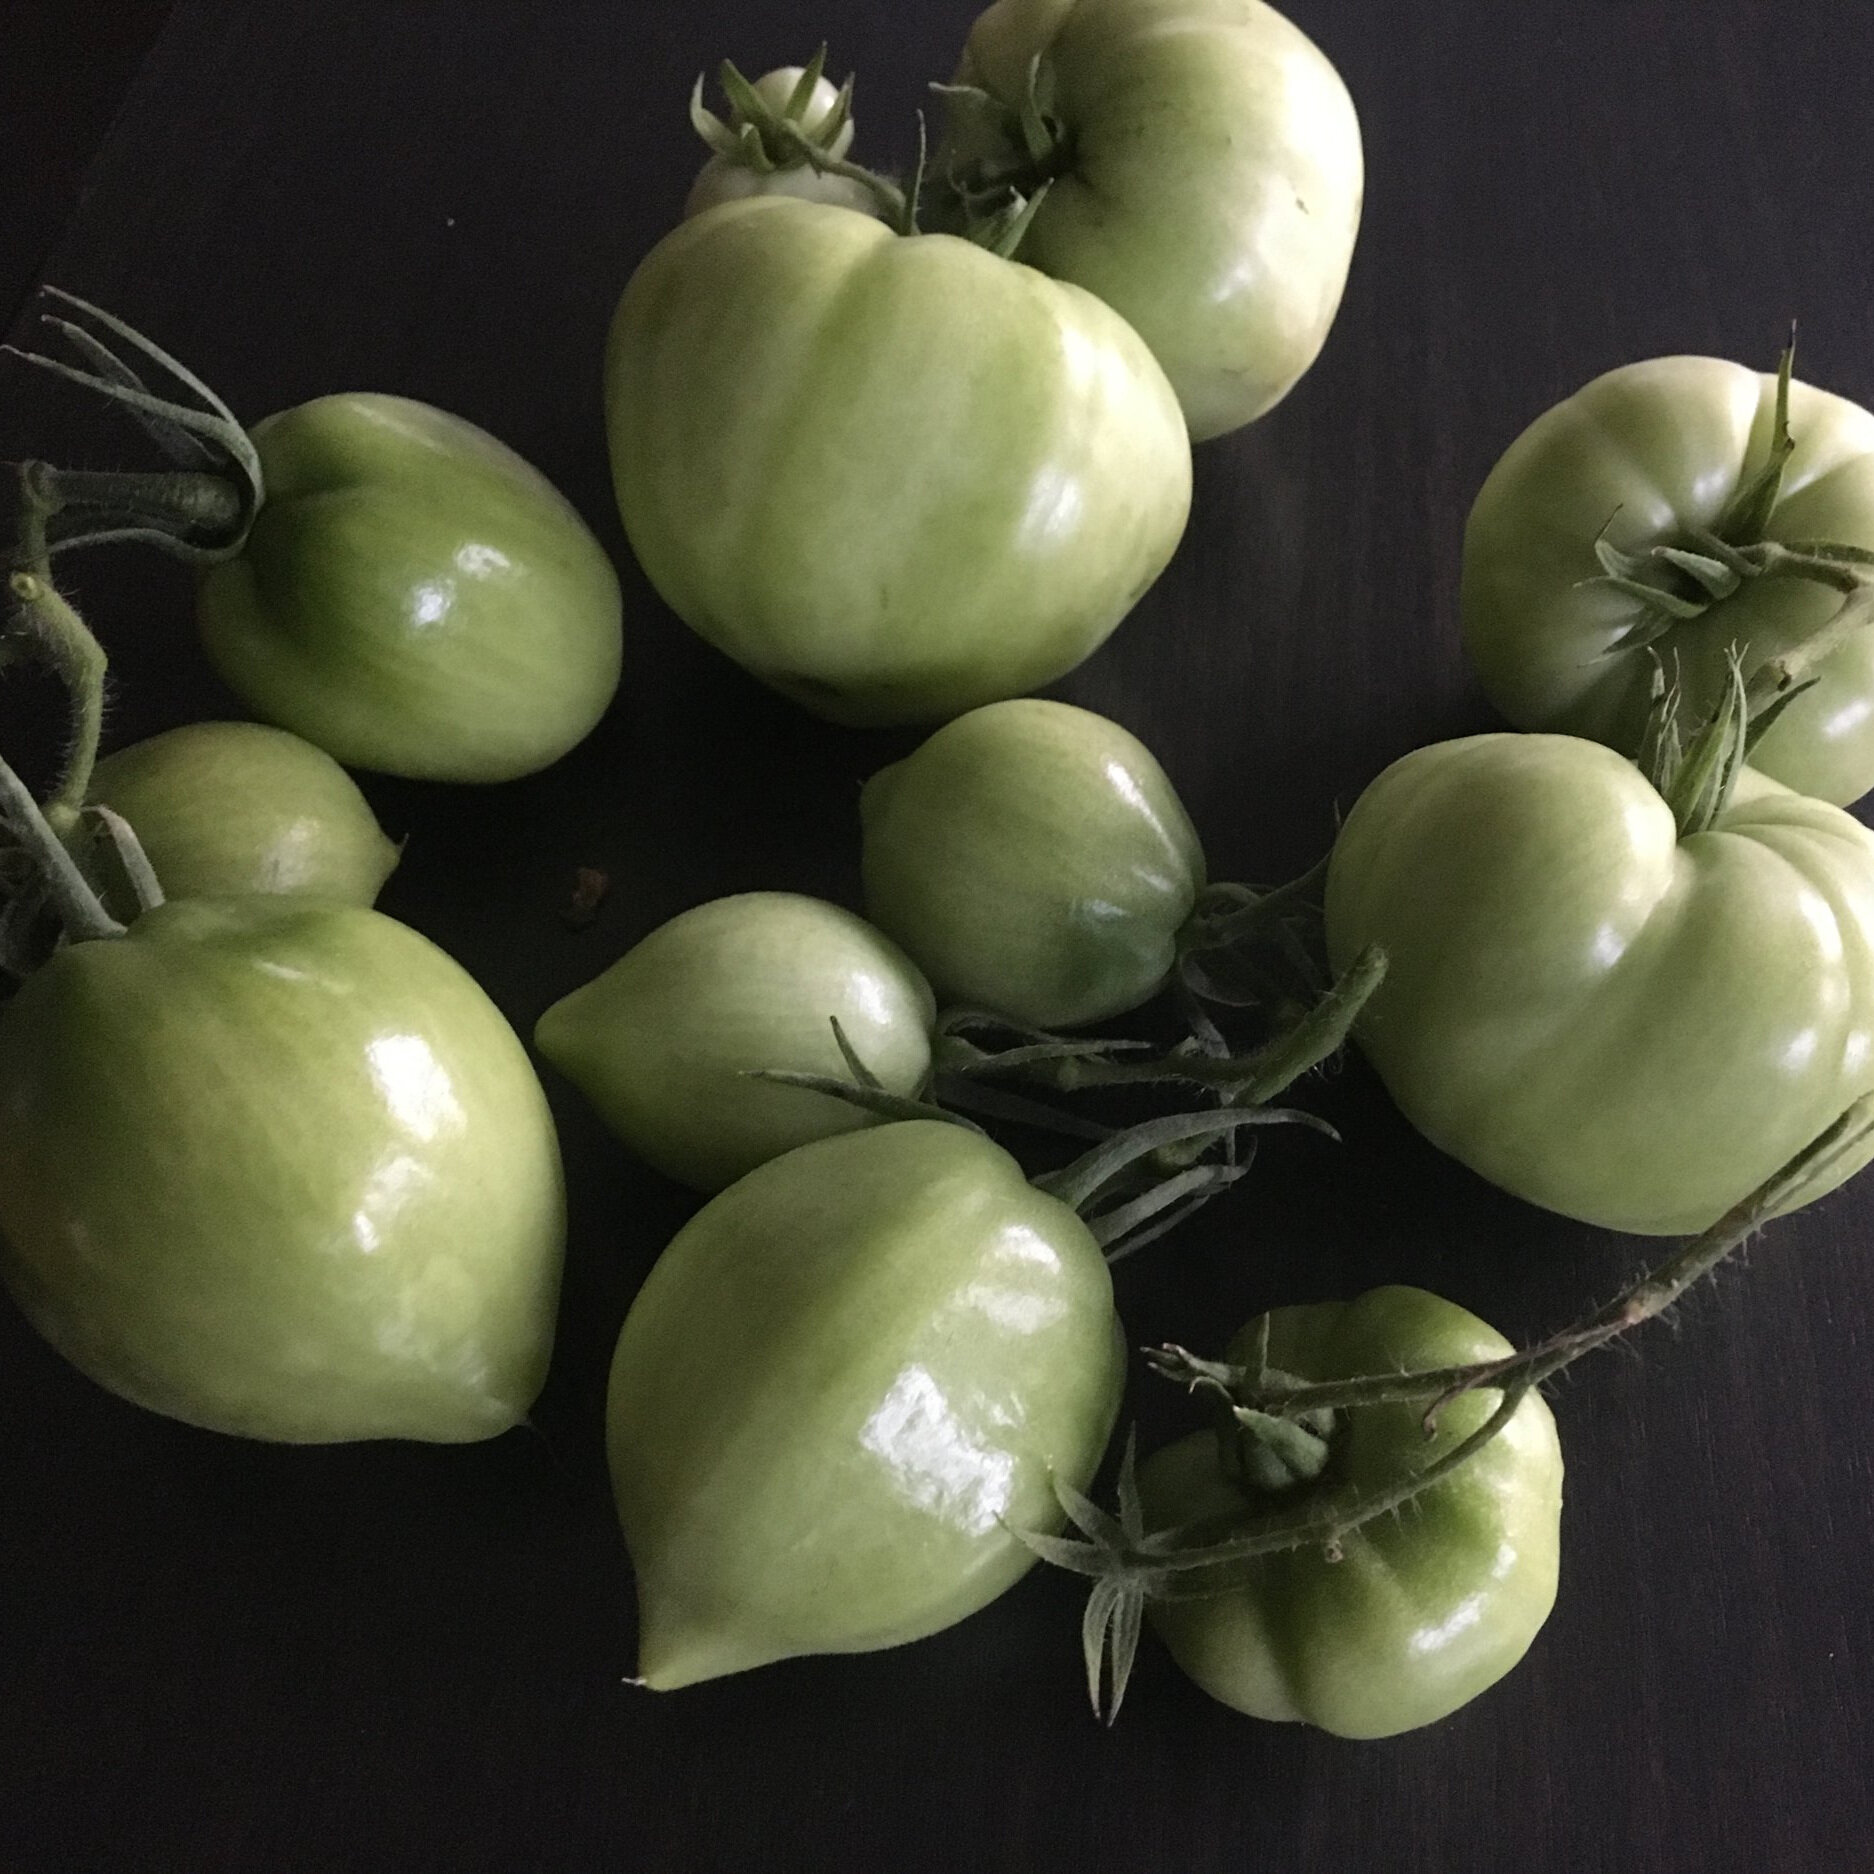
Small tomatoes that are not close to the final size won’t ripen well, but can be used in the kitchen.
Mature tomatoes give off ethylene gas, which causes them to ripen to ripen more quickly. All we have to do is tweak how much of this gas stays around the tomato.
You can stagger the ripening of your green tomatoes using two things:
Temperature. At warmer temperatures ripening happens more quickly.
Ethylene gas. This is the gas the mature tomatoes give off – and which stimulates ripening. If you want to speed up ripening, let the gas accumulate around the tomatoes. If you want to slow down ripening, allow air movement so the ethylene disperses.
How to Ripen Green Tomatoes

I lay out my green tomatoes in plastic trays lined with newspaper.
You don’t need sunlight to ripen green tomatoes.
There are a number of ways to ripen green tomatoes indoors. I lay out my green tomatoes in plastic trays lined with newspaper. (The newspaper prevents smaller tomatoes from falling through the holes; and absorbs juice from any tomatoes that rot.)
I keep the tray in a cool room in my basement. As tomatoes start to show colour, I bring them up to the kitchen to put on my windowsill, where it’s warmer – and where I monitor them more closely as they finish ripening.
If you want to speed up ripening, just capture some of the ethylene gas by putting the tomatoes in an enclosed space. Here are ways to capture some of that ethylene:
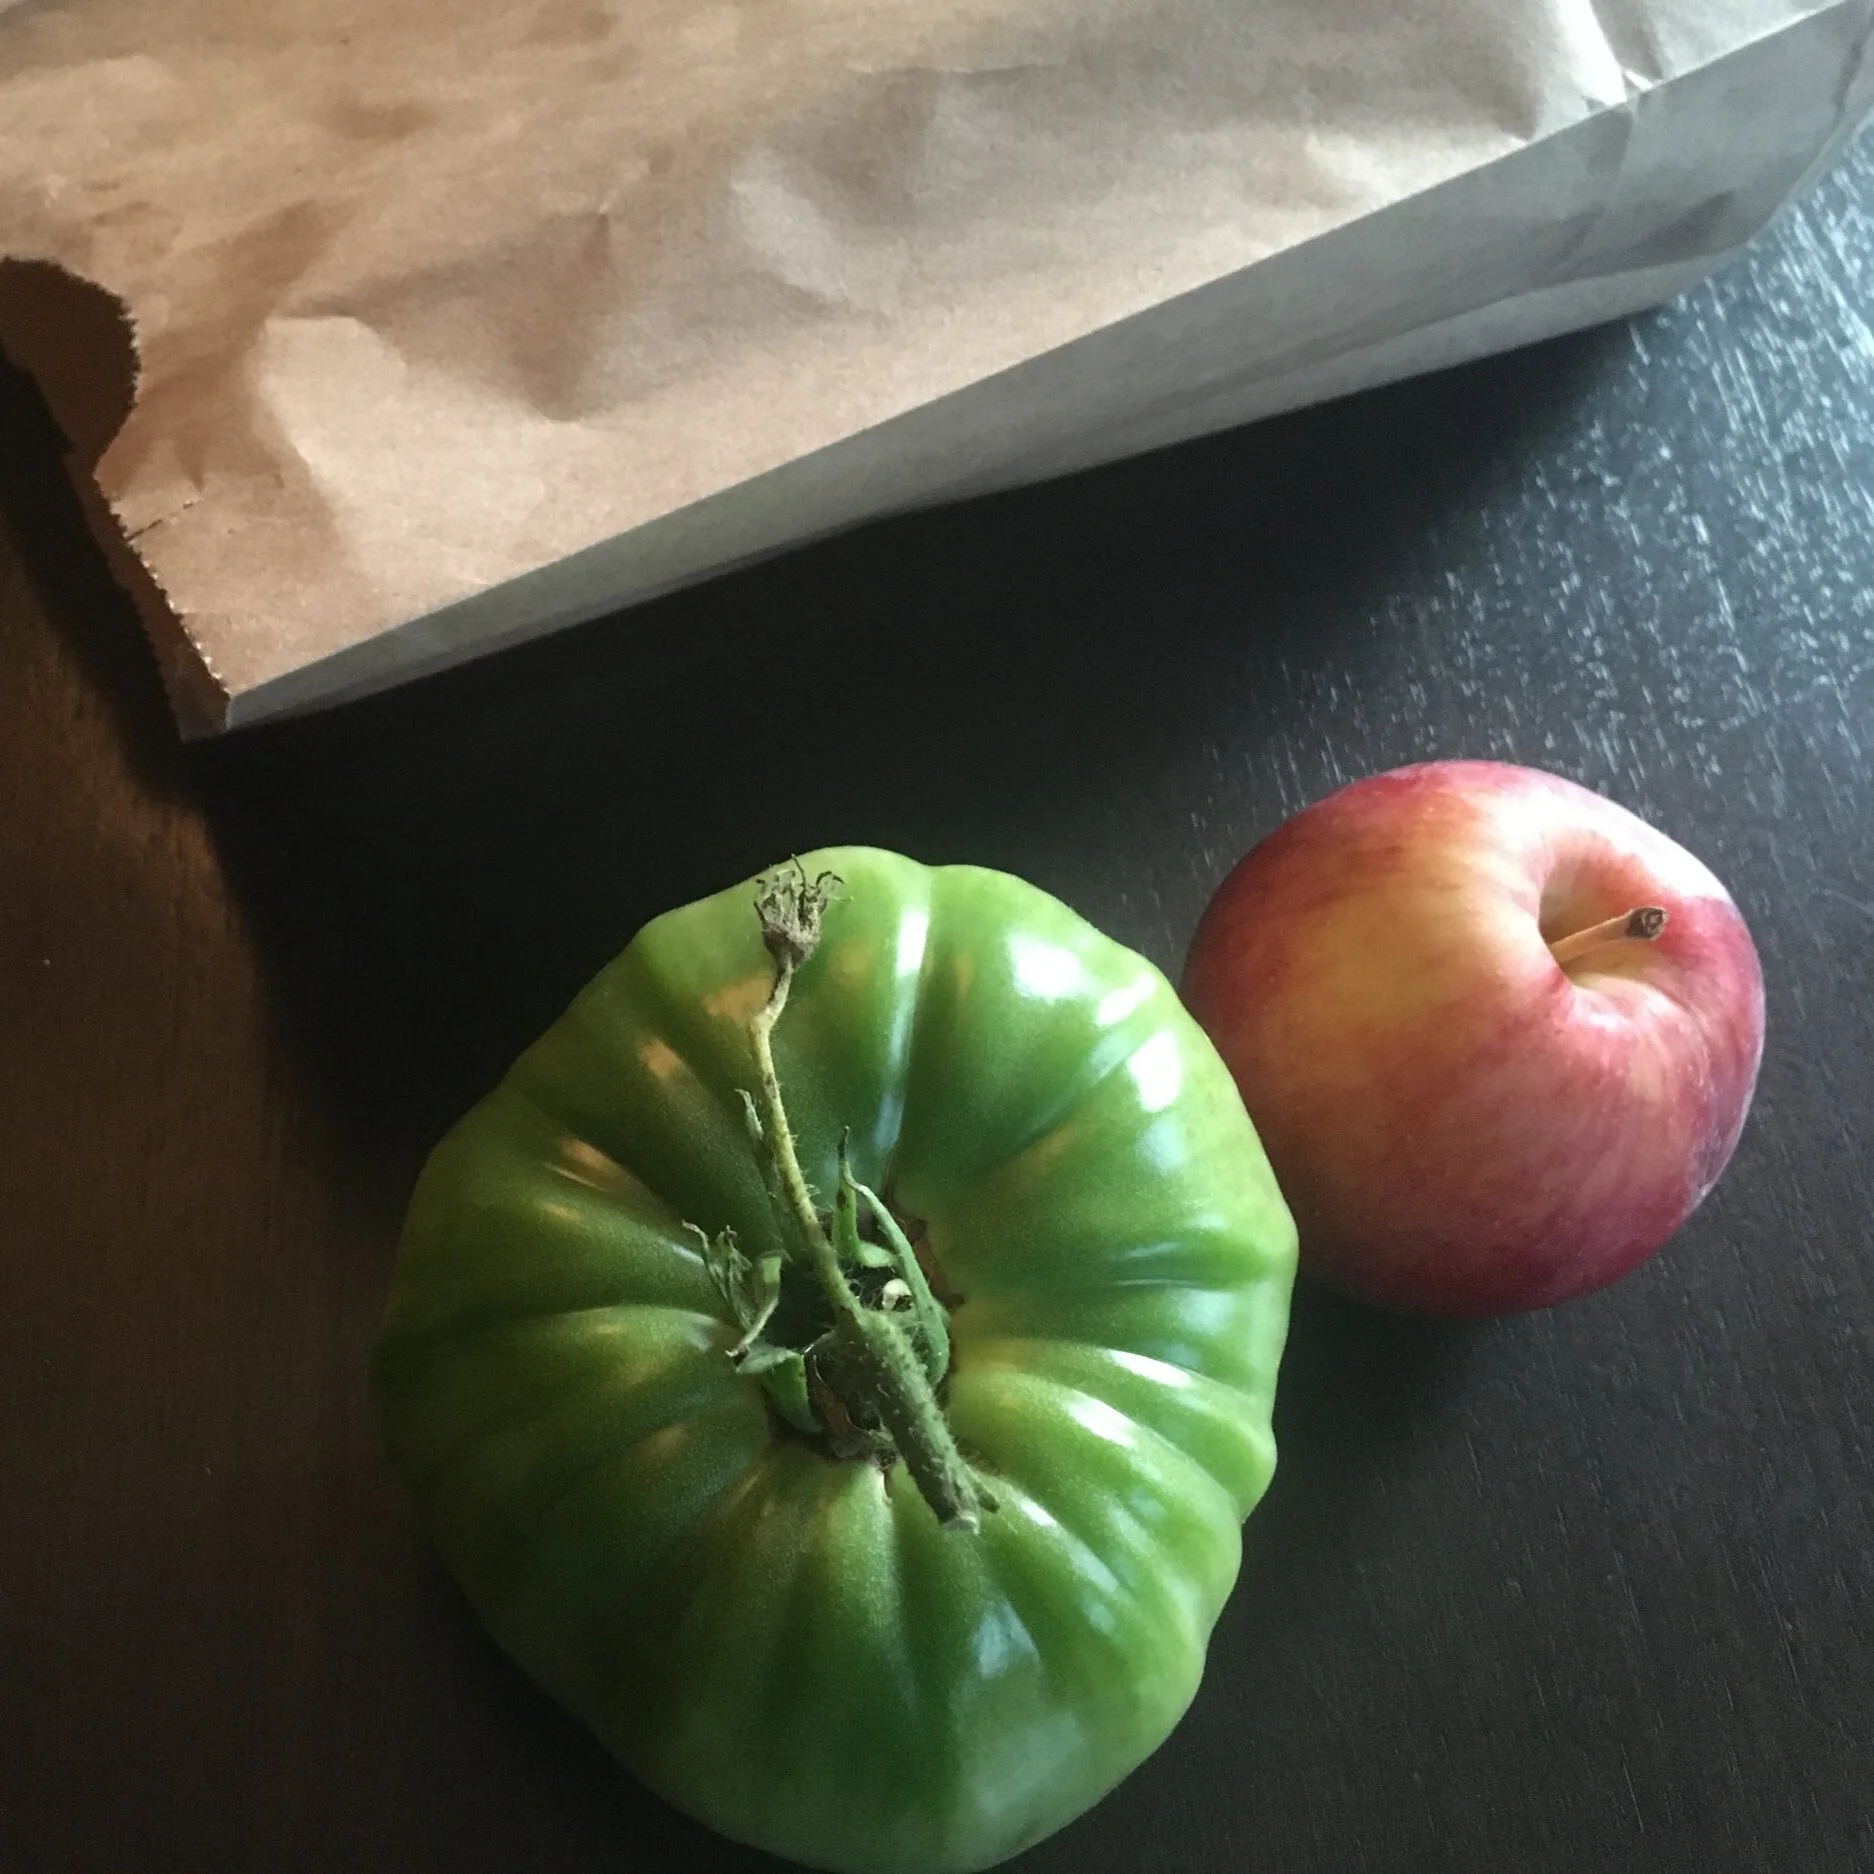
Speed up ripening by putting the tomatoes in an enclosed space. Adding a ripe apple or banana speeds it up more.
Place them in a closed drawer.
Place tomatoes in a closed paper bag (preferable to plastic, which doesn’t breathe at all).
Lay them out in a tray like I do—or on a shelf—and cover with a sheet of newspaper.
Wrap individual tomatoes in newspaper.
If you’ve left on pieces of stem, just be careful not to let the stem puncture any other tomato.
The Banana Trick
Bananas and ripe apples give off ethylene, so you can put a banana or apple in with tomatoes to provide more ethylene and speed up ripening. (I find I don’t need to do this, they ripen fast enough for me.)
Hanging Tomato Plants
If you’ve harvested entire stems or entire plants, simply hang the stems or plants in a cool, dark area and let the tomatoes slowly ripen.
I’m not a fan of this approach because as the tomatoes ripen, they detach from the stem and…splat!
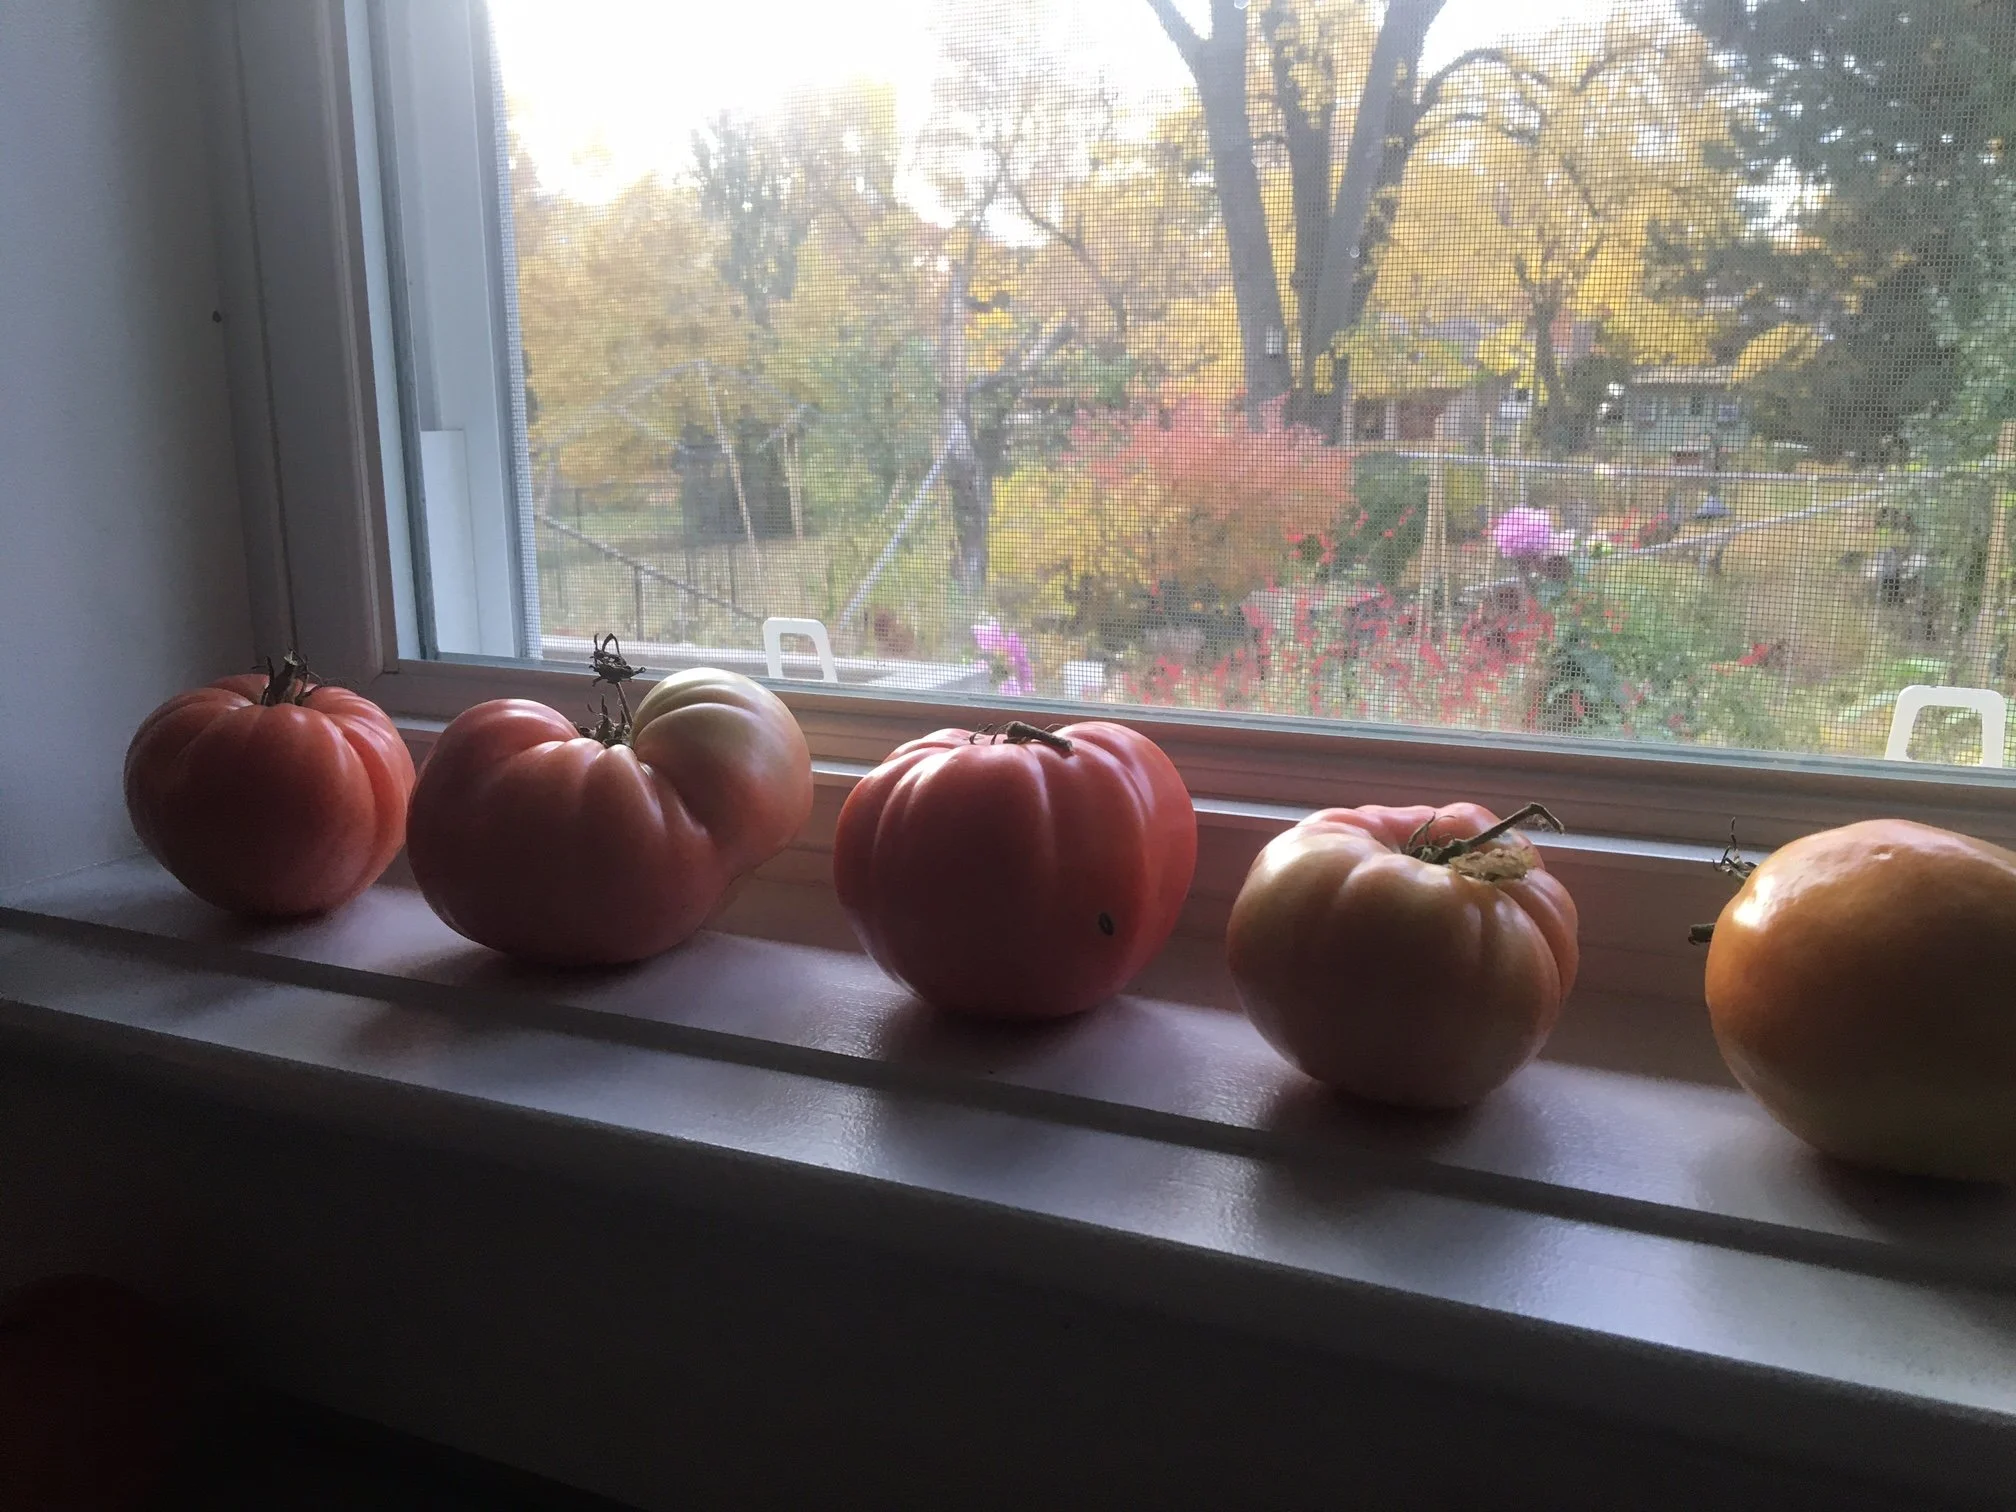
As tomatoes start to show colour, I bring them up to the kitchen to put on my windowsill.
Varieties Suited to Indoor Ripening

A thick-skinned tomato variety that lasts me until spring.
You can ripen all types of tomatoes indoors, but thick-skinned varieties are best for longer-term indoor ripening.
Thin-skinned beefsteak varieties are more prone to rot. It doesn’t mean you can’t ripen these ones indoors – it just means they’re less likely to last long into the winter.
Green Tomato Ripening FAQ
What else can I do with green tomatoes?
I love green tomato fried in the skillet in bacon fat, sprinkled with salt and garlic powder. Some years I make a green tomato mincemeat. You can also make lactic-acid fermented green-tomato pickles – same idea as sauerkraut and brined dill pickles, except using green tomatoes.
Should I wash green tomatoes after picking them?
I don’t. Some people wash them in a bleach solution to disinfect them. Sounds like a lot of bother to me…and I like to keep gardening simple. I wash them once they are ripe, just before I use them.
Can I ripen green tomatoes indoors in the summer too?
Yes! I’ve had large 2-3 pound tomatoes, and just as they ripen a squirrel came along and ate off a corner. It would have been better to pick these before they were fully ripe, and ripen them indoors.
Can you really get them to last until April?

Green tomatoes with cracks and blemishes often rot, so sort them out of your tomato harvest and cook them instead of trying to ripen them.
Yep! The trick is to grow a “keeper” tomato variety. I grow one that came to me from my Dad’s friend Dino. It’s small and thick-skinned...not the juiciest tomato, not the most flavourful tomato – but I can make bruschetta with my own fresh tomatoes in early spring. Not bad!
What about tomatoes that have cracks or blemishes on them?
Tomatoes with cracks and blemishes will not keep for a long time. If they are close to colouring up, you can try to ripen them – just watch closely so you’ll see if they begin to rot around the damaged area. Otherwise, use these tomatoes in one of your green-tomato recipes.
Find This Helpful?
Enjoy not being bombarded by annoying ads?
Appreciate the absence of junky affiliate links for products you don’t need?
It’s because we’re reader supported.
If we’ve helped in your food-gardening journey, we’re glad of support. You can high-five us below. Any amount welcome!
Want to Store More of Your Own Food?
Here are 25 storage crops you can grow in your garden.
More Tomato Articles
Tomato Interviews
Course: Tomato Overload Masterclass
Want to up your game growing tomatoes?
This self-paced course helps you choose great varieties, grow great seedlings, give plants the care they need, and enjoy an abundant harvest.
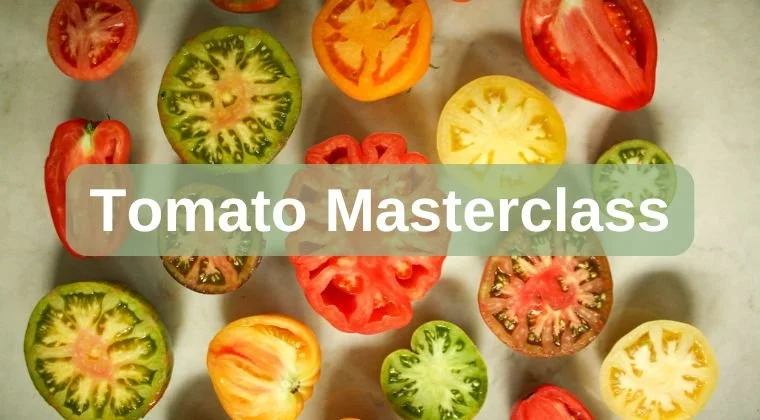
More on Growing Vegetables
Articles: Growing Vegetables
Courses: Grow Vegetables
Top Vegetables to Plant in August for a Continuous Harvest
Top crops to sow in August for a late-summer and fall harvest.
By Steven Biggs

As August rolls around the mid-summer vegetable garden harvest includes heat-loving crops such as tomatoes, okra, and eggplant.
(August is also when many people realize they've planted too much zucchini!)
And by early August there's usually space open for succession crops as early crops finish:
The garlic and onions are done
Pea vines have withered in the summer heat
Early beans are kaput
There's still lots of the growing time left before the snow flies. Early August is a good time to sow seeds for fall vegetable gardening.
Not sure what to plant in August? Keep reading for ideas about what to plant in August.
Vegetable Garden Crops to Sow in August

Pin this post!
August is the time to sow cool-weather crops for the fall garden.
It’s also last call for some fast-growing heat-loving crops too, such as bush beans.
By August, the remaining frost-free window is getting shorter. So our focus is crops that mature fairly quickly.
Tips for Planting in August
Summer conditions such as dry soil and scorching heat can be hard on seeds sown outdoors.
Here are tips for direct-sown crops:
Water regularly for faster, more consistent seed germination in hot weather
Where possible, shade young plants of heat-sensitive crops such as lettuce with row cover or mini hoop tunnels
Grow varieties that are fast to mature
Find out your first frost date so you can pick suitable crops (Here in Toronto I know that I can expect my first frost in late October.)
Top Late-Summer Crops for August Planting
Wondering what to plant in August?
If you are looking for ideas of what to plant in August, here are some of my favourites.
Beets
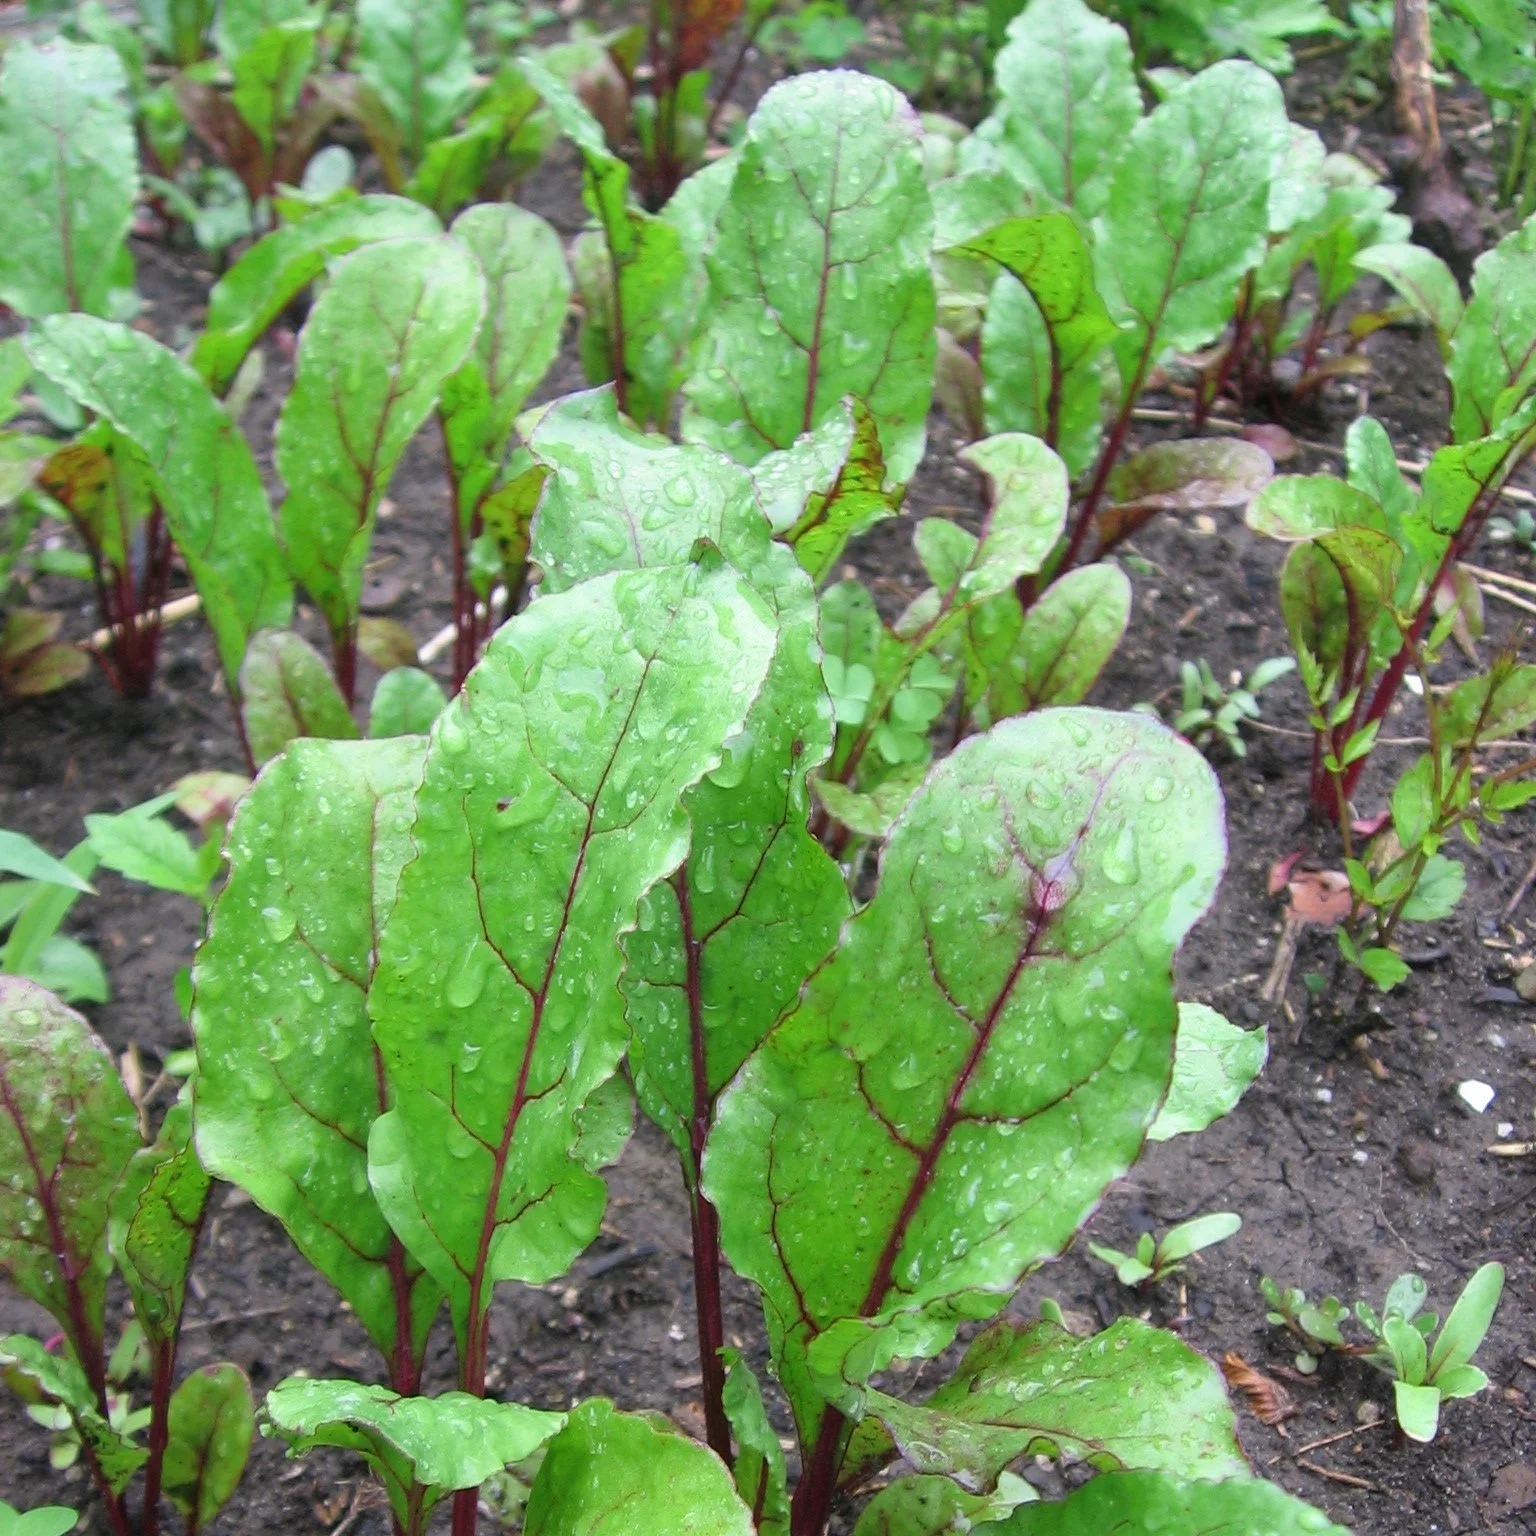
Beets are an excellent crop to plant in August.
My grandmother always made us pickled beets from perfect little cherry-sized beets. If you want smaller beets for a fall harvest, keep planting beets into August.
(Experiment with varieties and planting dates to figure out what works well in your area. The worst case scenario if you plant too late is that you will have lots of beet greens for your fall salads.)
Summer-Sowing Tip: Throw some radish seeds over top of your newly planted beet seeds. The radishes mature more quickly than the beets.
Find out more about storage crops such as beets.
Bush Beans
Keep harvesting beans all summer by sowing more bush beans in early August.
This is the last call to sow bush beans!
Summer-Sowing Tip: Speed up bean germination by soaking seeds in water overnight before planting.
Grow a Container Vegetable Garden
And get an early harvest of crops that usually take too long!
Cabbage Family
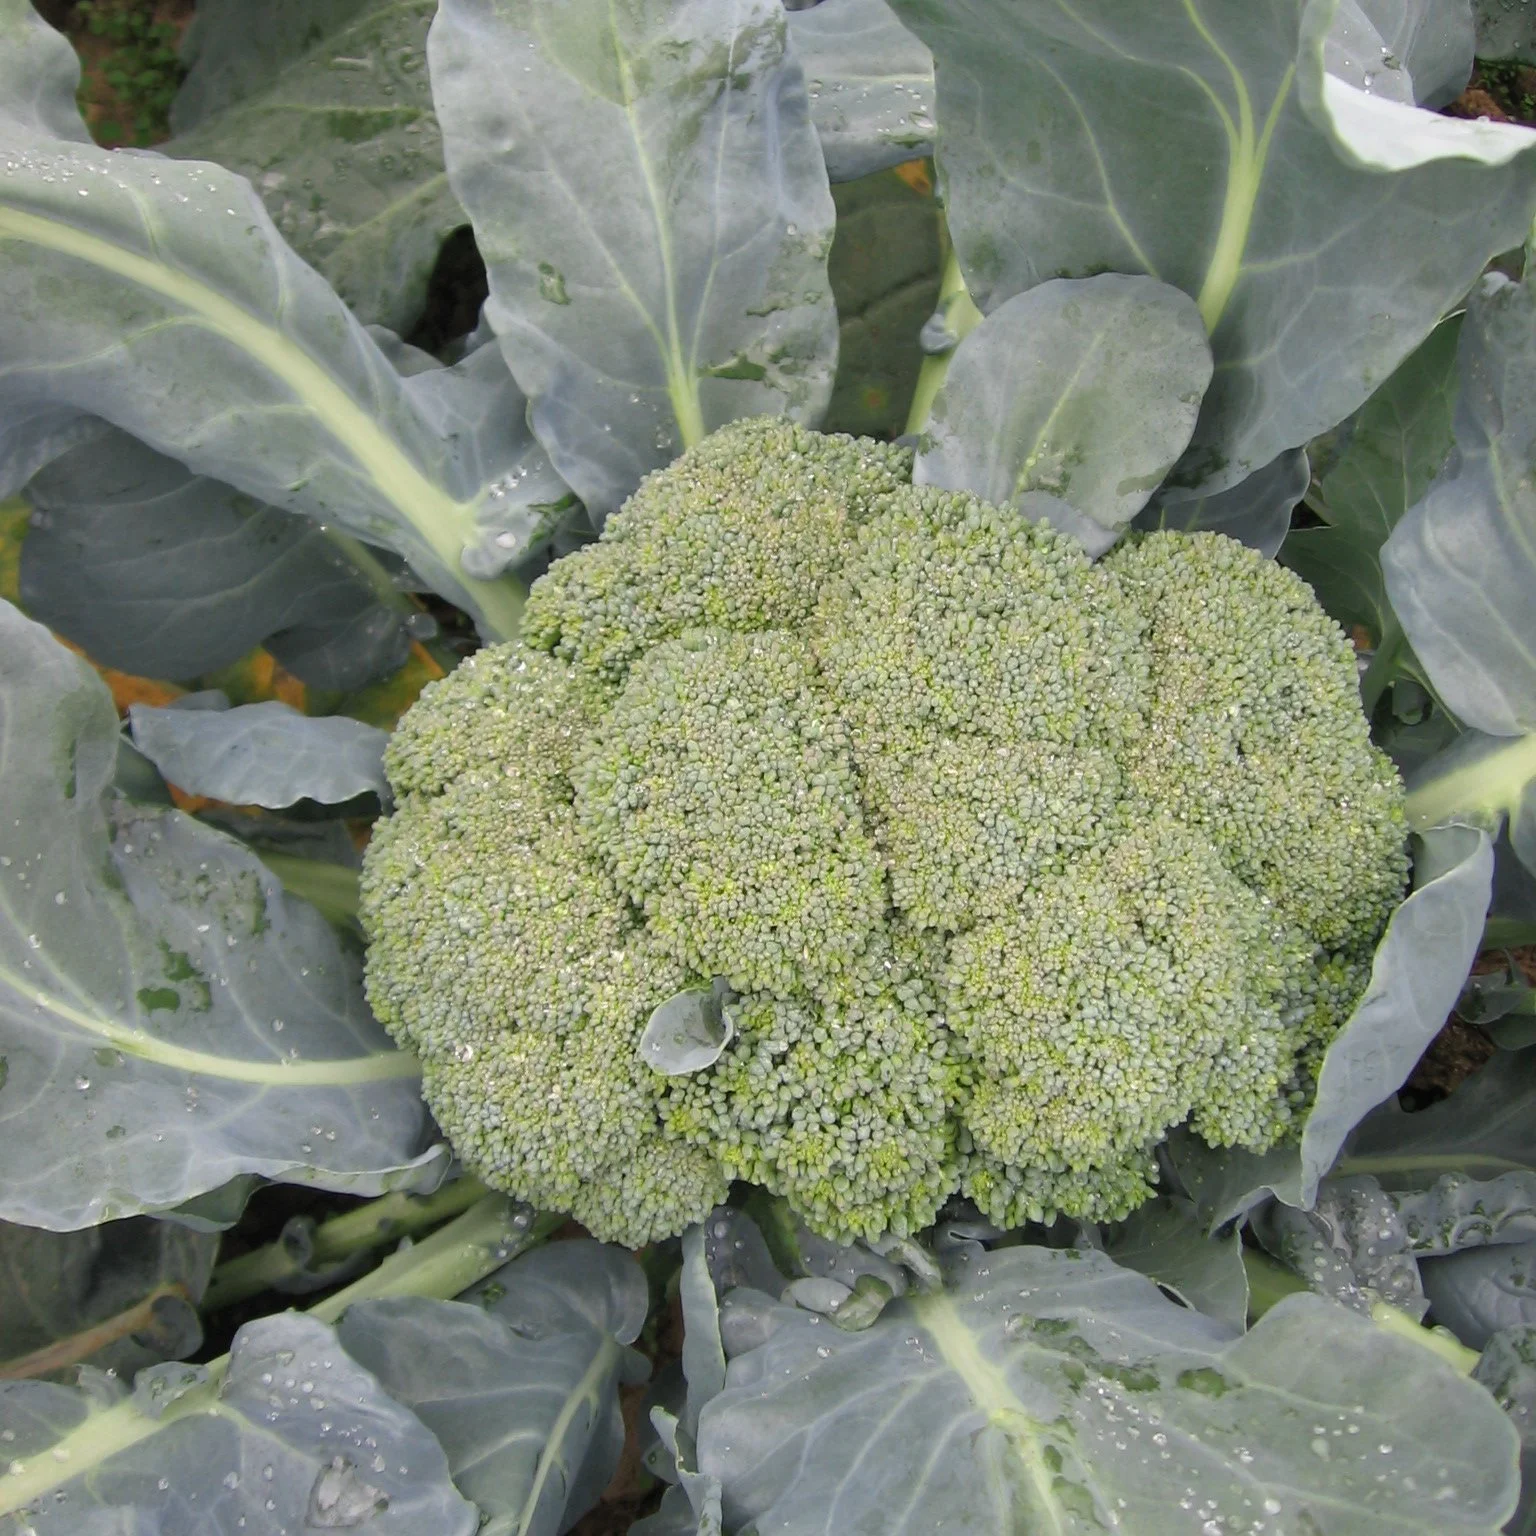
August is a good time to transplant broccoli, cauliflower, and cabbage seedlings
Now is a good time to transplant broccoli, cauliflower, and cabbage seedlings into the garden. There’s not enough time to seed these directly in the garden at this time.
If you haven't already started your own seedlings, there’s no shame in buying them!
Don't worry if you don't have broccoli, cauliflower, or cabbage seedlings. There are other cabbage-family crops that don't need as much time to mature.
Kale. Planting kale seeds outdoors in August works well.
Rapini. A favourite of mine in the summer garden.
Carrots
Carrots are a must-have crop for serious succession gardeners.
Summer-Sowing Tip: Carrot seeds are fairly small, and can have a hard time breaking through dry, crusty soil in the summer. So water daily. Or, cover the bed to keep it moist. (I use old boards; and some people use burlap.)
Carrots and beets are root vegetables that store well in the ground for an early winter harvest. Find out about storage crops.

Keep sowing carrots in August.
Leafy Greens
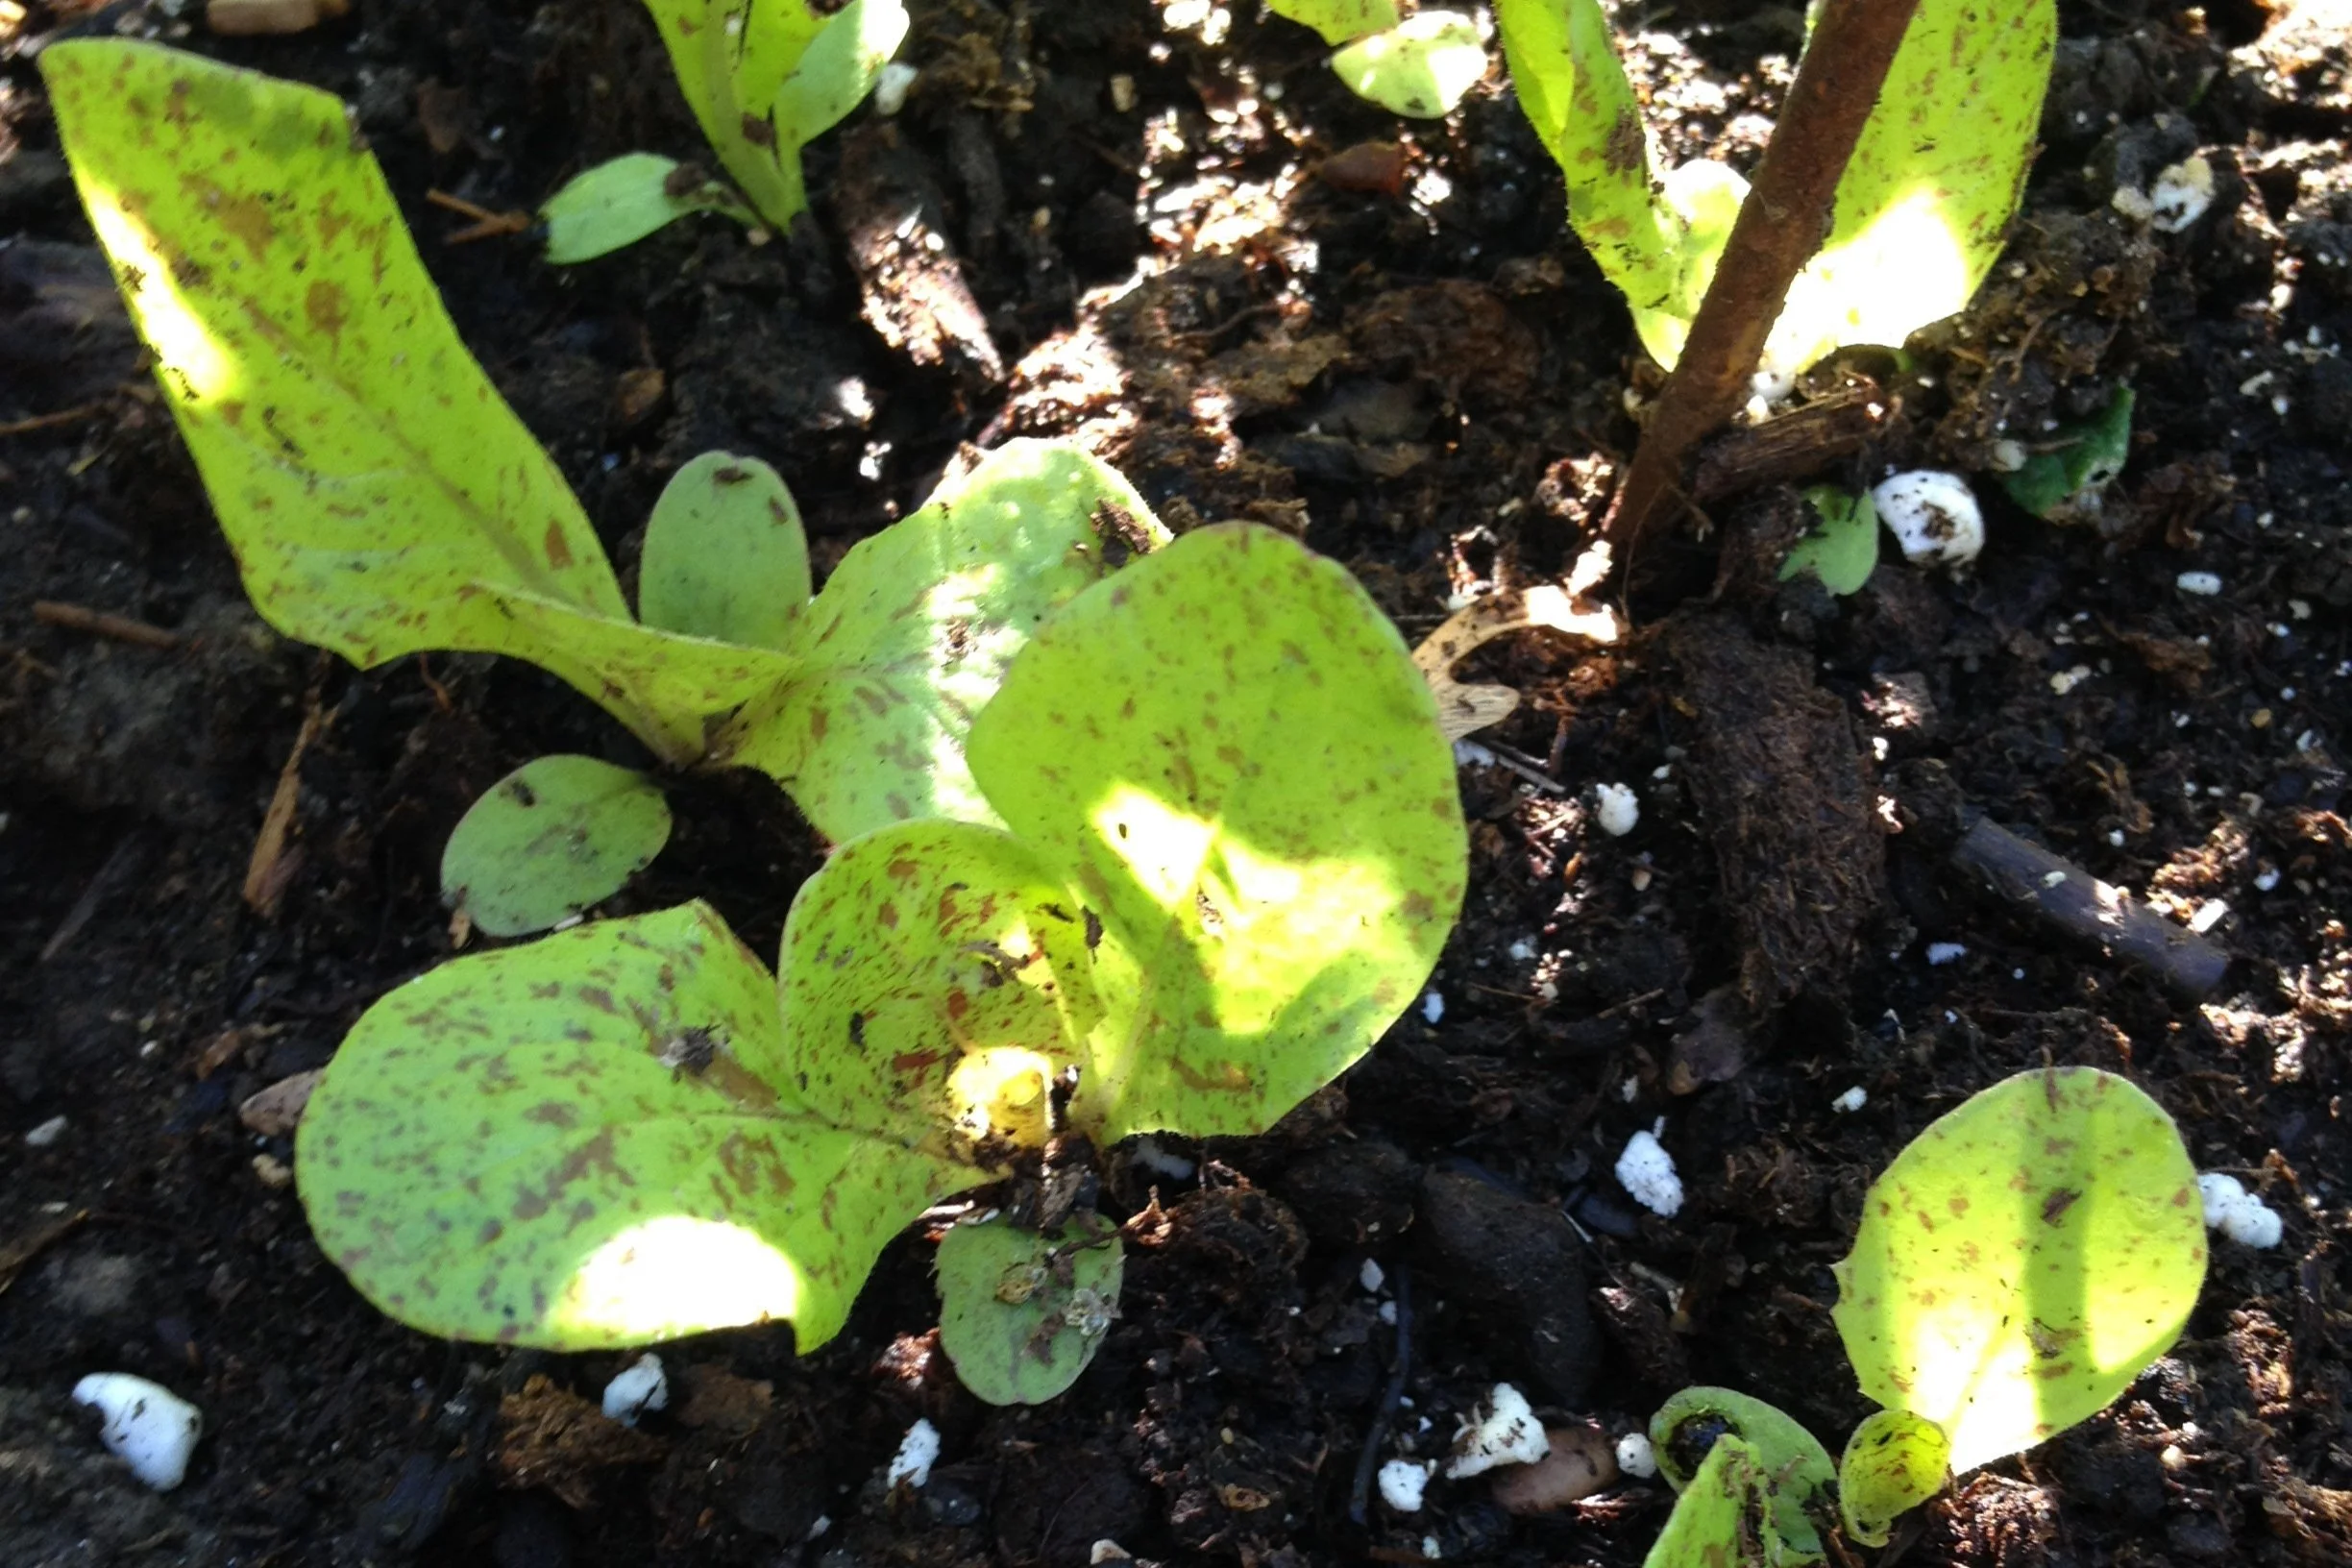
Start planting lettuce for fall harvest in August. Grow lettuce in partial shade, or protect plants from full sun with row cover or a hoop house.
Many of the cooler weather leafy greens such as lettuce and spinach have faded by mid-summer. But August is the time to start planting more for a late summer and fall harvest.
I plant these cooler weather leafy greens about 8 weeks before the first fall frost.
Swiss chard usually keeps going in my garden all summer long. But in August I plant more, so that I have lots of small chard leaves to enjoy in the fall.
Green Onions
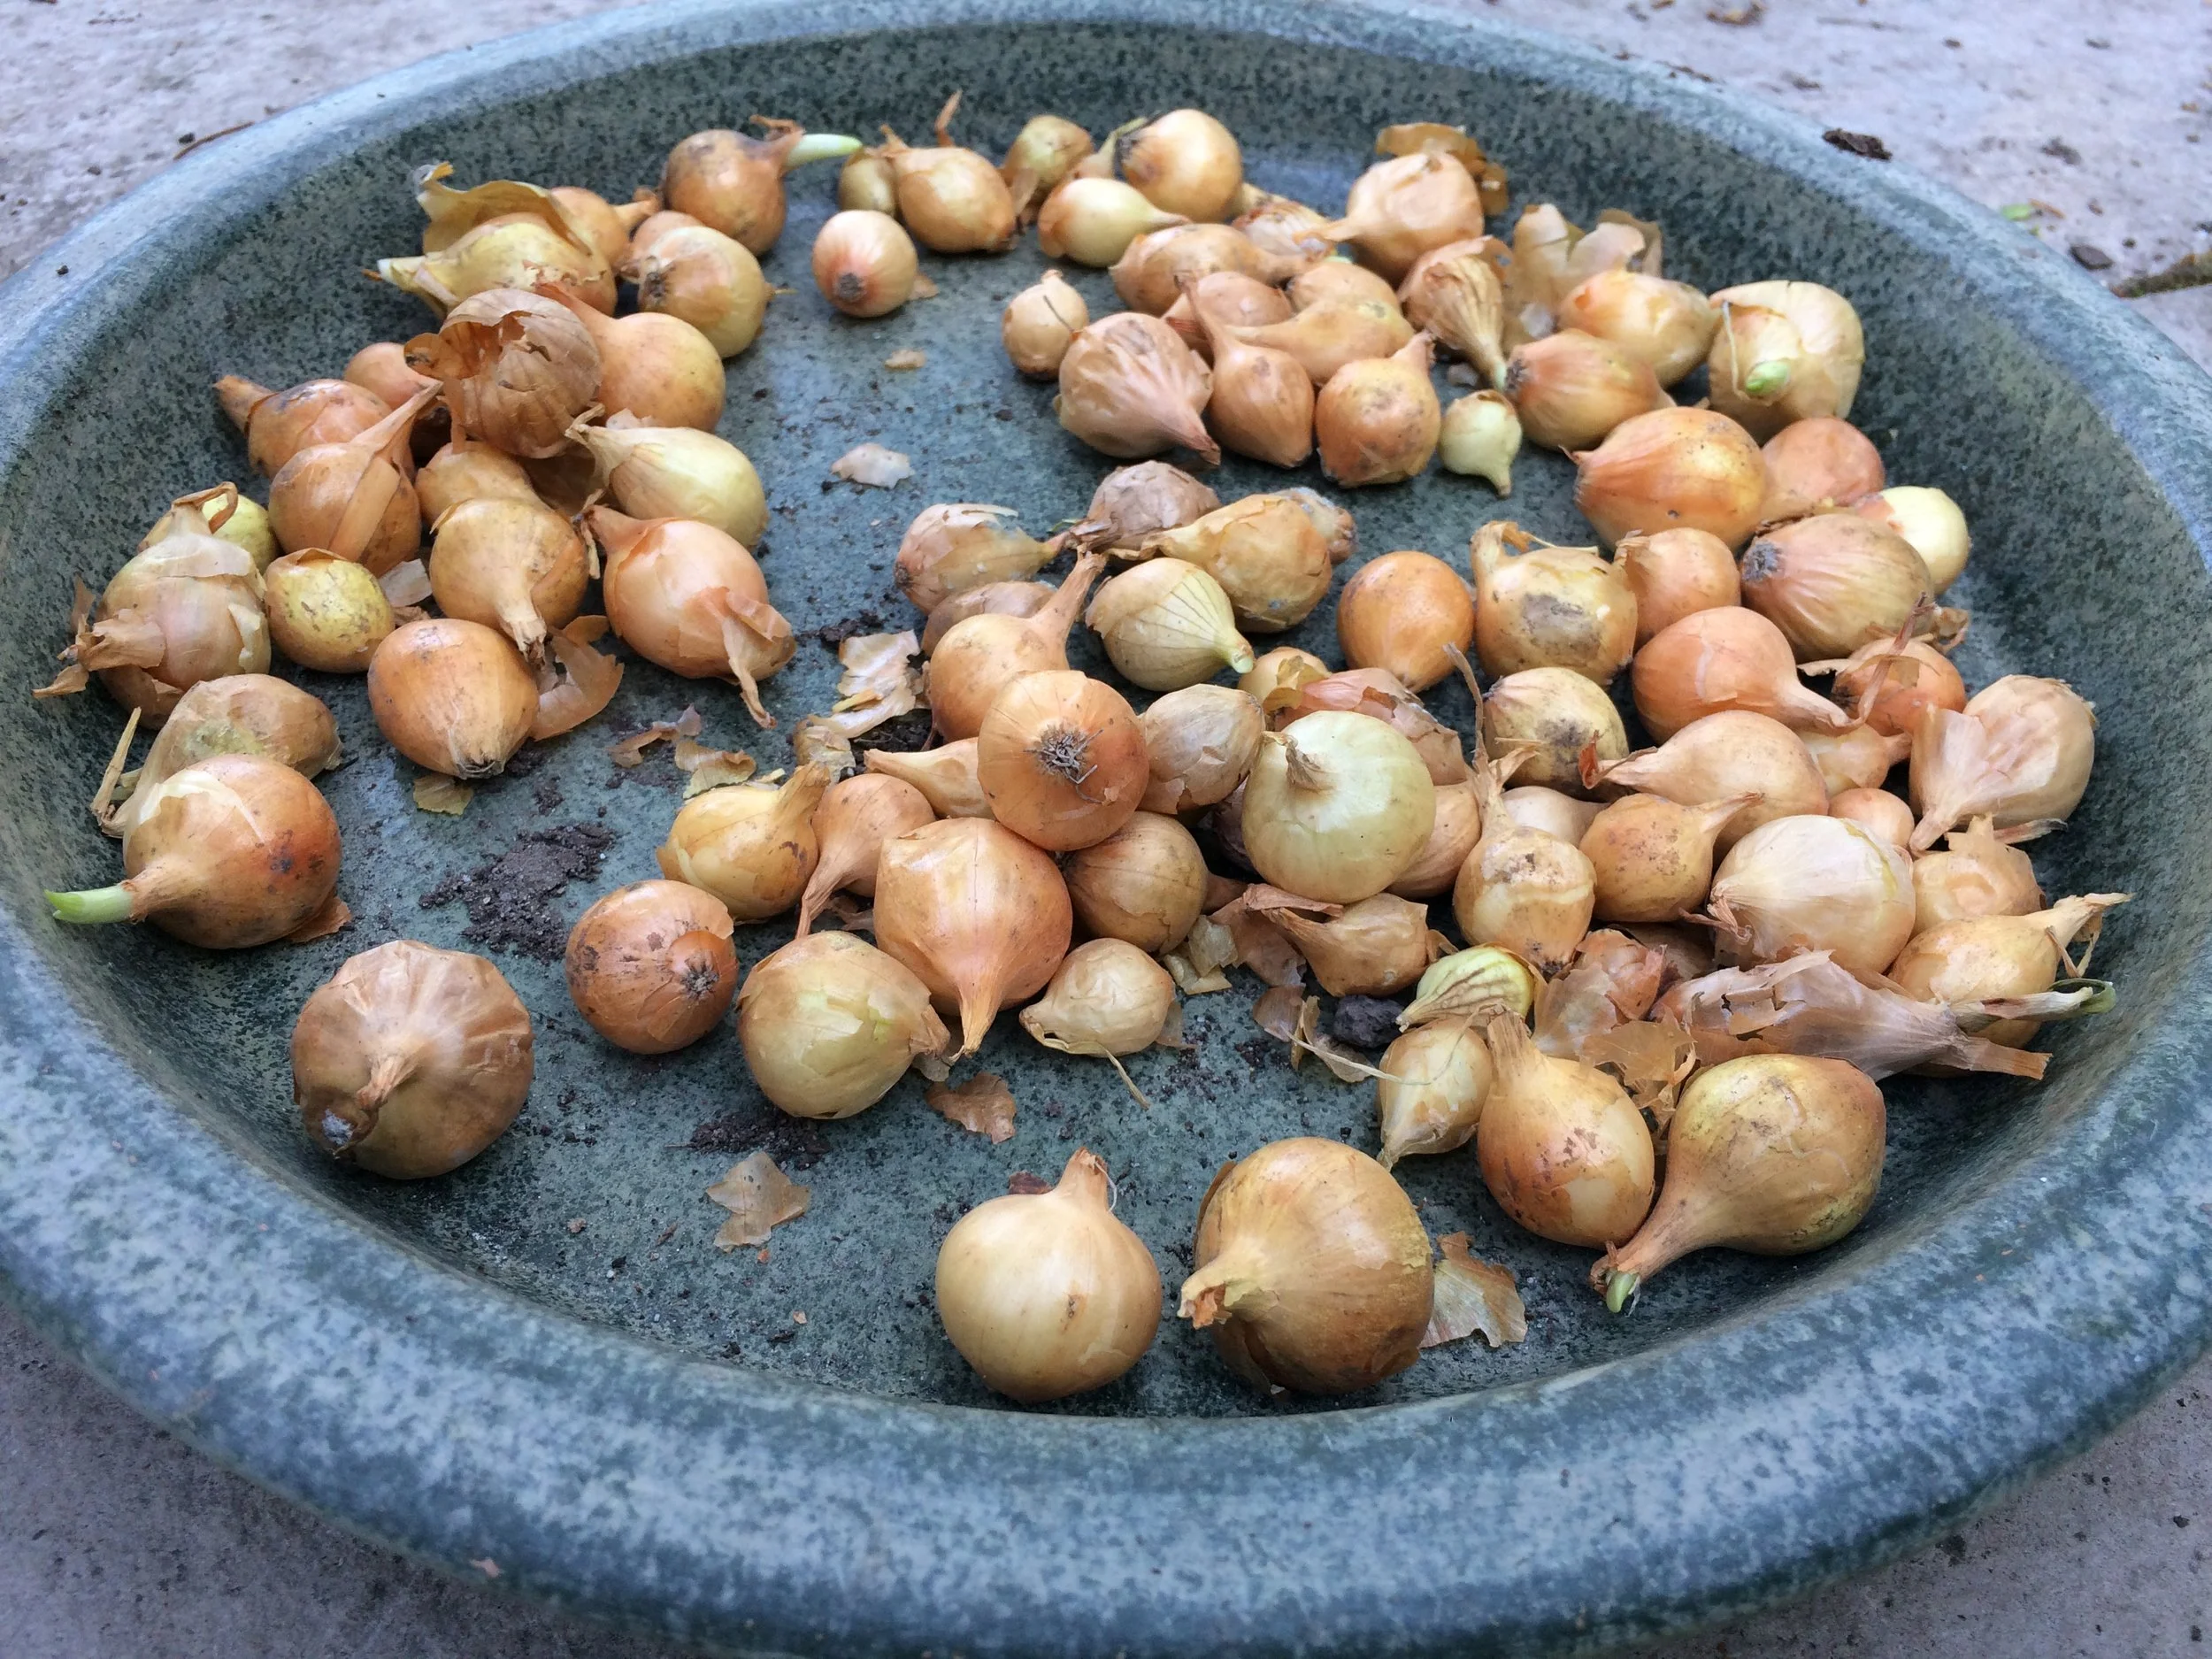
Get extra onion sets in the spring for planting in August.
When I buy onion sets in the spring I get extra sets to store in the fridge until August, when I start planting more so that I can enjoy green onions into the fall.
Turnip and Rutabaga
Often overlooked, and easy to grow.
And don’t forget that with turnips you have both an edible root and greens. Find out about other plants with more than one edible part.
Still not sure about turnip and rutabaga? Mom’s rutabaga casserole includes apple, and is topped with buttered bread crumbs…a nice way to enjoy these crops.
Find This Helpful?
Enjoy not being bombarded by annoying ads?
Appreciate the absence of junky affiliate links for products you don’t need?
It’s because we’re reader supported.
If we’ve helped in your food-gardening journey, we’re glad of support. You can high-five us below. Any amount welcome!
More Ideas for Fall Crops
More Vegetable Gardening Resources
Articles + Interviews
Courses
5 Heat-Tolerant Salad Greens to Grow All Summer Long (Plus a Great Garnish)
Lettuce bolting in hot weather? Here are 5 easy-to-grow and heat-tolerant salad greens to grow in hot weather. (Plus a delicious heat-loving garnish for your salad!)

By Steven Biggs
Pick Crops to Expand Your Hot-Weather Menu
As hot summer weather arrives, many spring greens start to bolt. When they bolt (when they send up flower stalks) they stop producing tender leaves. It’s game over.
Find out how to slow down lettuce bolting.
One way to harvest a steady supply of green leaves over the summer months is with succession crops. Make ongoing plantings of bolt-prone crops such as lettuce, spinach, and arugula. (Look for heat-tolerant lettuces.)
Here's more about succession crops.
But there's another way to get a steady supply of summer salads: Grow heat-tolerant greens.
If you want hot-weather greens, keep reading. As warm weather arrives, add some of these other leafy greens to the garden to spruce up your salads.
5 Leafy Greens for Summer Heat
Here are five of my favourite heat-tolerant greens for the summer garden.
Amaranth Leaves
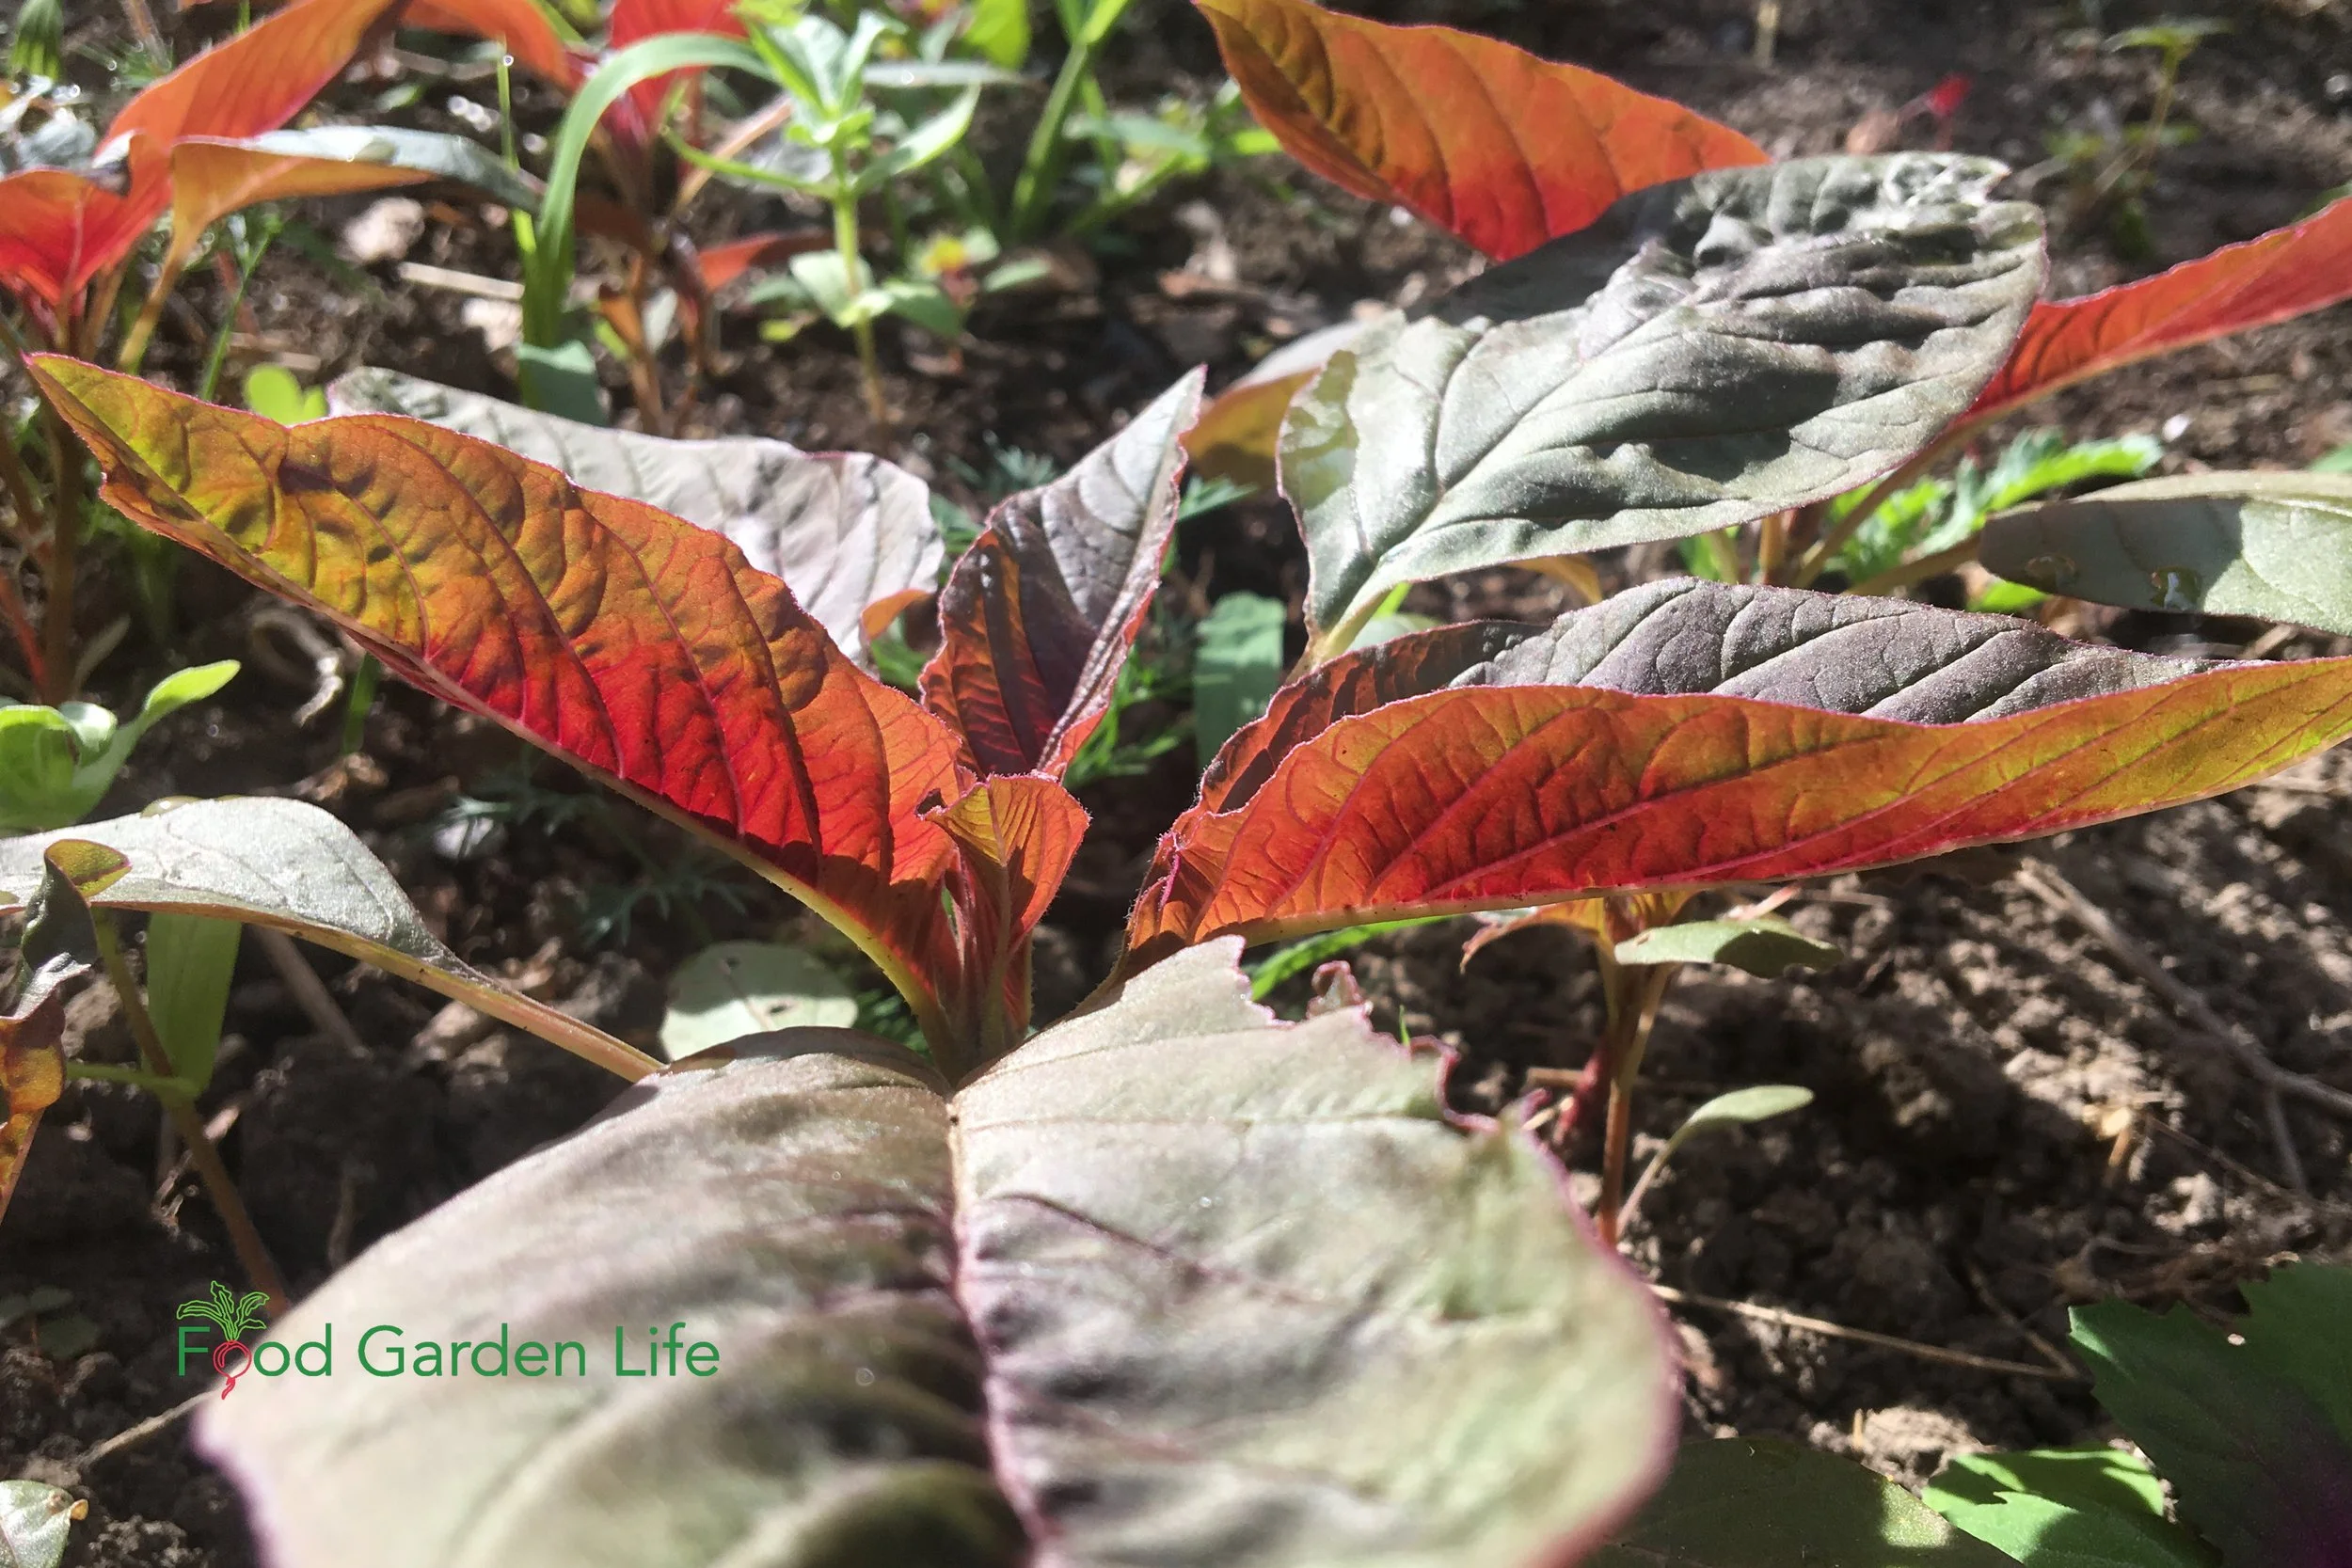
Amaranth is easy to grow and thrives in the heat. It loves hot summers!
Amaranth is a versatile plant and a great choice for spots where you want to weave together the edible and ornamental. It's grown for its edible seeds, its ornamental uses, and for its edible leaves.
The leaves can be eaten raw when young. They taste a bit like spinach. Use larger leaves cooked, in soups and stews.
This is a crop that confidently self-seeds. Grow it once, and you're set for upcoming years. As little amaranth seedlings pop up in my veggie patch, I curate—I pull out some of the small amaranth plants for the salad bowl, and leave a few to grow where I want larger amaranth plants.
Grow a Container Vegetable Garden
And get an early harvest of crops that usually take too long!
Beet Leaves
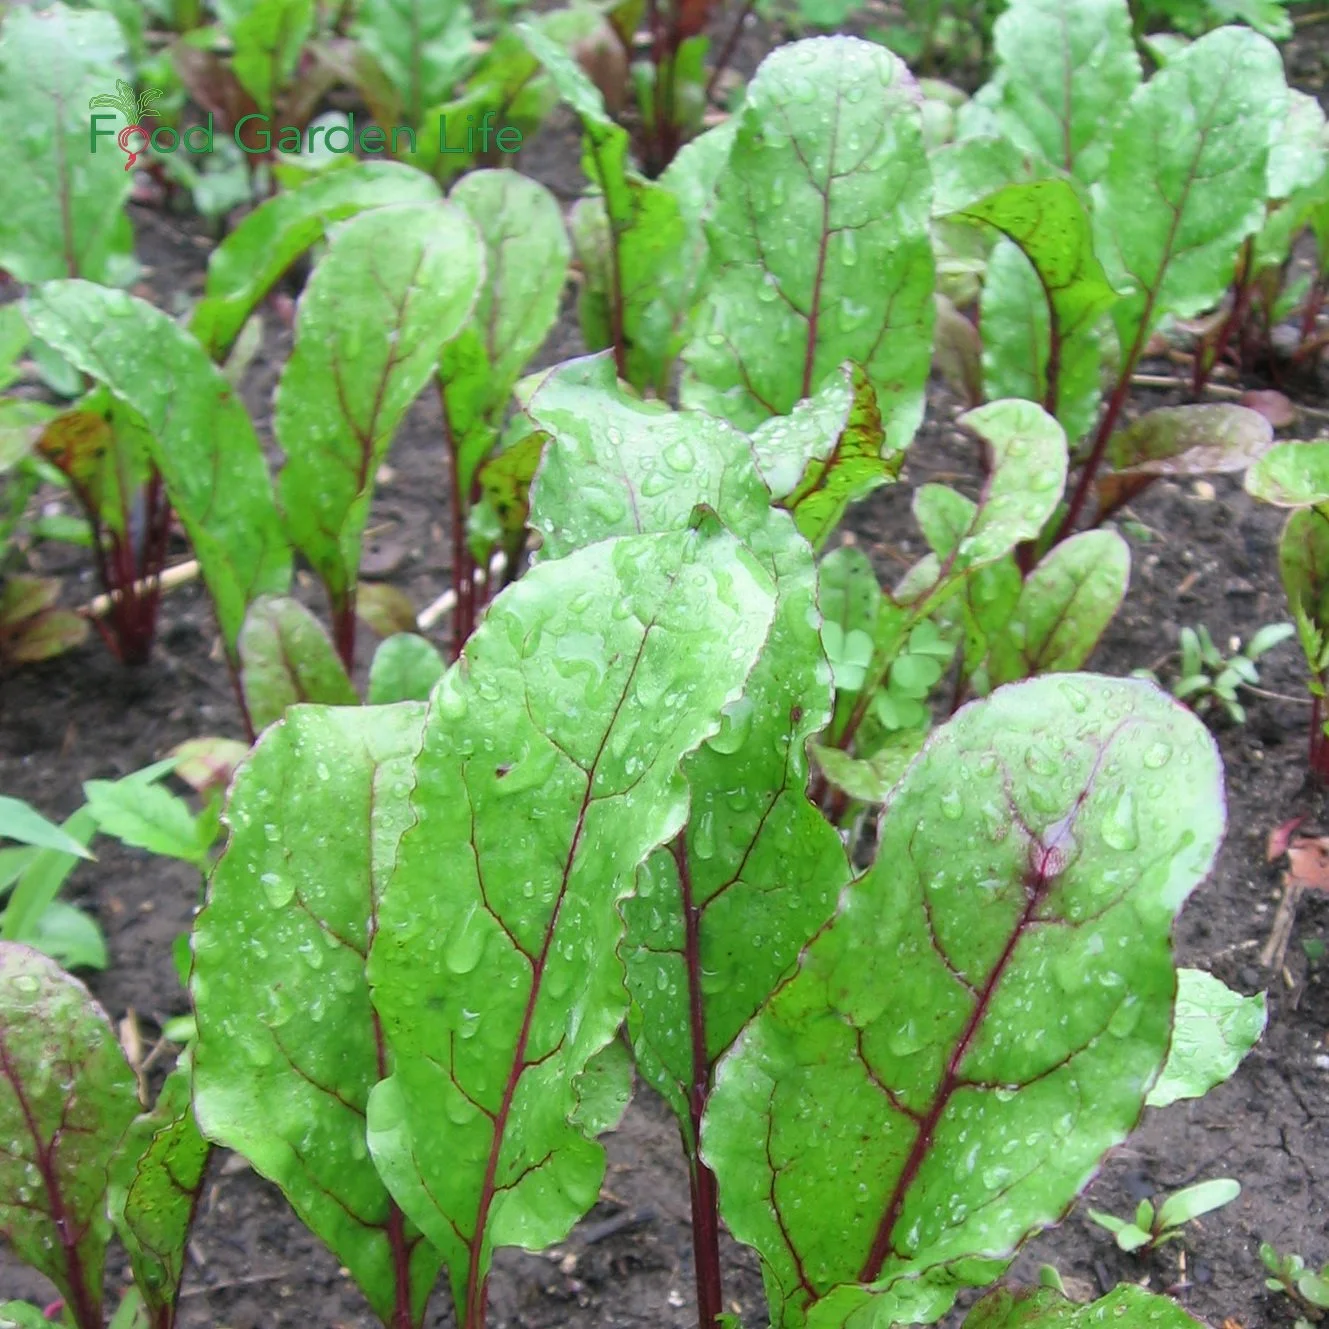
Steal a few leaves from the beet patch to add to summer salads.
As I make salads with summer greens, I like to steal a few small leaves from the beet patch.
Beet greens are edible. Use young leaves raw in salad, and cook larger leaves. (I add mature leaves to borsch. Here's Mom's borsch recipe.) Eaten fresh, these young leaves have a slightly earthy taste, like their kin, Swiss chard.
Even though I grow this crop for its root, taking a few small leaves is no problem; just don't take them all from one plant.
There's one beet variety that I grow especially for its leaves: 'Bulls Blood' has vibrant red leaves that add nice colour to a bowl of summer greens.
Malabar Spinach

Malabar spinach thrives in hot conditions. As a vining plant, it’s also great if you want to add vertical elements to a vegetable garden.
Malabar spinach (Basella alba) thrives in the heat of summer. This vining plant usually takes off as the regular spinach starts to wane in the heat.
Malabar spinach, despite the name, is of no relation to spinach. It has fleshy, mucilaginous leaves that you can eat raw or add to a stir fry. You can also use it to thicken soups.
Best of all, this tropical plant keeps growing all summer long, through the heat.
I don't often see Malabar spinach plants at garden centres. If you want it, plan to grow it from seed. There is a green-leafed type, as well as a strikingly beautiful red-leafed type.
Malabar spinach is also a great crop for vertical gardening. Find out how to save space by adding vertical crops to your garden.
Sorrel
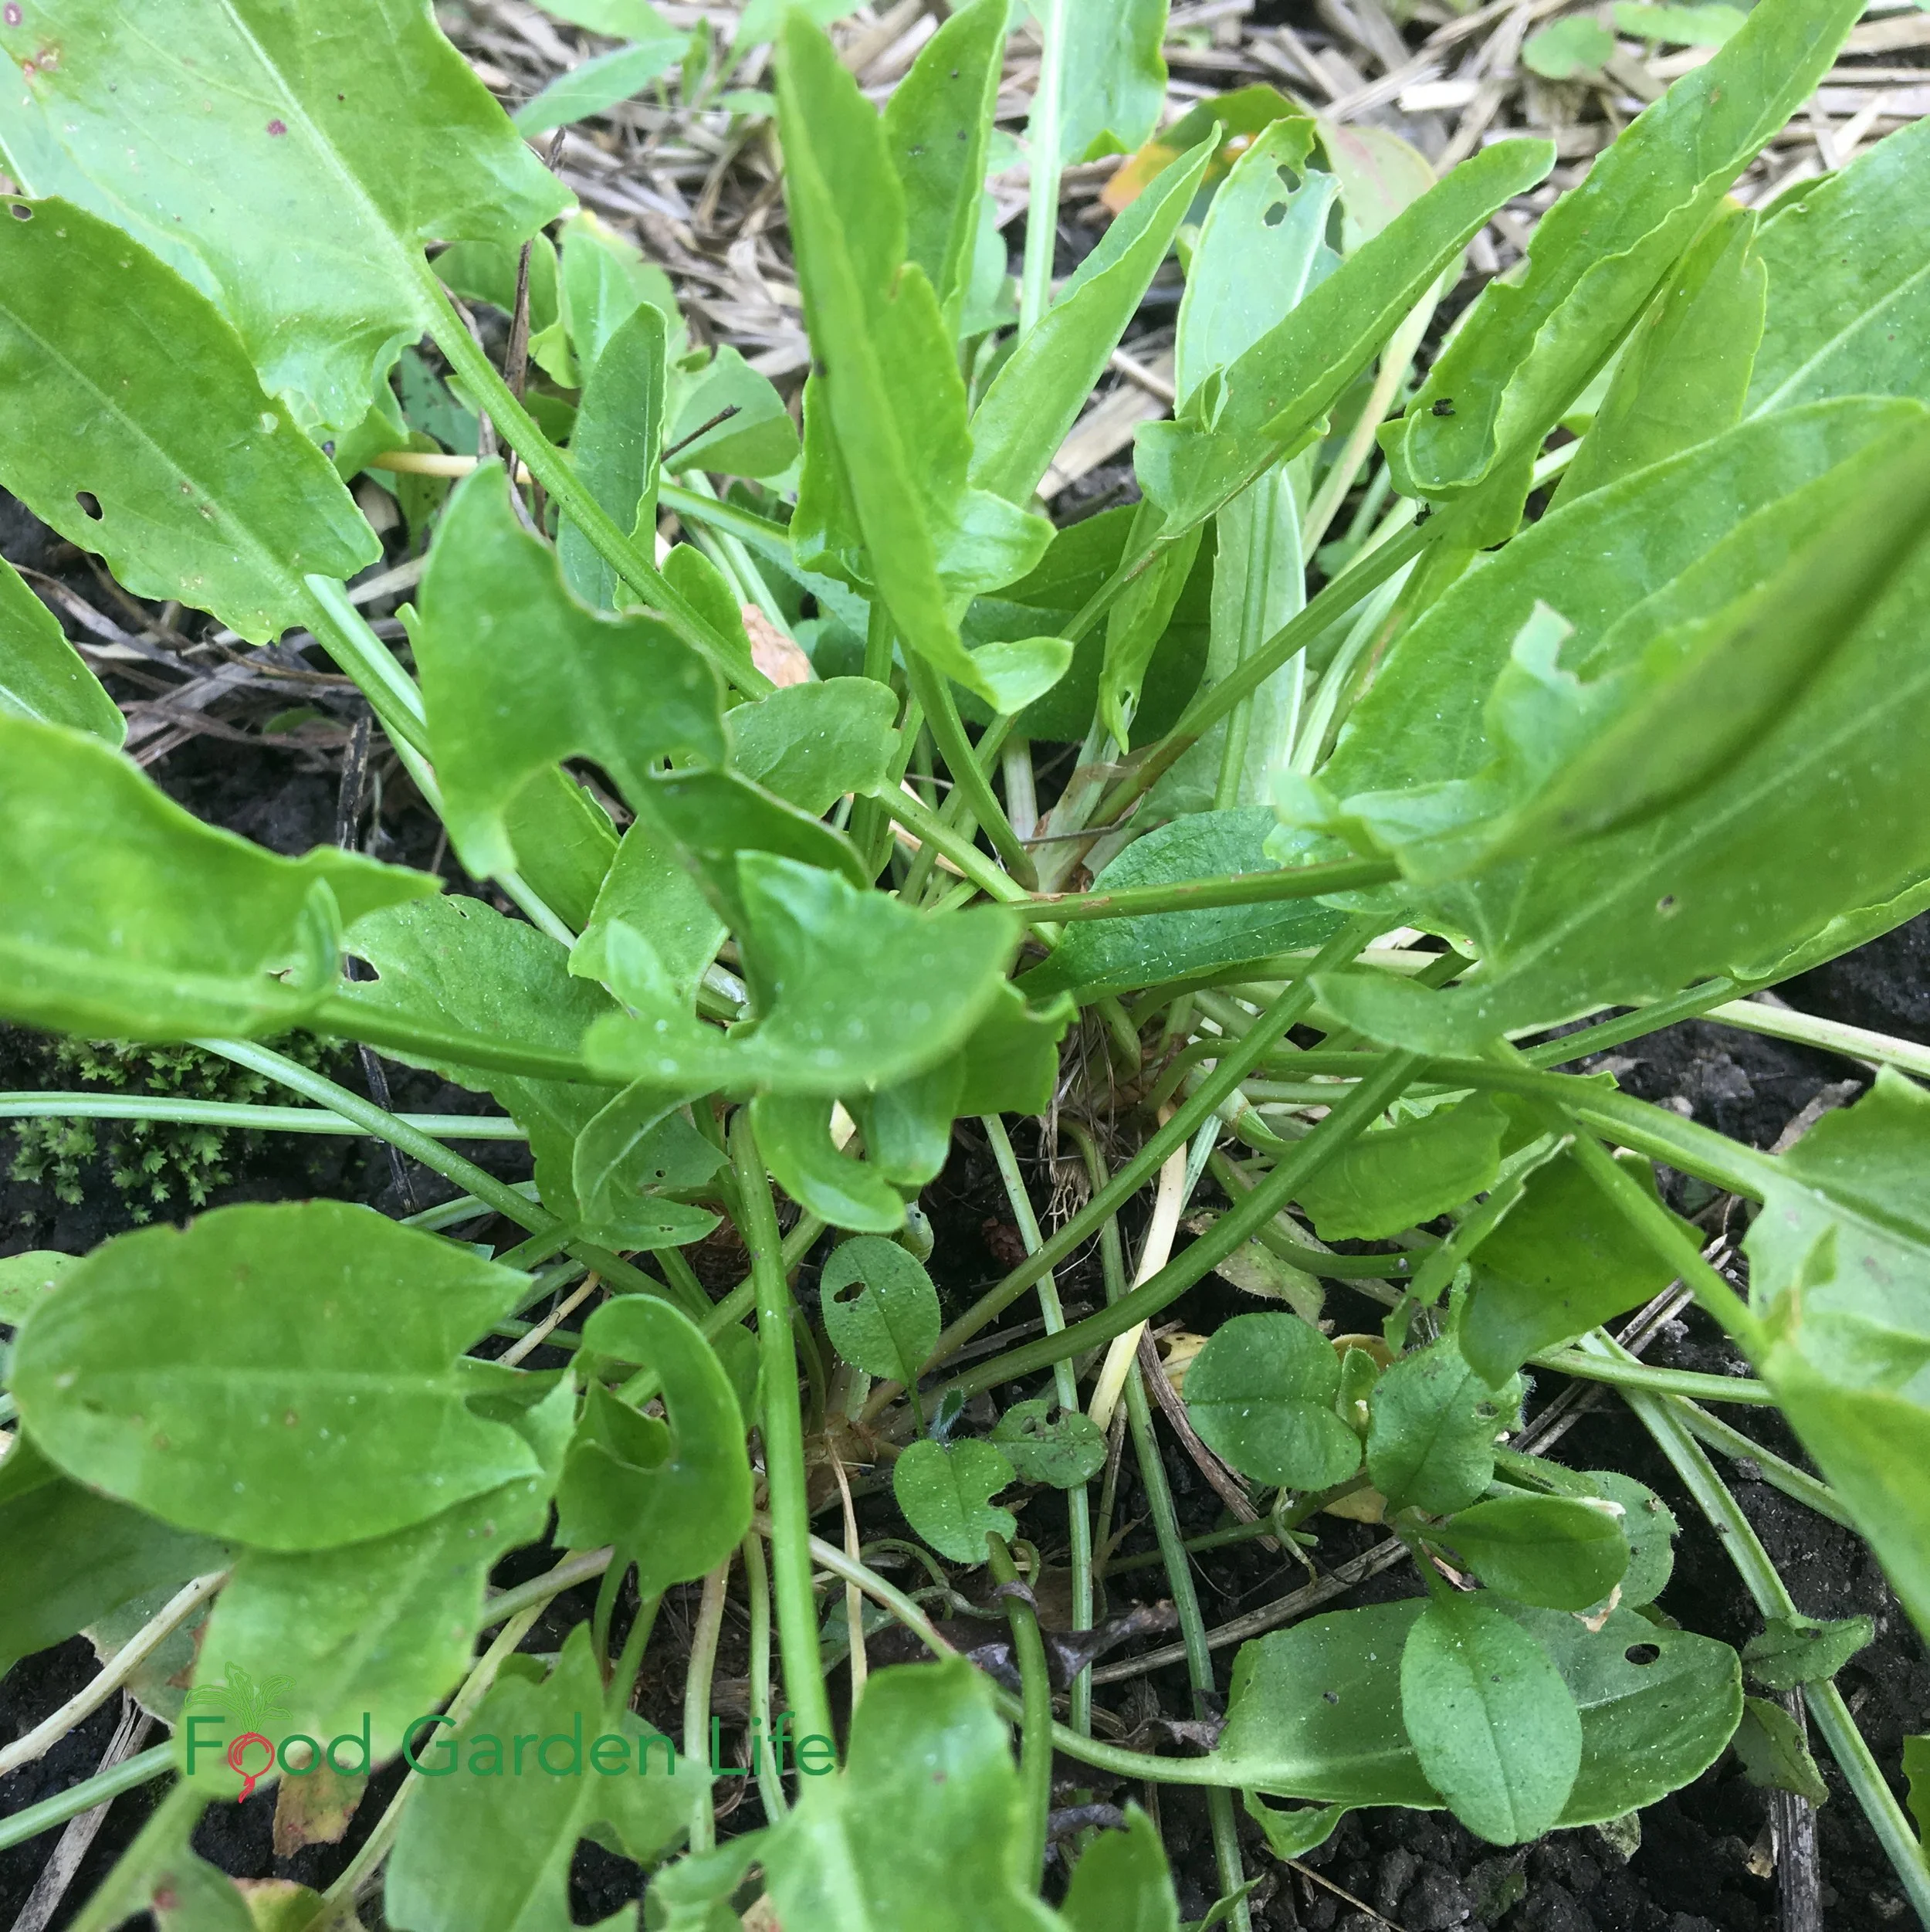
Garden sorrel is a perennial, and a useful salad green over the summer.
This is a favourite in our garden. Sorrel is a perennial leafy green crop that's up early in the spring. It keeps producing tender leaves all summer long.
Sorrel has a tangy taste. I think of it as a lemon substitute for northern gardeners. Add sorrel leaves to a mixed green salad—or when making a sauce add in sorrel, and as the leaves cook into the sauce they add a citrusy tang.
Here's a recipe for sorrel soup.
Garden sorrel (Rumex acetosa) is what you'll find at garden centres. I like ‘Profusion’ garden sorrel, a large-leaved variety that doesn’t bolt.
If you're a forager, you might find sheep sorrel (Rumex acetosella). Both are edible, though I wouldn't plant sheep sorrel in a home garden...it's a spreader.
(There's also a weed called wood sorrel. It's part of the oxalis clan, with clover-like leaves. It's edible too...but I'm not proposing you grow it—it shows up on its own.)
Find out more about how to grow sorrel.
Swiss Chard
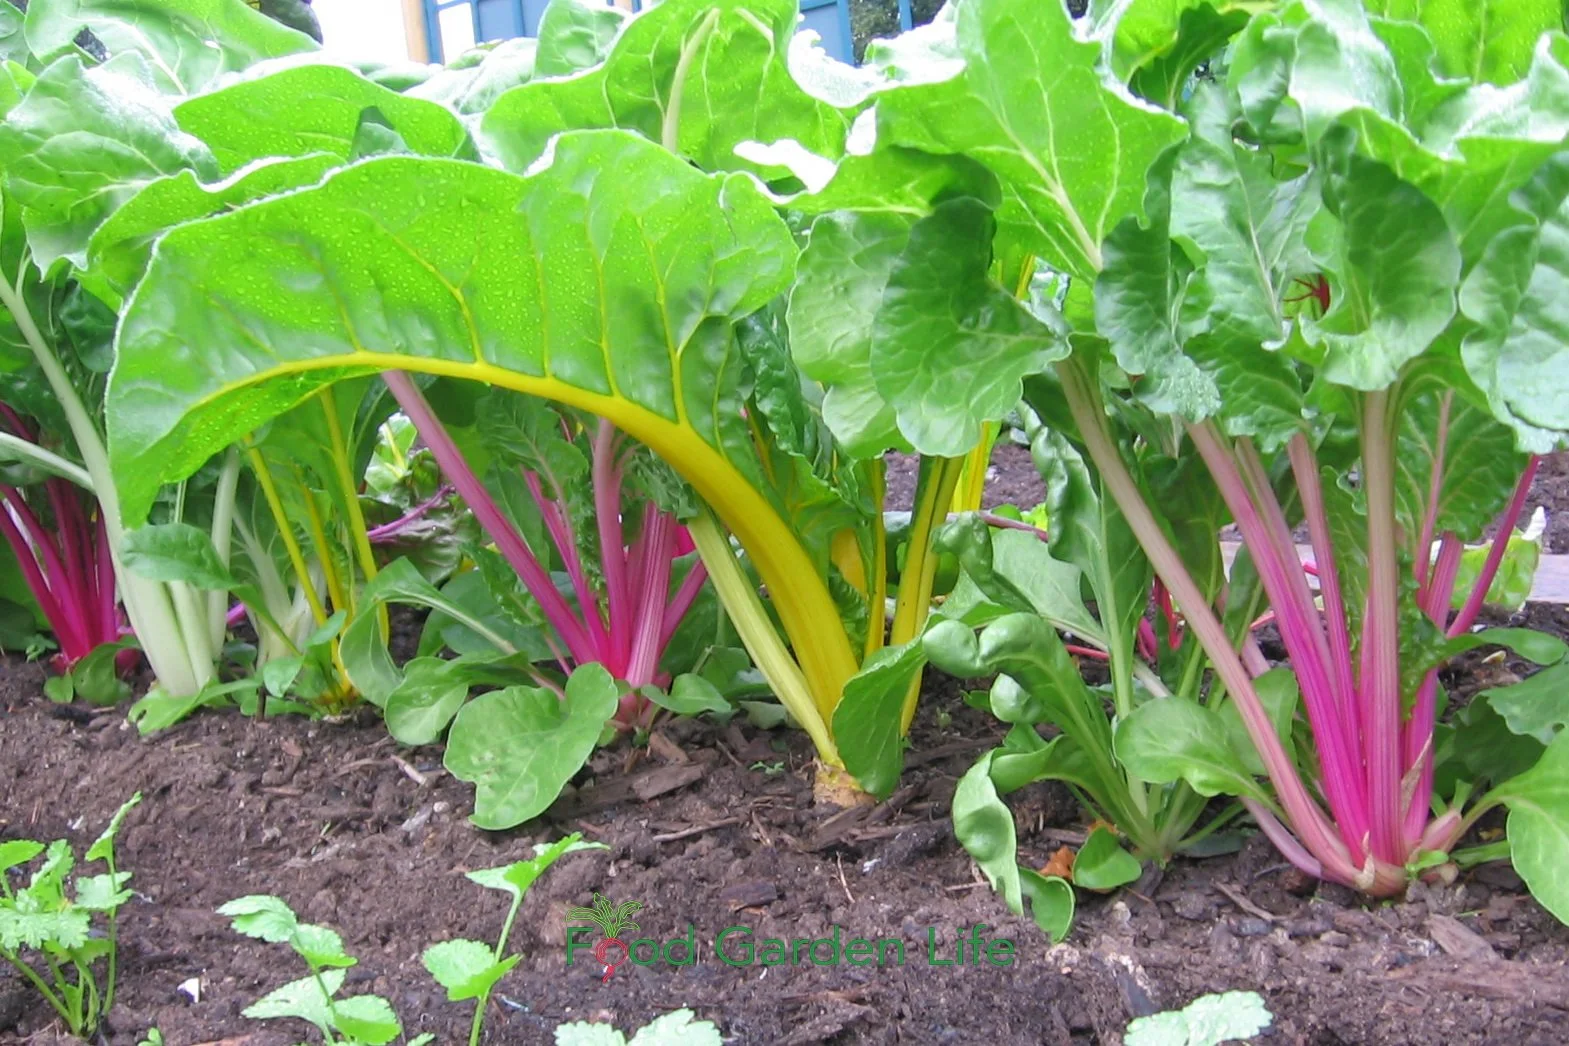
Swiss chard has a two-year life cycle, so during its first year, even during the heat of summer, it keeps on making leaves.
This is my favourite summer green. Swiss chard is a work horse; pick heavily and continually all summer and it keeps growing.
Unlike lettuce and spinach, it doesn't try to flower in its first year. That’s because it has a two-year life cycle...and that makes it a very valuable heat-tolerant green.
When picked young, the small leaves can go straight into the salad. I like larger leaves and the more substantial leaf rib in stir-frys.
Along with green varieties, there are many colourful ones that paint the veg patch a rainbow of colours.
Create Your Own Unique Edible Landscape
That fits for your yard, and your style!
One More Hot-Weather Crop
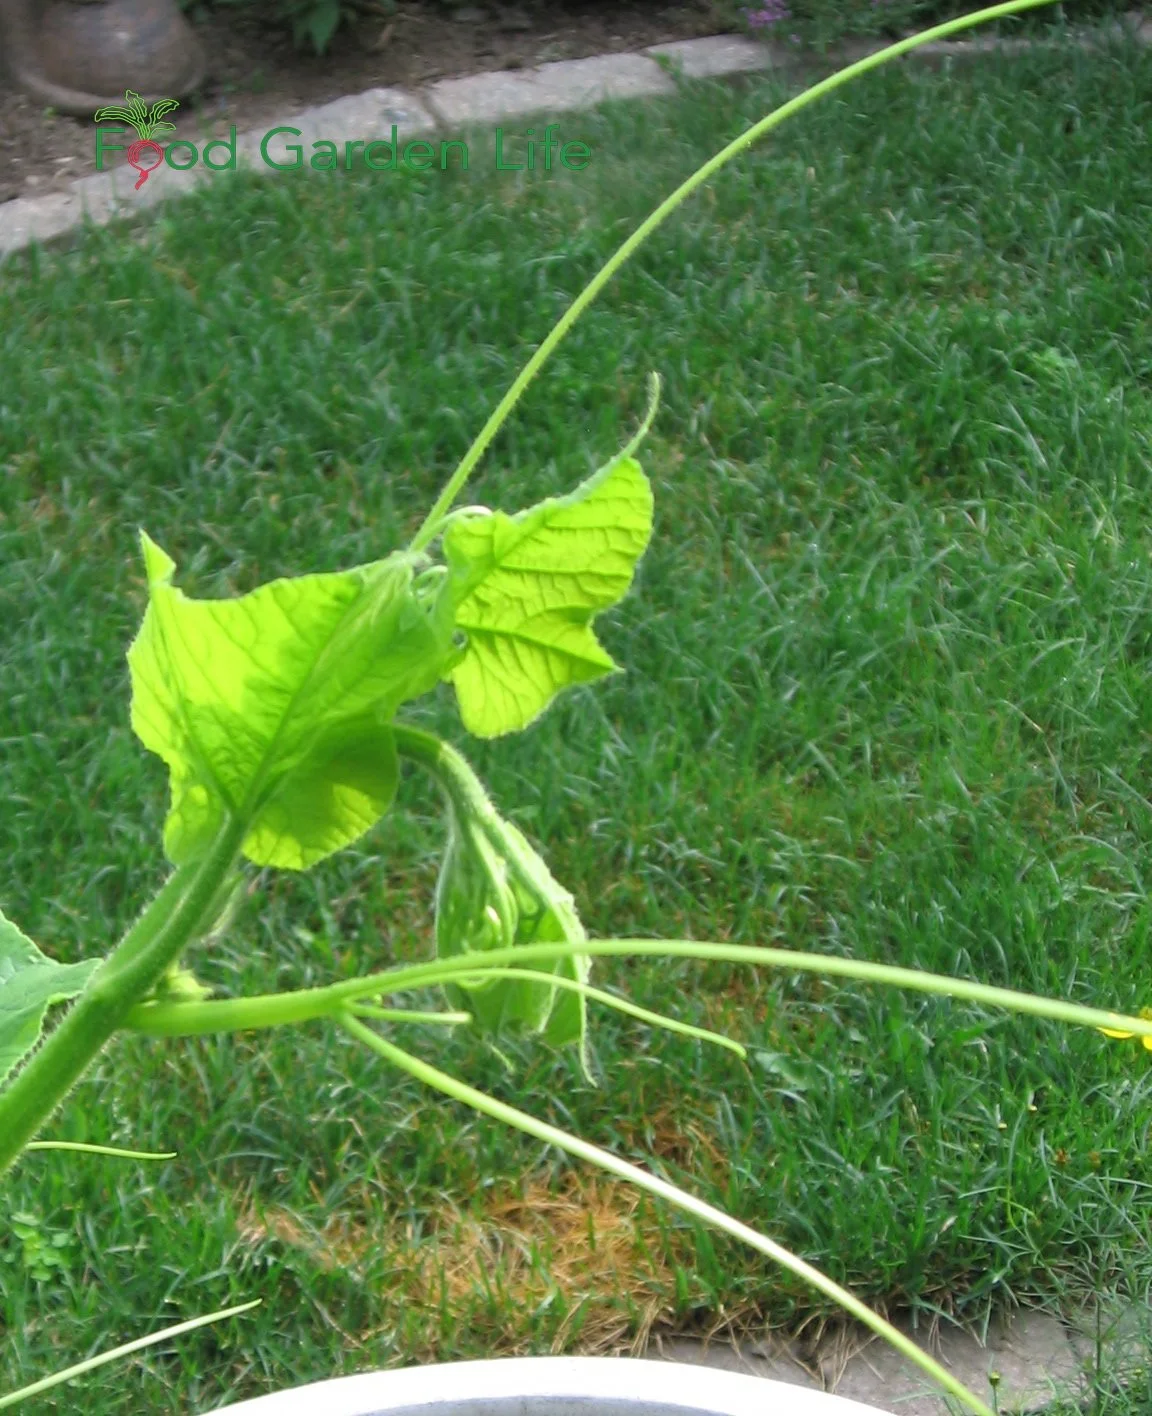
Squash tips and tendrils are edible.
Here’s a crop that doesn’t fit into my list of hot-weather salad greens because we cook it. But I’m including it in this post because it’s a fantastic garnish for a summer salad, and it has great heat tolerance.
Squash Tips
Squash shoot tips, squash tendrils, and squash leaves are all edible.
But…cook them briefly. A quick sauté in olive oil does the trick. That’s because when they’re not cooked, they’re a wee bit prickly. But cooked, they’re transformed.
Squash has many edible parts on the same plant: There's the fruit, the flowers, tender stems, and then the leaves and tips. You can cook larger leaves too, but harvest them before they’re too fibrous.
Find out about other crops with more than one edible part.
Find This Helpful?
Enjoy not being bombarded by annoying ads?
Appreciate the absence of junky affiliate links for products you don’t need?
It’s because we’re reader supported.
If we’ve helped in your food-gardening journey, we’re glad of support. You can high-five us below. Any amount welcome!

More Vegetable Gardening Ideas
Articles
Want to browse our articles and interviews about vegetable gardening? Check out the Vegetable Gardening Home Page
Do you have a shady yard? Here are things you can grow: Crops for Shade
Trying to figure out how to fit as much as possible into your vegetable garden? Try these Vegetable Garden Layout Ideas
Interviews
Courses
Check out our self-paced online courses. The practical information is in bite-size chunks, so you can work through them at your own speed.
Succession Planting: Here's How You Can Harvest Vegetables Season Long
By Steven Biggs
Succession Crops are the Ticket to an Uninterrupted Harvest

"Succession planting" is when we grow more than one crop in the same space over the growing season. We grow a succession of crops.
As one crop finishes, the succession crop takes its place.
Many crops mature before growing season is done, leaving time to plant a second (or even a third) crop. This means we can follow our spring crops with warm season crops and fall crops.
A "succession crop" is just a fancy name for the crop(s) that come after the first crop is done.
Succession planting works in large gardens, small gardens—and even containers!
If you are interested in the idea of a continuous harvest, keep reading: This article explains how you can use the same garden space for more than one crop.
Plan for an Uninterrupted Harvest
As you plan your vegetable garden, there's more than one way to achieve successive harvests. See how you can slot these planting methods into your garden.
Find out more garden planning and layout ideas.
Different Crops - One Follows Another
A common succession planting method is follow one crop with another one. For example, when the summer harvest of green beans is finished, a new crop of kale for winter harvest takes its place.
Different Crops - At the Same Time
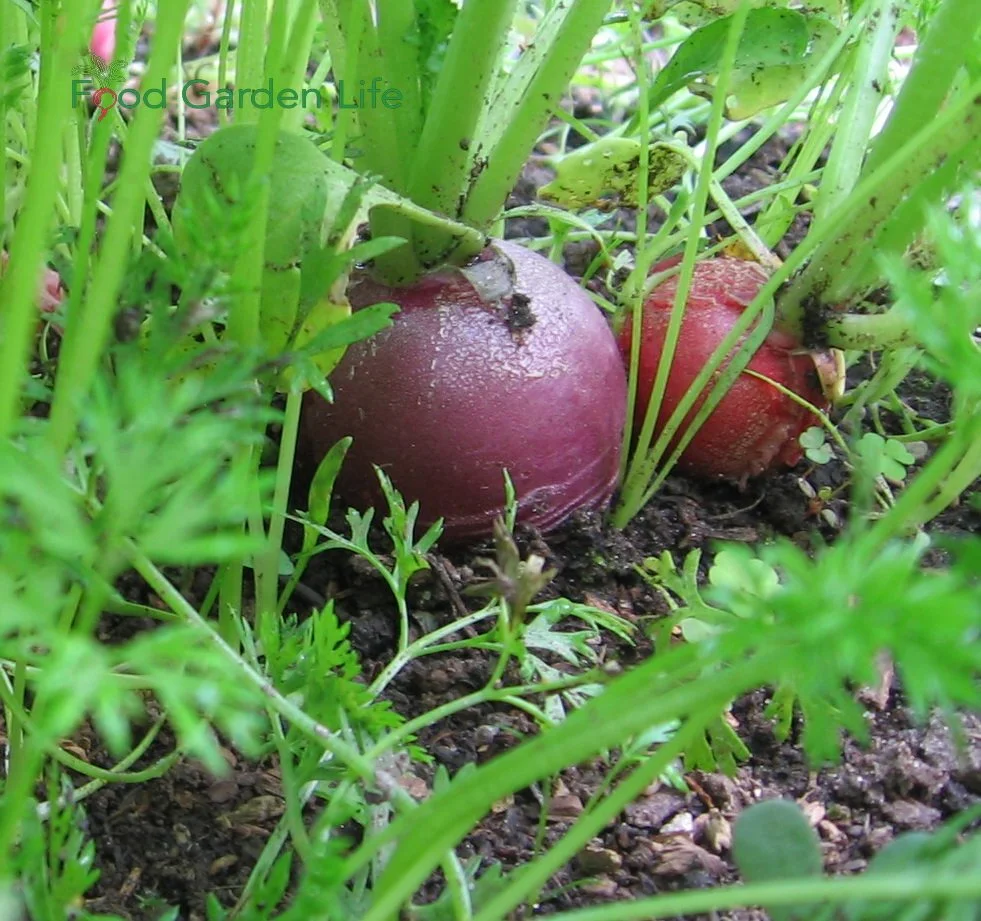
Planting carrots and radish together.
Planting two different crops at the same time is not really succession planting, but it's worth mentioning here because it's a useful idea in garden planning, and can be a good way to get multiple harvests from the same space.
Some people use the term companion planting to describe this idea.
Here are examples:
Fast-growing crops with slower crops: My favourite fast-slow combo is to plant beets in the same space as radish. The radishes grow much more quickly than the beets. So you'll have harvested the radishes by the time your beet seedlings need more space. (And don't forget...beet greens are edible too!)
Sun-lovers with Shade-lovers: Another example of putting two crops together is pairing a tall plant with a shade-loving plant. In this case, summertime lettuce (which lasts longer in shade) under tomatoes.
Grow a Container Vegetable Garden
And get an early harvest of crops that usually take too long!
Same Crop - Staggered Plantings to Spread out the Harvest
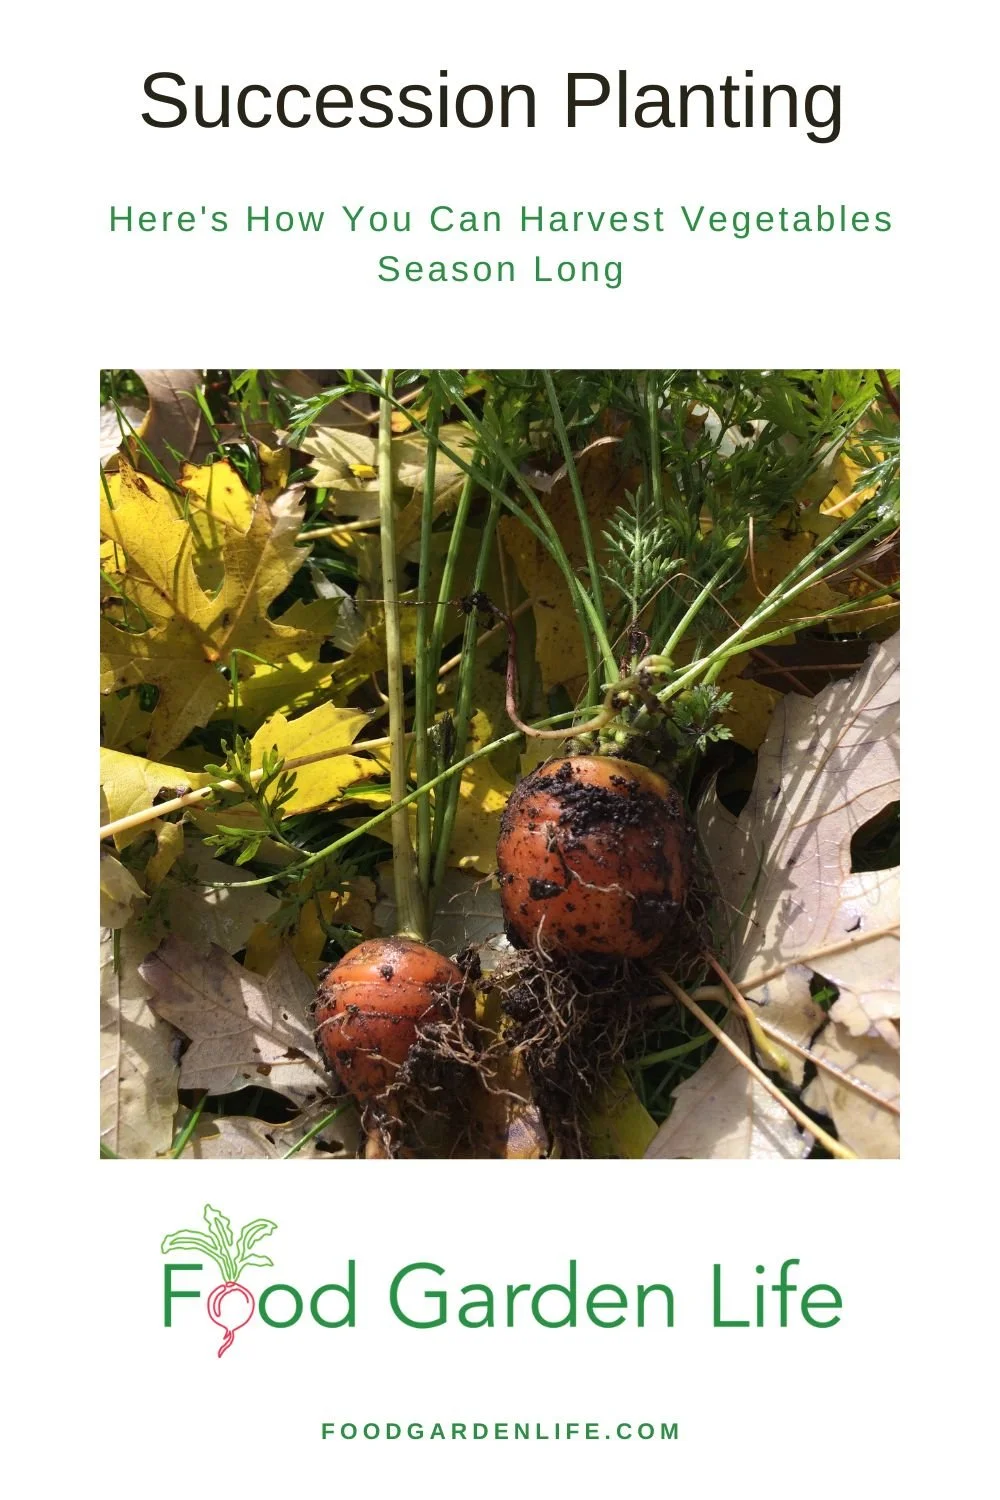
Pin this post!
By staggering plantings of a crop you can get a longer harvest window. This is especially helpful if you grow lettuce or other leafy greens that bolt quickly.
Unless you’re a market gardener, you probably don’t need an entire row of lettuce ready at once. So only plant part of the row. Then, a couple of weeks later, plant more of the same. And repeat.
Same Crop - Different Maturity Dates
Days to maturity (DTM) is a measure of how long it takes a crop to be ready to harvest. Get a few varieties of the same crop, each with a different DTM so that you have an ongoing harvest. Look for DTM on the seed packet or catalogue.
(The number of days it takes for a crop to be ready to harvest varies with growing conditions, so use DTM as a guide, not an exact planning tool.)
Find out more about seed shopping and lingo such as DTM.
Succession Crops
Succession crops are crops that don’t take the whole growing season to mature. They only need part of a season.
Here are common succession crops:
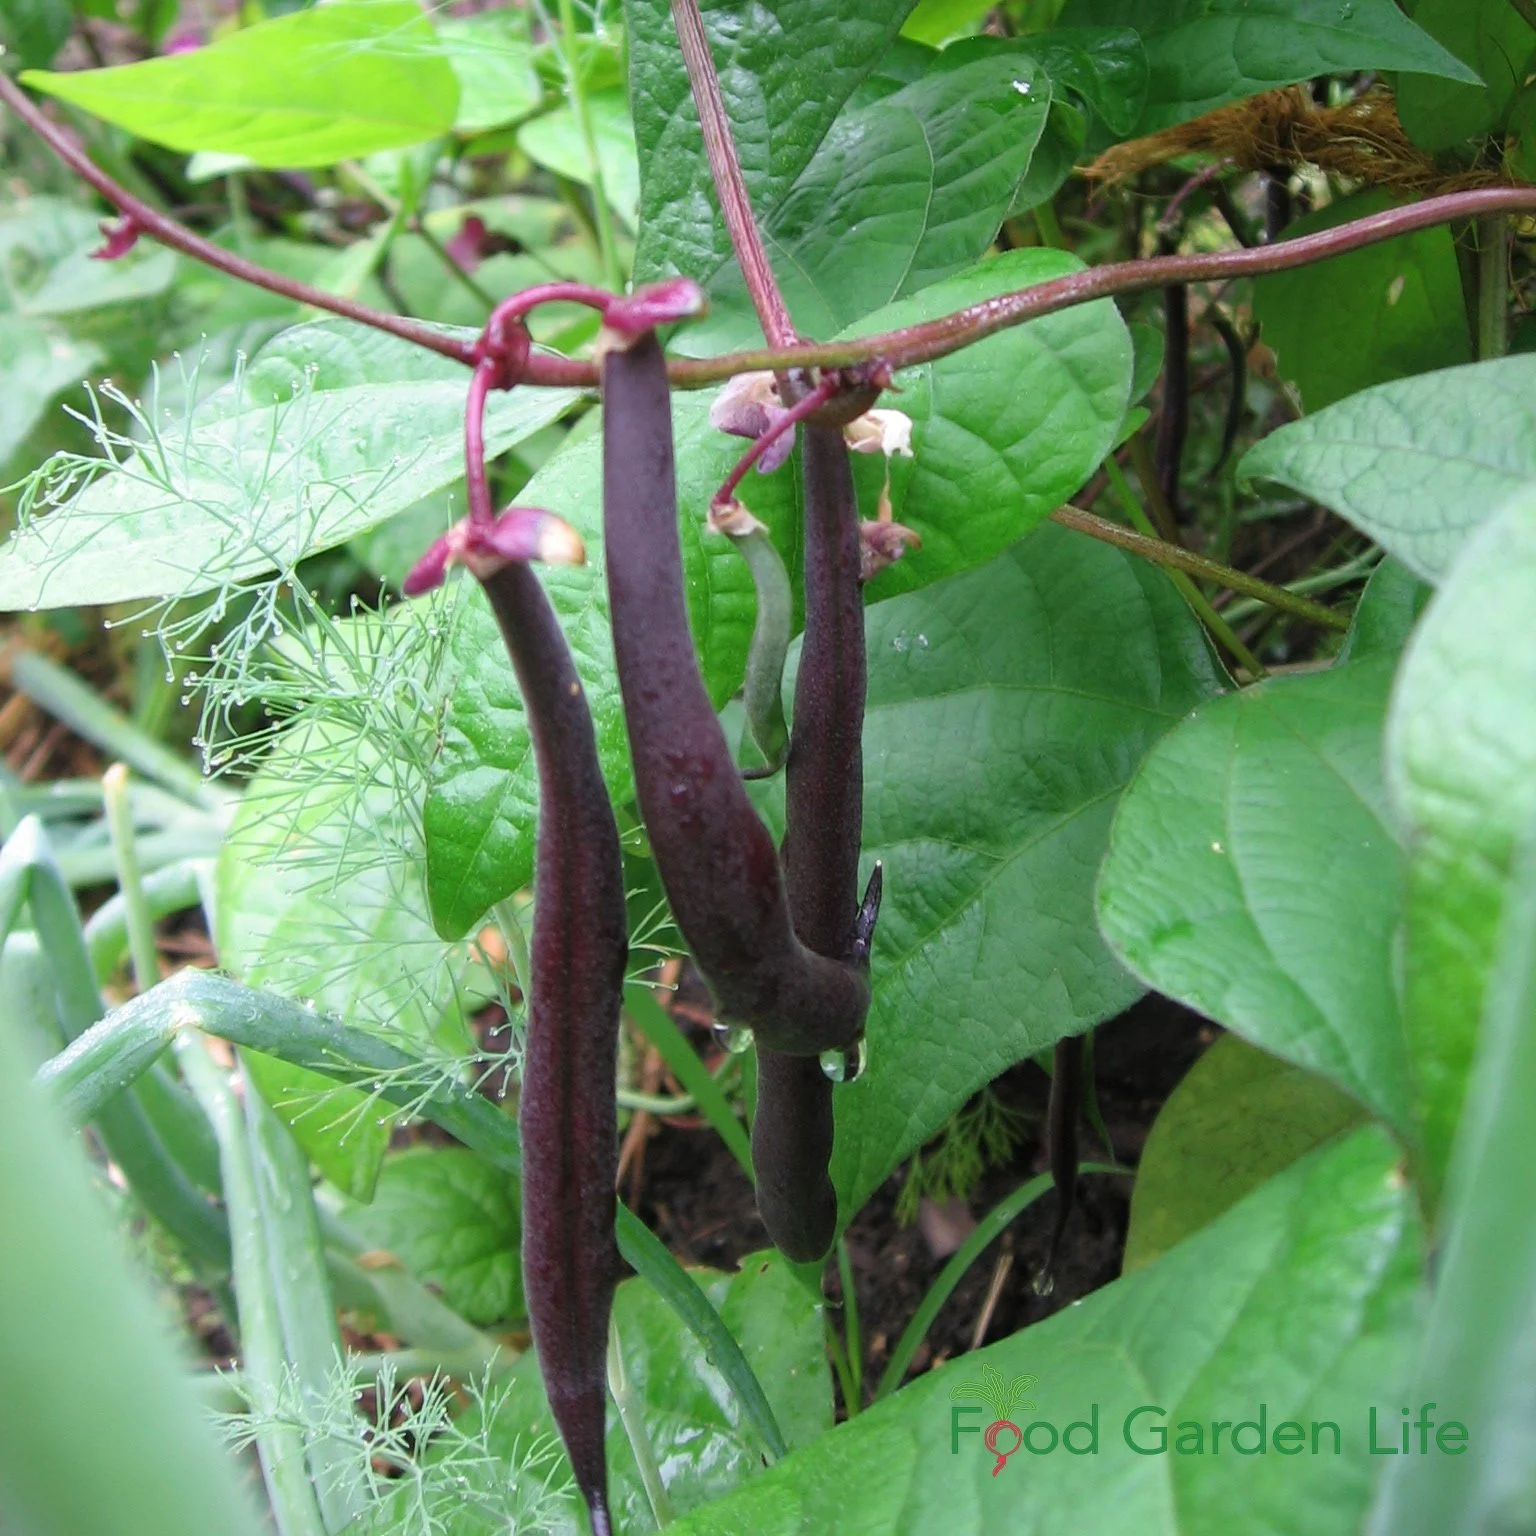
Bush beans are a common succession crop.
Leafy Greens (plan for successive sowings if you want leafy greens during the summer)
Beets (baby beets for pickling are often from a succession crop of beets planted in the summer)
Cabbage
Carrots
Bush beans
Green onions (I keep an extra bag of onion sets in the fridge, ready as a second crop when I need more green onions)
Kohlrabi
Radish and winter radish
Rapini (I like to plant rapini as a mid-summer succession crop when I harvest garlic in July, because it’s fast-growing and does well in the heat of the summer)
Rutabaga
Summer squash (a good second crop where you start off with early spring greens)
Swiss chard (does well in heat without bolting)
Winter squash
Turnip (I like turnip as a late-summer crop…and you can eat the leaves too!)
Find out how to slow down lettuce bolting.
Interested in growing storage crops? Here are 25 storage crops.
Create Your Own Unique Edible Landscape
That fits for your yard, and your style!
Sowing Summer Crops
Hot summer growing conditions are not always suitable for starting seeds directly in the garden.
That’s because:
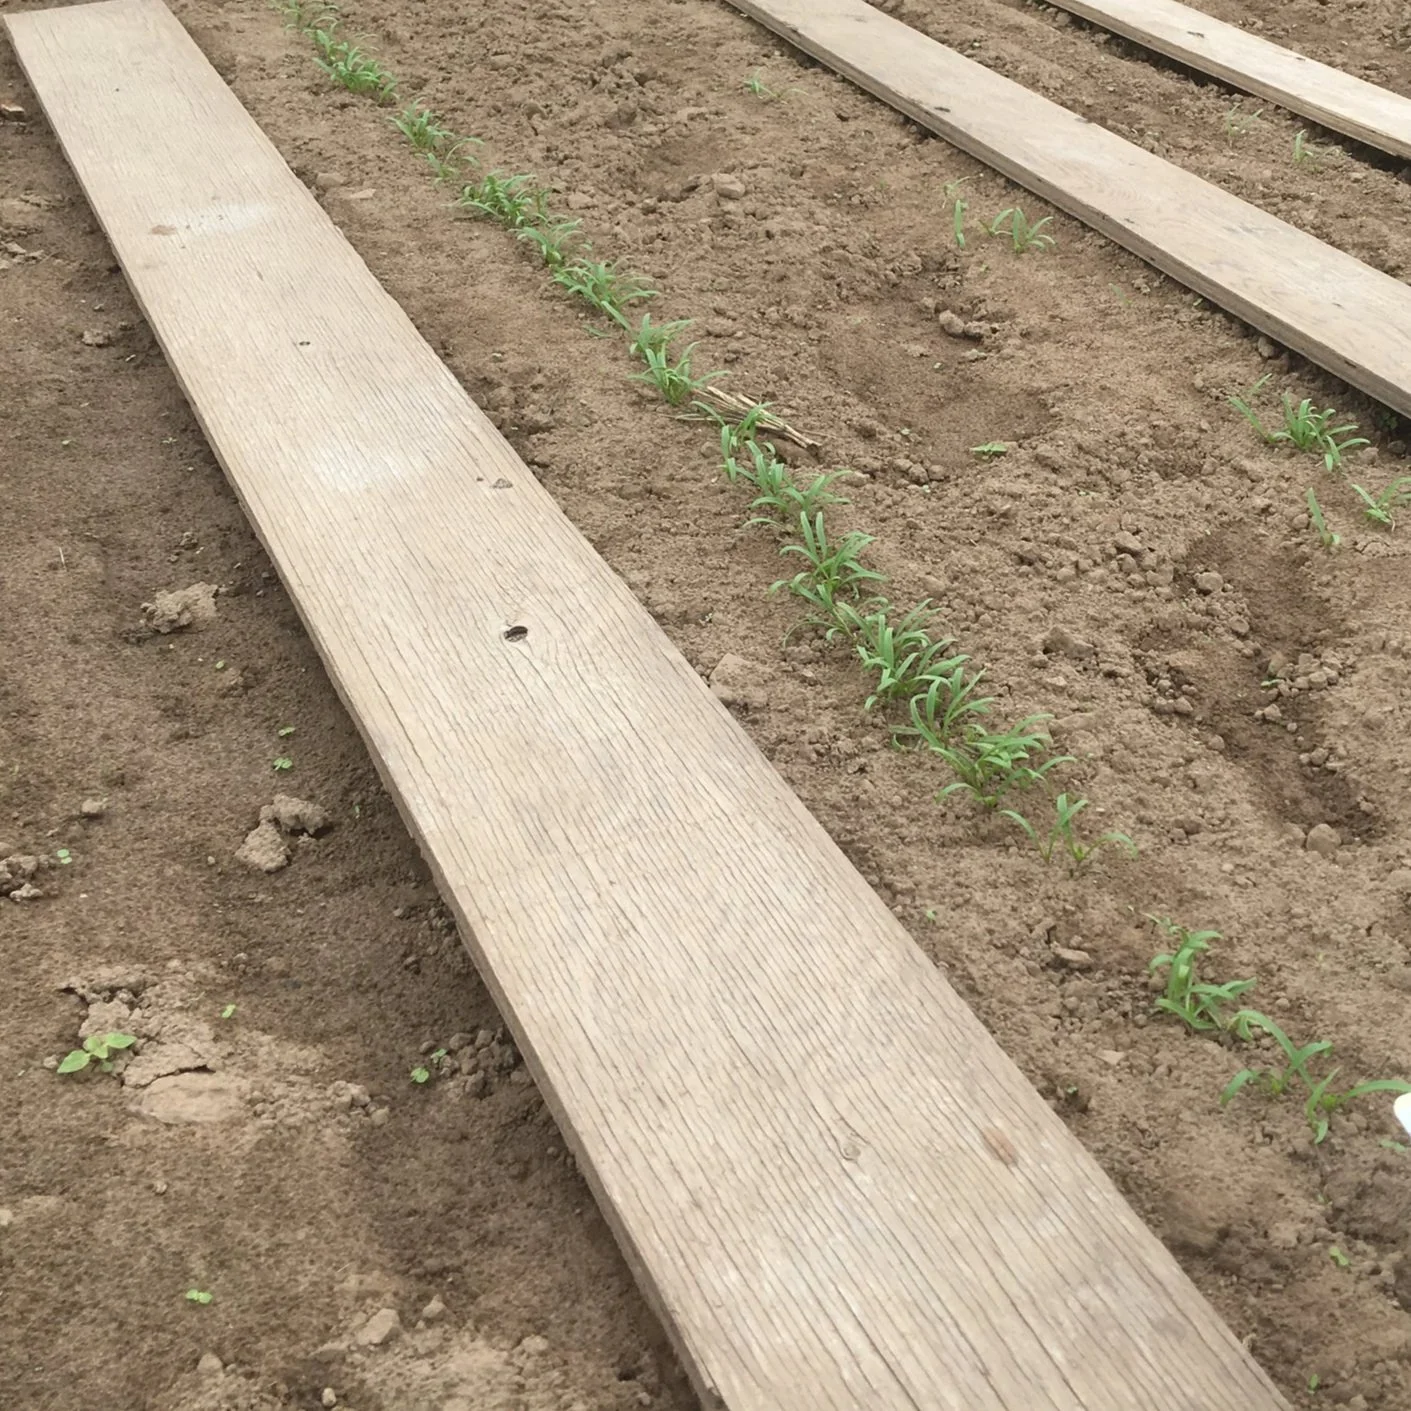
In hot, dry weather, place a board over fine seeds to keep in soil moisture and improve germination.
Hot weather can affect germination.
In hot, dry summer conditions a crust can form on some types of soil.
Pest pressures are higher.
Here are tips to plant crop successions in hot weather:
Start transplant in pots, in protected conditions.
For plants that are best directly sown into the garden (e.g. carrots), place a board over the soil so that conditions are more moist for germination
Water regularly because dry conditions really mess up germination.
Transplanting Succession Crops
Summer conditions can make transplanting difficult because transplanting into the hot sun is a big stress for the plant.
So wait for a rainy or cloudy day if possible. At the least, don't transplant in the heat of the day.
Make shade for your transplants using mini hoop houses covered with shade cloth or a light floating row cover.
Or even easier: Put an inverted web tray over top of your transplant for a few days. (The webbed plastic trays from garden centres.)
And then water transplants regularly until they are established.
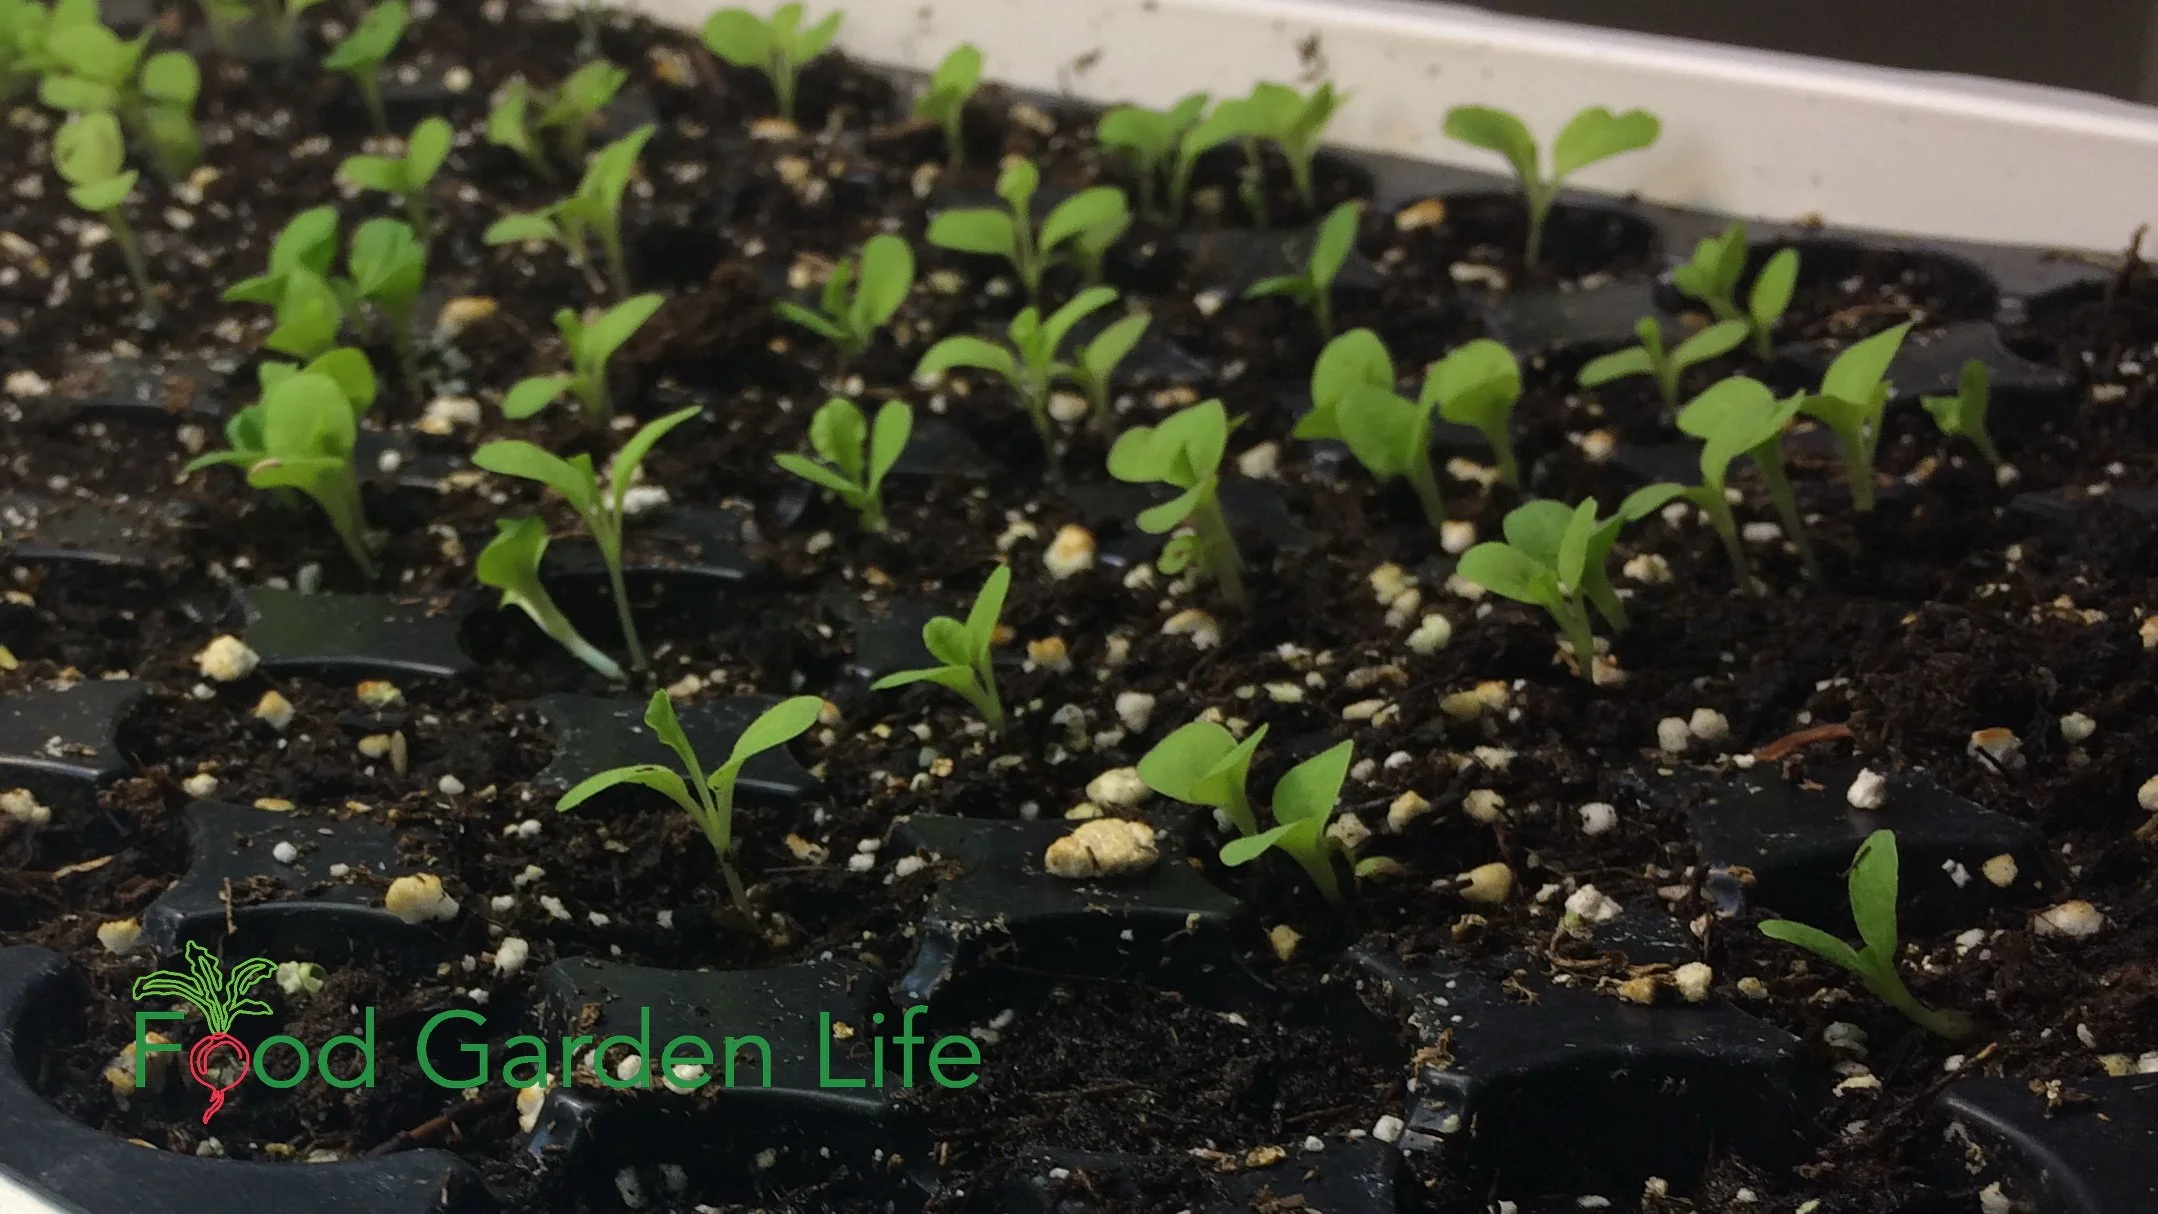
Lettuce transplants for succession cropping.
One Key to Successful Succession Planting
With intensive growing like succession planting, we’re taking more from the soil. That makes it especially important to manage soil fertility. Feed the soil by amending with compost between crops.
Final Succession Cropping Suggestions
Keep extra seed packets on hand for succession planting!
And don’t forget to grow microgreens indoors over the winter.
Find out how to grow our own microgreens indoors.
Find This Helpful?
Enjoy not being bombarded by annoying ads?
Appreciate the absence of junky affiliate links for products you don’t need?
It’s because we’re reader supported.
If we’ve helped in your food-gardening journey, we’re glad of support. You can high-five us below. Any amount welcome!